Change bike sprocket on hub gears
How can I recognize if I should replace the sprocket on my bike?
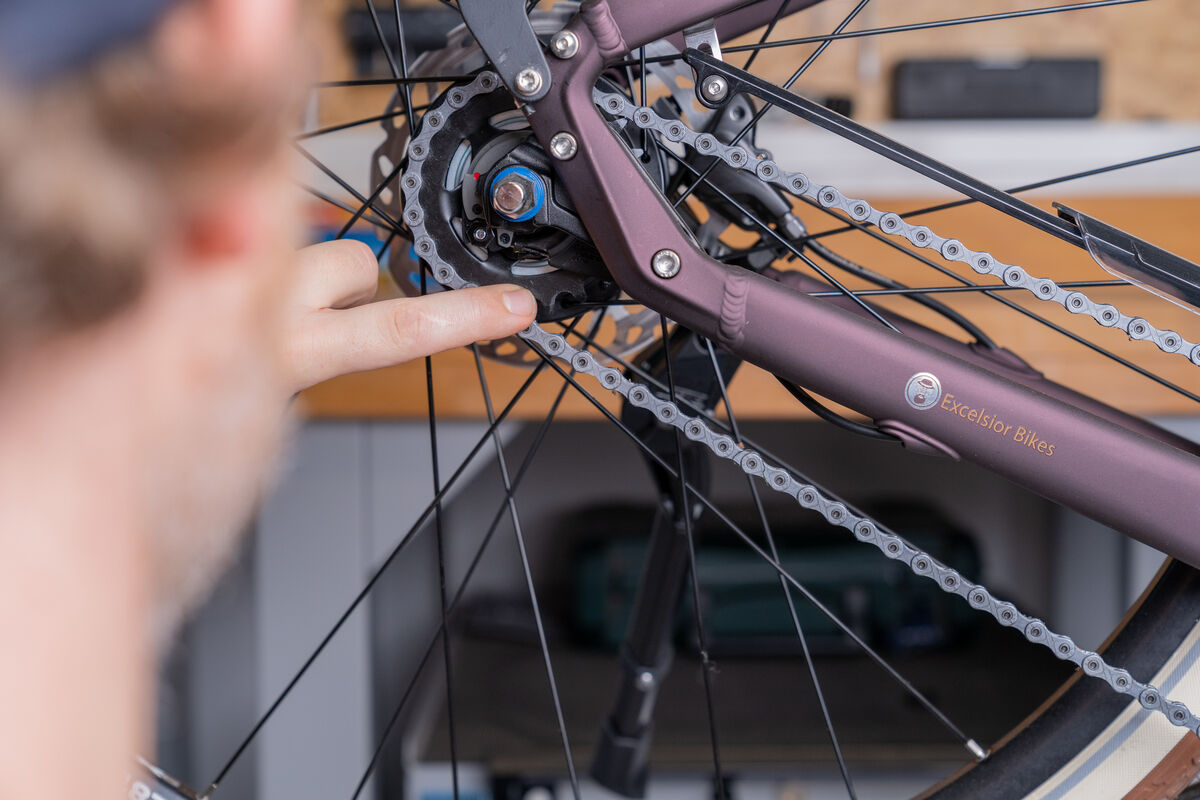
You can identify a worn sprocket on the hub gear in bikes or e-bikes by an uneven arc between two teeth and/or their markedly sharp and unevenly tapered shape, similar to shark fin. While riding, you can notice a worn sprocket for example through rough gear shifts or somewhat irregular chain rotation.
Necessary tools:
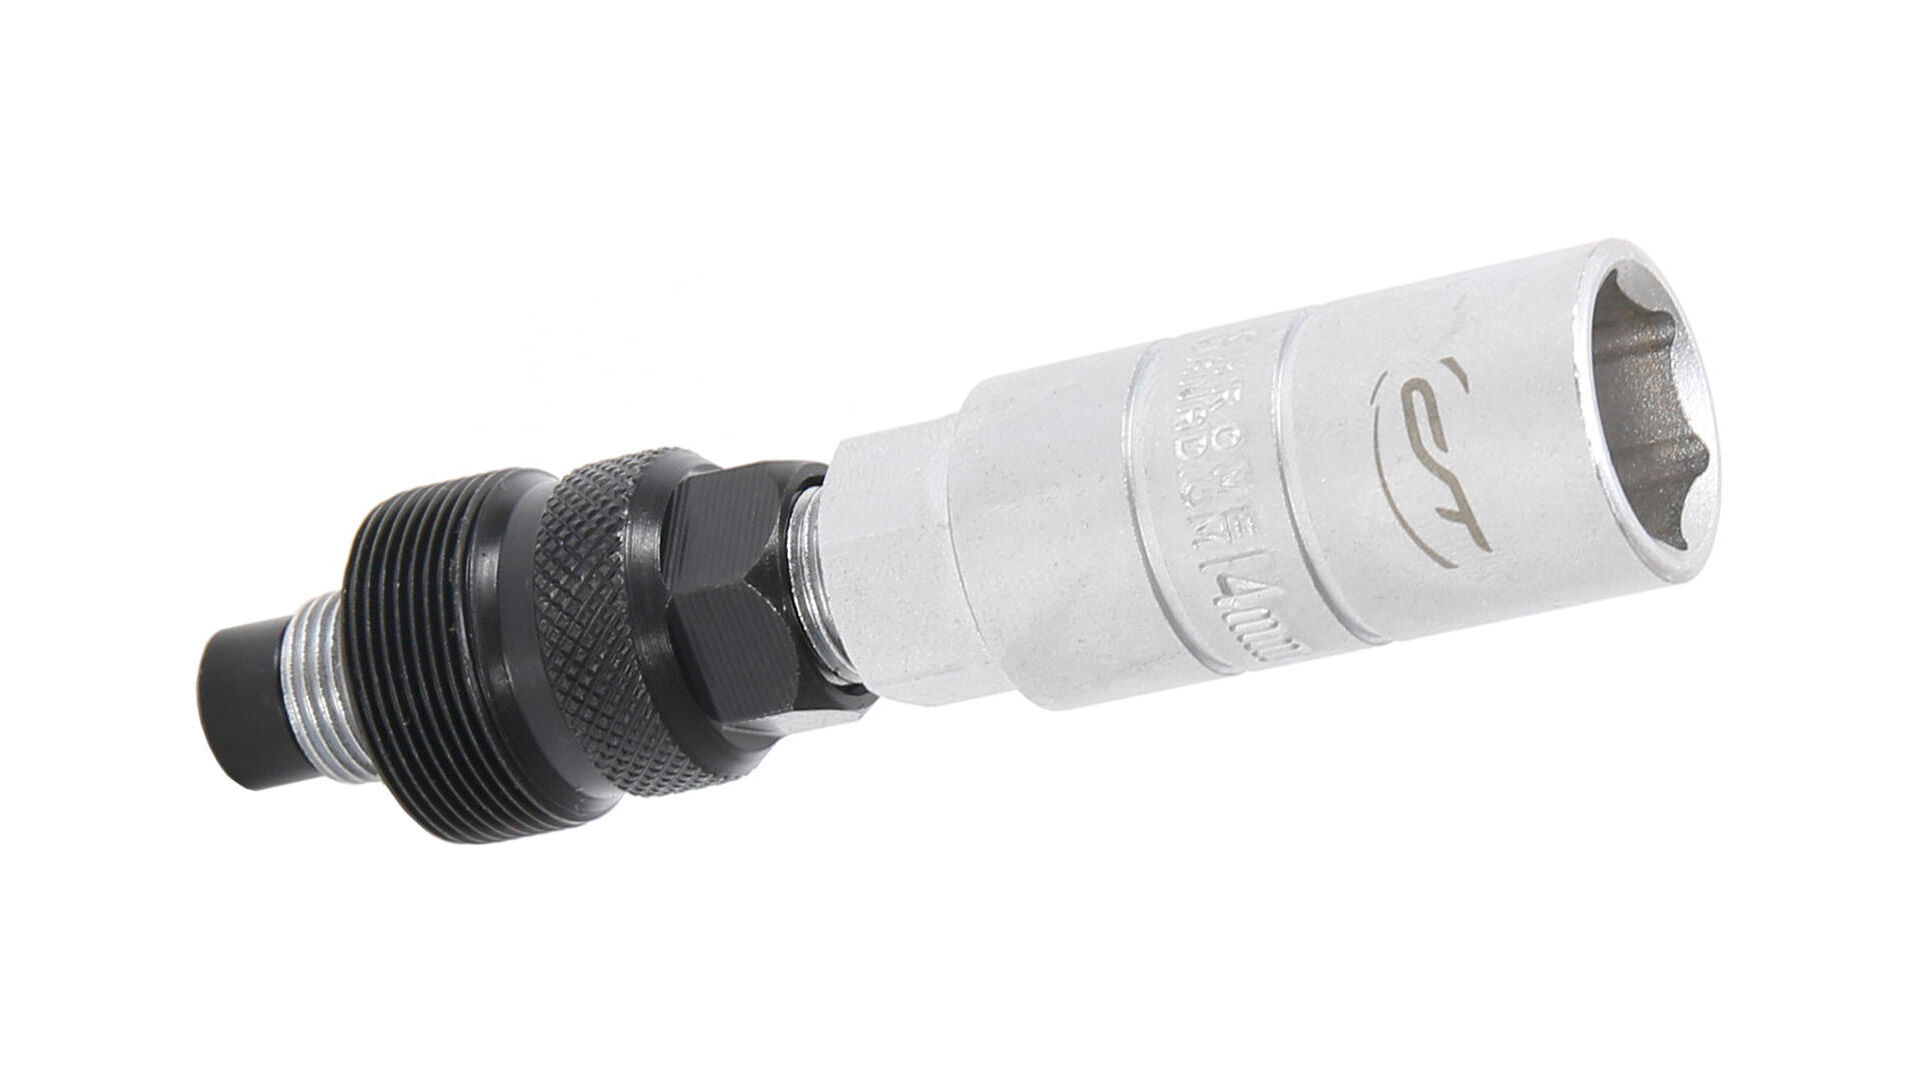
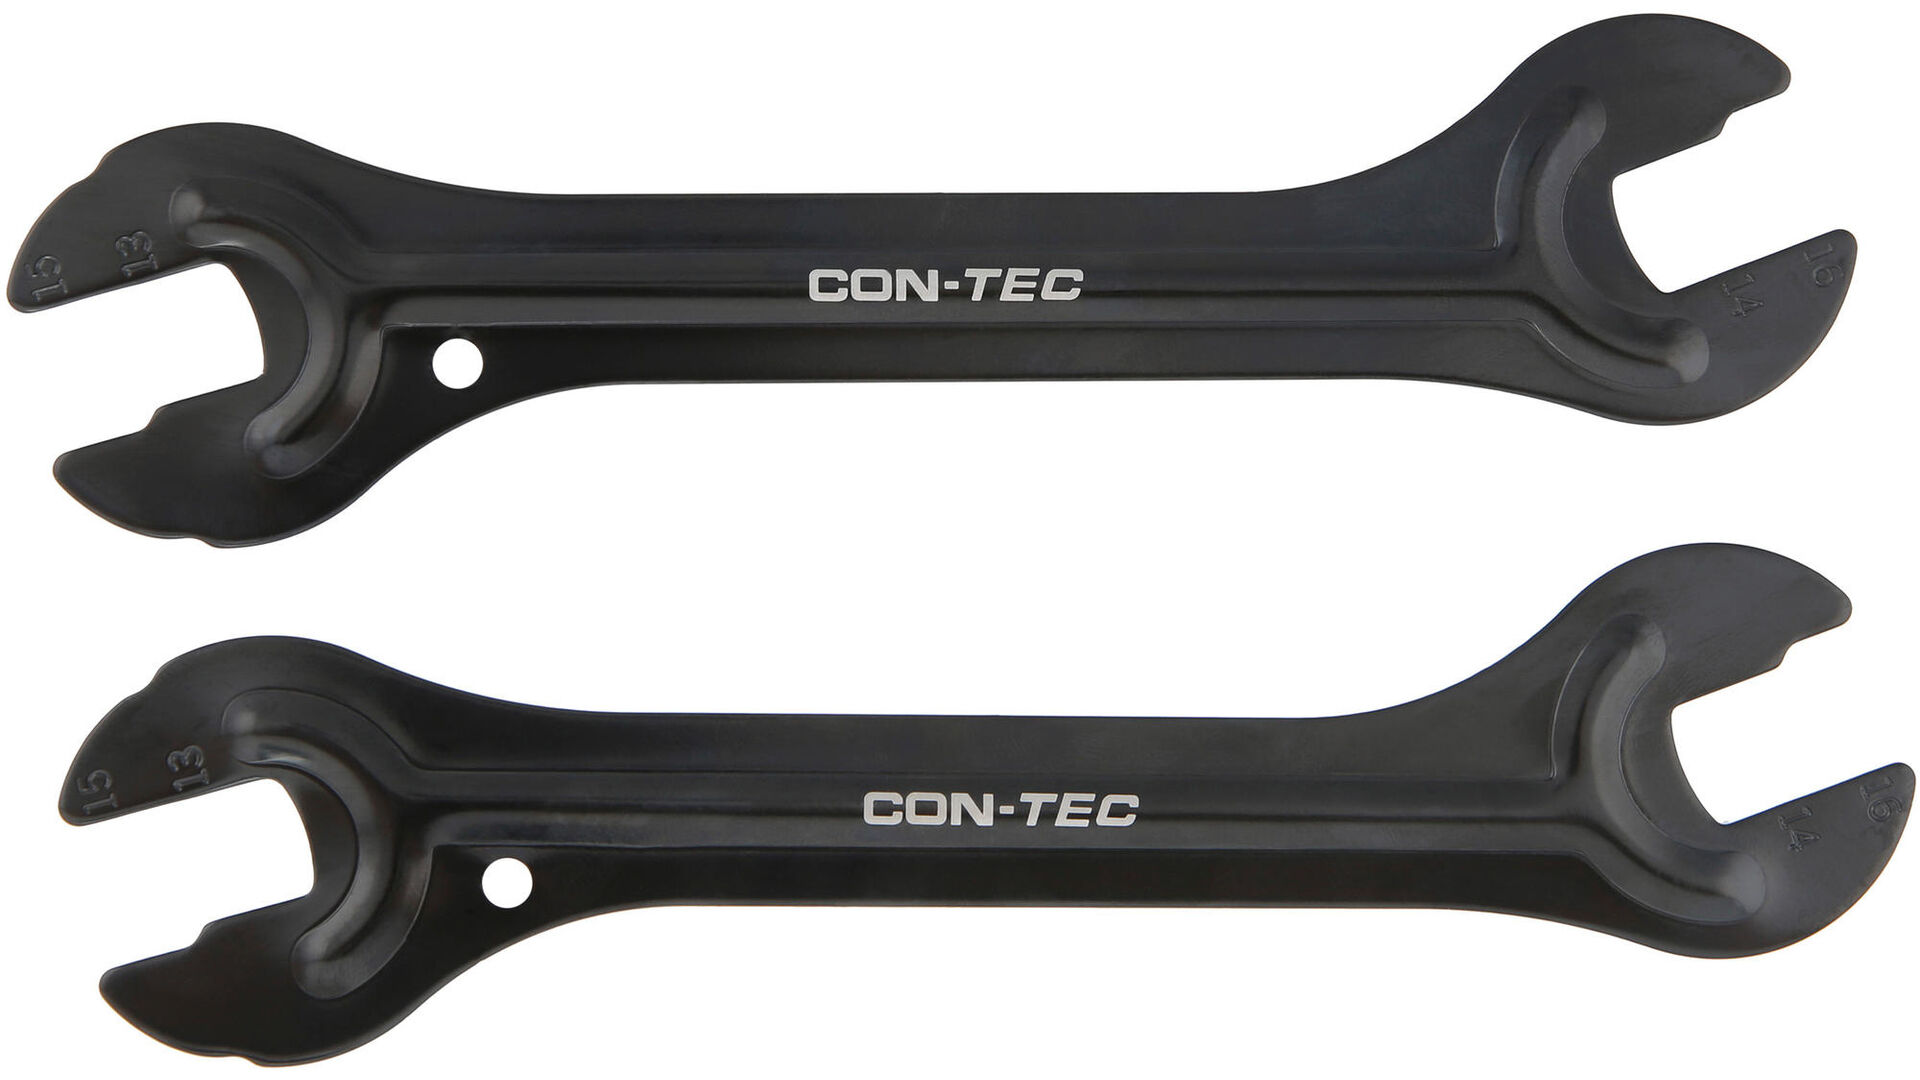
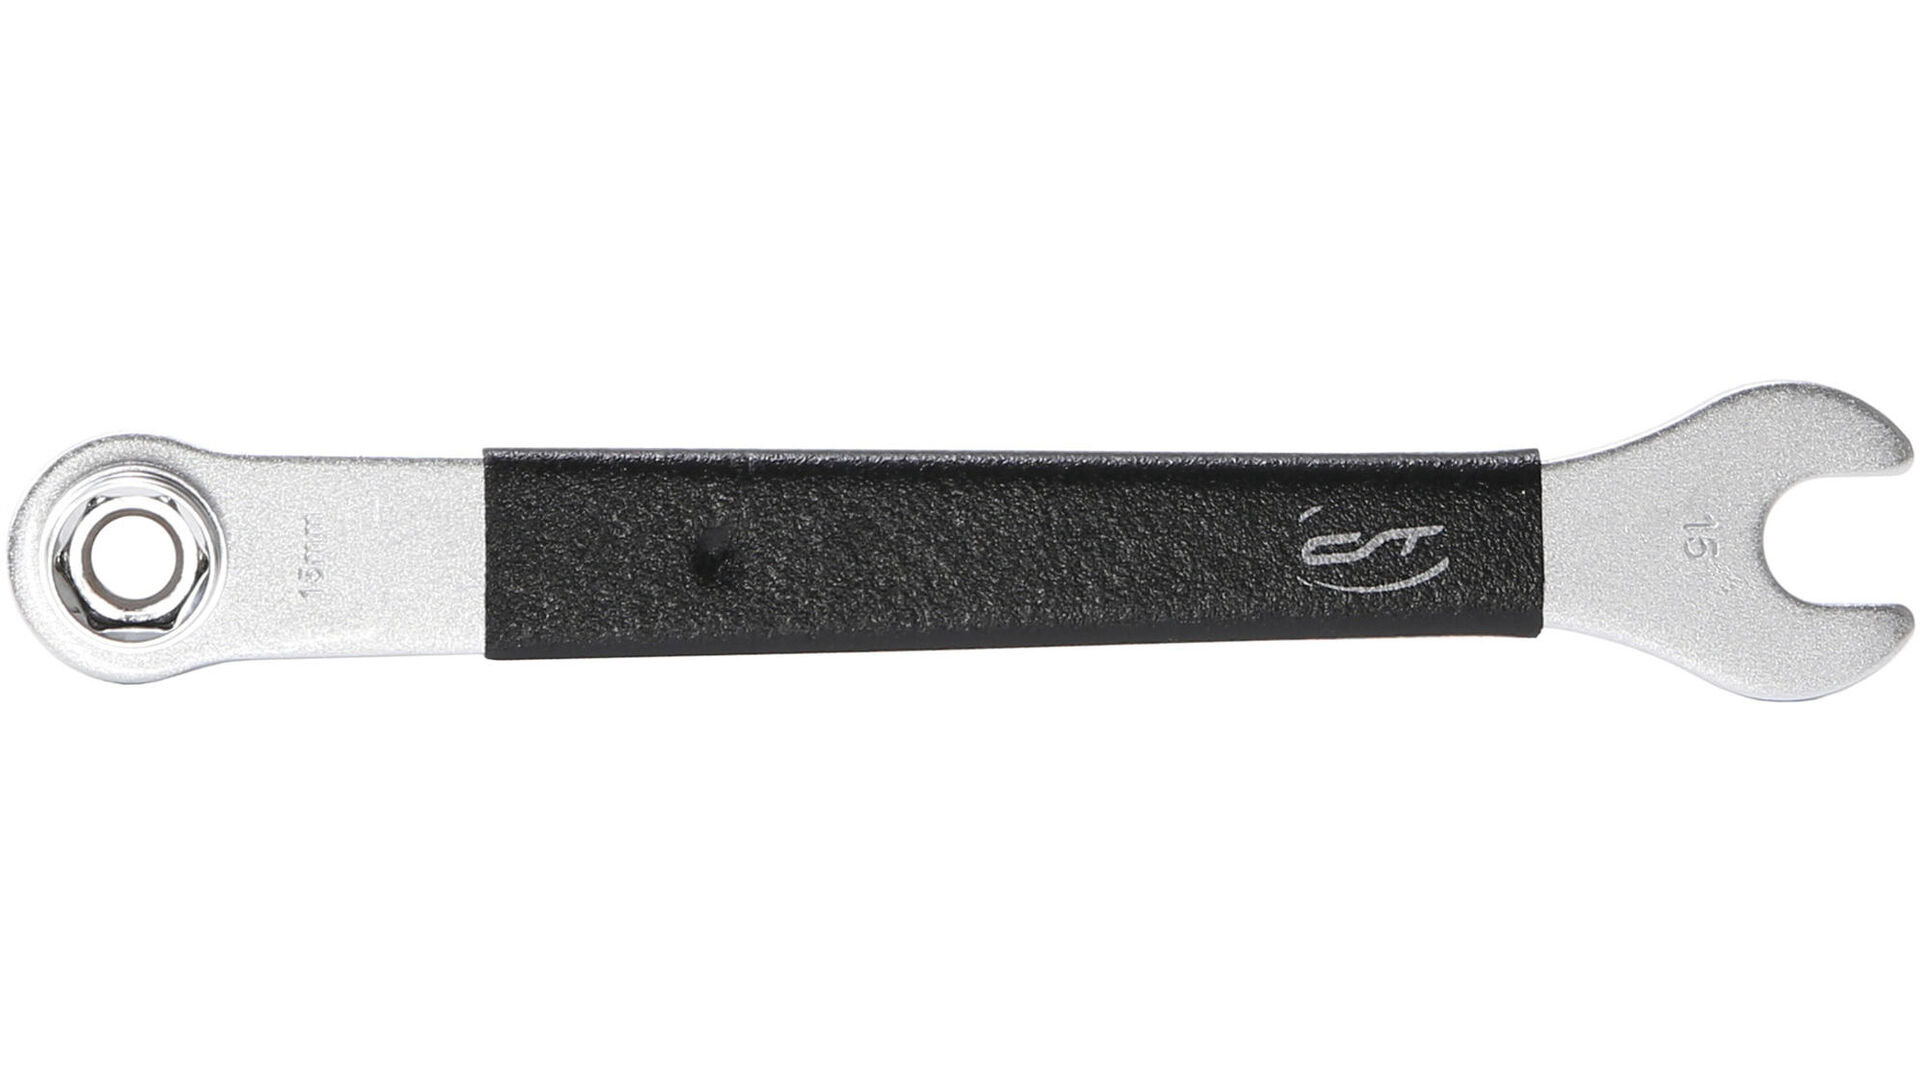
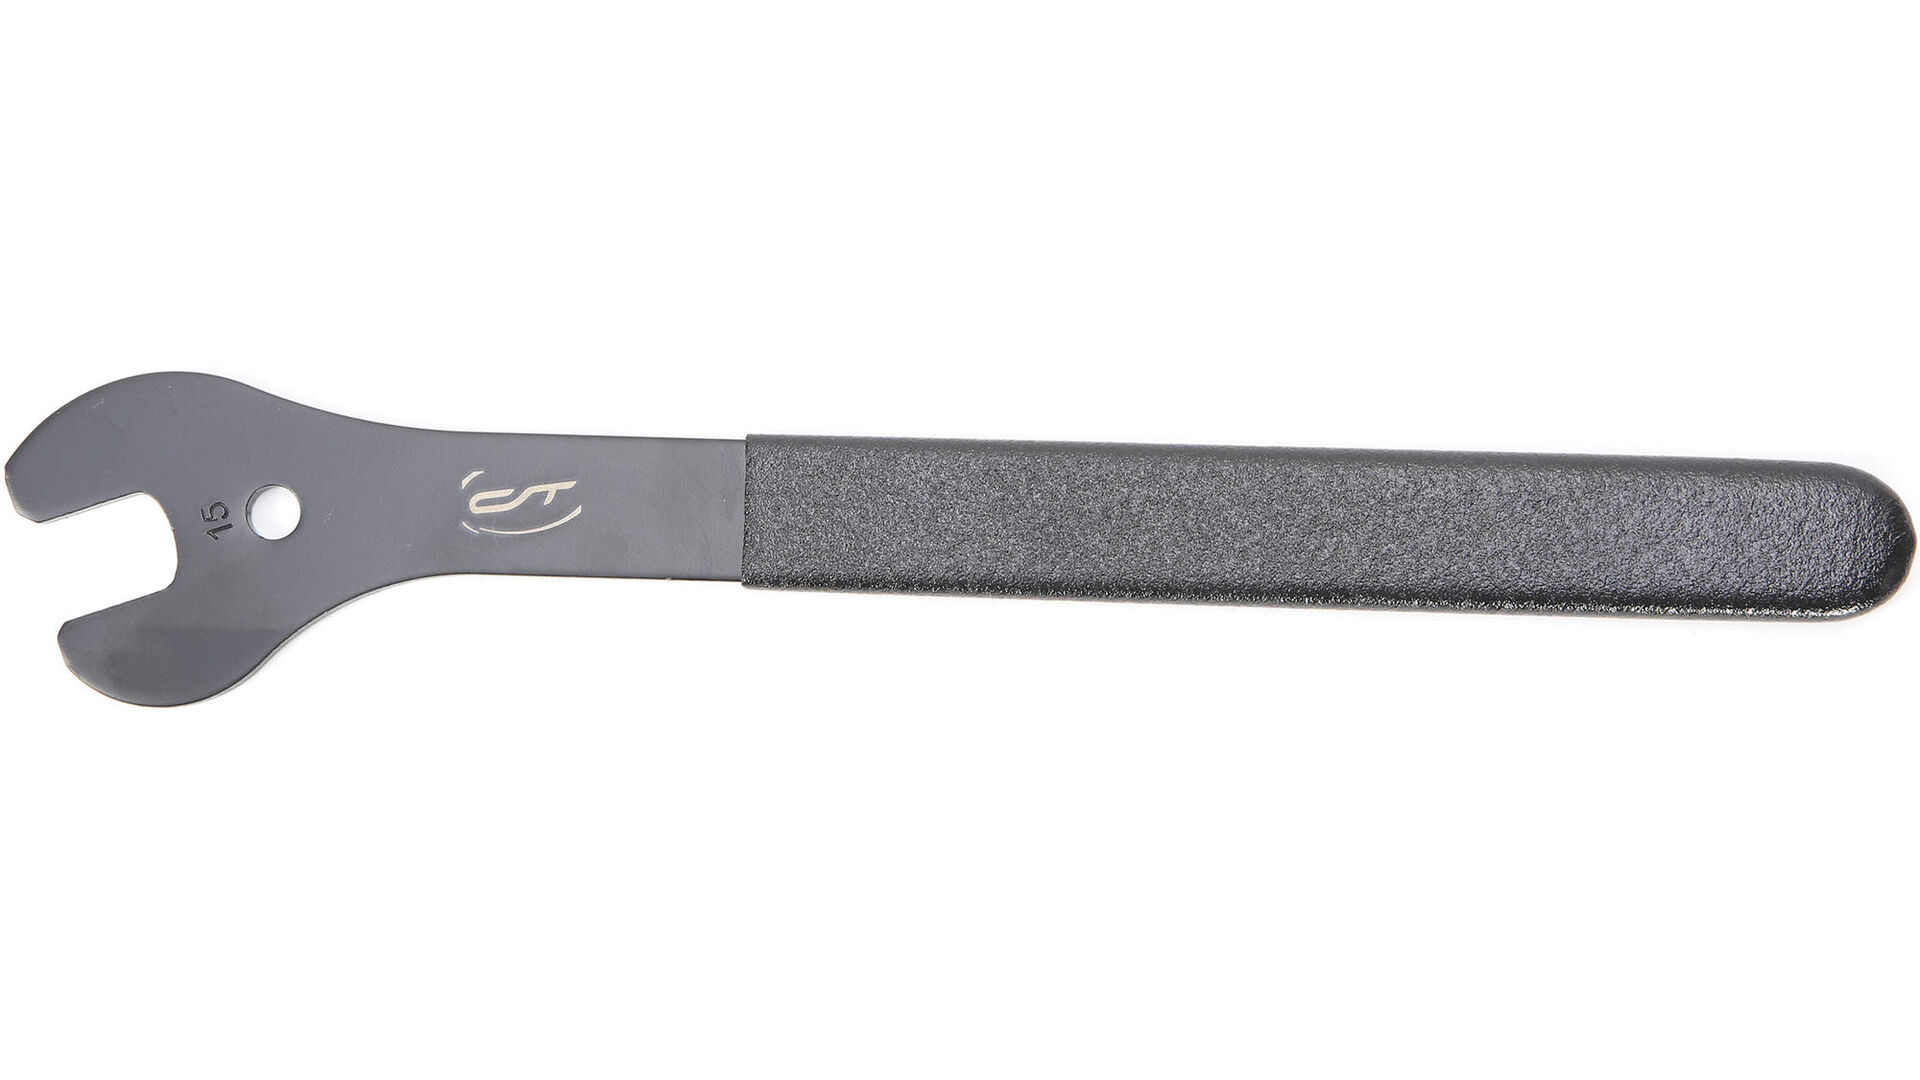
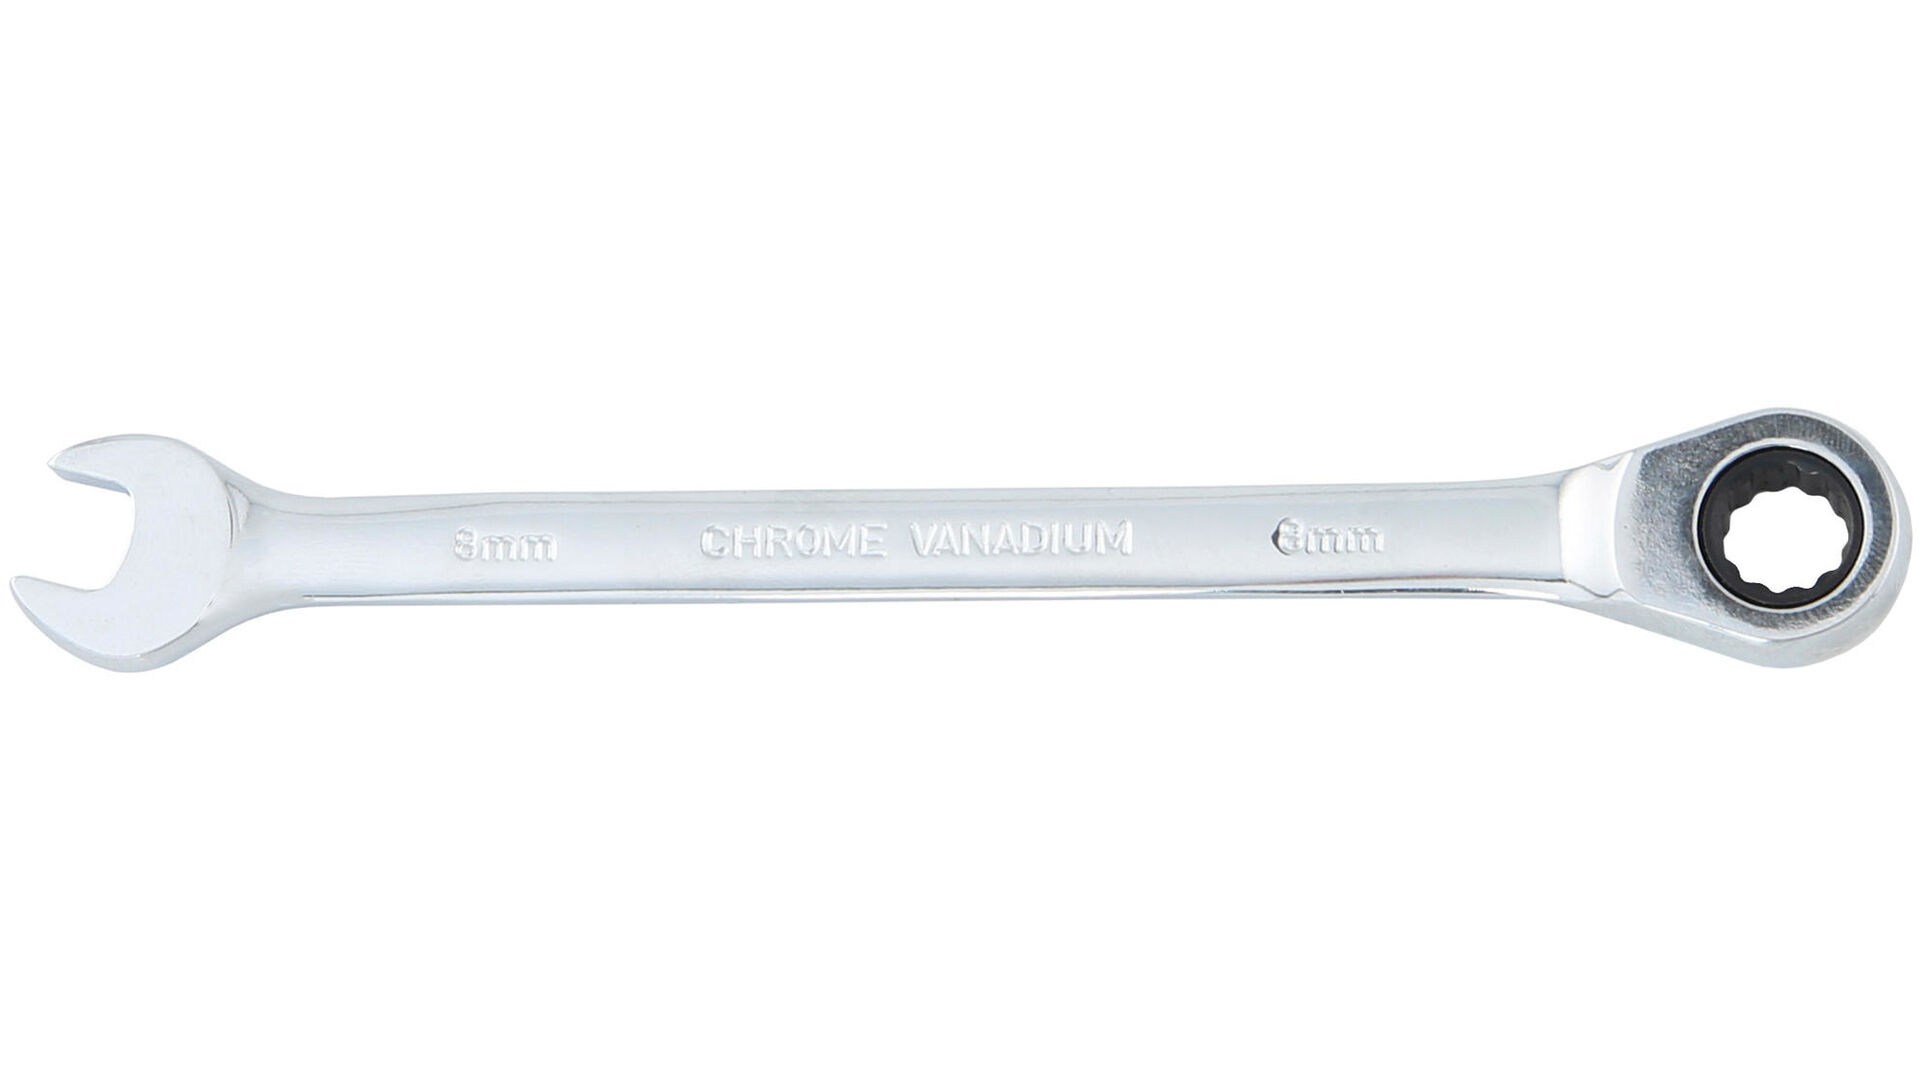
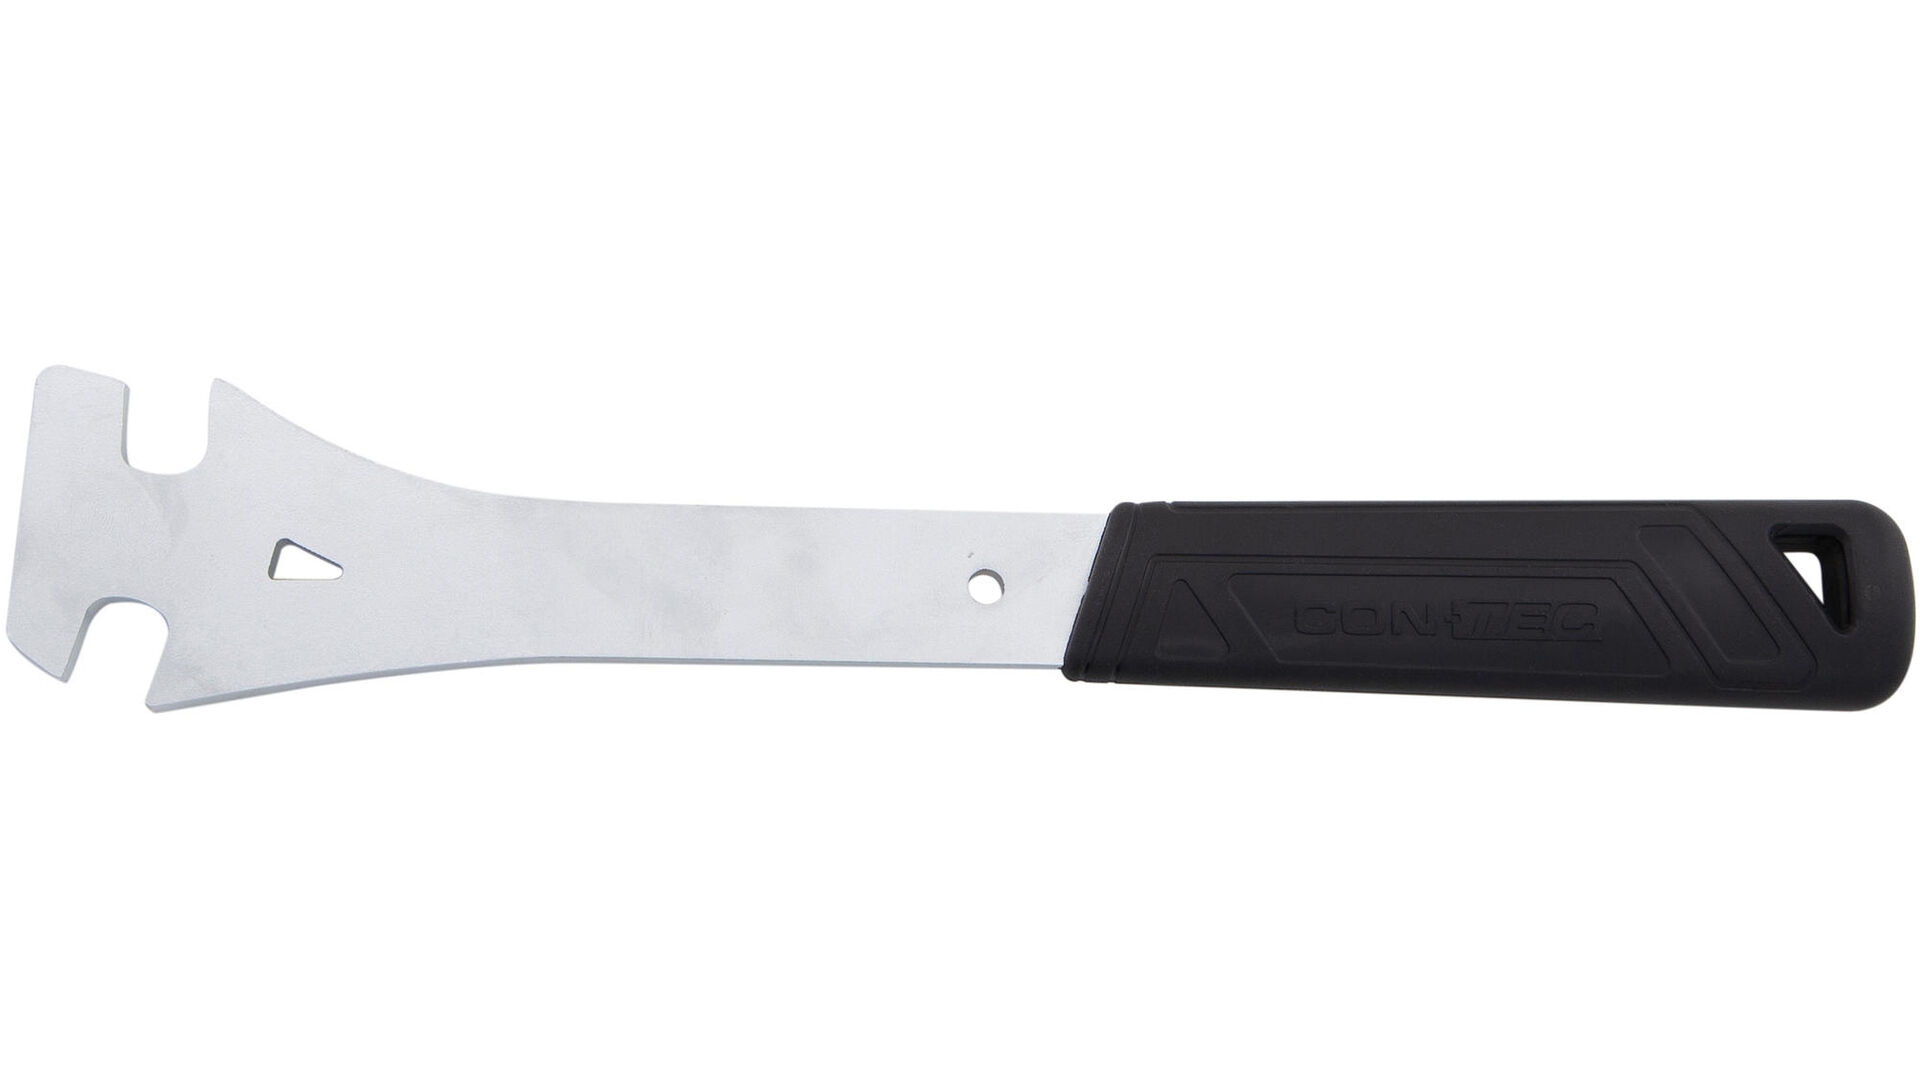
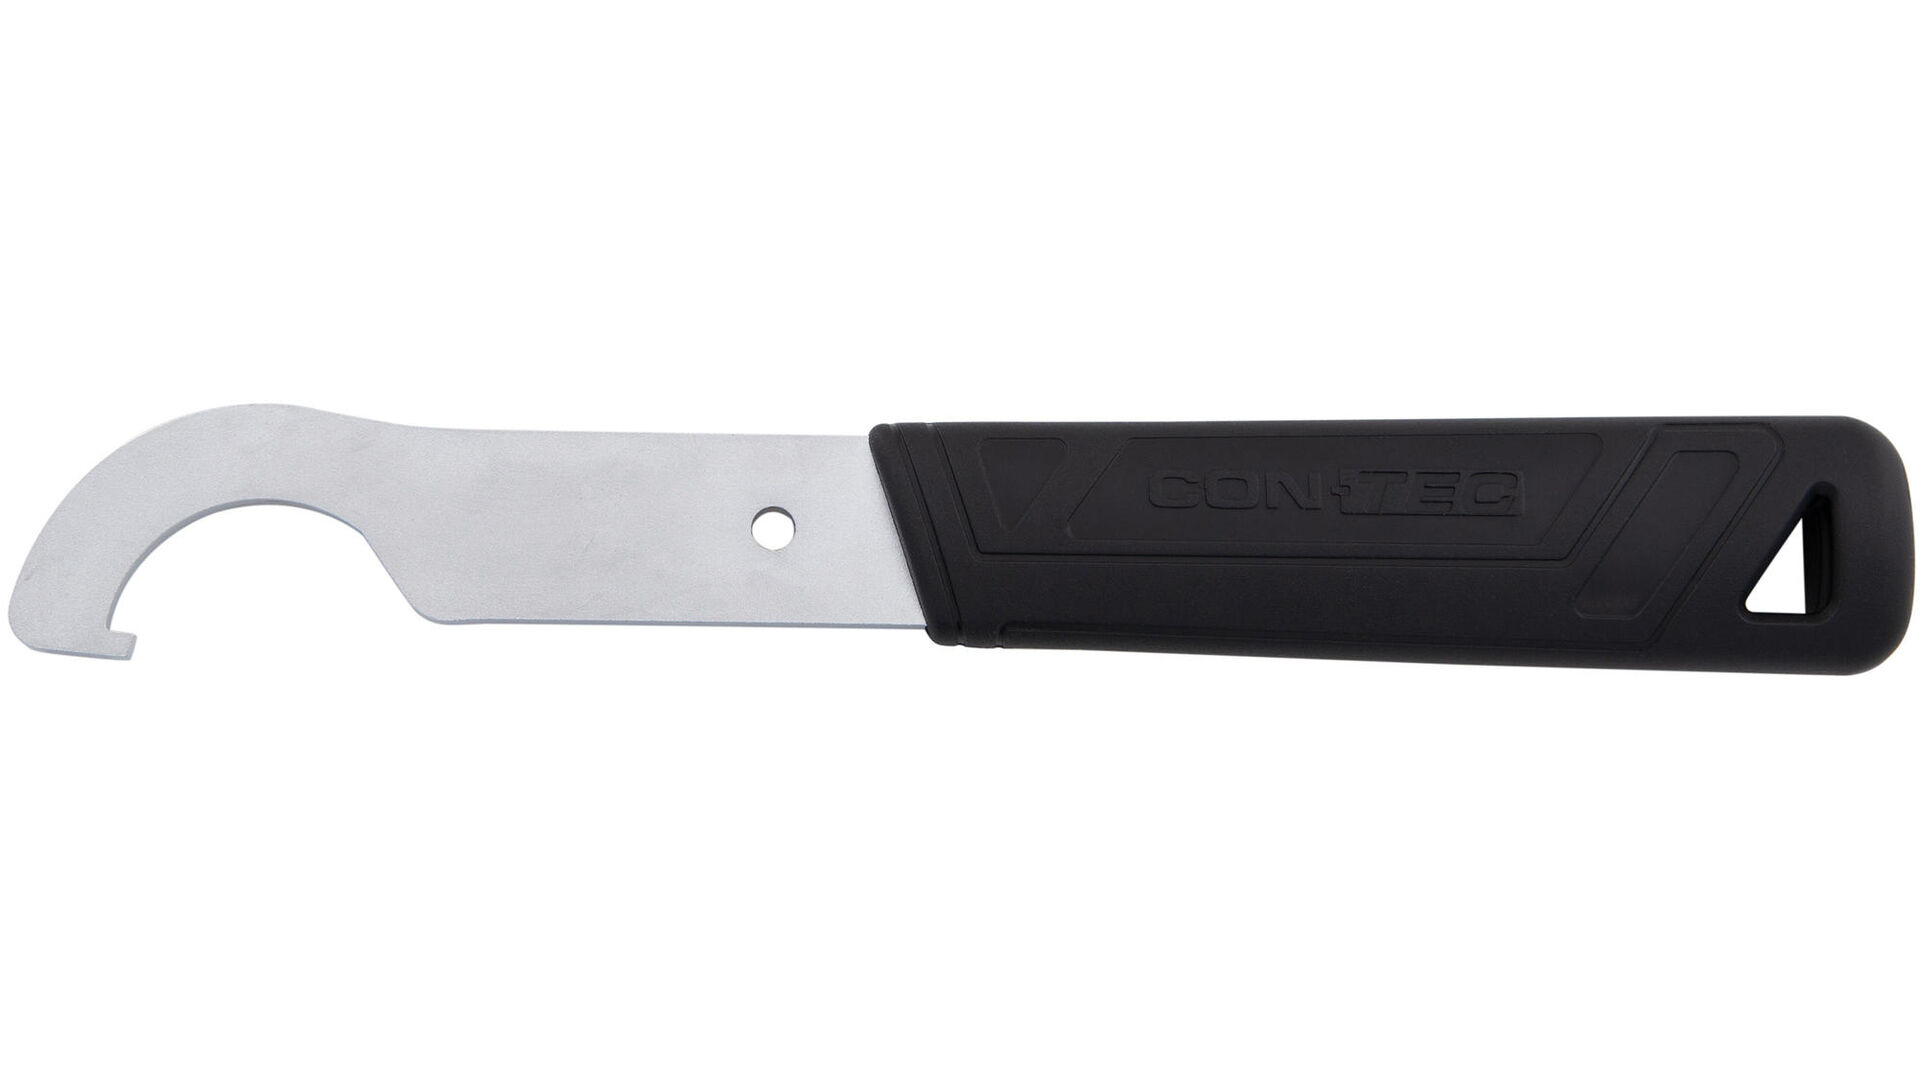
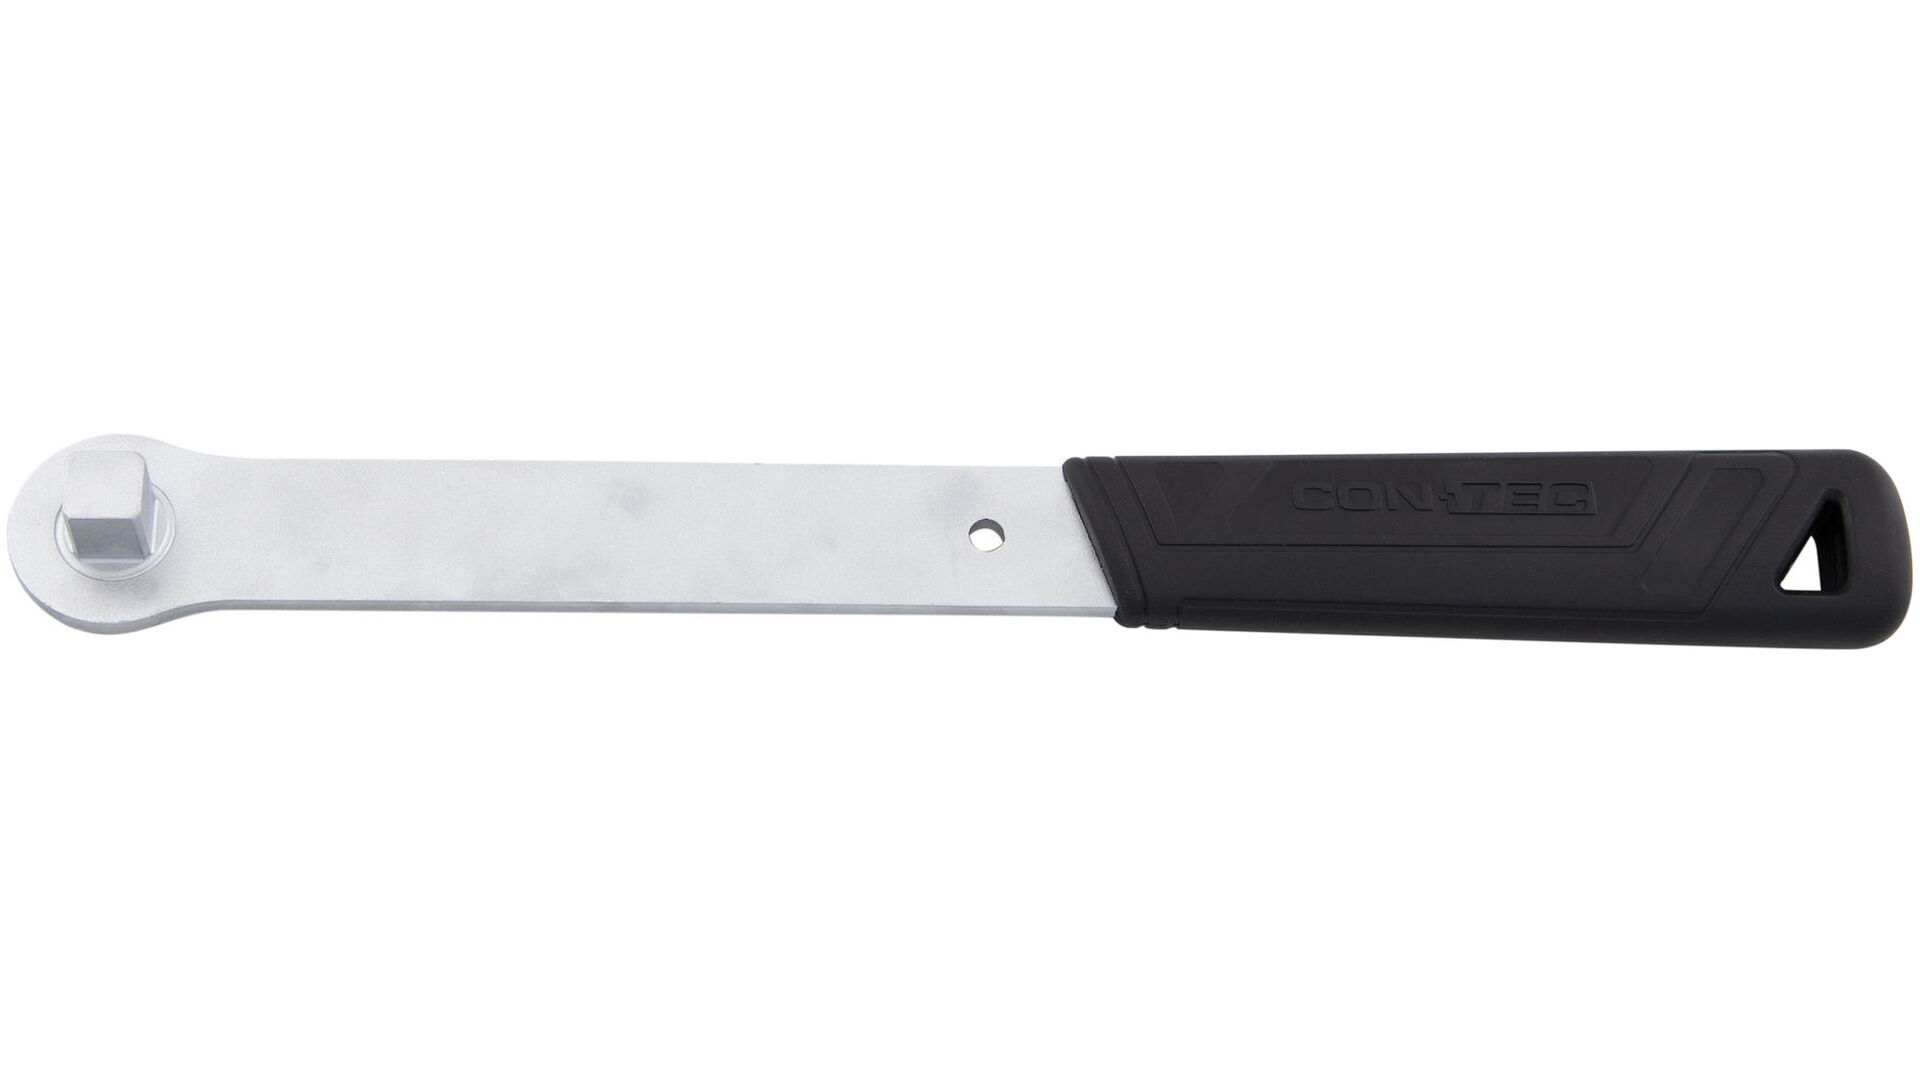
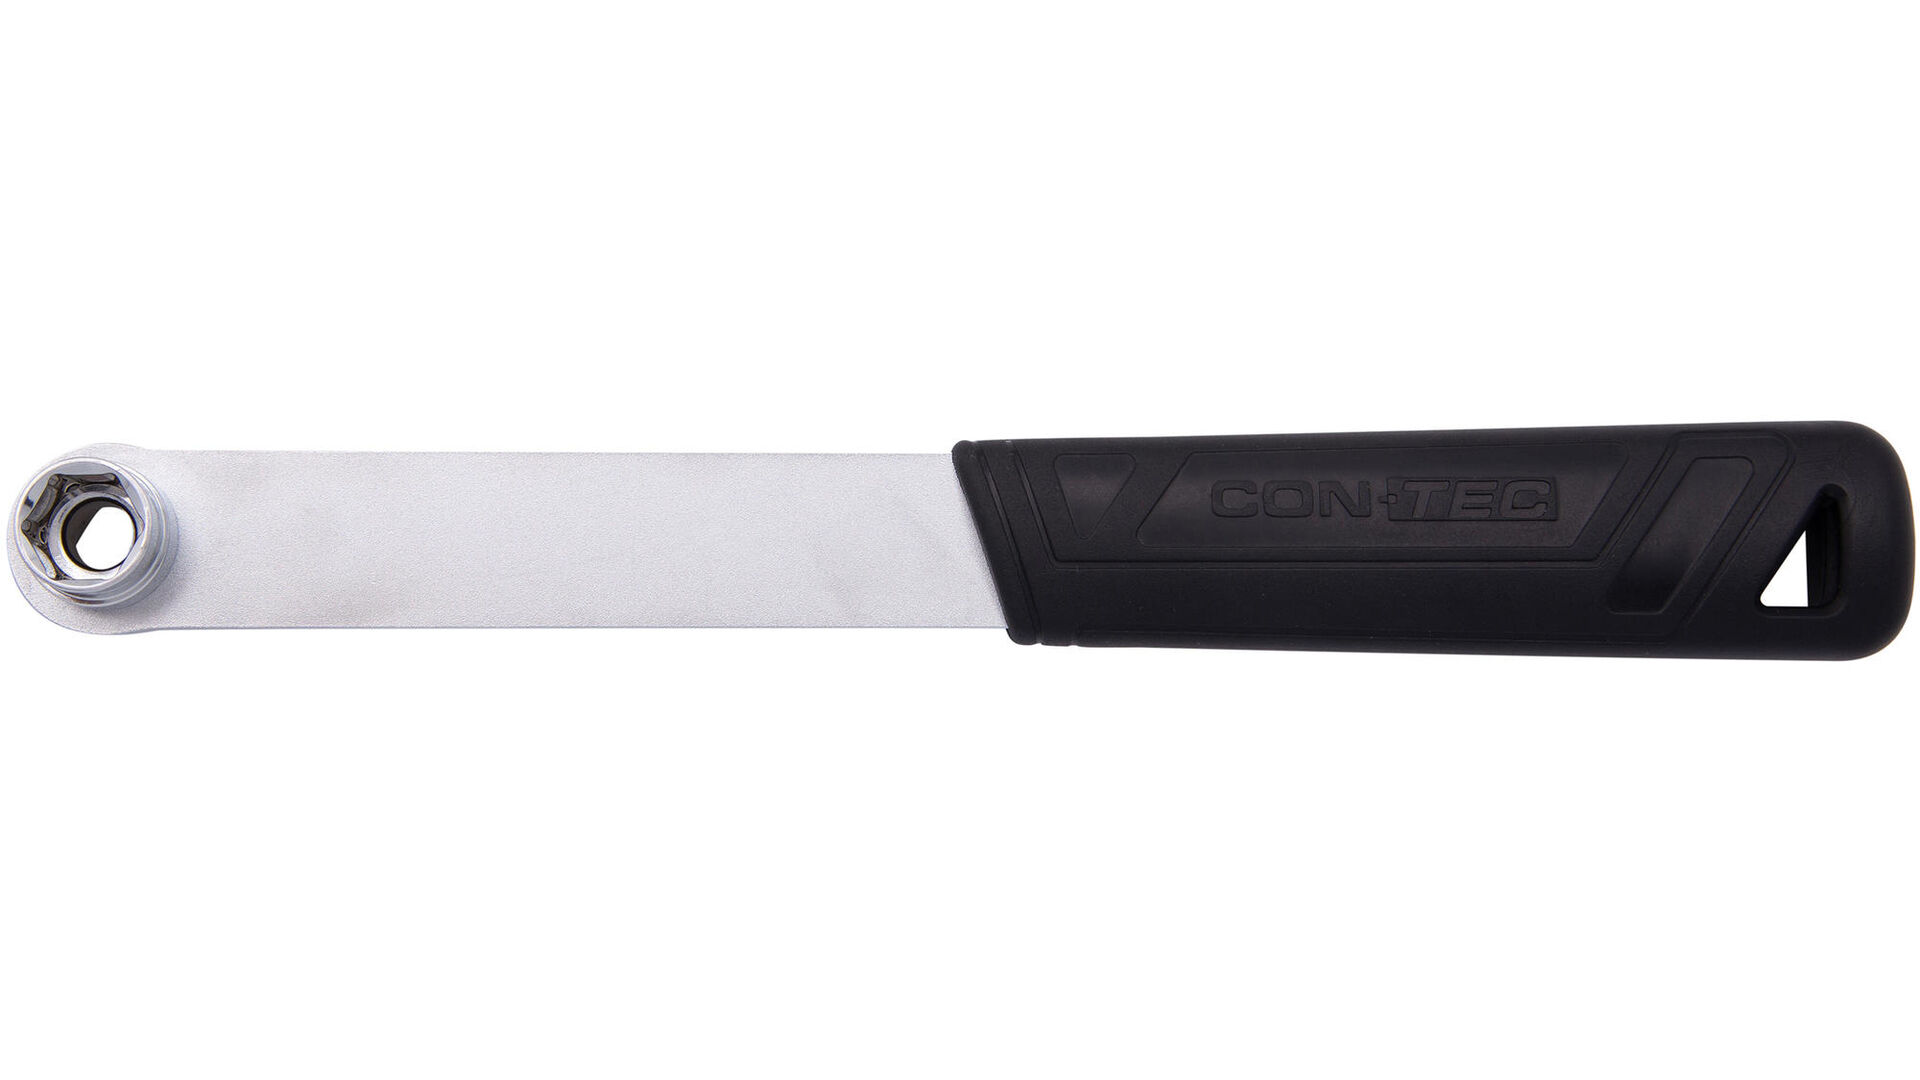
- 15 mm ring spanner (2 pcs.)
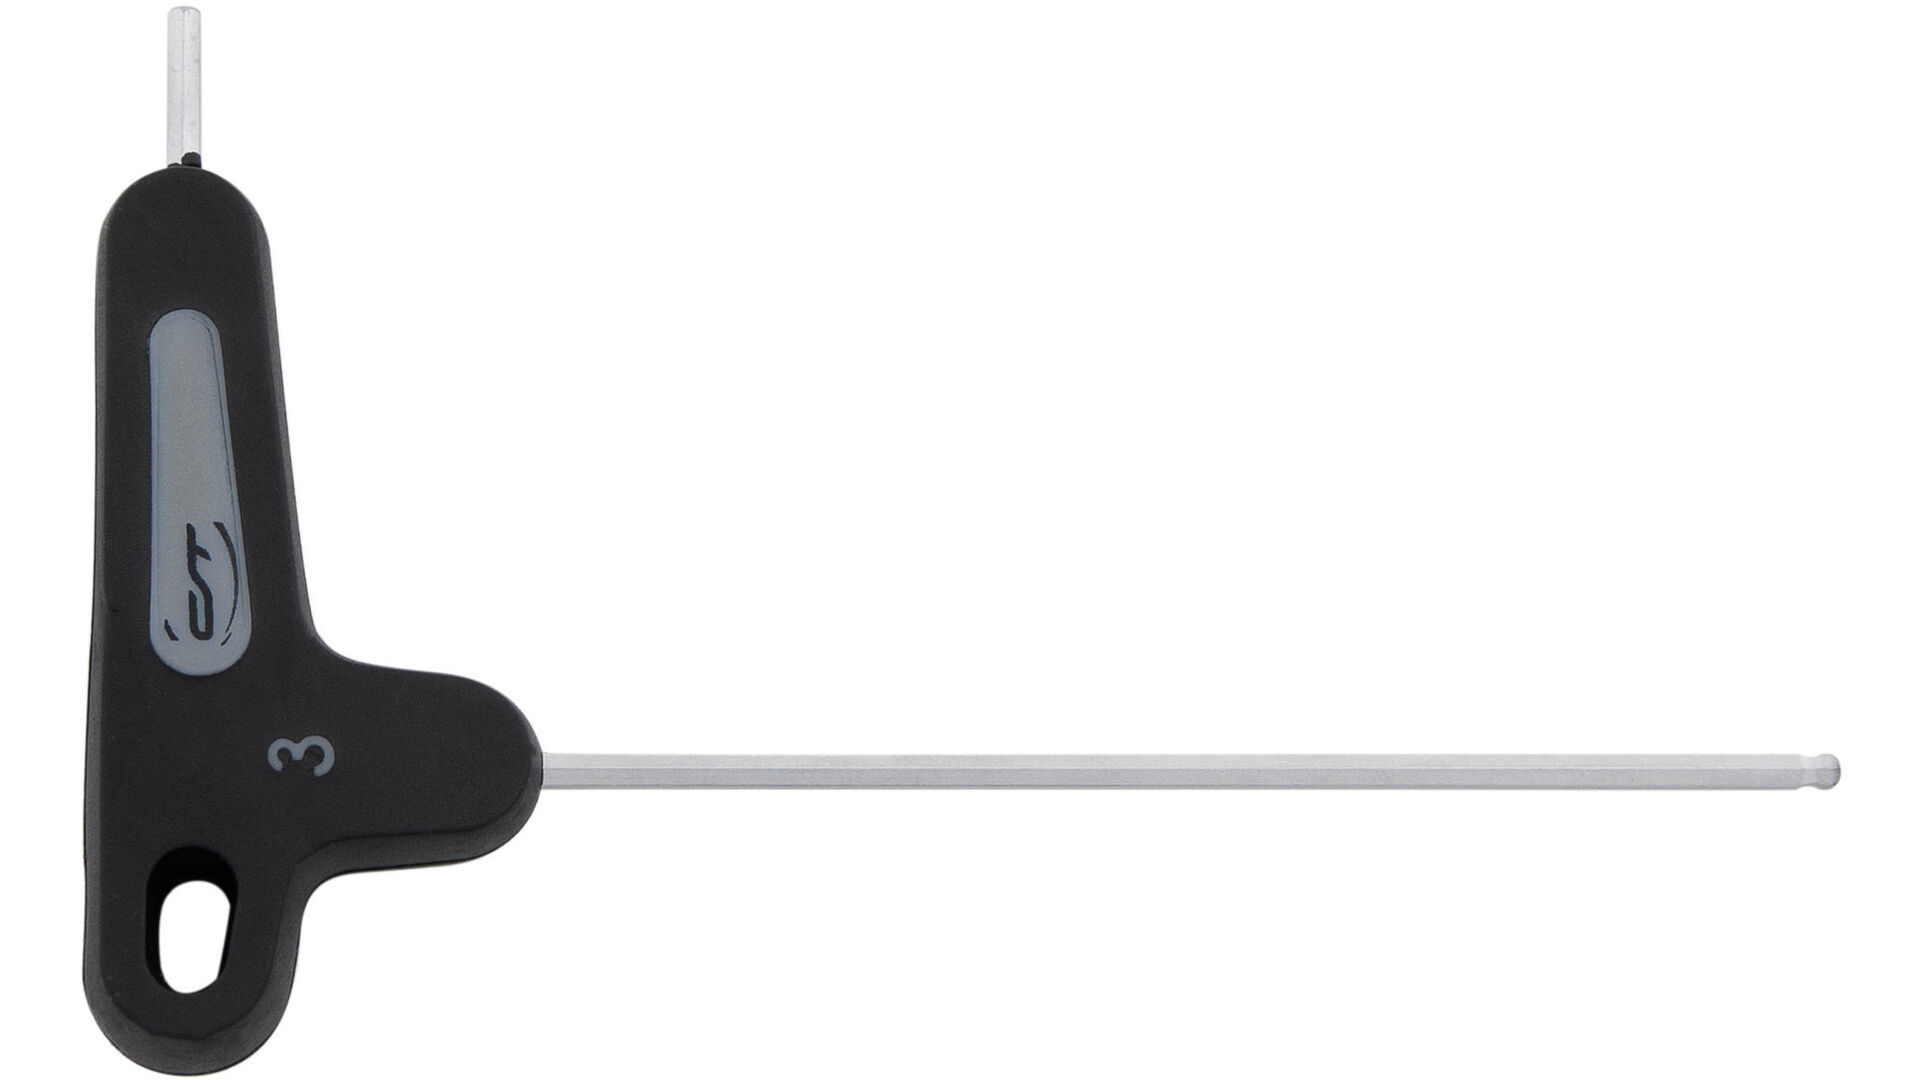
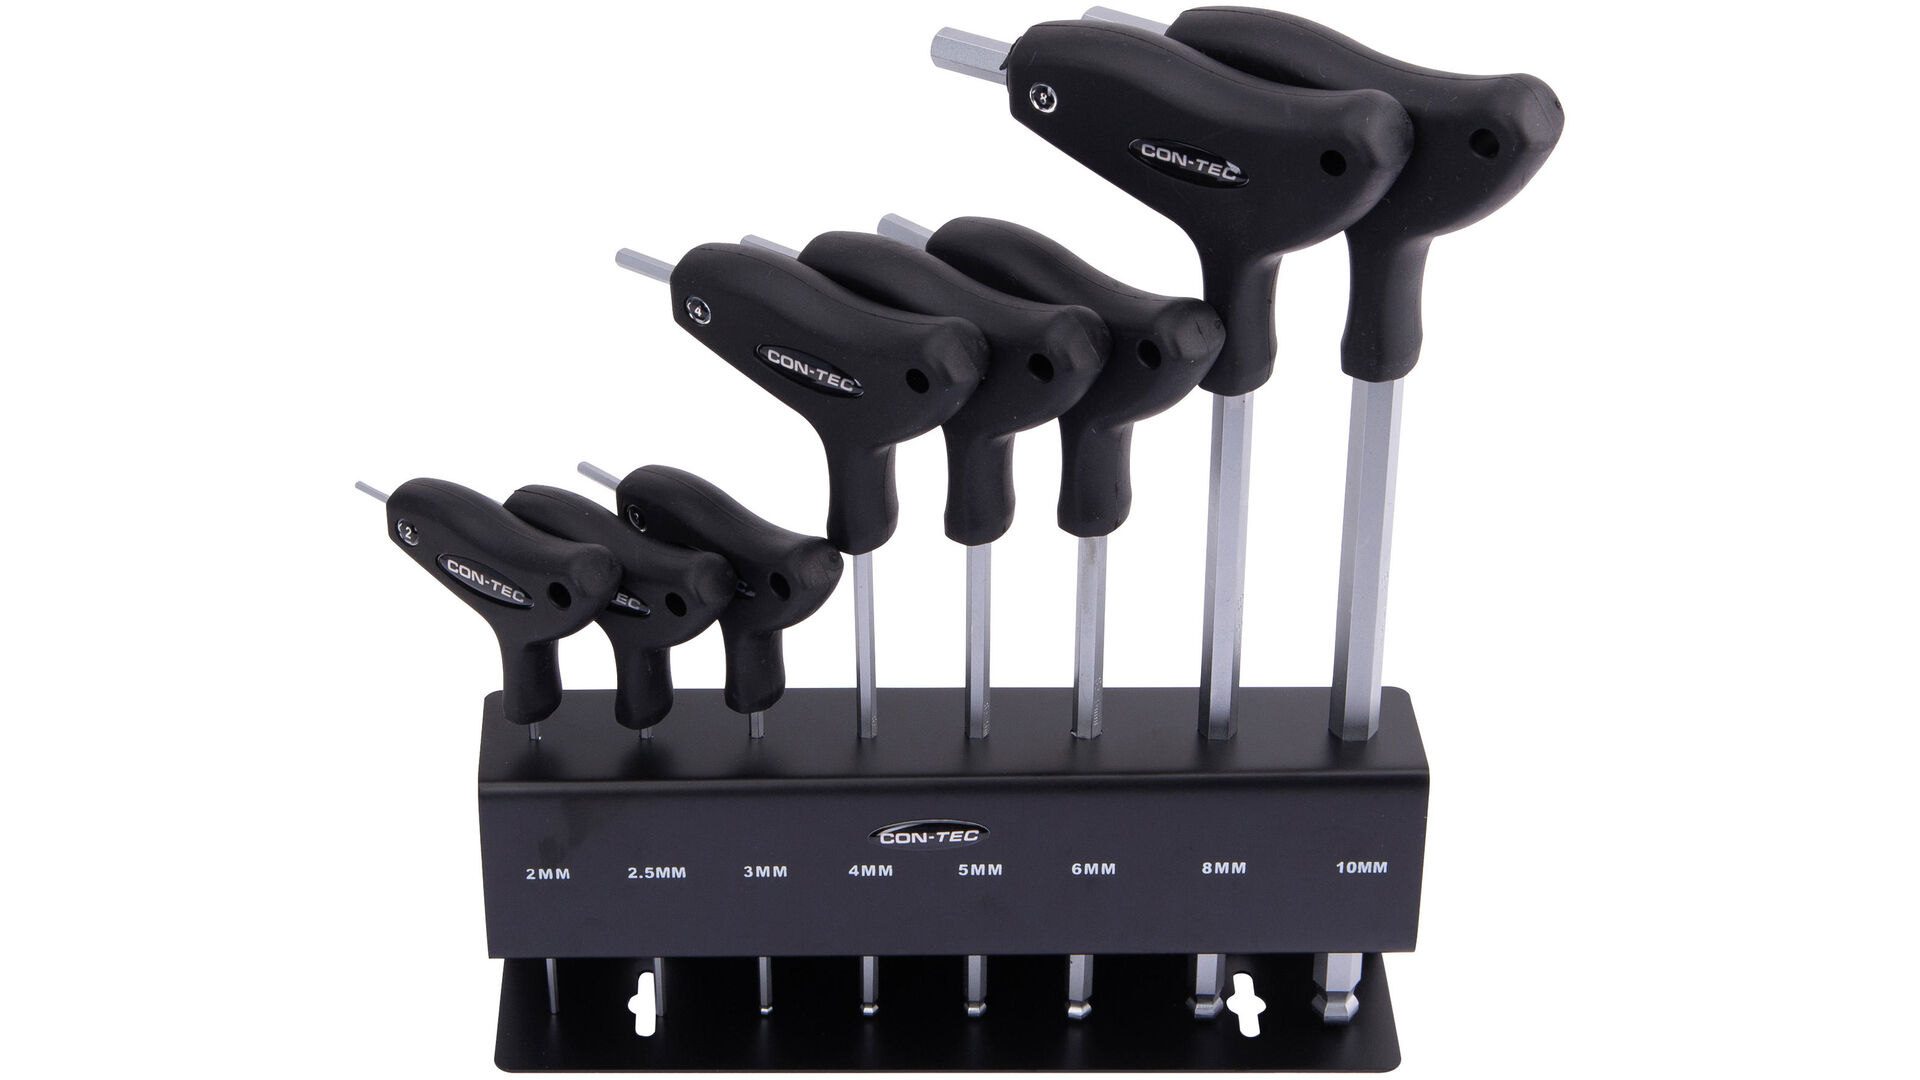
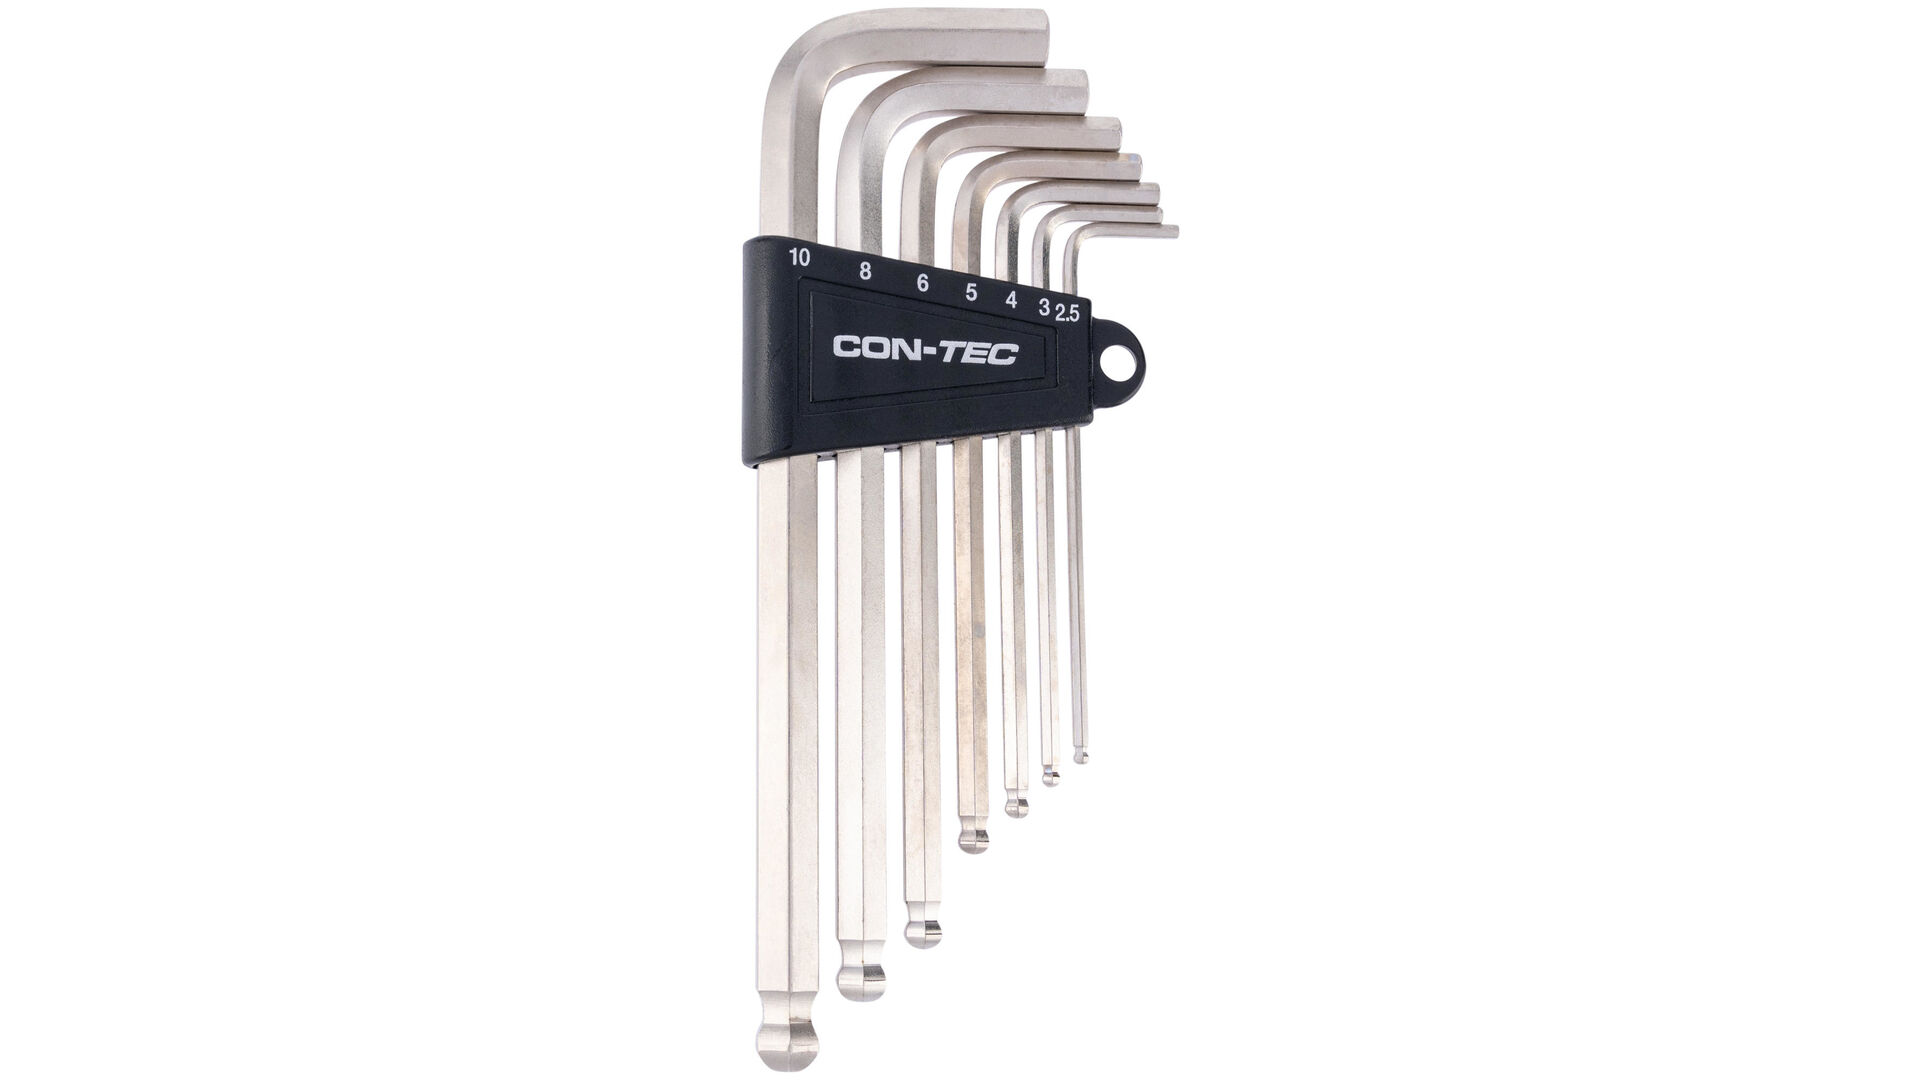
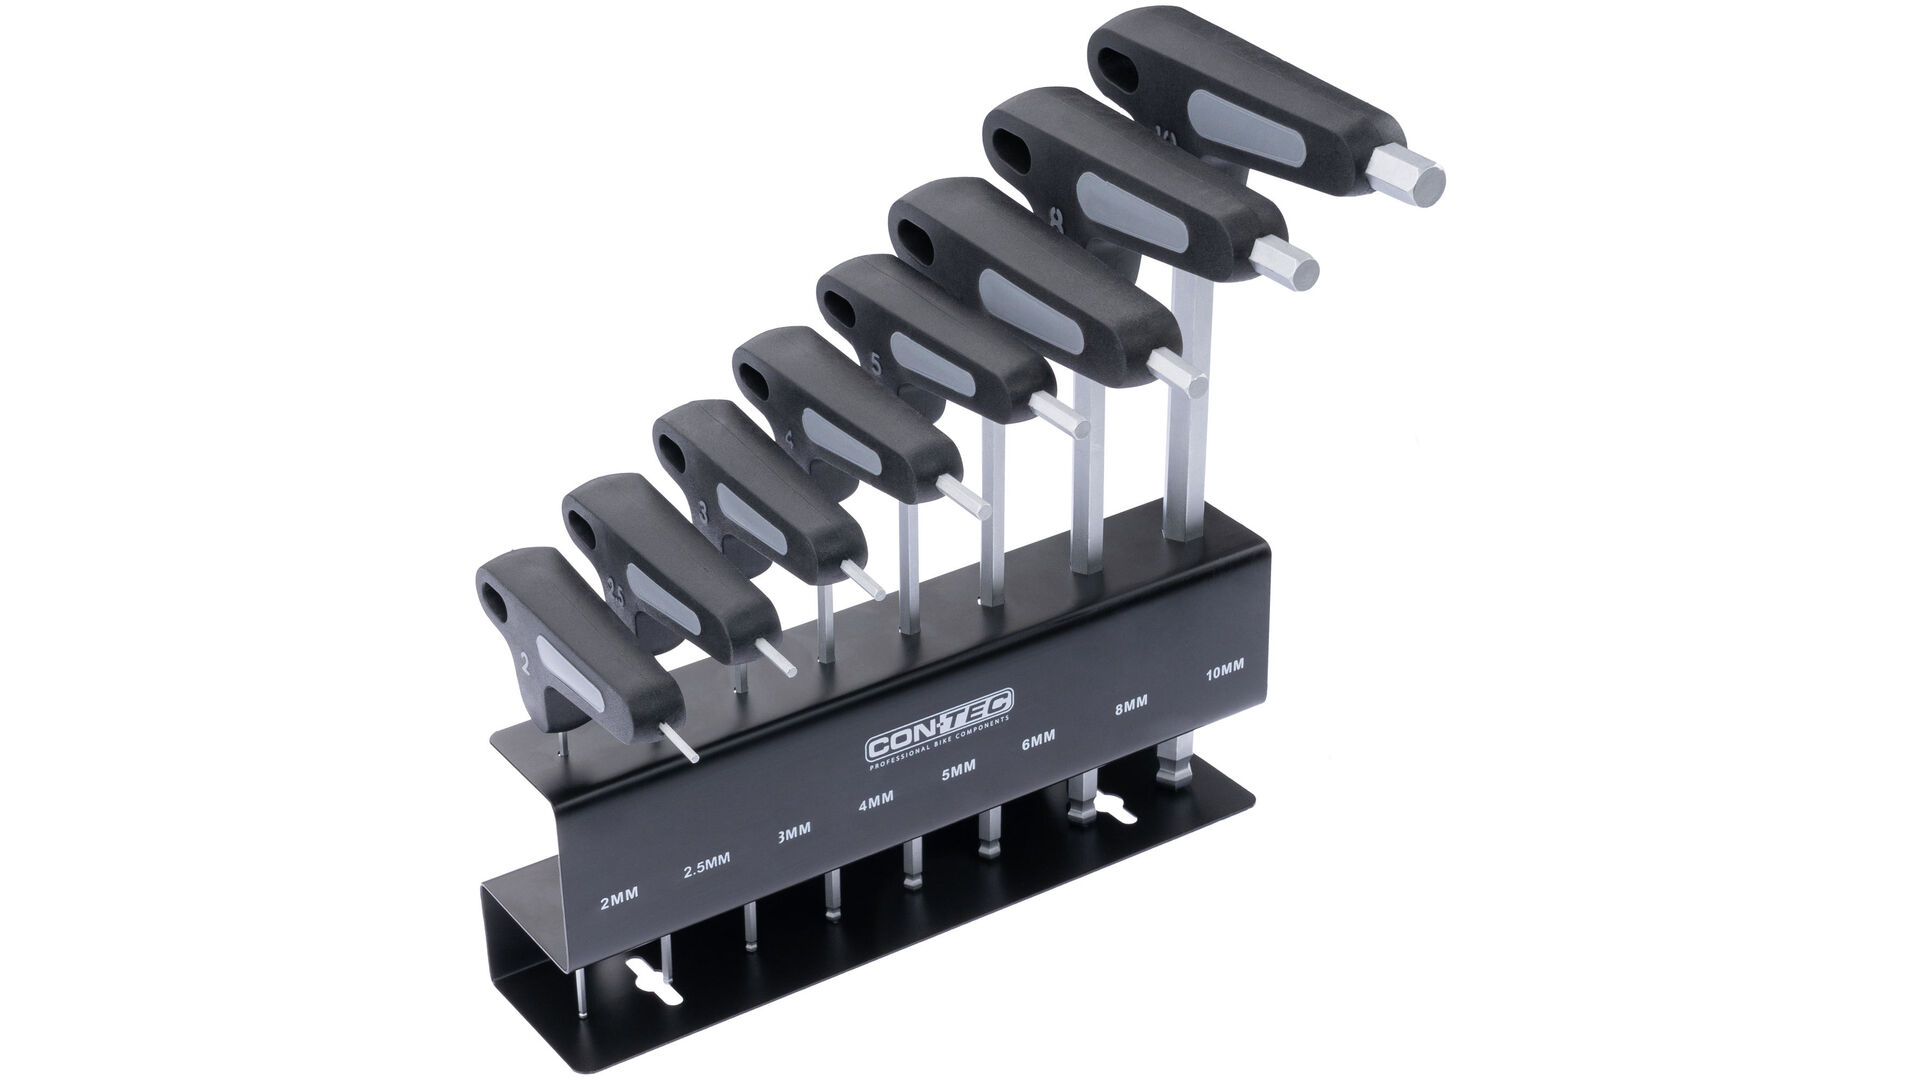
- 2 mm inside hexagon wrench
- Plastic protective goggles (can be found at hardware stores)
- Matching ring spanner & hexagon socket (for braking torque support)
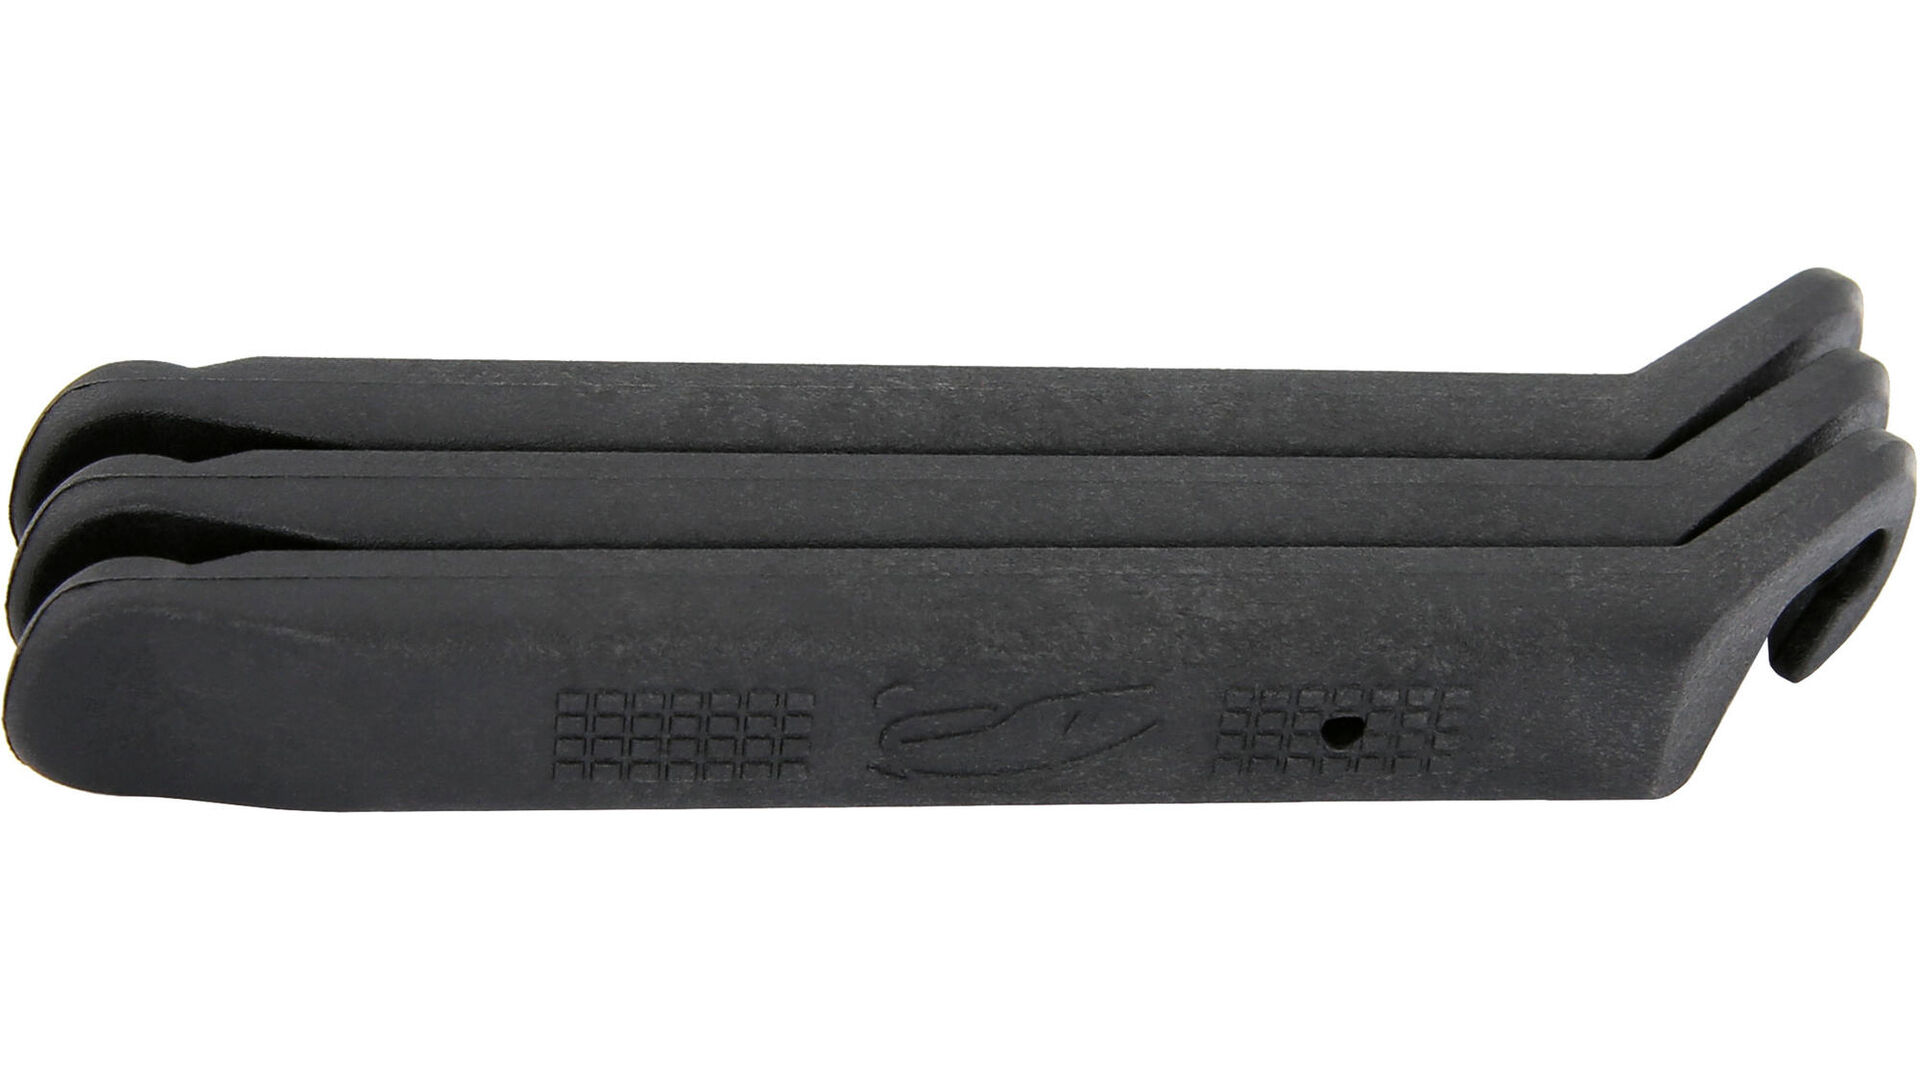
- 2 flat-tip screwdrivers
- Hammer with plastic head
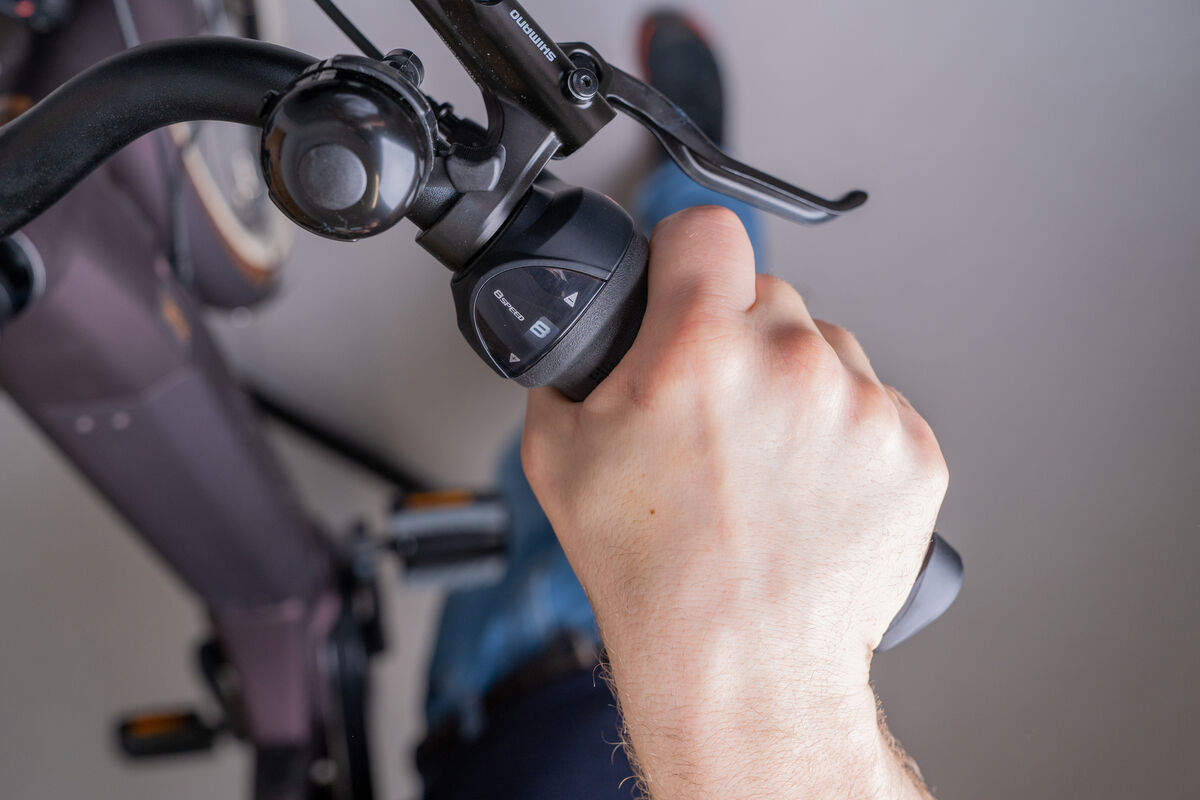
First you have to determine whether the shifter cable on your gear hub runs above or below the hub. That’s because in order to unhook the shifter cable, you first have to shift to the heaviest/largest gear on a gear hub model where the cable is laid above the hub. For a Shimano hub where the cable is laid below the hub, you have to shift to the first, i.e. the lightest, gear. And to work easier on the bike, you should place it “on its head” now, that is, resting on the saddle and handlebars. To make sure nothing gets scratched, you can simply put a piece of cardboard under each part. Alternatively, you can also use our CONTEC “Rock Steady” repair stand.
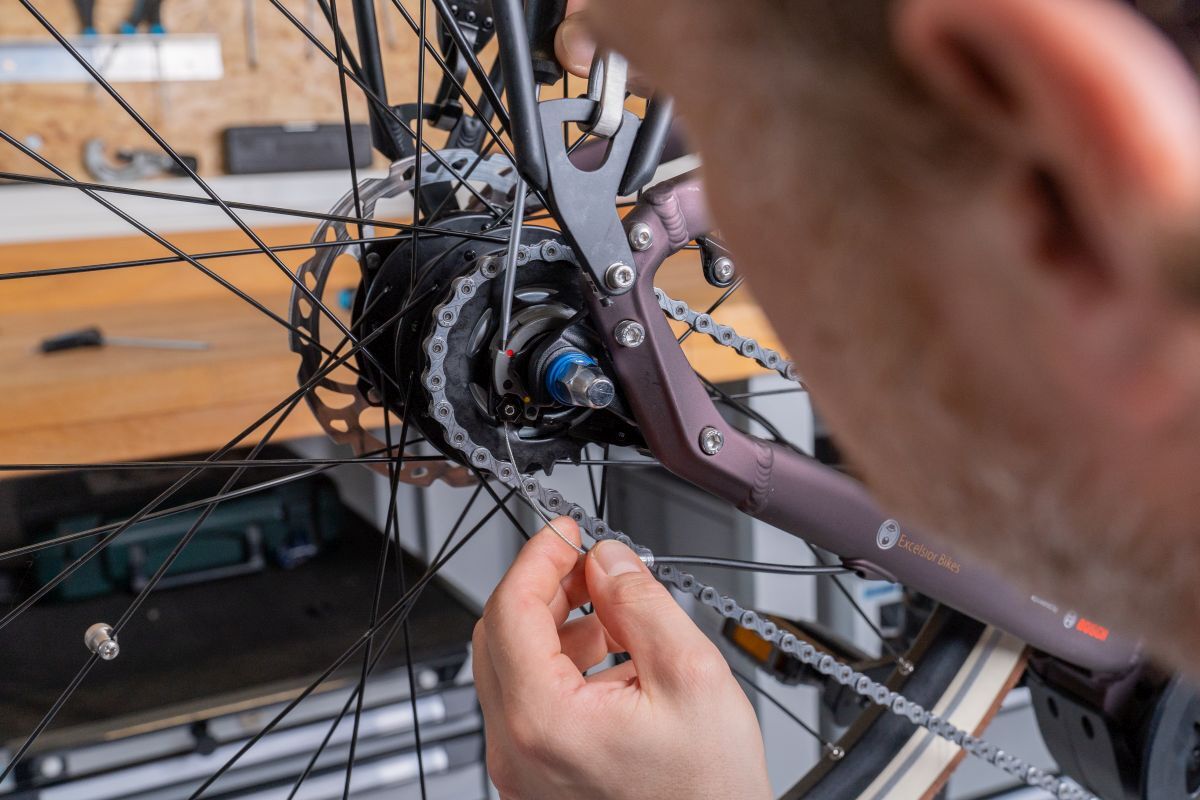
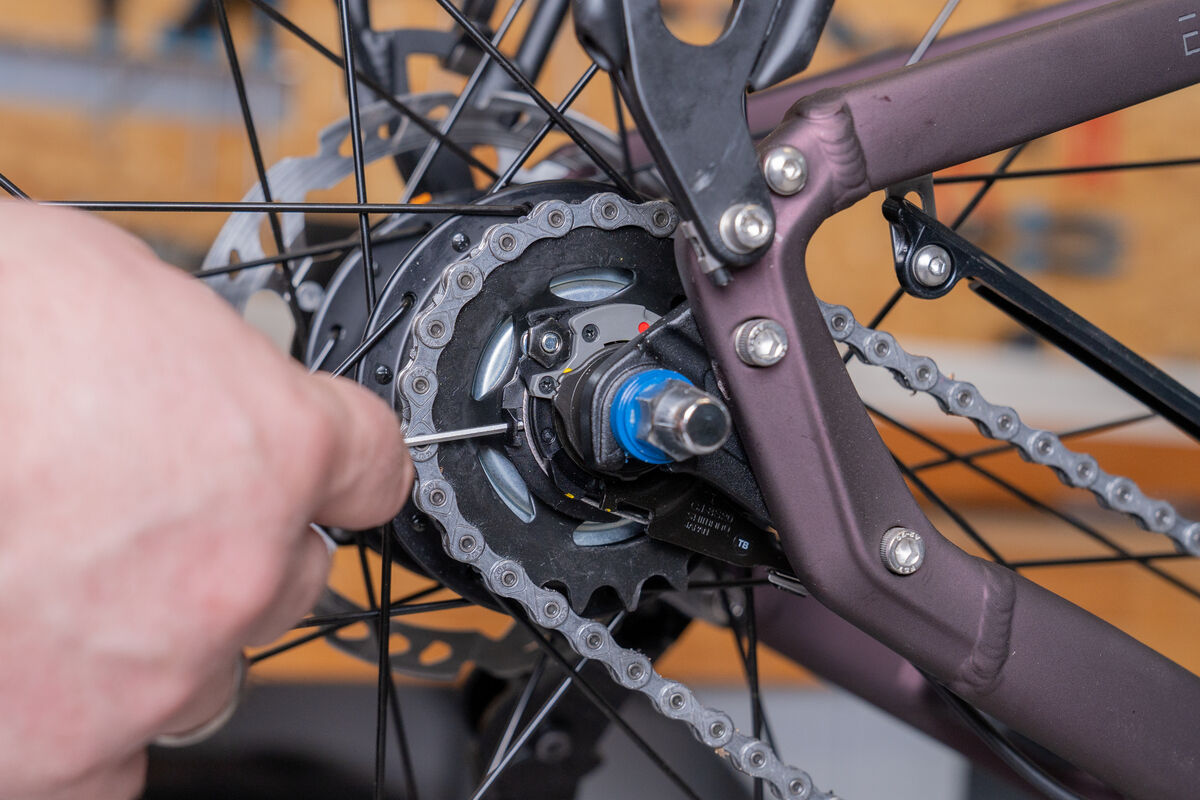
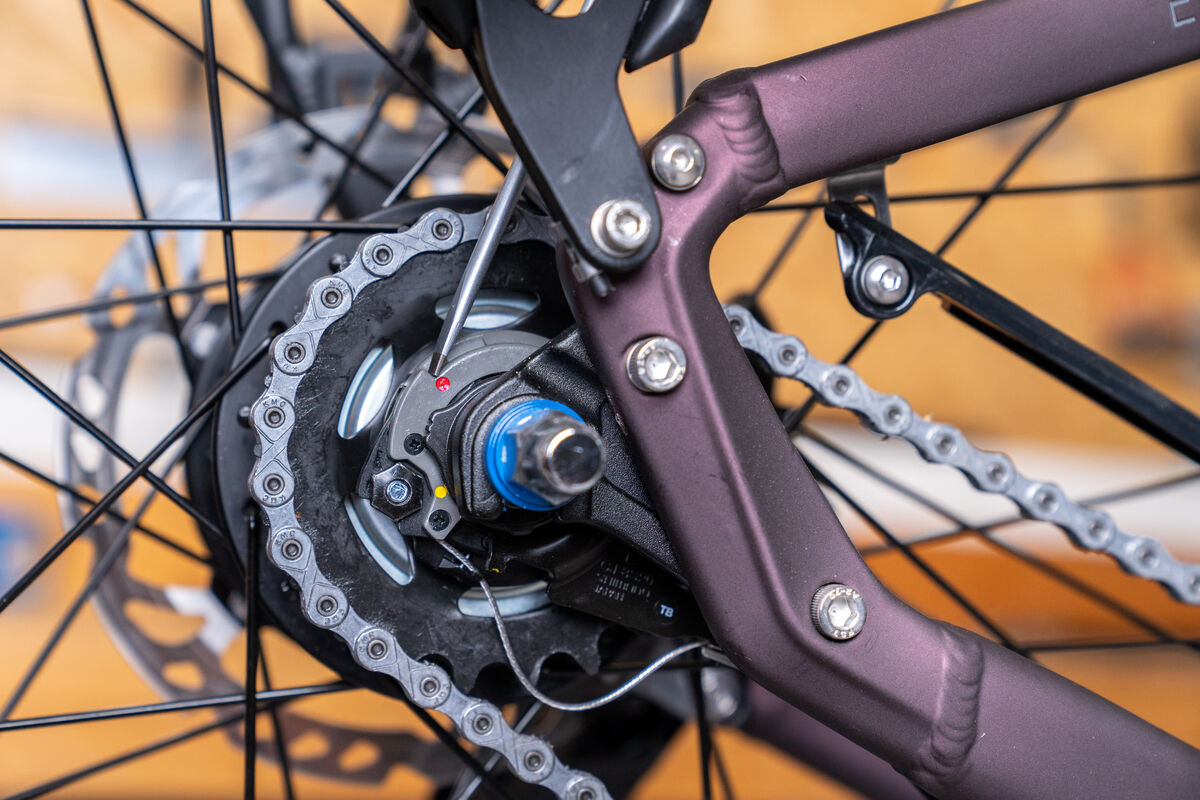
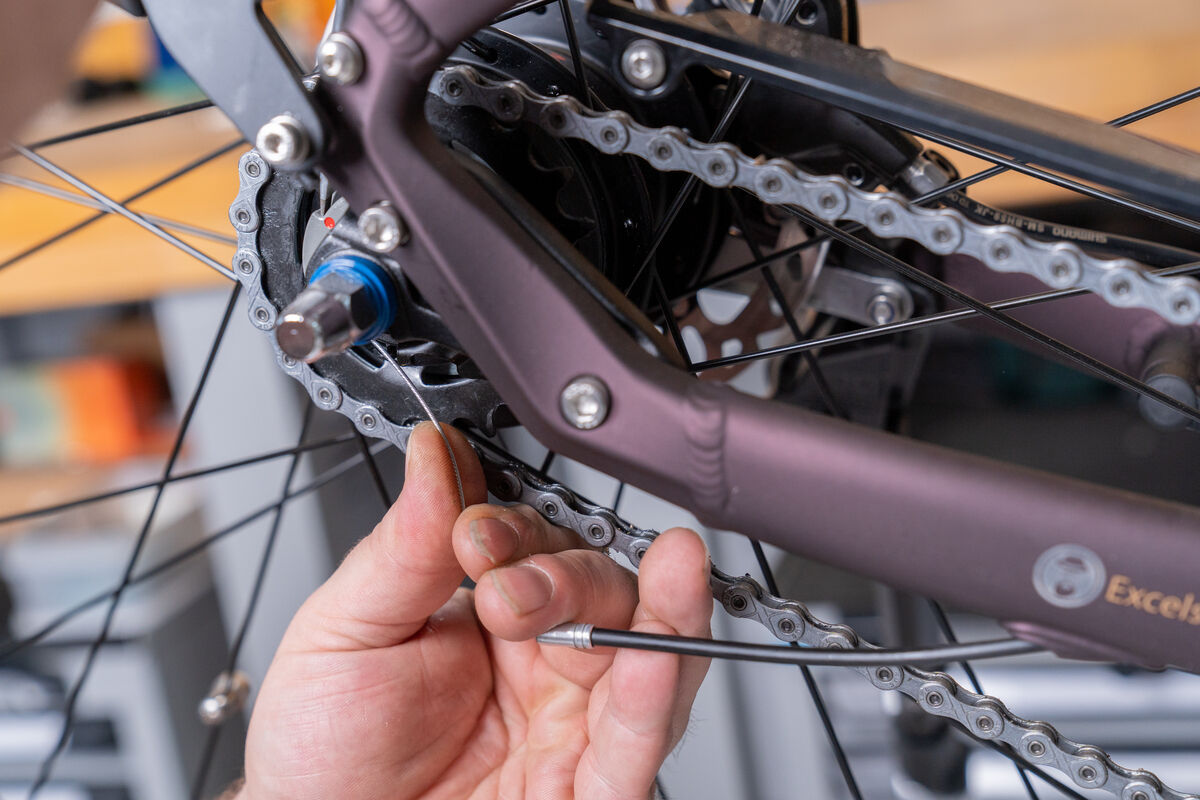
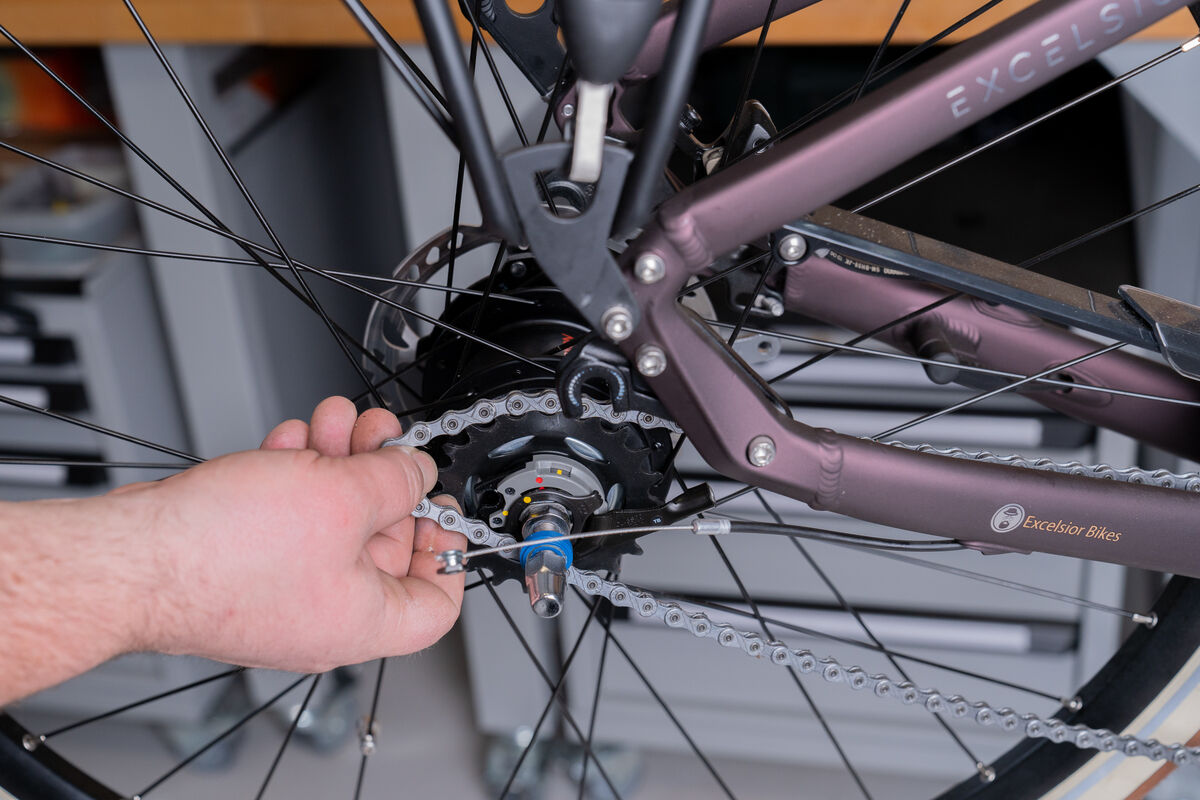
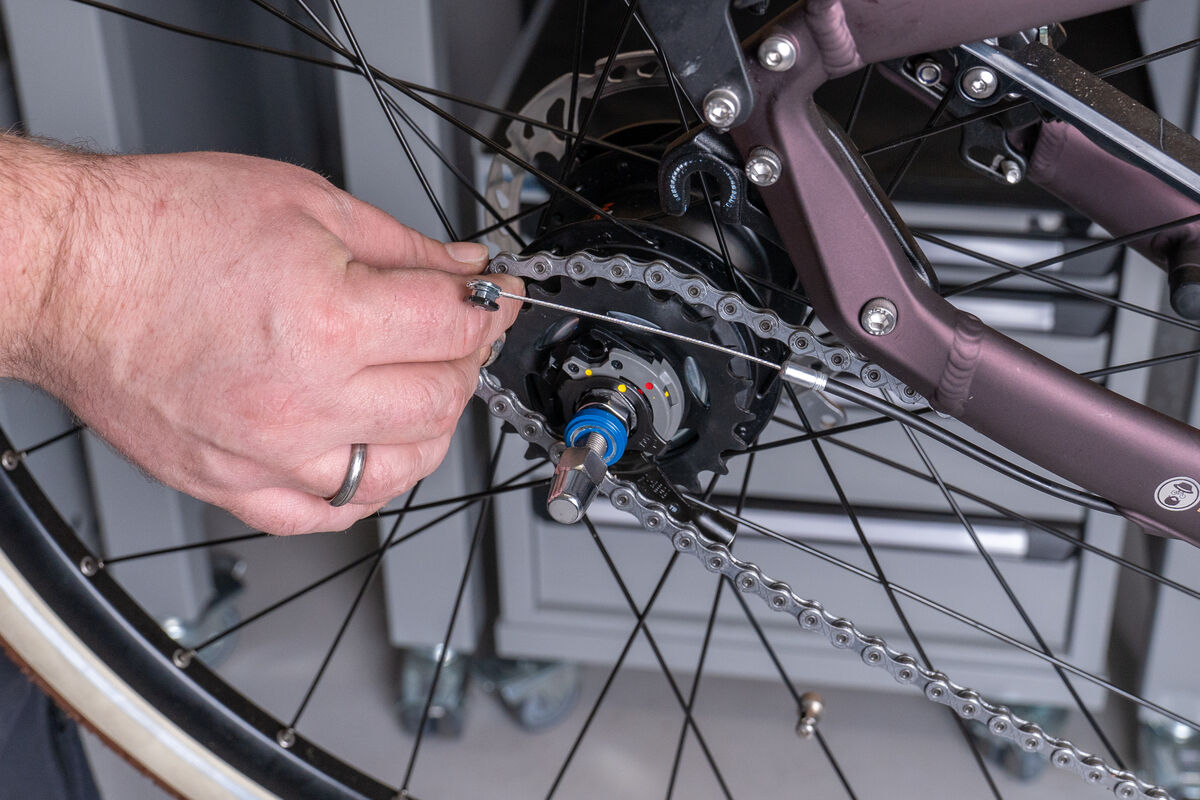
On the flat shifting unit of the hub positioned in front of the sprocket, there is a small 2 mm hole into which you first insert a matching inside hexagon wrench. Now turn anti-clockwise. By doing so, you bring the shifting unit under tension and at the same time relieve the tension on the derailleur cable. Now you can easily unhook the cable first from the small cable stop on the shifting unit, then from its guide on the shifting unit. To remove the nut that holds the Bowden cable in place on the shifting unit, simply rotate the shiftingunit clockwise by 90°. Now pull the nut upwards with a quick tug – and the derailleur cable will be dismantled from the shifting unit. Finally, you can release the tension on the Shimano shifting unit again by rotating the inside hexagon wrench back clockwise.
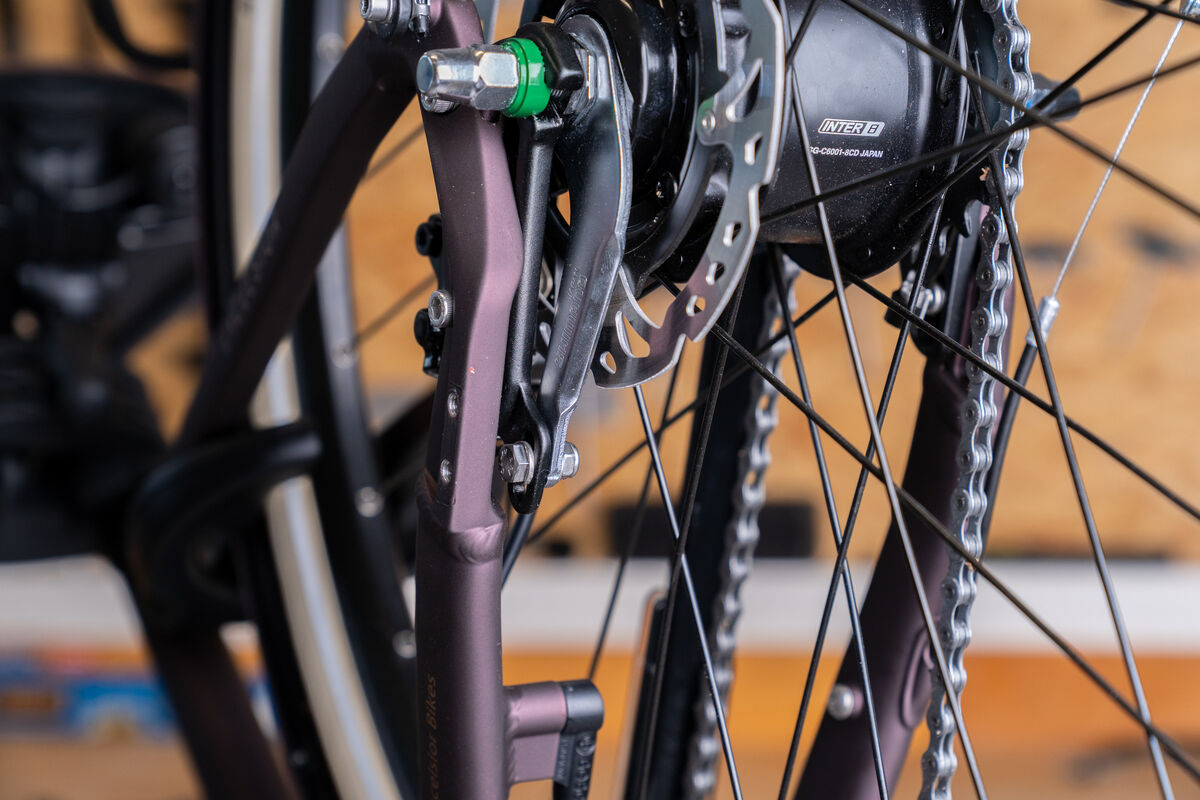
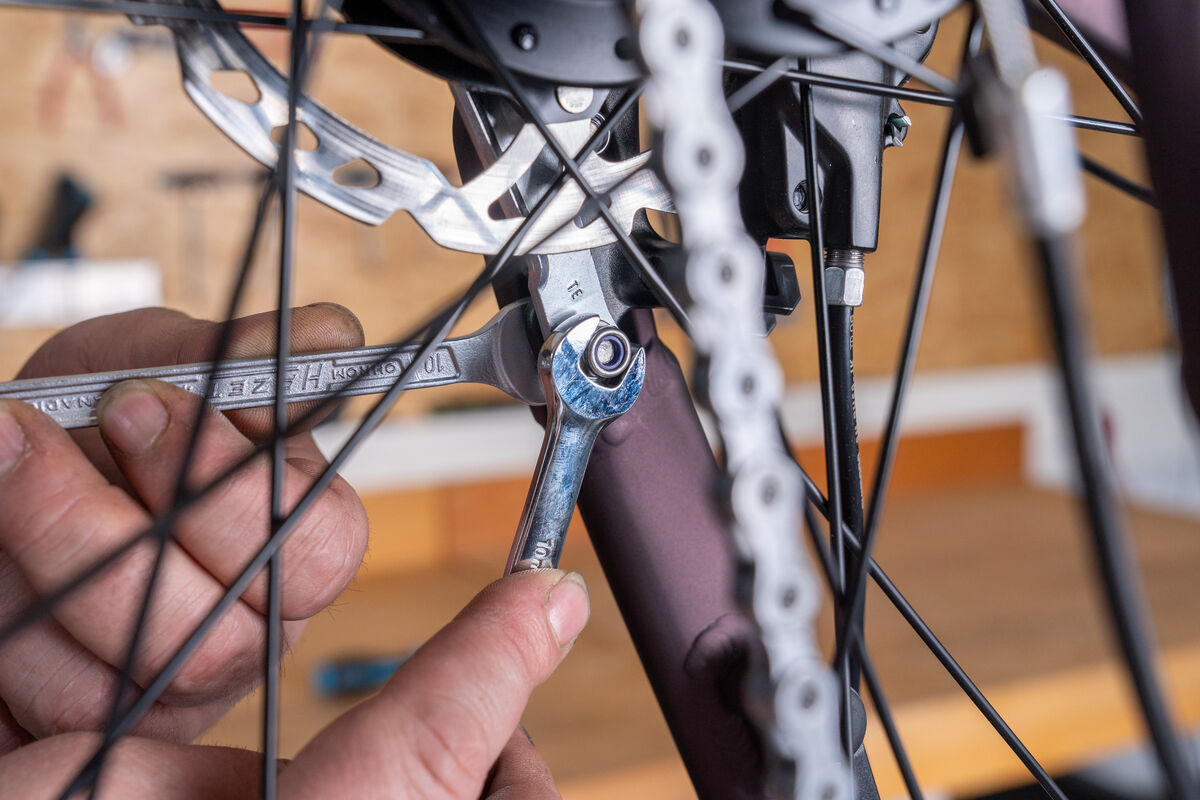
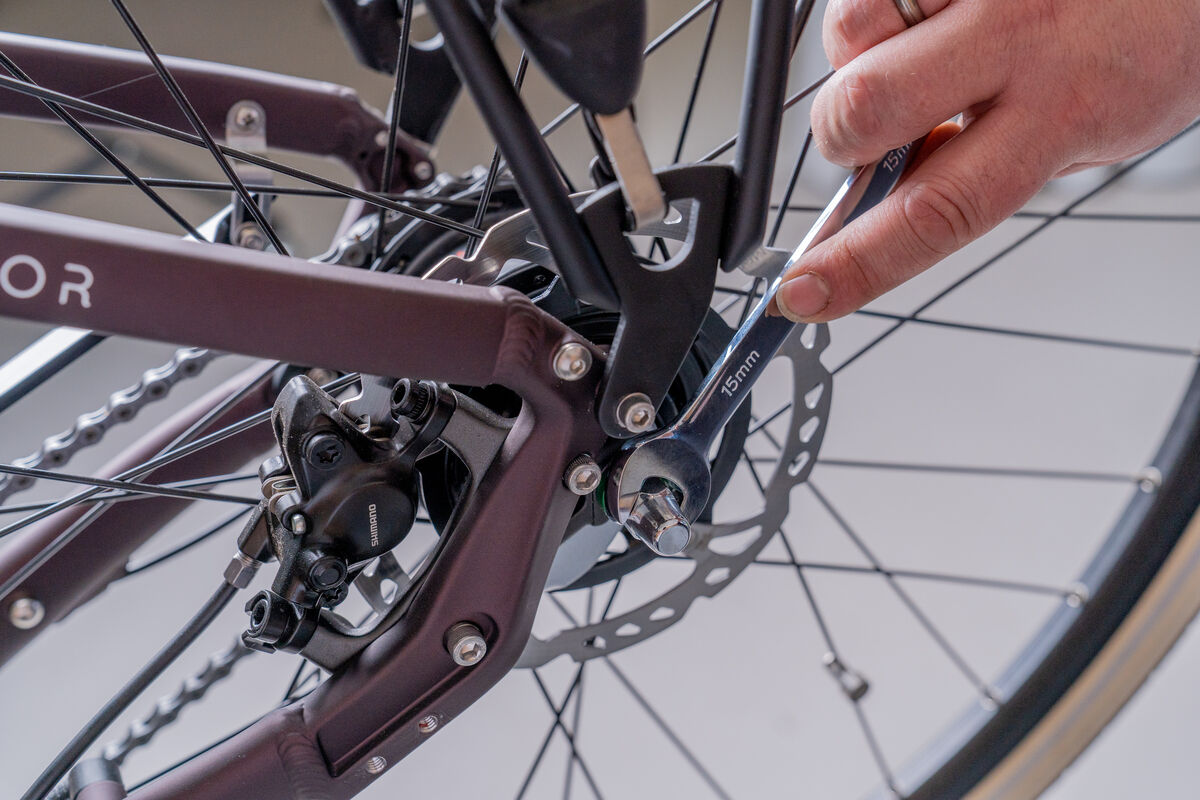
Before you can dismantle the rear wheel on bikes with a coaster brake integrated into the rear wheel hub, you first have to remove the torque/braking torque support screwed onto the left side of the frame (looking from above) using an appropriate inside hexagon wrench and ring spanner to hold the nut in place.
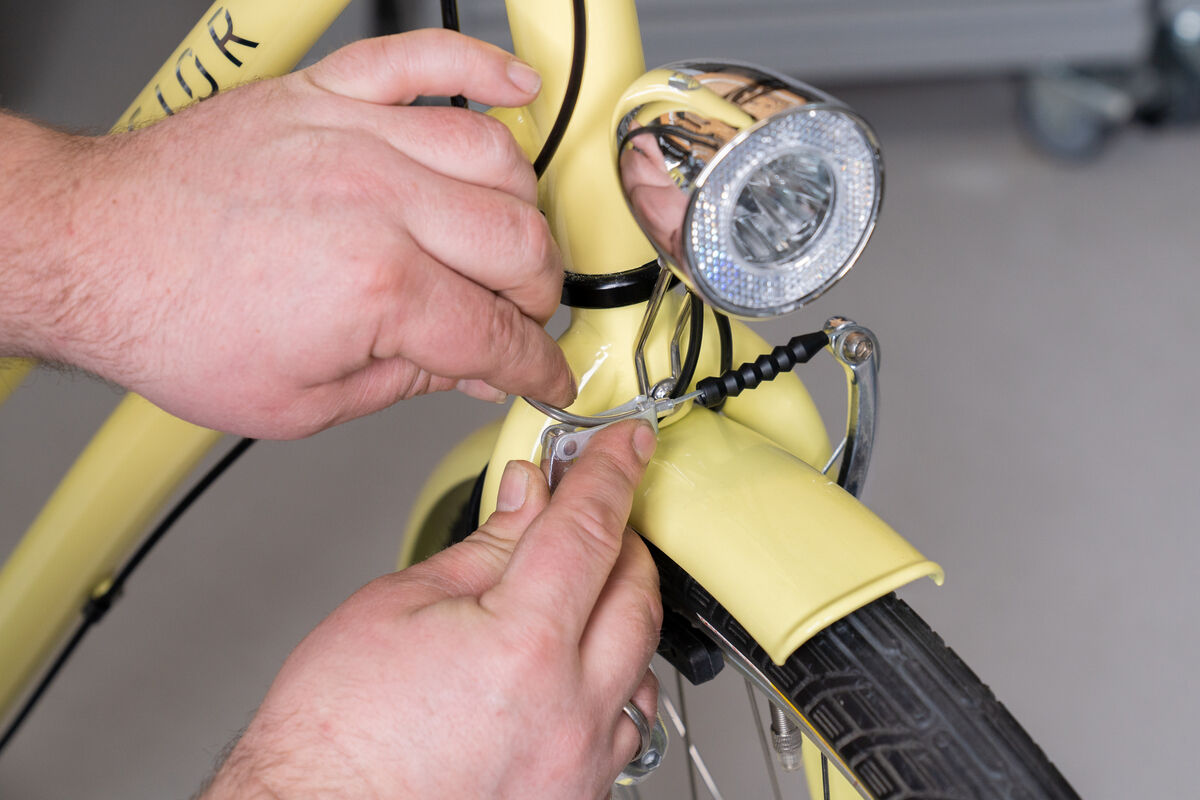
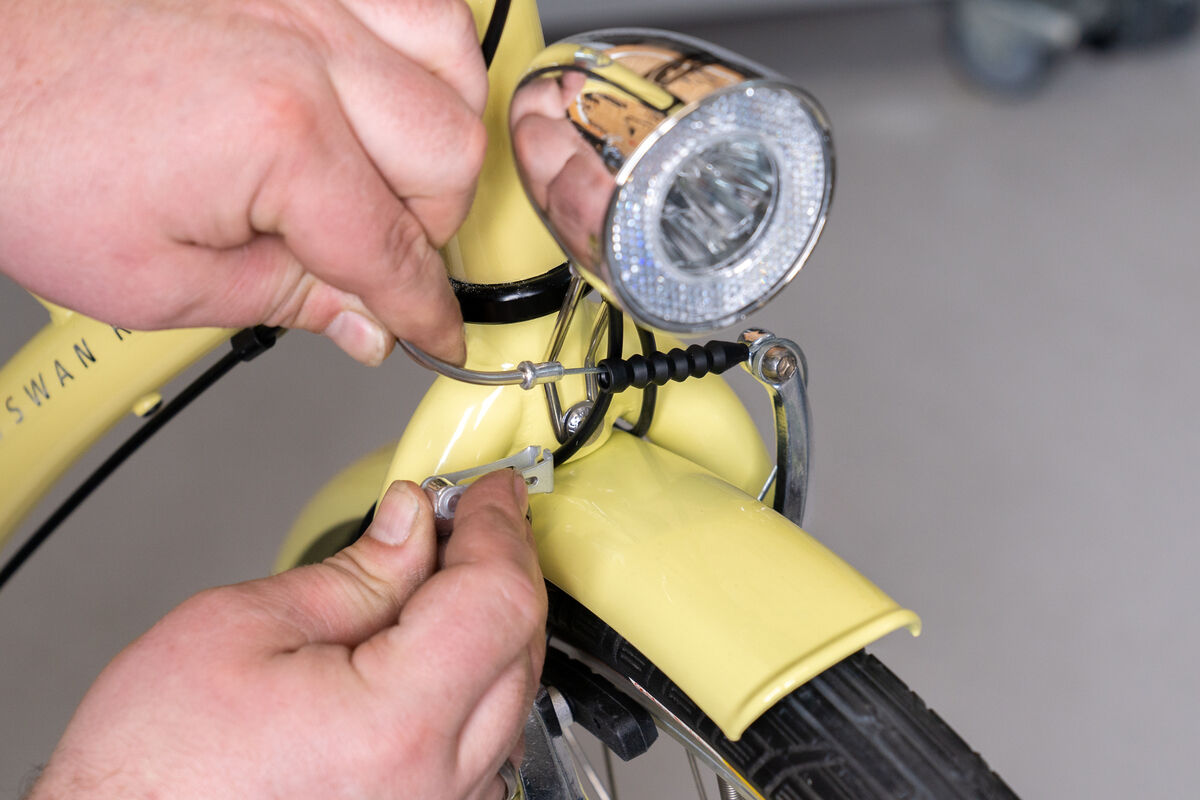
If your city/trekking bike also or alternatively has a rim brake on the rear wheel, you first push back the rubber dust guard of the brake cable. Now press the two brake arms together with one hand to remove the cable arm bracket upwards. The two brake arms now tip away to the side and are therefore out of the way as you remove the rear wheel.
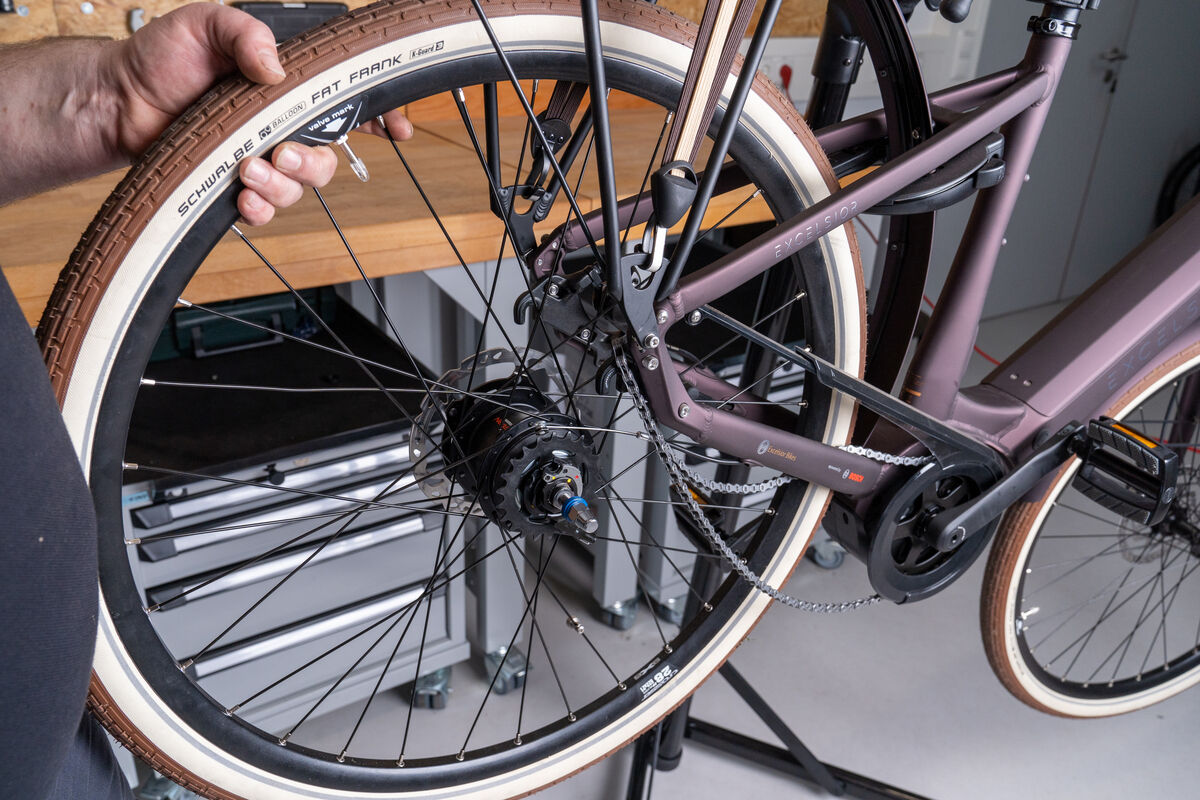
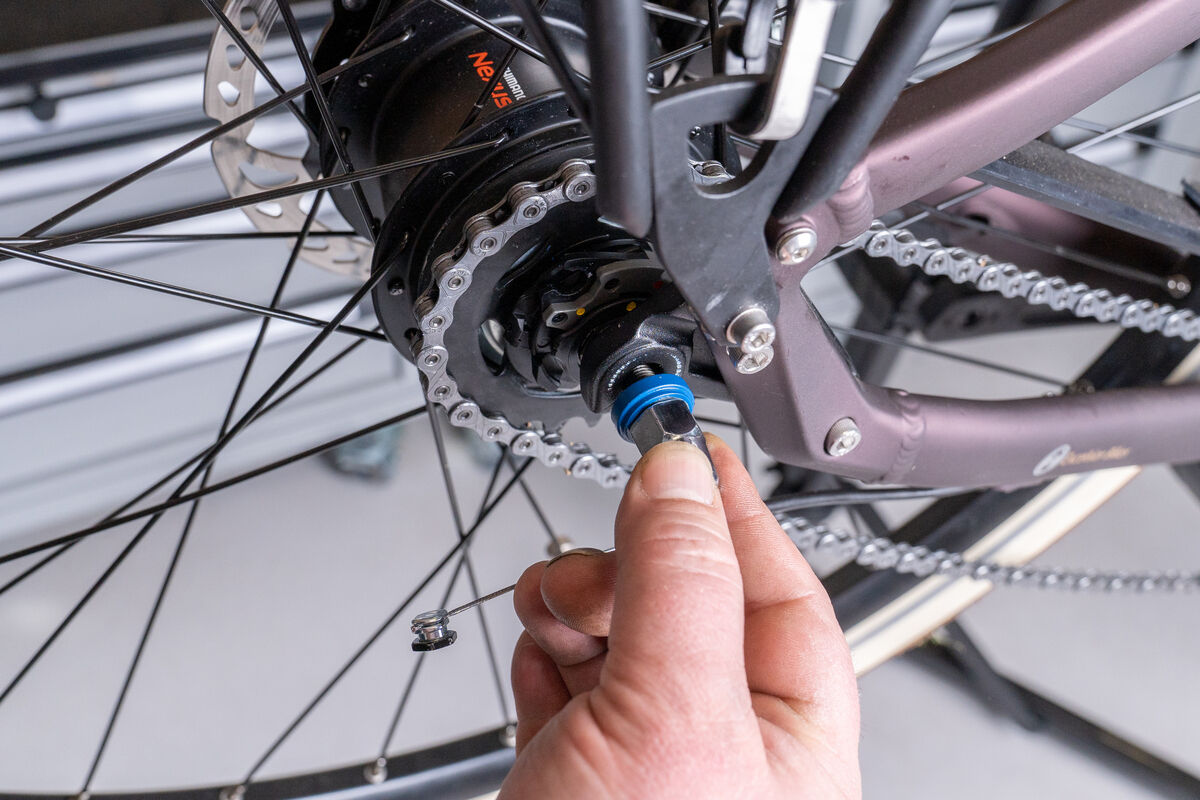
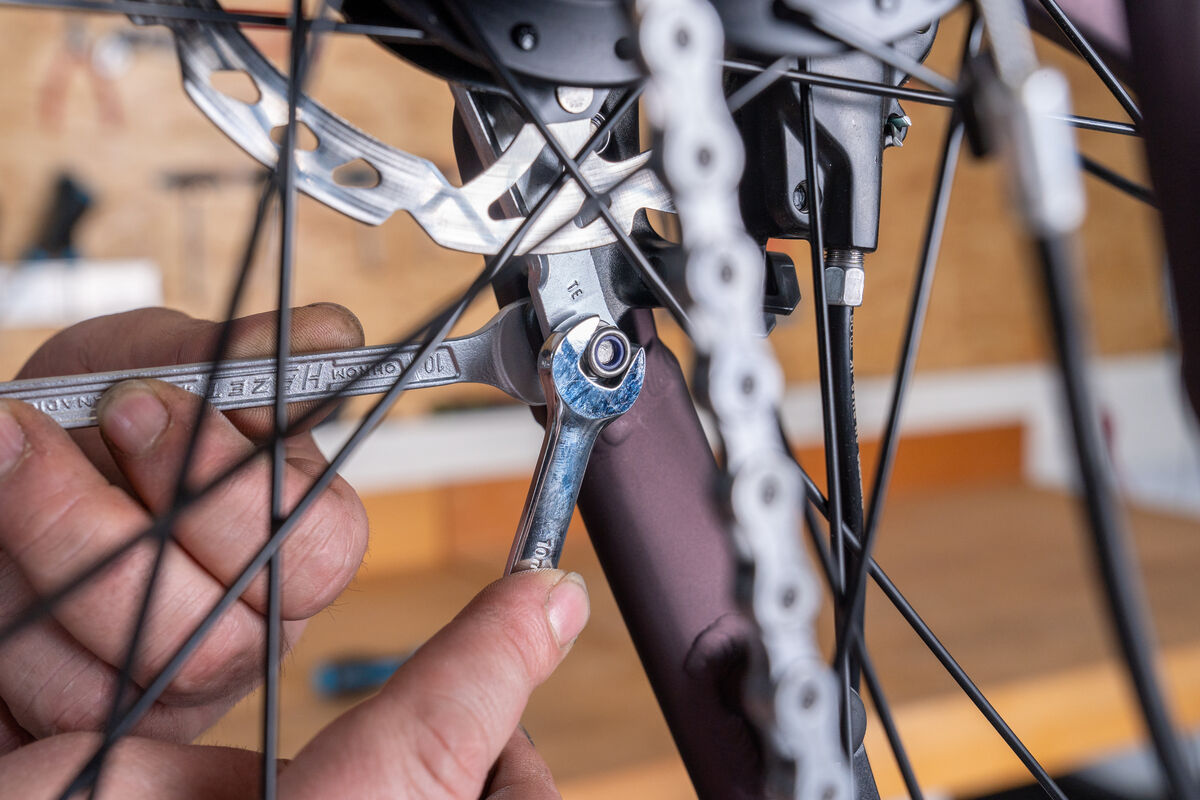
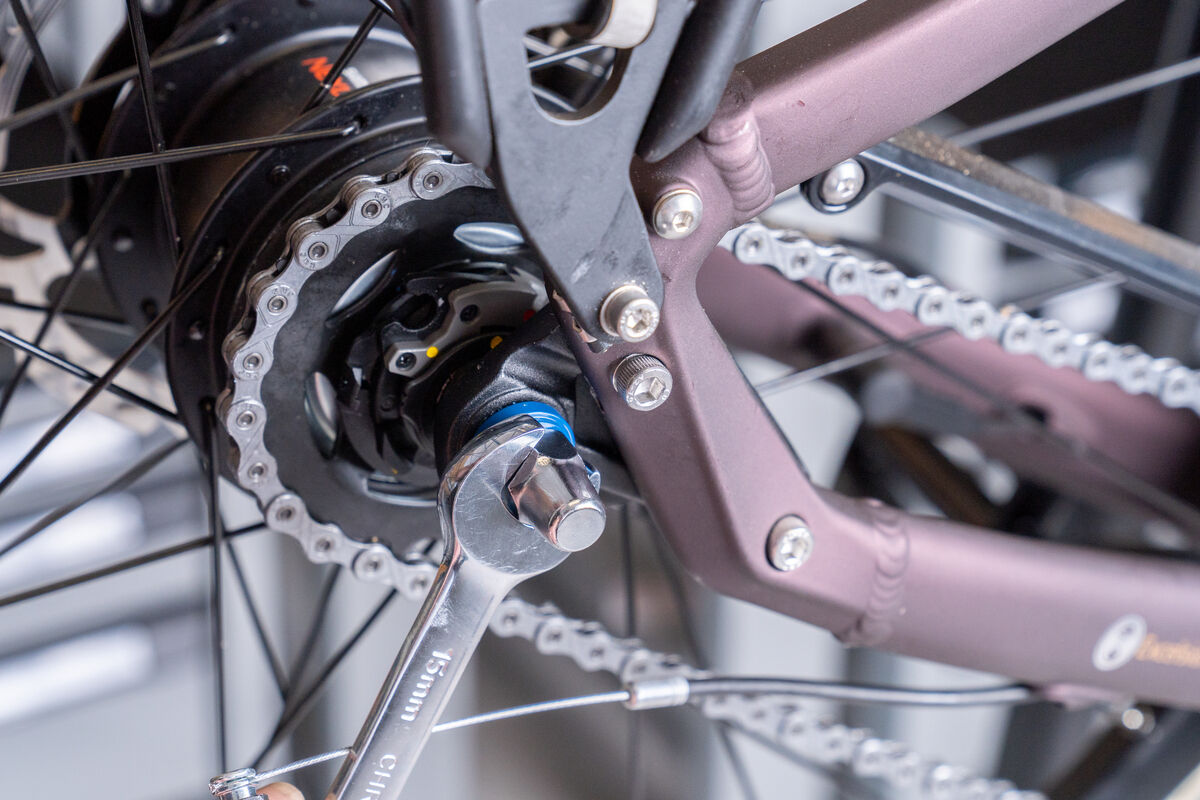
With a 15-mm ring spanner, you can now loosen the two hexagon nuts on the rear wheel axle. Important: Check how the washers are installed to make sure that you can also remount the wheel without a problem. Ideally, only rotate the nuts and the lock washers beneath them far enough from the axle that they remain on it while you remove the rear wheel. To do so, push it slightly forward at the dropout so that you can lift the chain from the side and now lift the wheel out of the frame.
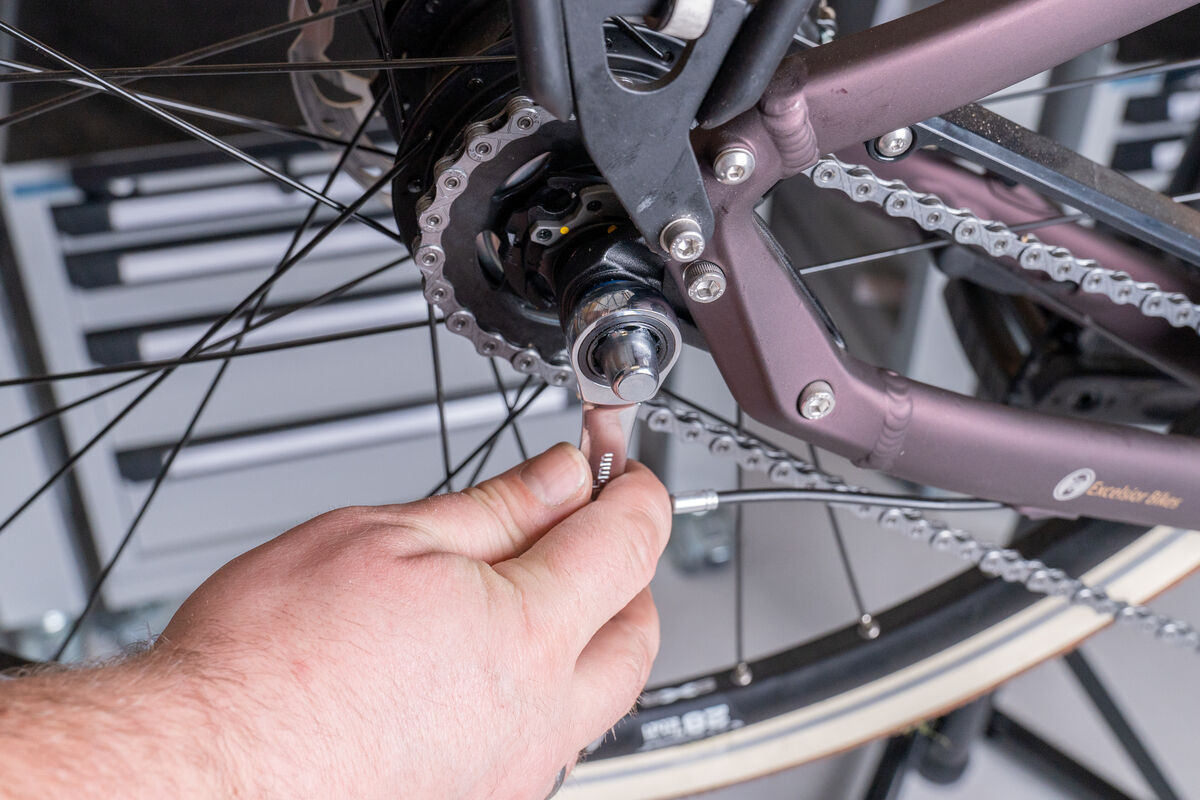
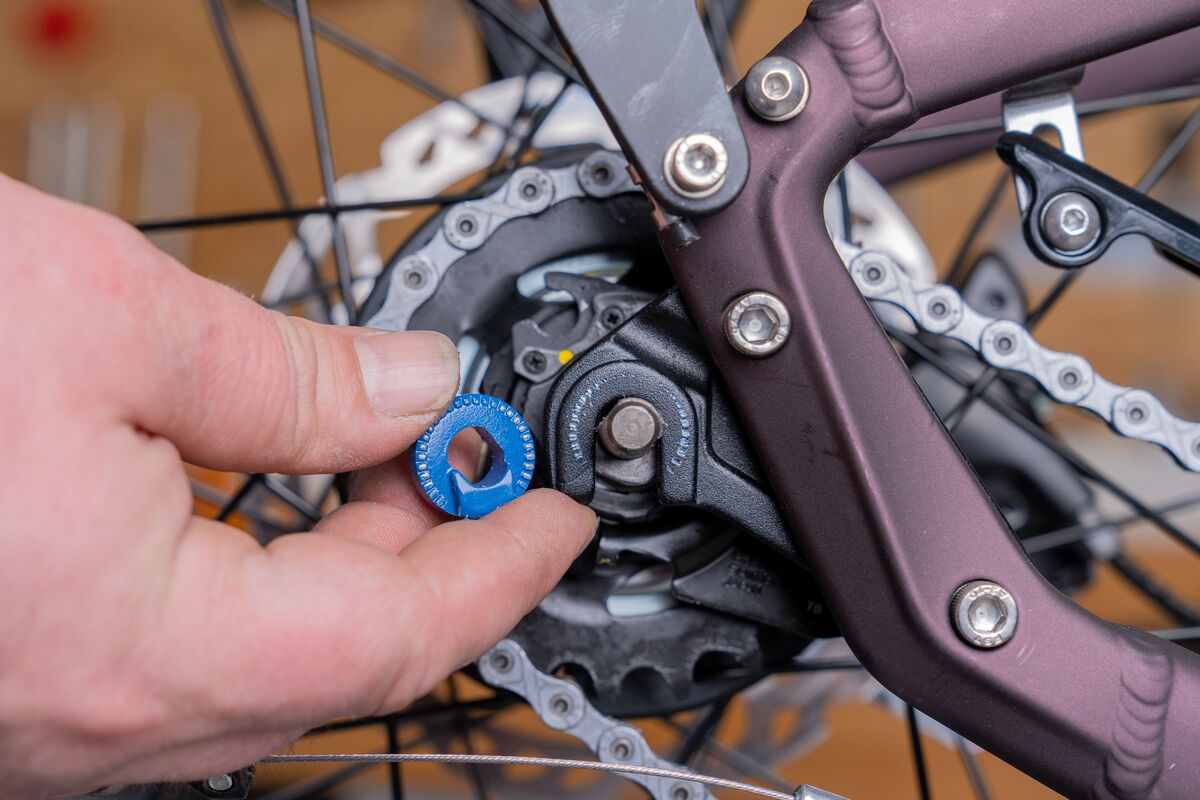
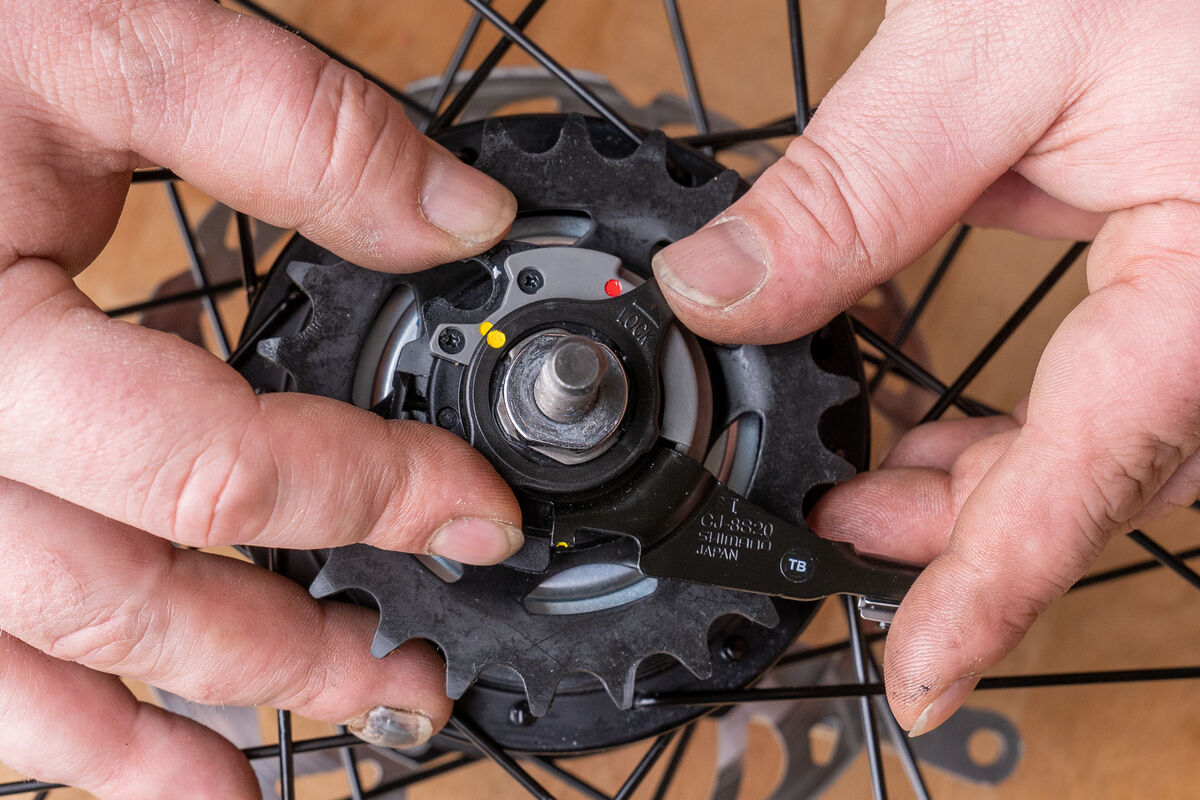
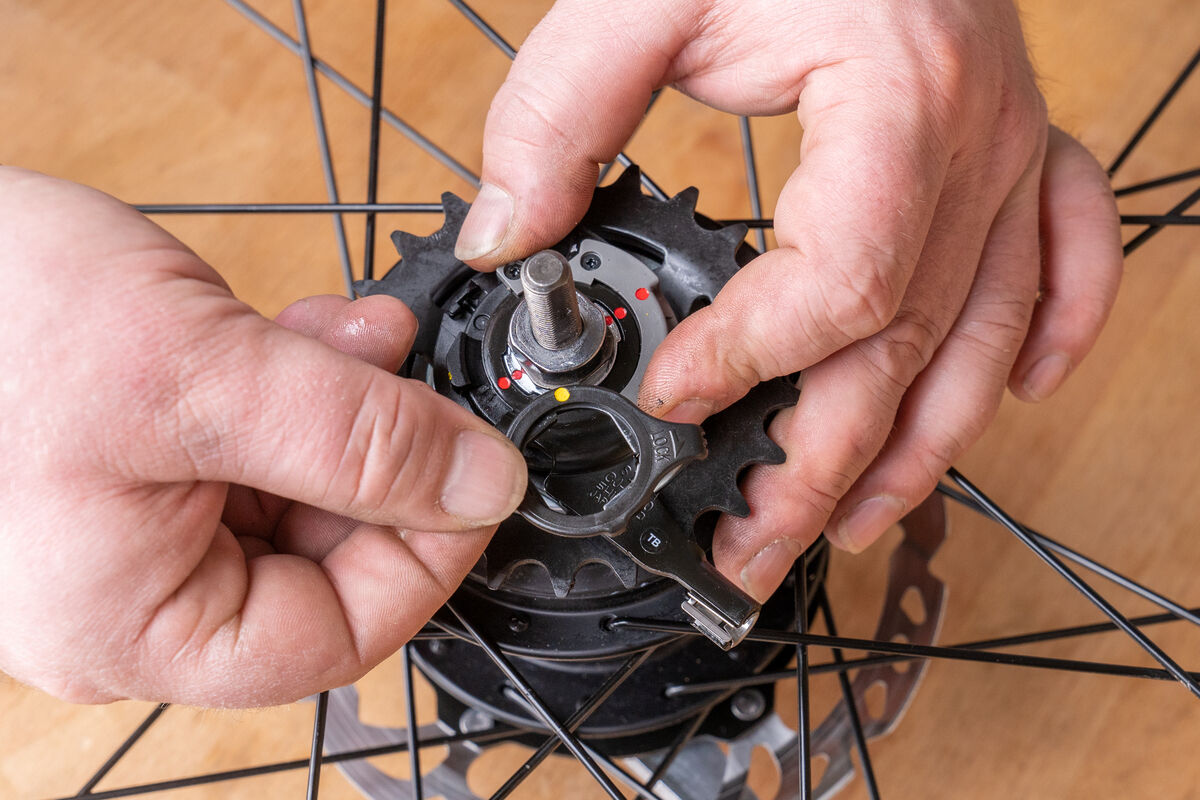
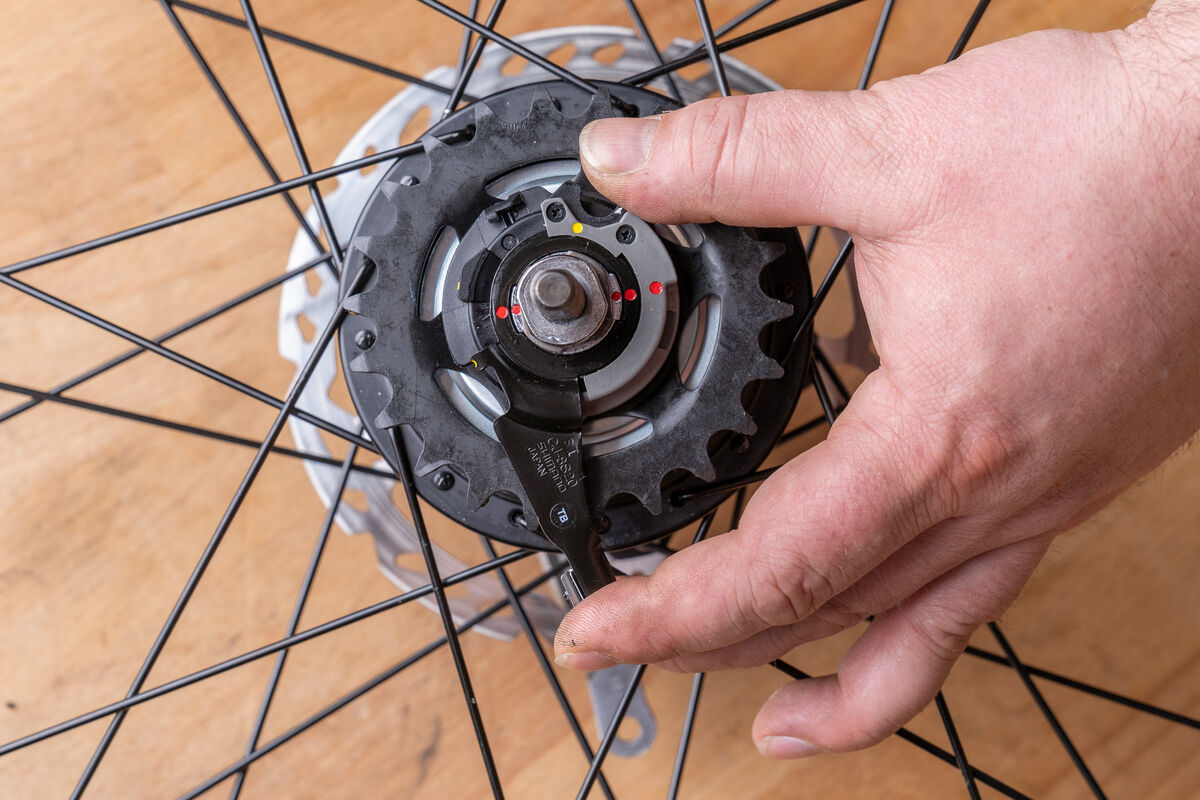
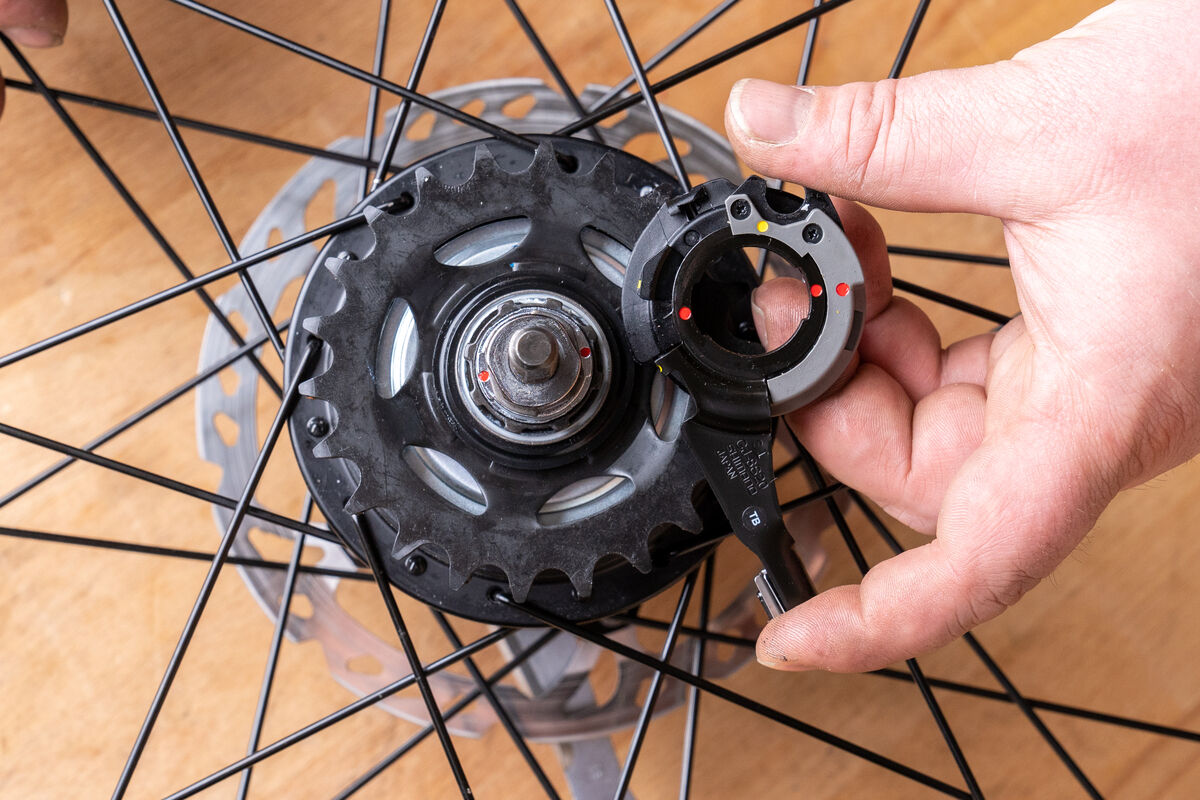
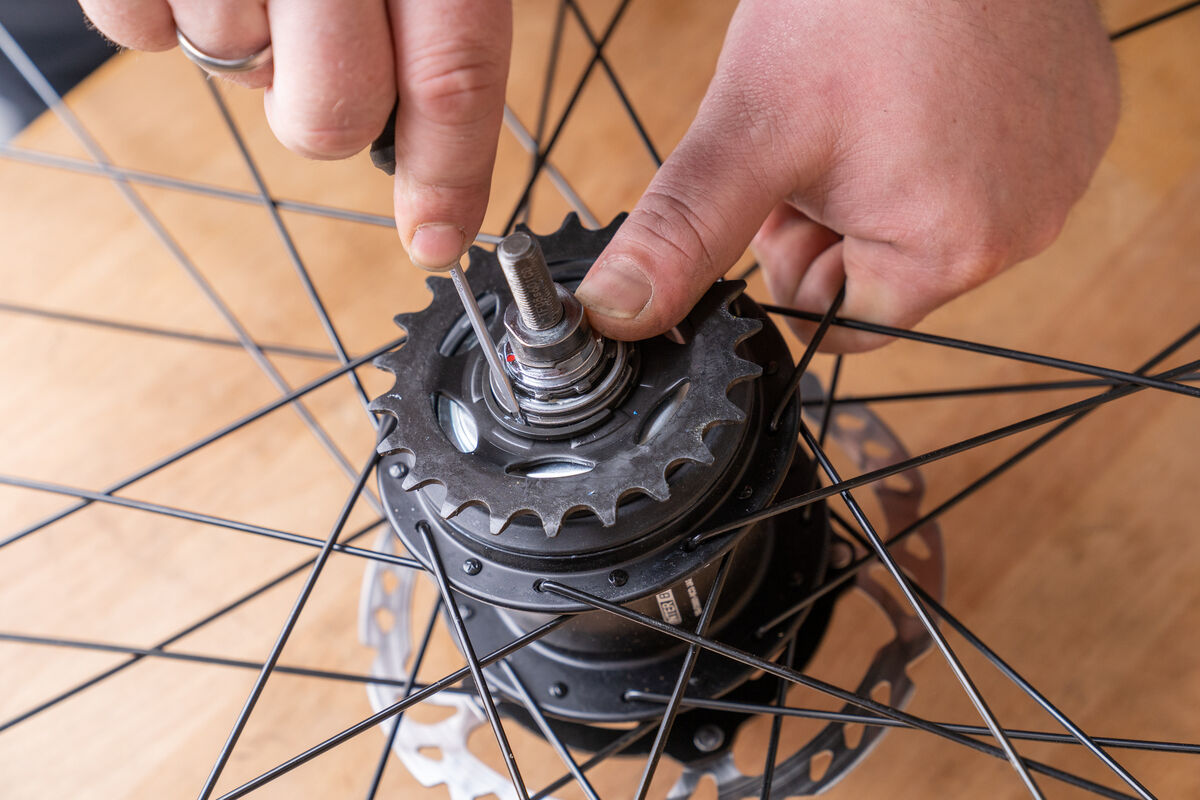
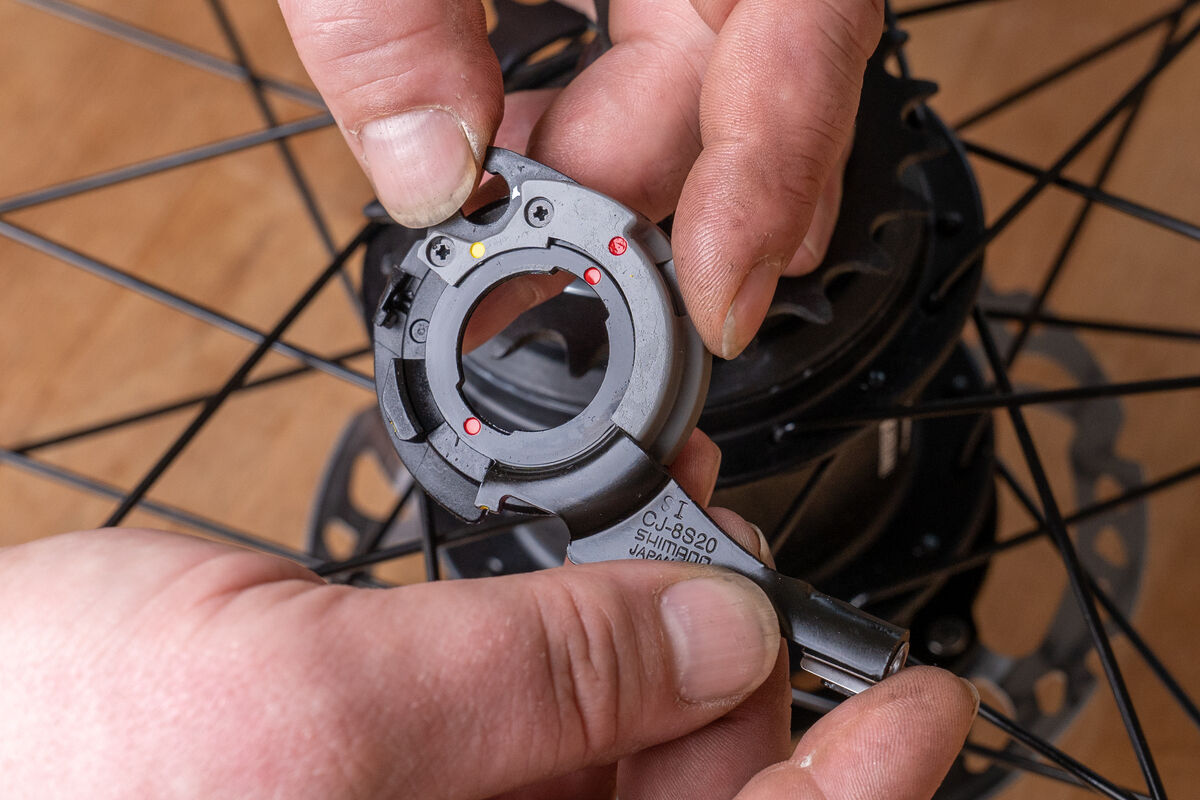
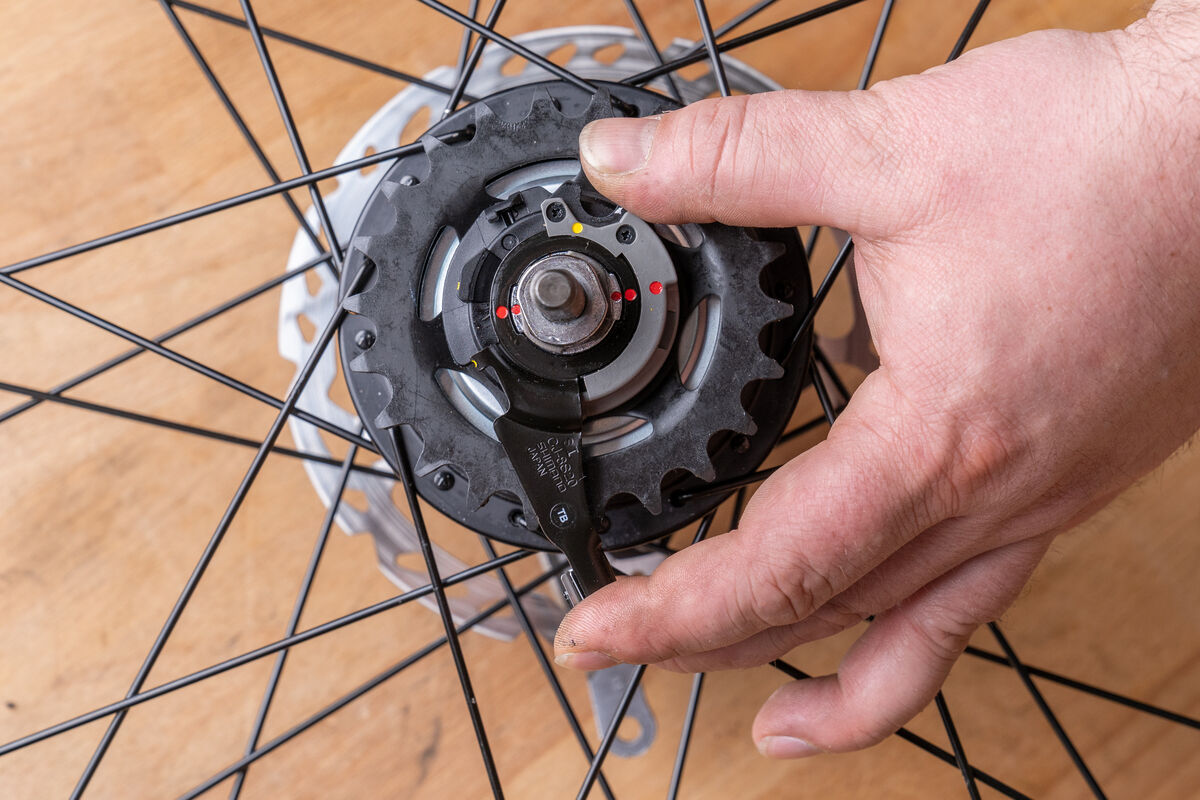
In front of the shifting unit, a compact lockring is installed that safeguards it. After loosening the nut from the axle, turn the lockring anti-clockwise to the left until its yellow point is aligned with the yellow point on the shifting unit. Now the lockring can be removed. As soon as you have aligned the red points (depending on the Shimano gear hub, alternatively yellow arrows or points) of the shifting unit and hub, you can pull the shifting unit forward gently by the lever. With a flat-tip screwdriver and a sensitive touch, you can now lever the plastic ring below the hub.
In front of the shifting unit, a compact lockring is installed that safeguards it. After loosening the nut from the axle, turn the lockring anti-clockwise to the left until its yellow point is aligned with the yellow point on the shifting unit. Now the lockring can be removed. As soon as you have aligned the red points (depending on the Shimano gear hub, alternatively yellow arrows or points) of the shifting unit and hub, you can pull the shifting unit forward gently by the lever. With a flat-tip screwdriver and a sensitive touch, you can now lever the plastic ring below the hub.

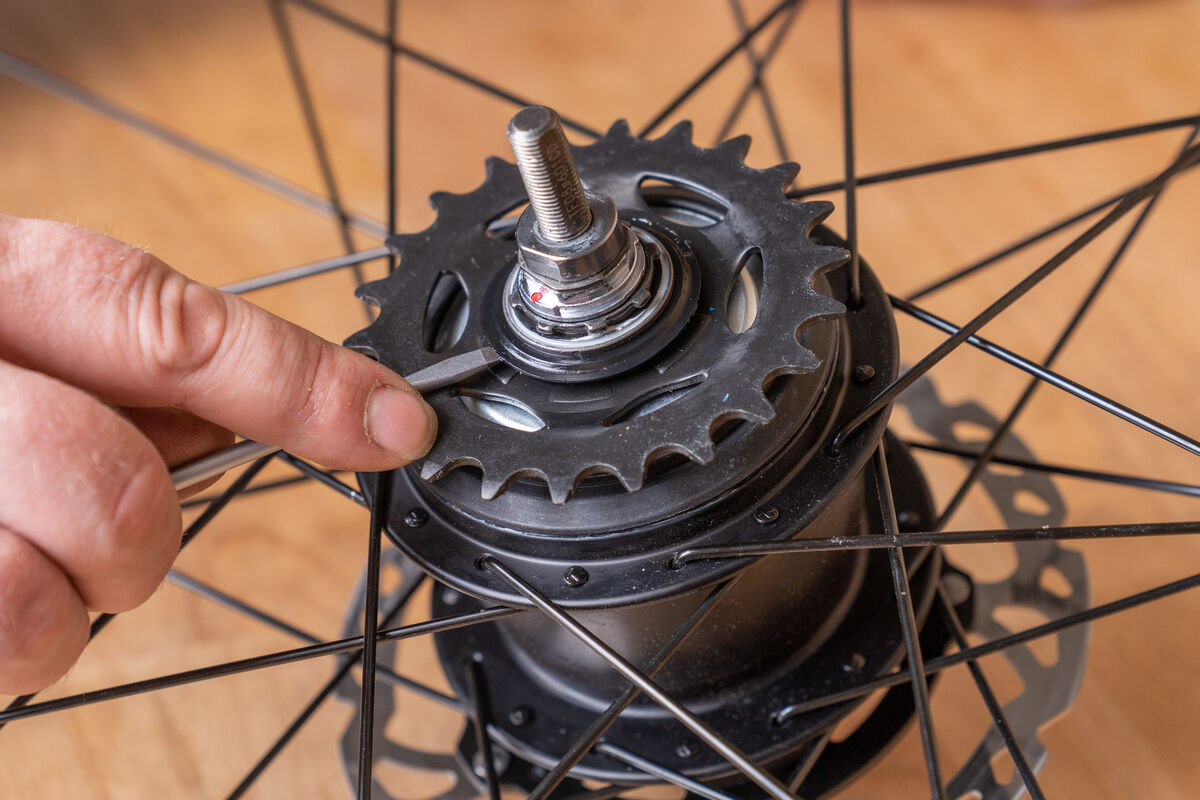
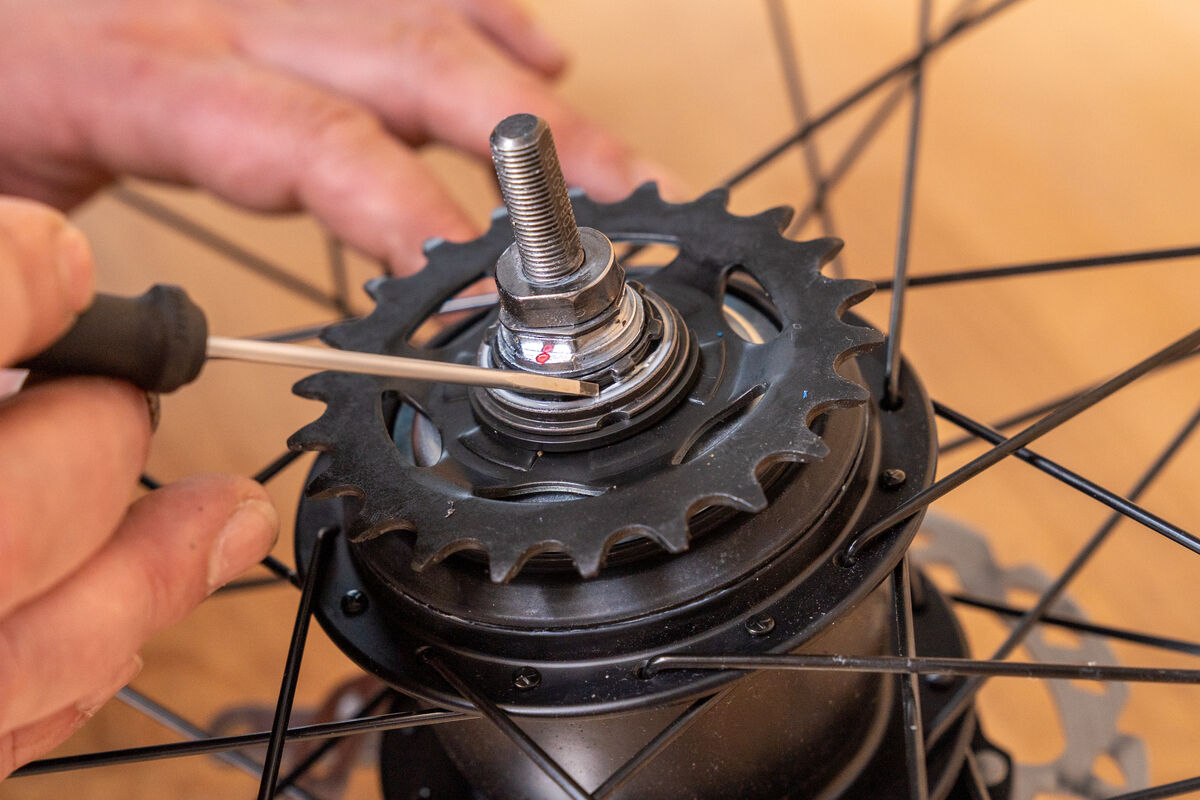
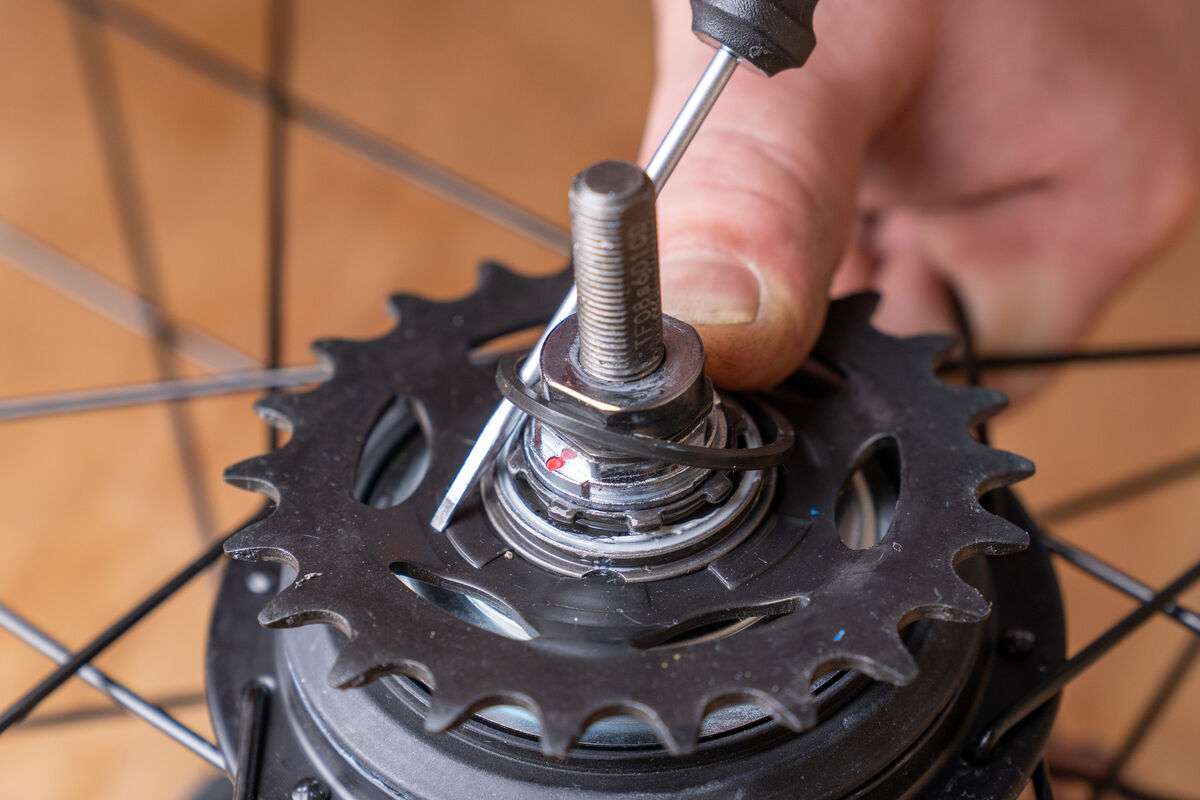
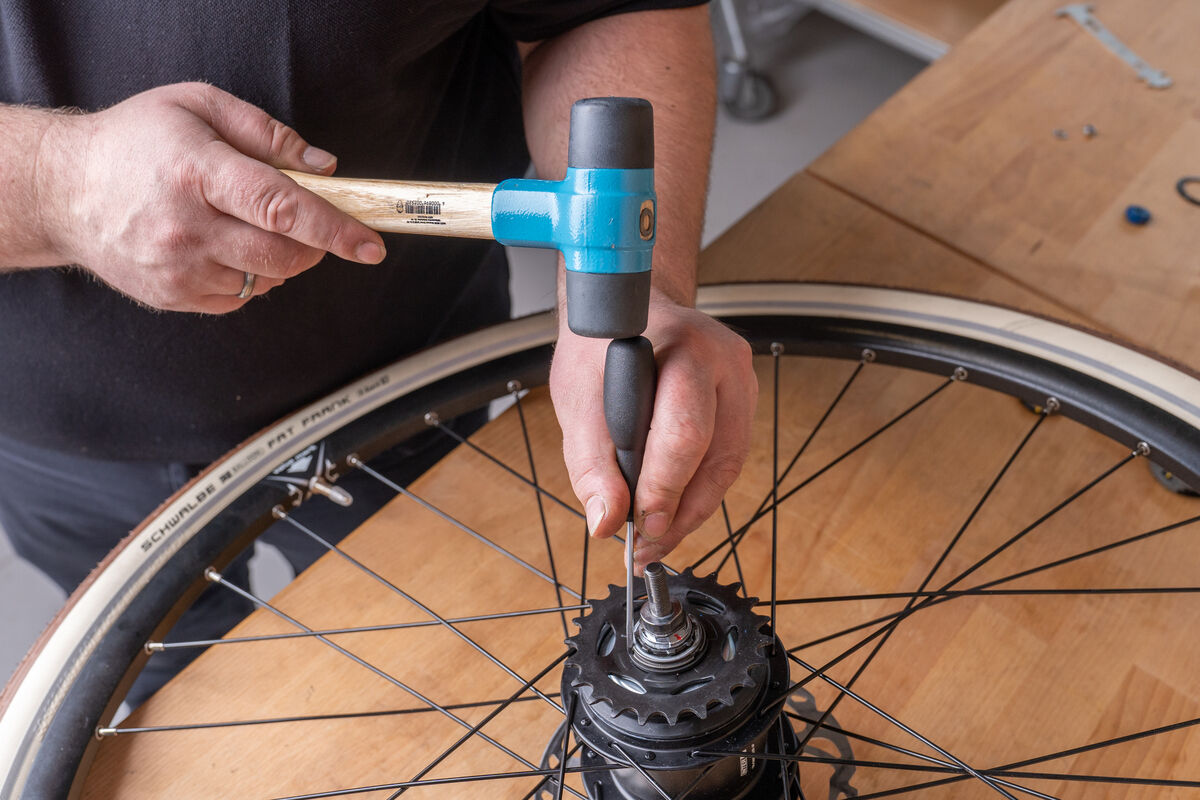
Caution, proceed carefully here as a rule, since the snap ring is normally under tension and can spring abruptly out of its guide groove, which poses a risk of injury. Plastic protective goggles can protect you in case the snap ring suddenly springs out.
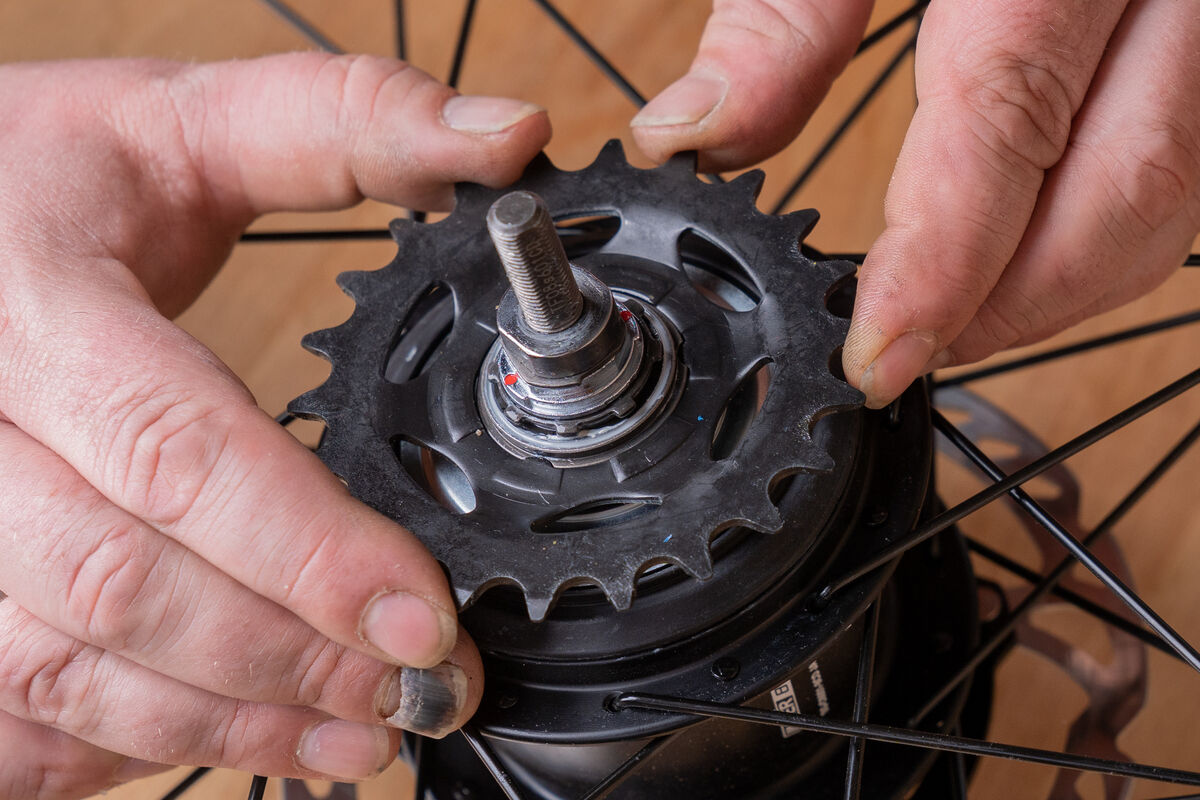
Once you have removed the snap ring, you can take off the sprocket towards the front. Note how the sprocket is shaped externally in order to correctly install the new sprocket later. This is important to ensure that the chainline and shifting function will work later!
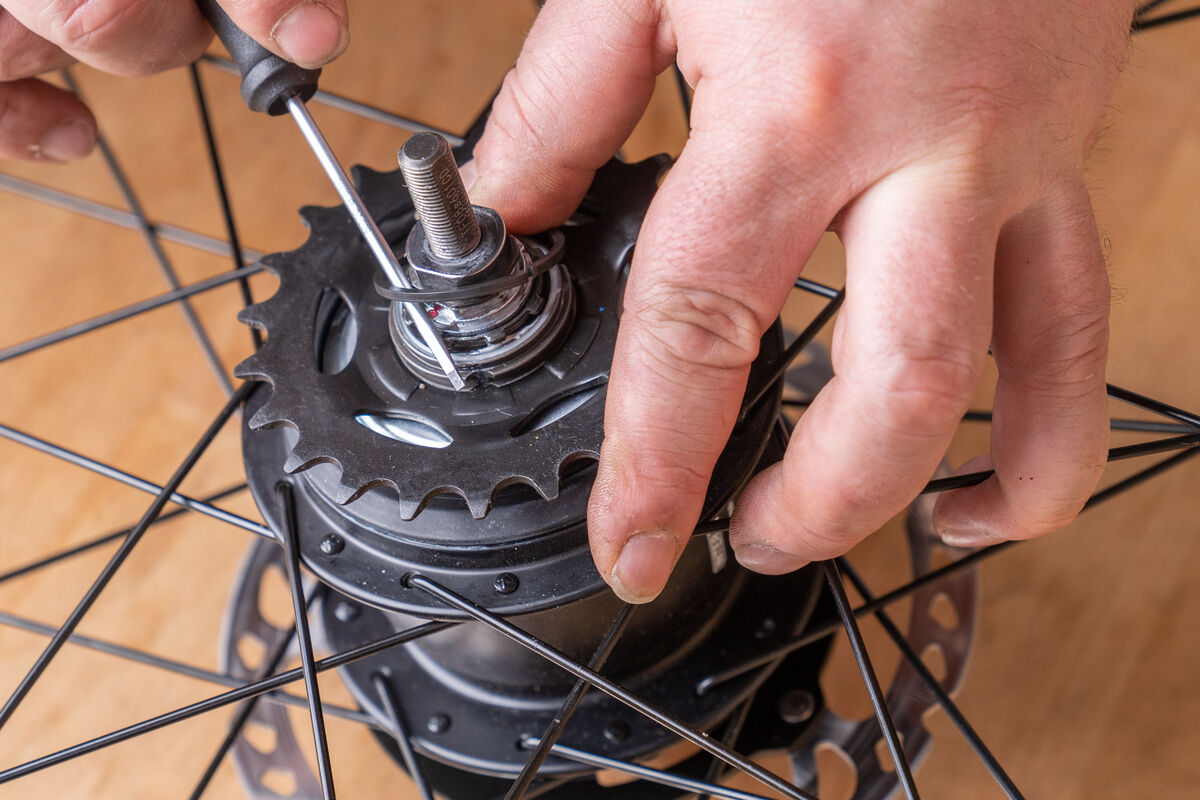
Then you can install your new sprocket already: Over the three lugs, you can push it into the three grooves of the hub drive. Make sure that the new sprocket is oriented correctly, that is, that the curvature is aligned correctly. Then insert the snap ring back into the groove in front of the sprocket by pressing it with a flat-tip screwdriver into one of the three grooves of the depression, using a sensitive touch and well-applied force. Next, lift the snap ring with a second flat-tip screwdriver on the hub driver. This is easier if you rest the tool in the groove that is positioned across from the first. To make sure that the snap ring is not tilted anywhere and is seated securely all round, finally check the correct position with a screwdriver and by tapping carefully with a rubber hammer. In the next step, push the plastic cover onto the snap ring and press it in place.
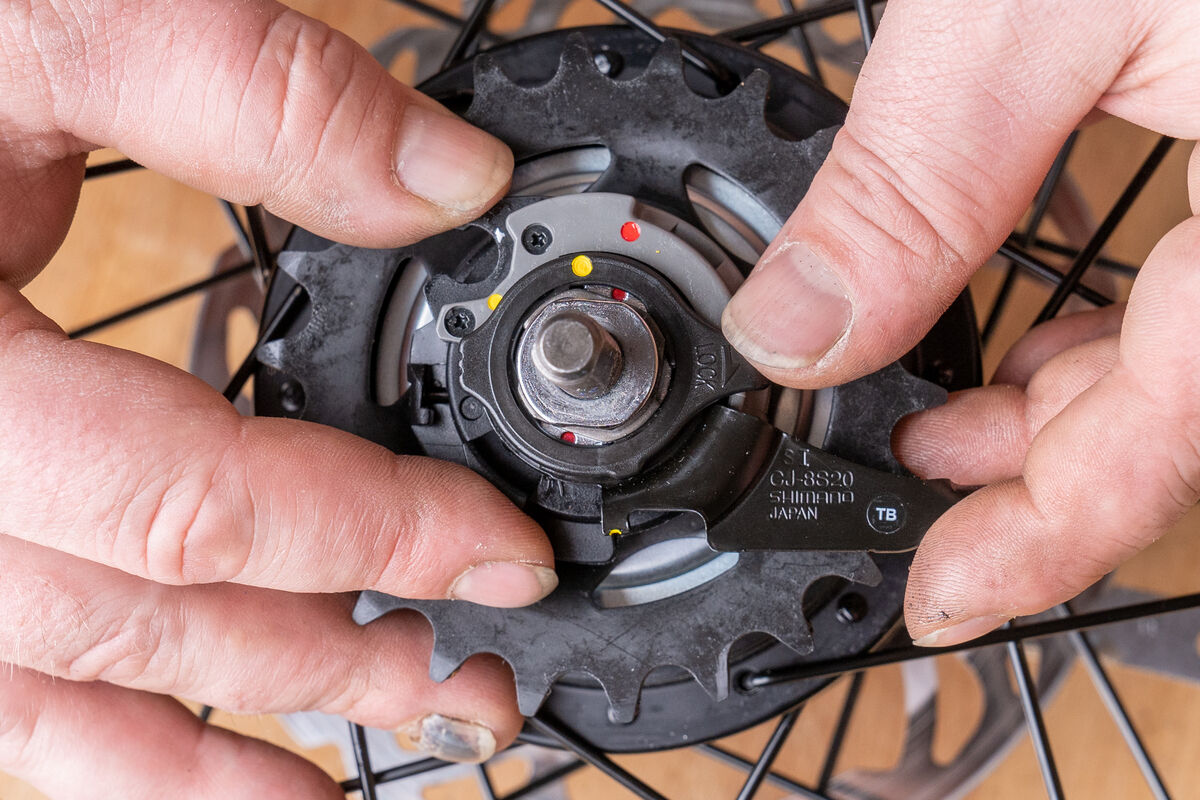
The plastic cover guarantees that the shifting unit can move back and forth on the hub. The shifting unit is mounted on the hub so that its red/yellow points are in line with the corresponding points on the hub. Are they aligned? Then press the shifting unit firmly into place and secure it on the hub by placing the lockring. Line up its yellow point with the yellow point on the hub, press the lockring firmly into place and tighten it manually by turning clockwise. Now the shifting unit is secured.
To do so, first align the shifting unit and the braking torque support in the same direction. This can be done by rotating the support and holding the shifting unit against it. In this way, you can insert the rear wheel into the dropouts of the frame and lift the chain onto the sprocket. Afterwards, press the lock washers into their position in the dropouts and tighten the axle nuts gently by hand.
To prevent either a slack, insufficiently tensioned chain or increased wear on the chain, adjust the correct chain tension by shifting the wheel in the dropouts. It should be visibly well tensioned, but should still give way easily when pressed with a finger. If the chain tension is correct, check visually whether the rear wheel sits centrally in the frame – and lock both axle nuts evenly by tightening them against one another.
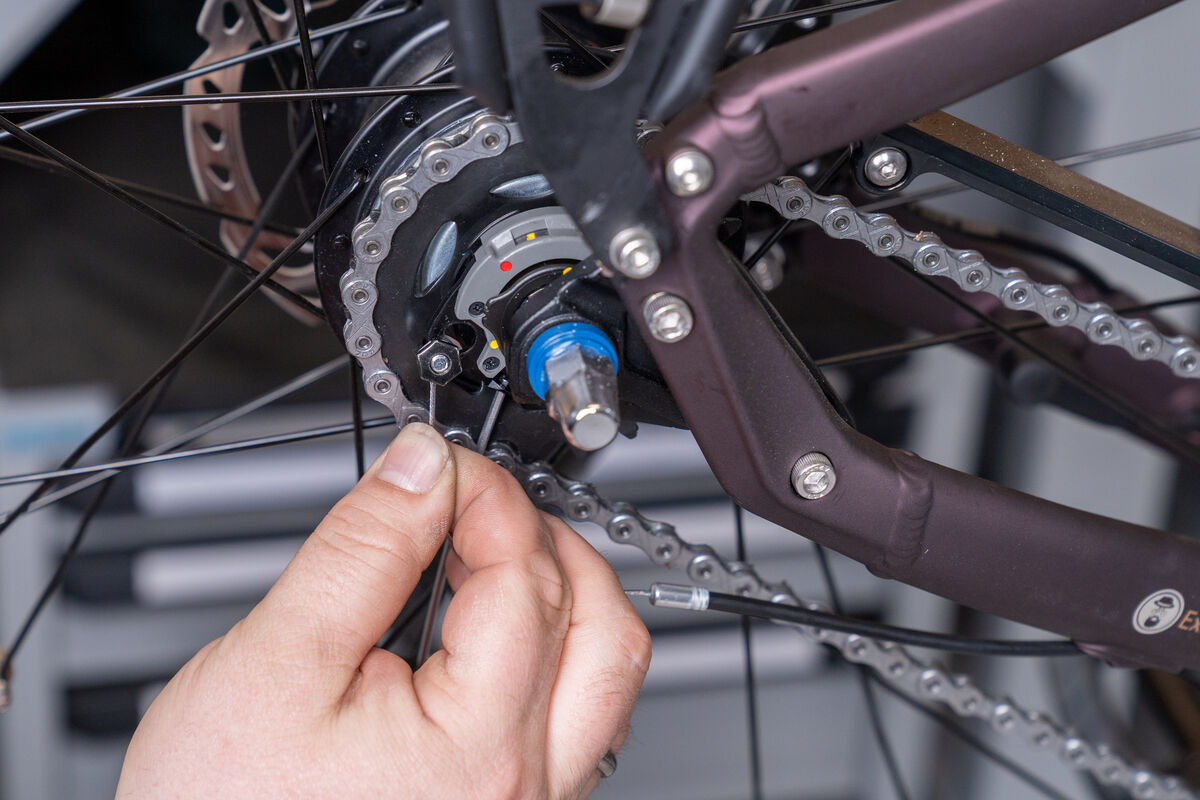
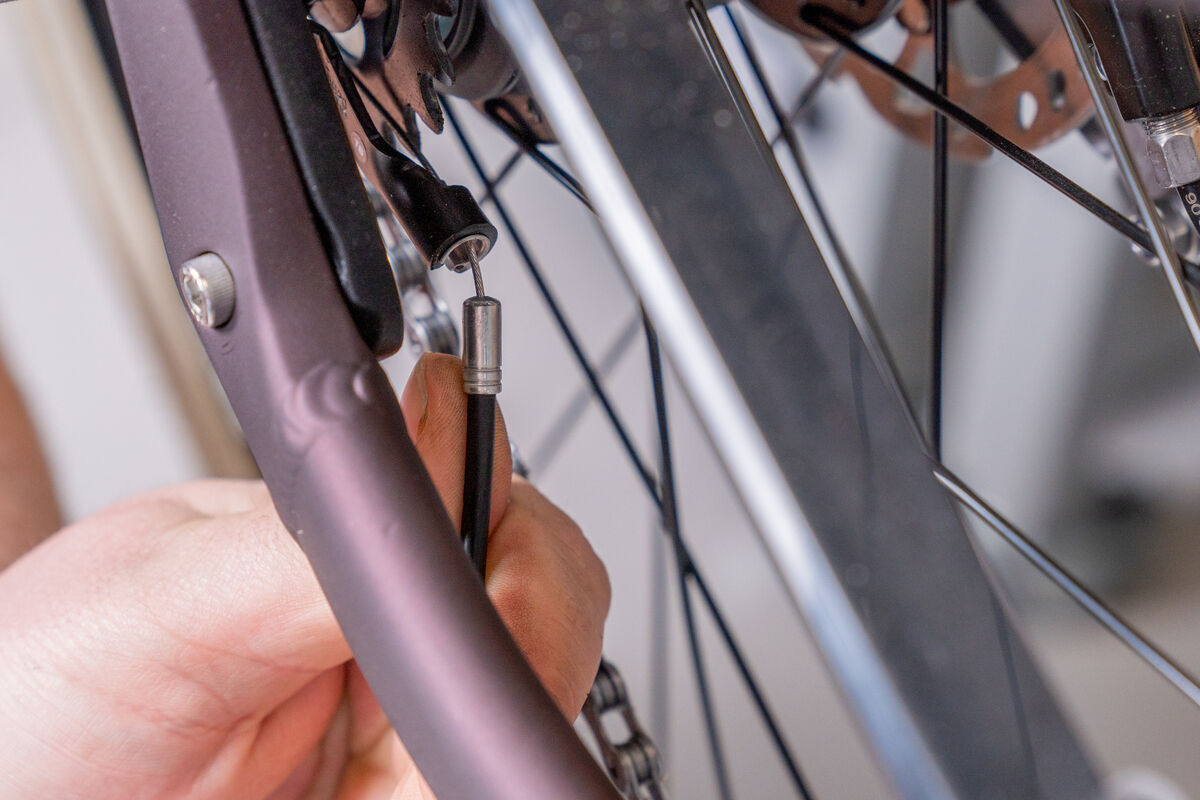
Finally you can remount the derailleur cable; to do so, first rotate the shifting unit anti-clockwise using a 2 mm inside hexagon wrench to increase its tension. The nut at the end of the deraileur cable must face outwards: After inserting, rotate the shifting unit clockwise by 90° and once it has engaged in the groove of the gear hub, rotate it back by 90°. Now the shifting unit is secured. Now place the shifting unit in the guide and mount the exterior cable sleeve on the cable stop of the hub. By rotating slightly to the right with the 2 mm inside hexagon wrench, the shifting unit is relieved of tension again.
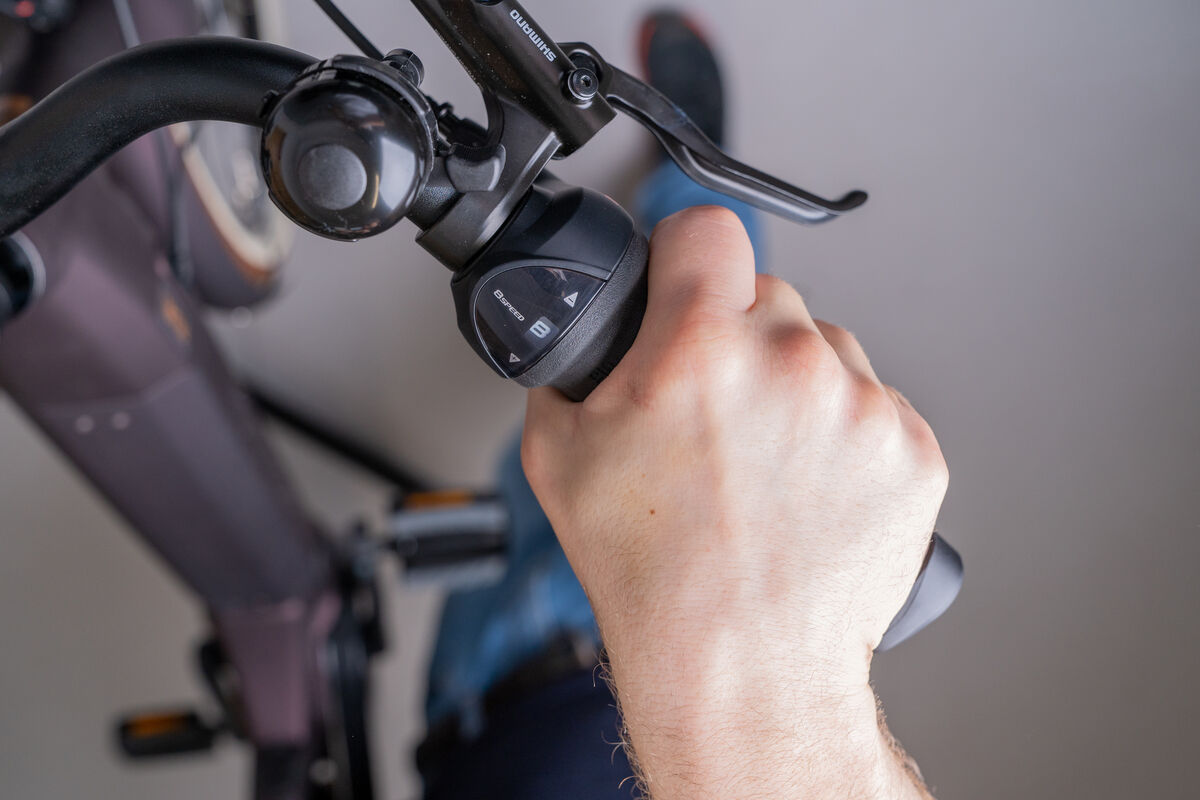
In the last work step, first screw the braking torque support back to the chain stays and/or mount both arms of your rear wheel rim brake again. Now check whether it is possible to shift easily through all gears. If that is not the case, adjust the gears using the rear screw on the twist grip shifter; by rotating the screw left/right here you can vary the cable tension and the position of the shifting unit and yellow marking line respectively. For example, a Nexus 8-gear hub from Shimano is correctly adjusted if the two yellow marking points on the shifting unit are exactly in line when in fourth gear. The yellow markings can be read either from below (bicycle ‘on its head’) or from above, by looking at the shifting unit.

When changing a sprocket, it is recommend to replace the old chain with a new one at the same time. This is because generally the chain as part of the drive also wears out after lots of kilometre of intensive use. A “fresh” chain ensures the optimal efficiency of the drive and gears as well as smooth gear shifts! Here you should also take a look at the chain ring and check whether it is worth replacing as well because of wear.

By changing to a larger or smaller sprocket on the gear hub, you can influence its transmission. With a smaller sprocket with fewer teeth than originally installed, all gears become heavier and you achieve a faster final speed. Switching to a smaller sprocket with more teeth results in lighter gears and offers you added reserves for uphill climbs.

Your sprockets are fine, but your gearshift does not shift cleanly? Here we show you how to adjust your hub gears.
The installation steps outlined below refer to changing the sprocket on the very popular Shimano gear hubs.
- Step 1: Shifting the Shimano gear hub up or down
- Step 2: Unhooking the derailleur cable
- Step 3: Dismantling the torque/braking torque support
- Step 4: Unhook the brake arm and dismantle the rear wheel
- Step 5: Dismantling the lockring, shifting unit and sprocket
- Step 6: Installing the sprocket, snap ring and plastic cover
- Step 7: Fixing the shifting unit in place
- Step 8: Installing the rear wheel in the frame
- Step 9: Adjusting the chain tension
- Step 10: Mount the derailleur cable
- Step 11: Installation of the brakes & fine-adjustment of gears


