Changing the sprocket on an e-bike with the Bosch Performance CX motor
E-bike chain ring: the usual wear and tear
As a result of the considerable motor torque and other forces that act on e-bikes, e-cargo bikes and even more so on e-mountain bikes, drive components and gears are regularly under stress. So an e-bike chain ring is exposed to natural wear, especially when you add a lot of mileage. Therefore, the chain ring or motor sprocket on the e-bike should be replaced rather sooner than later. You can tell that a replacement is necessary by an irregular bend between two teeth - they basically look like shark fins. Wear is also recognisable by improper shifting behaviour or unsteady chain movement - especially if this occurs despite a new chain.
Pay attention to compatibility
A chain ring is not always what it seems. In other words: During purchase, make sure that the desired chain ring is also compatible with your e-bike. In order not to change the gear ratio, it is important that the new chain ring has the same number of teeth as your old one. A further distinction is made between direct mount and conventional chain rings or motor sprockets. Direct mount chain rings are placed directly on the motor axle, while conventional chain rings are mounted on a so-called "spider" (a 4 or 5 arm attachment to the axle with a 104 mm bolt circle; see compatible Contec chain rings B-SP with 36 up to 44 teeth) and fastened with screws. In addition to the correct number of teeth, you also have to pay attention to the correct number of screwing points and the bolt circle diameter that matches the spider. The motor sprocket of the Bosch generations 2 and 3 are only available as a direct mount version. Consequently, the right chain ring is essential for precise and well-balanced gear shifting.
Using the example of the Bosch Performance CX: here are three chain ring and assembly types
In the following, we have instructions for removing and installing the motor sprocket on Bosch CX motor variants of generation II (from 2014) - the sprocket name comes from the small gears of this Bosch motor generation, with 15 to 22 teeth - as well as the Direct mount chain ring and the crank spider/chain ring variant on the Bosch Motor Performance CX Gen 4 (on the market since 2020). In the CONTEC range, you will find the three types of chain rings mentioned in various sizes - for the optimal transmission of your e-bike.

The most convenient way to exchange the motor sprocket of your e-bike to a new one, is to securely fix your bike on a high-quality bicycle/e-bike repair stand.
DAS BENÖTIGST DU
- Kurbelabzieher für ISIS-Tretlager mit Vielzahn-Achse
- Vielzahnnuss für Bosch-Verschlussring
- Ratschenwerkzeug mit Vierkantaufnahme
- Schraubensicherung
- Pinzette
- 1 Kabelbinder
- passende Innensechskantschlüssel (Kurbelschraube: 8 oder 10 mm)
- Drehmomentschlüssel mit Aufnahme für Vielzahnnuss und Innensechskant-Bits
- Montagefett
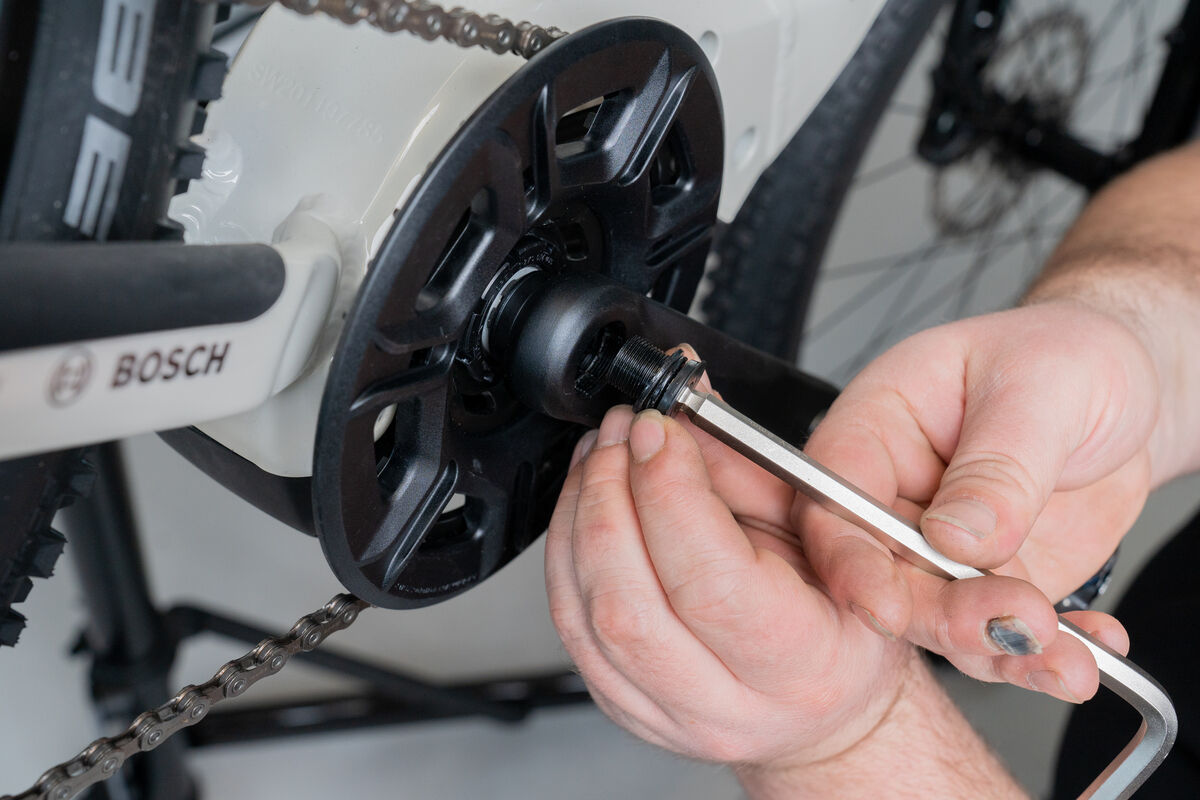
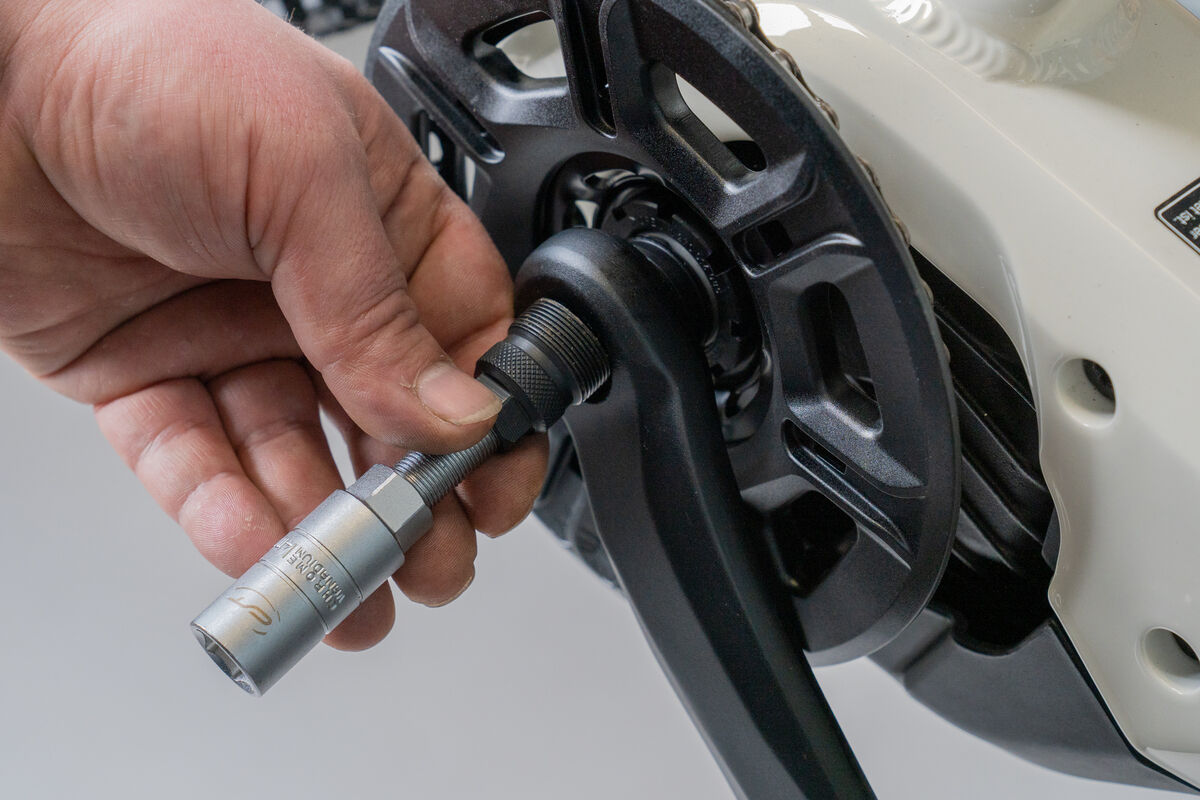
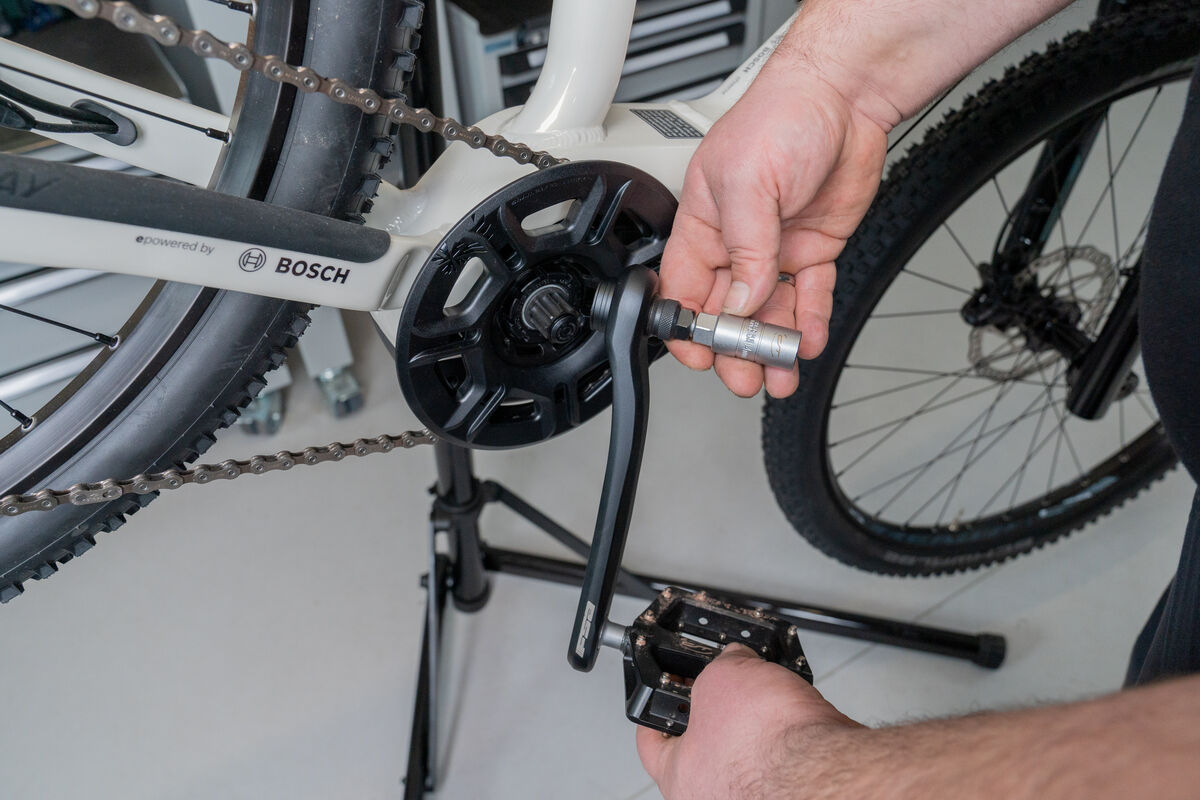
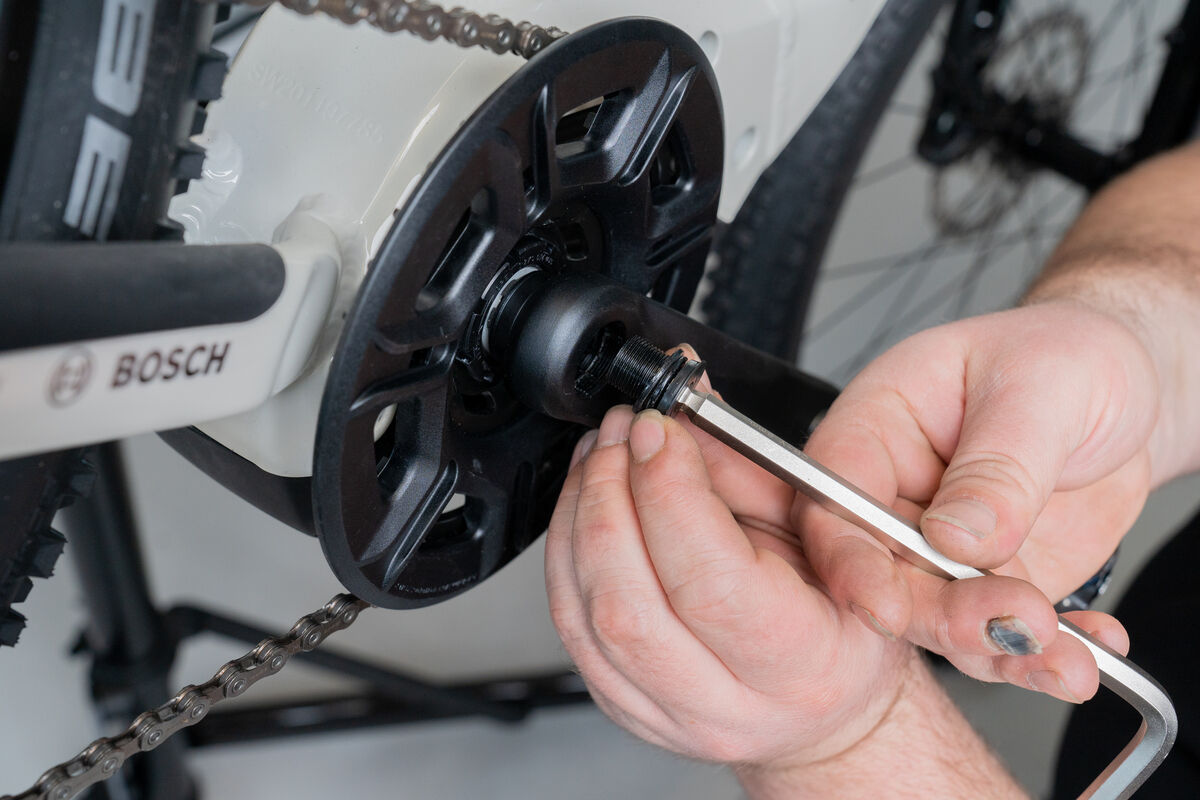
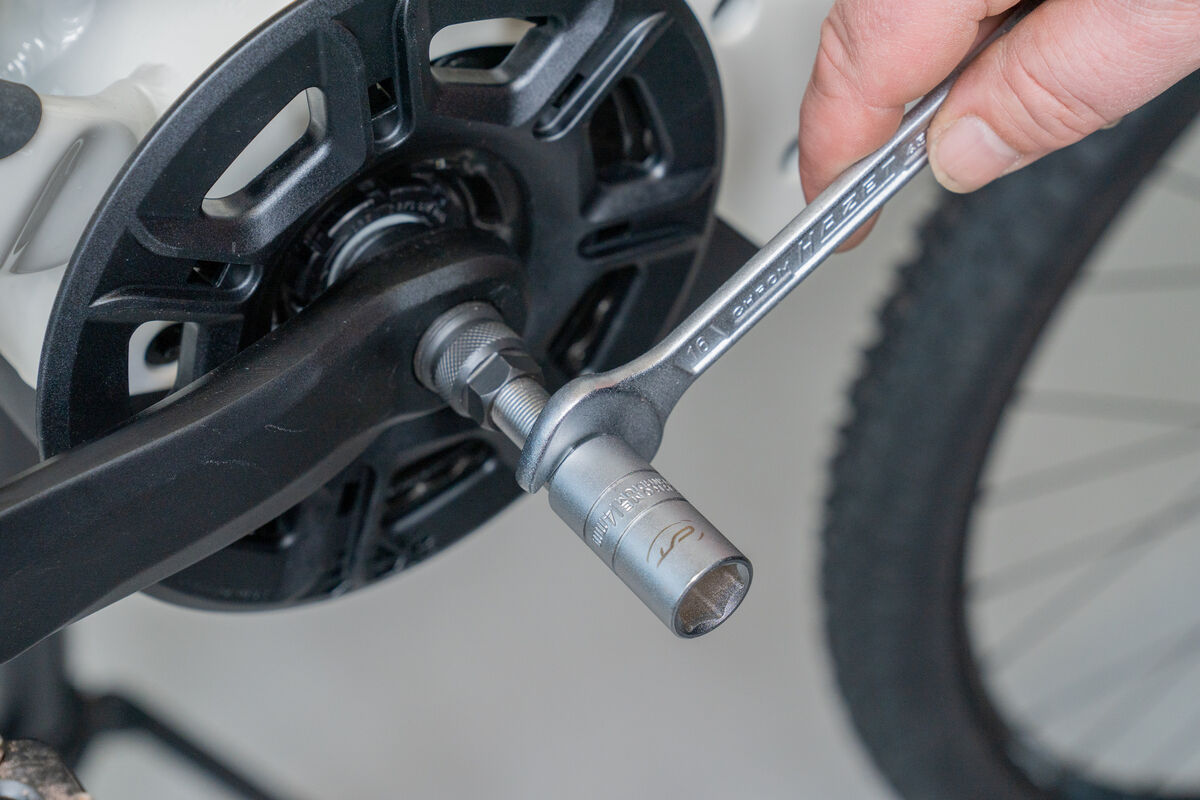
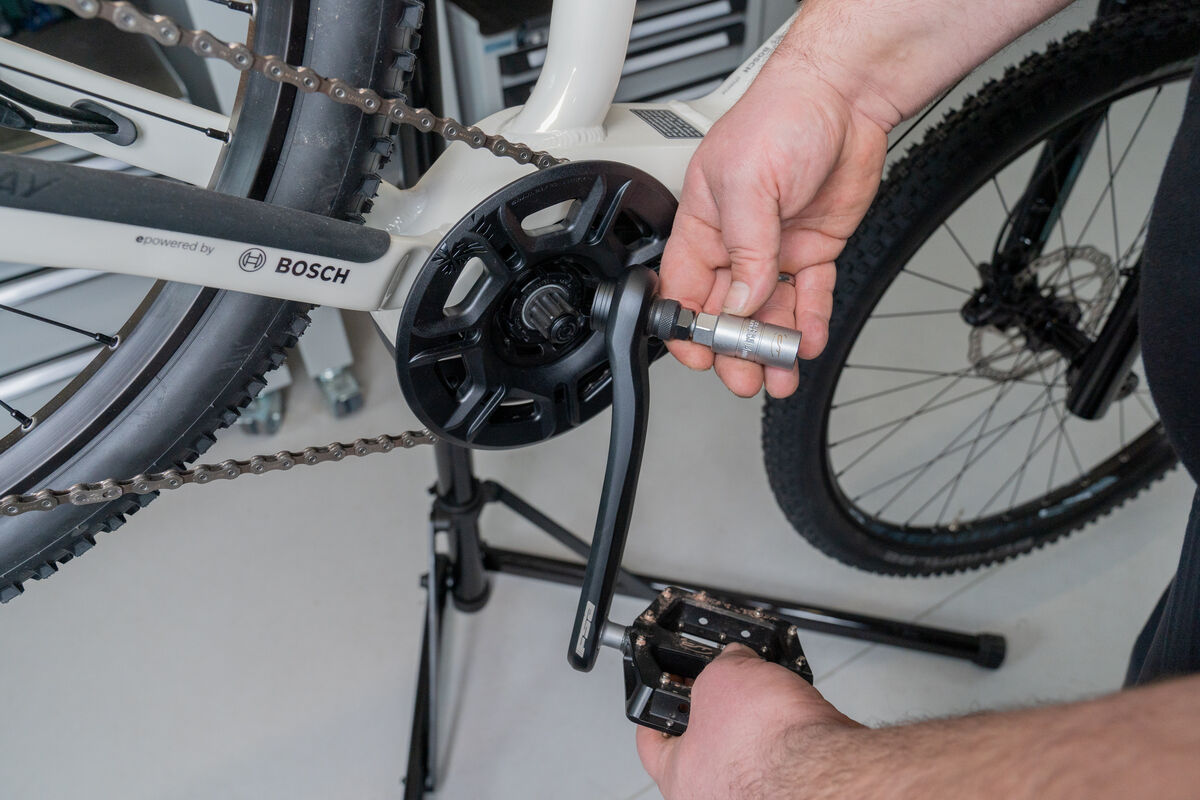
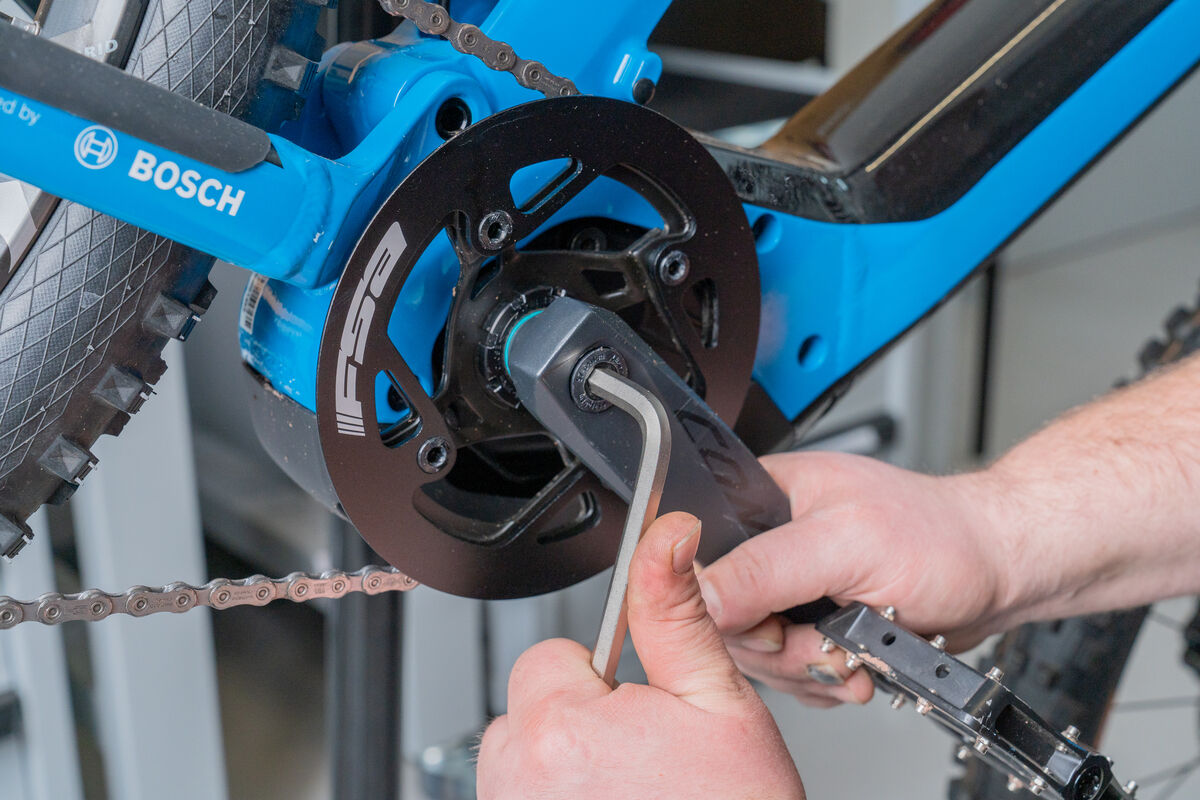
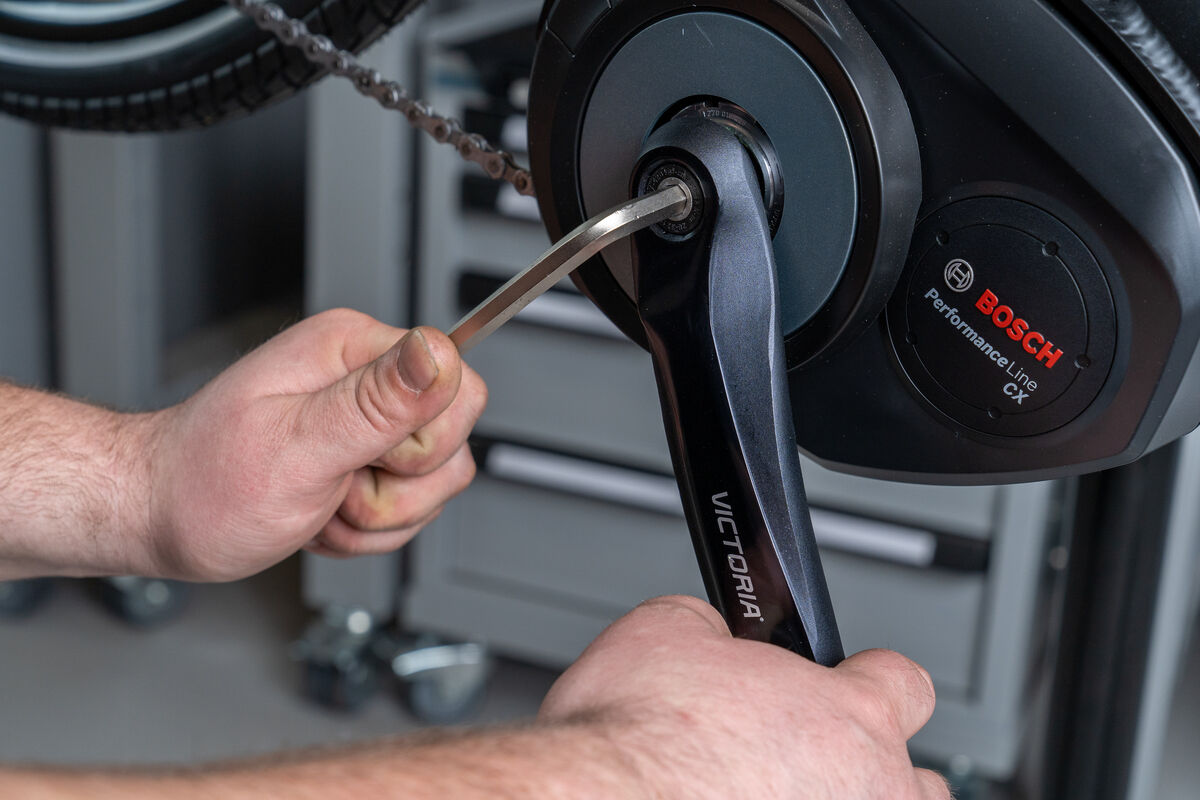
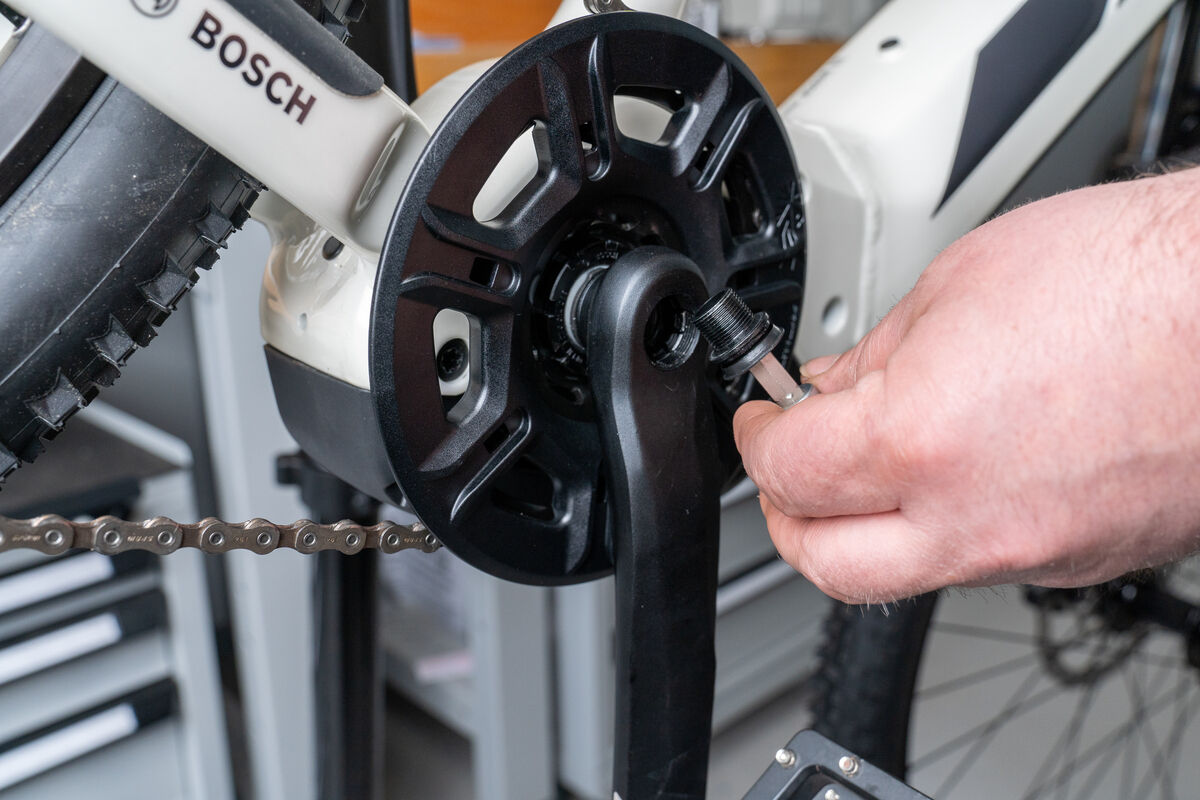
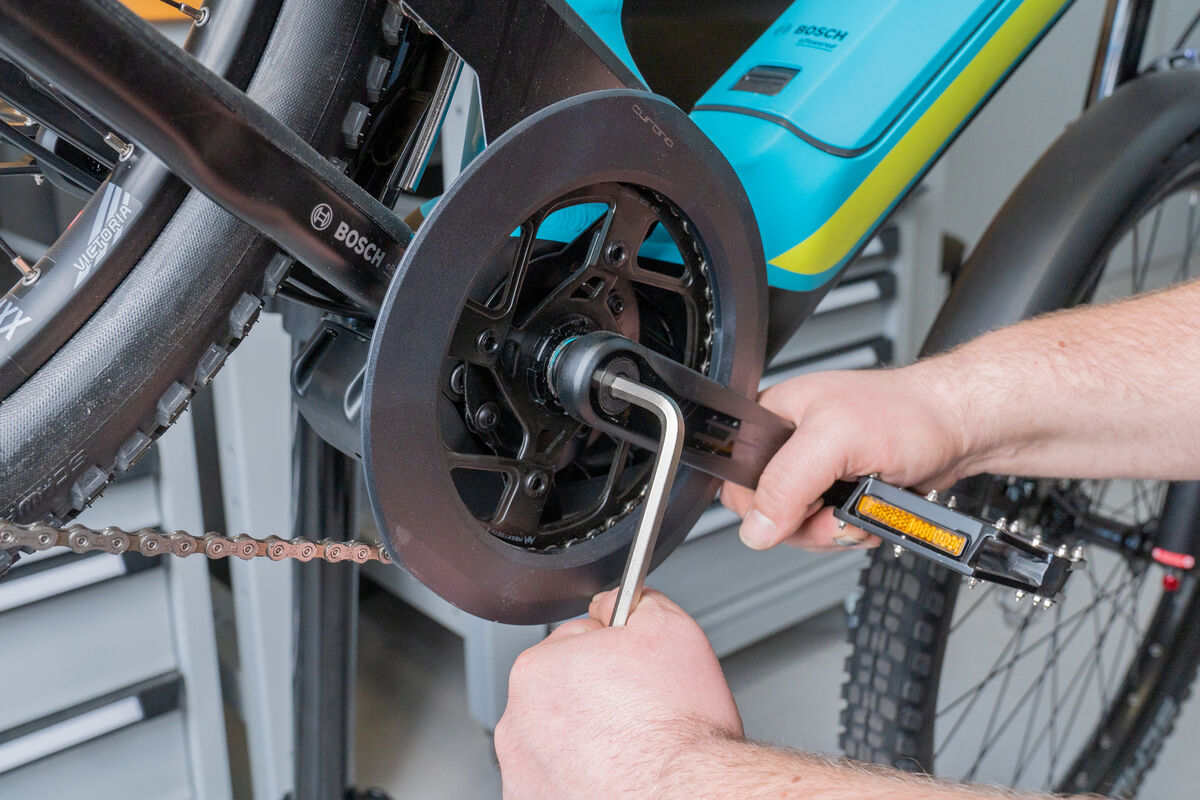
First, dismantle the drive-side crank arm by unscrewing it with the 8 mm inside hexagon key – which secures the crank arm on the ISIS bottom bracket spindle, by using it in a counterclockwise direction. Most crank bolts can be removed easily: the bolt has an integrated puller, with the help of which the crank is immediately pulled off the bottom bracket spindle, when the crank bolt is unscrewed. If, on the other hand, only a simple screw is installed on the crank, this will not work - the crank must be dismantled separately. This is done with a CONTEC crank puller, which is compatible with the ISIS bottom bracket.
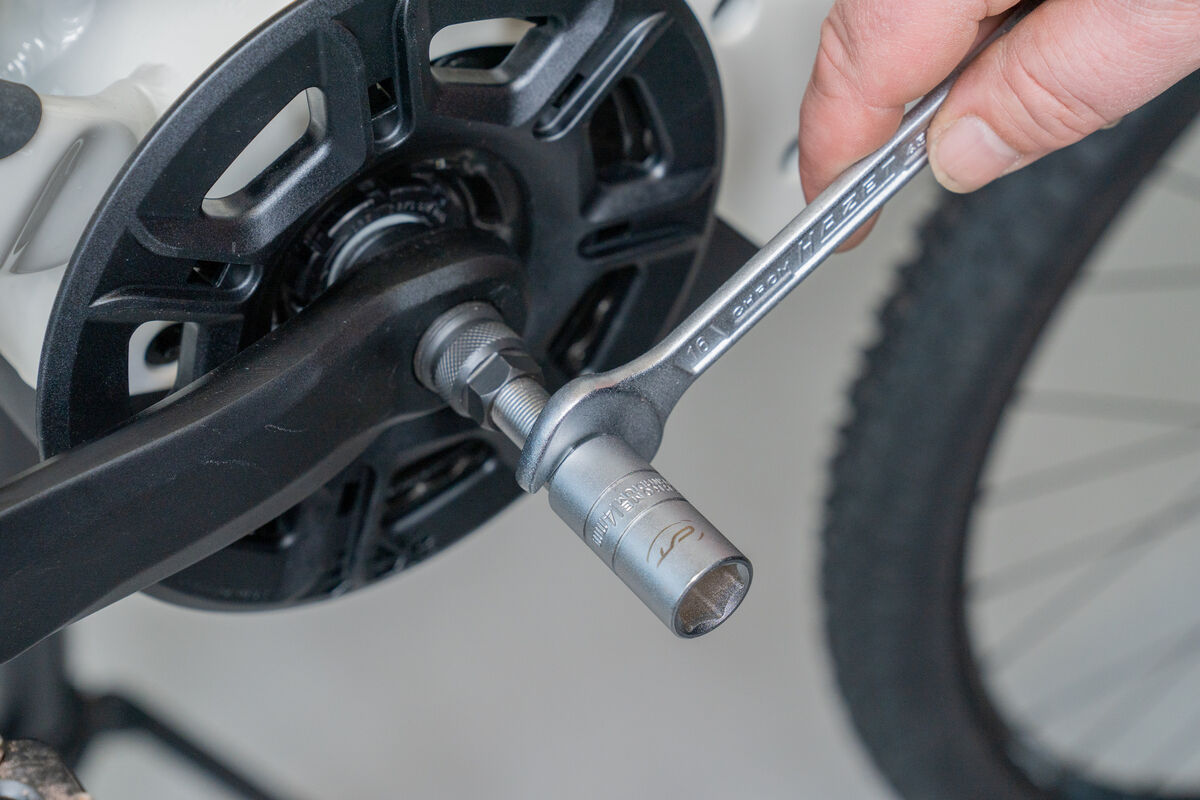
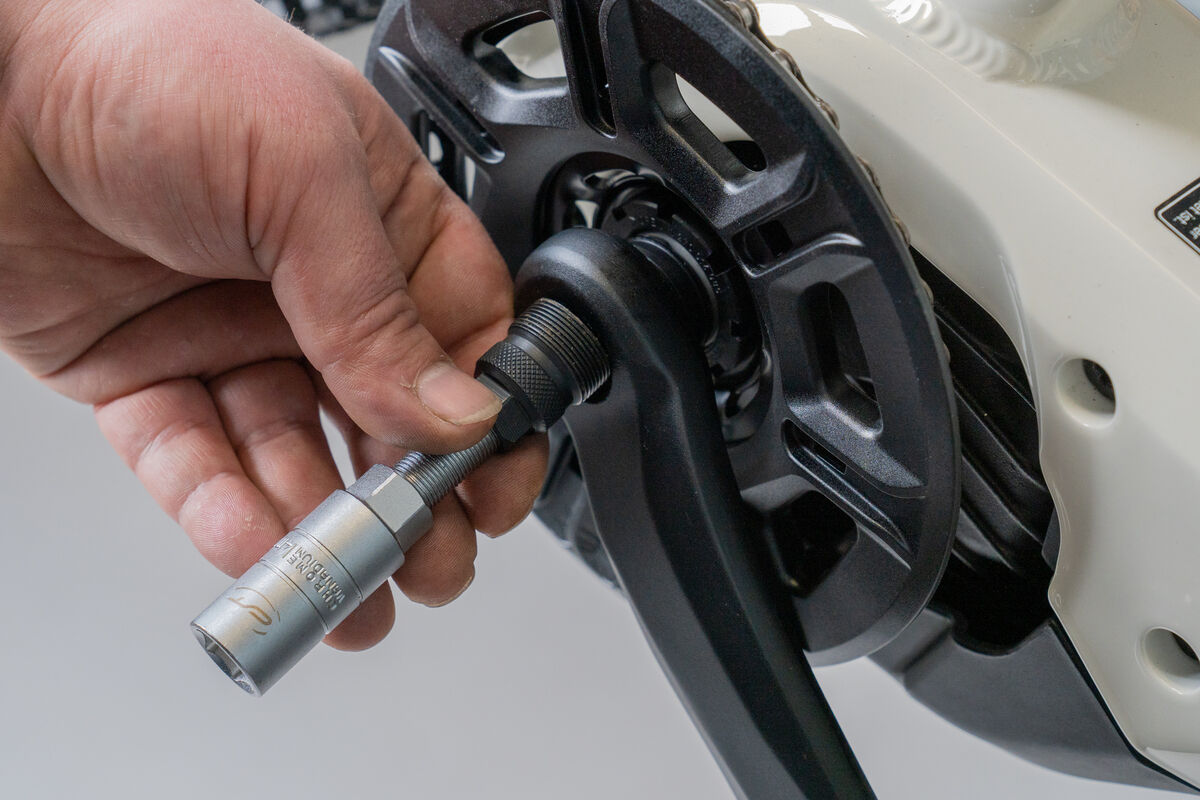
After you have unscrewed the crank bolt, place the crank puller cleanly on the crank thread and screw it in carefully. Attention: the thread needs to fit in perfectly to avoid damage to it! Now, first by hand, screw in the inner screw on the puller clockwise as far as it will go. Then, turn this inner screw further clockwise with a suitable inside hexagon key until the crank loosens by itself. Now you can lift it off the bottom bracket axle. While screwing it in with your right hand, hold the crank with your left.
Step 2: Disassembly of lock ring, O-ring & motor sprocket
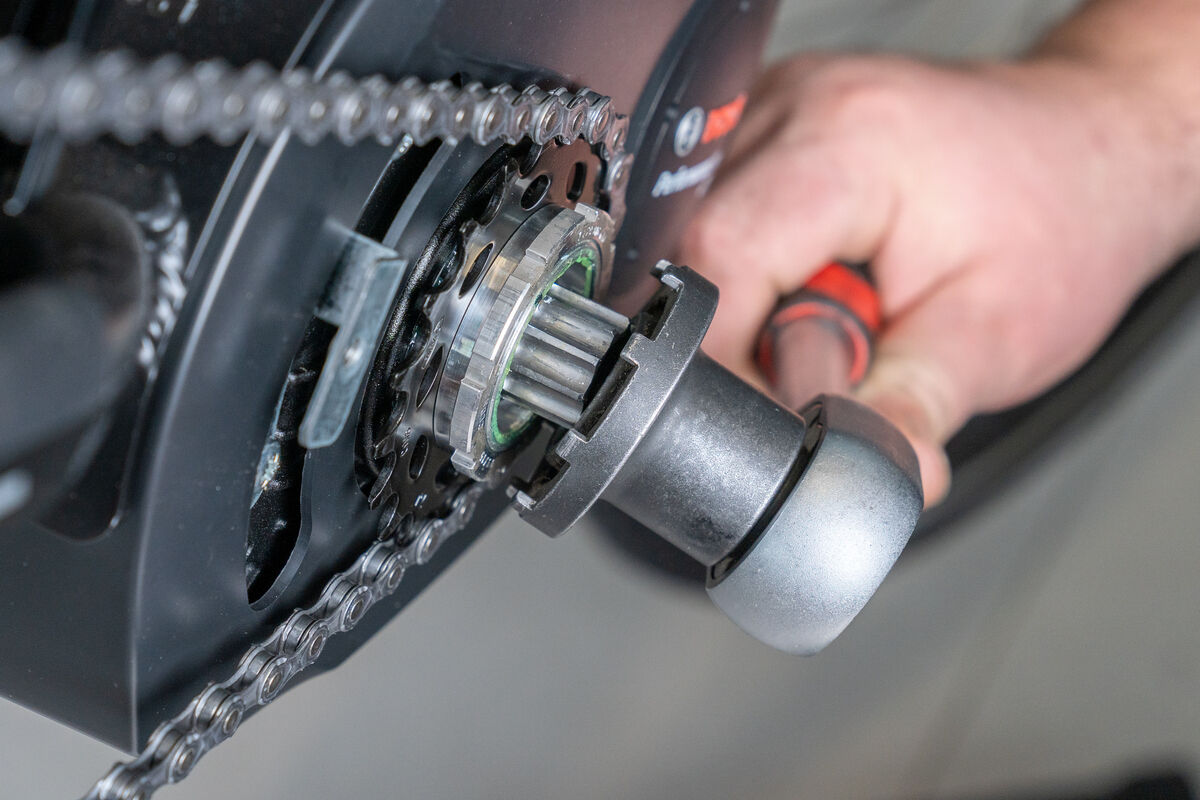
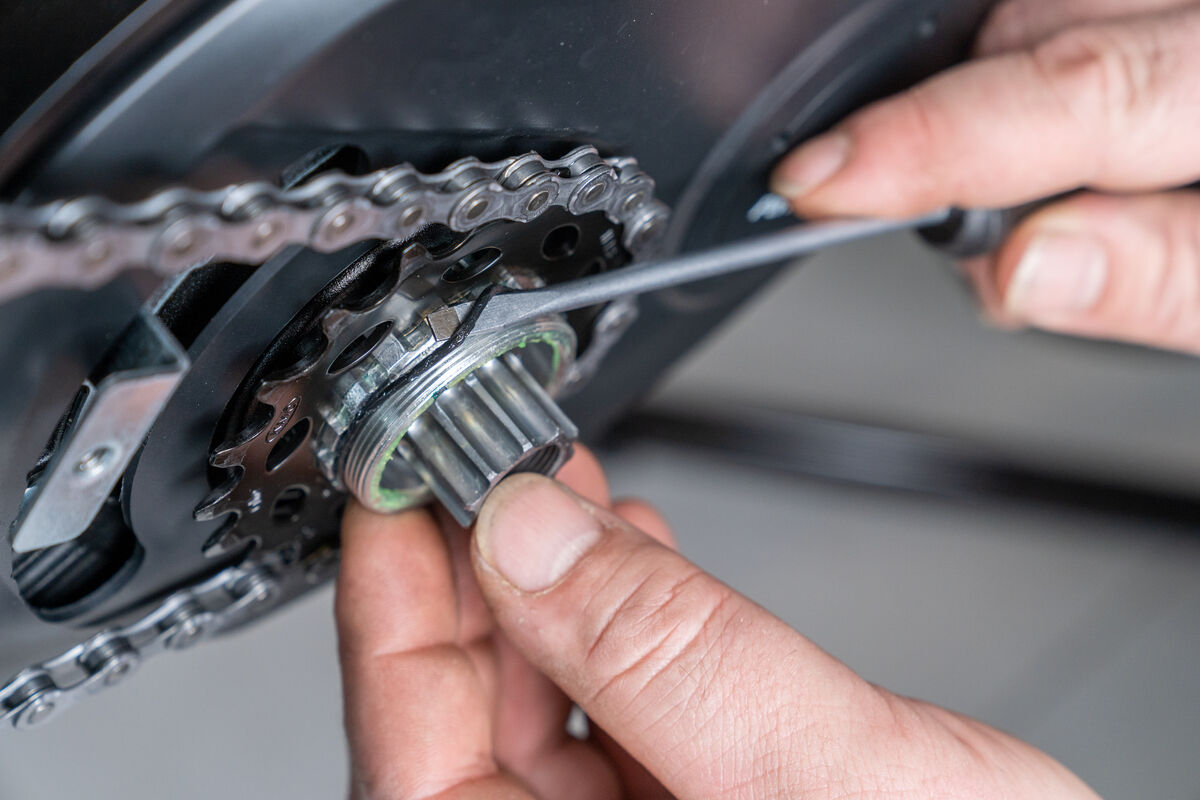
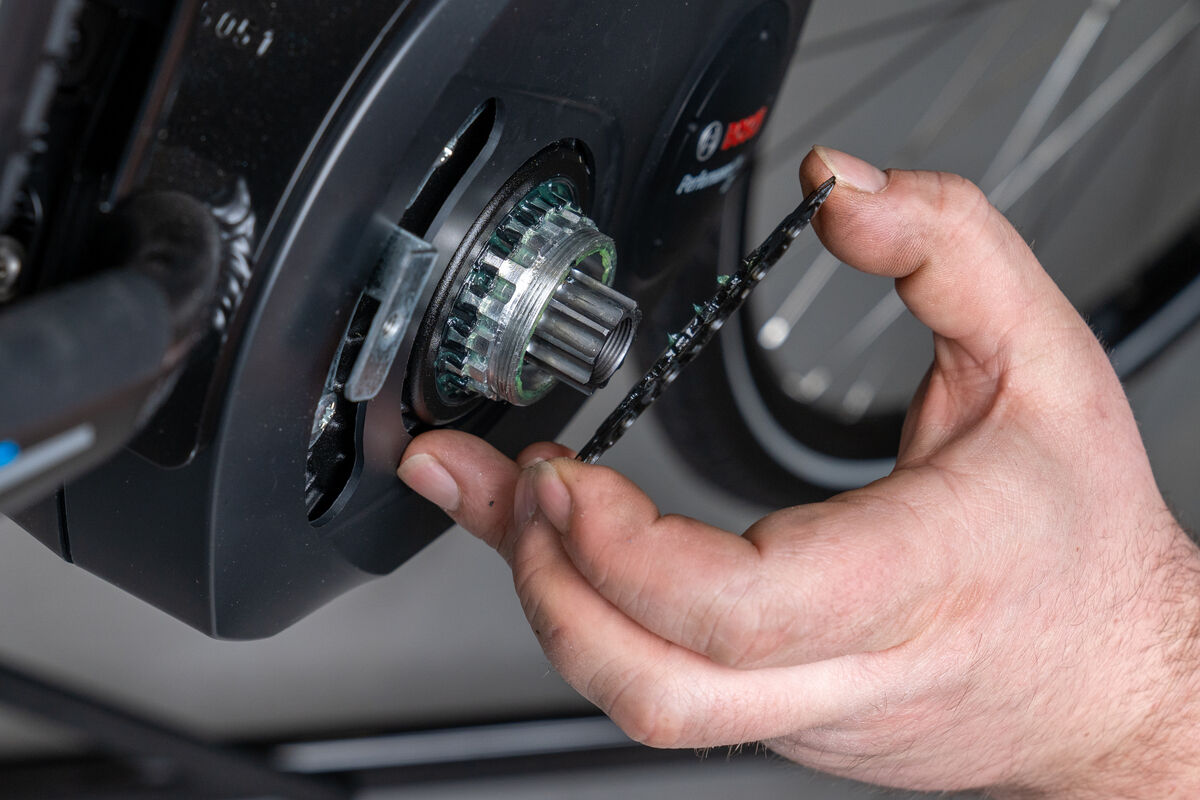
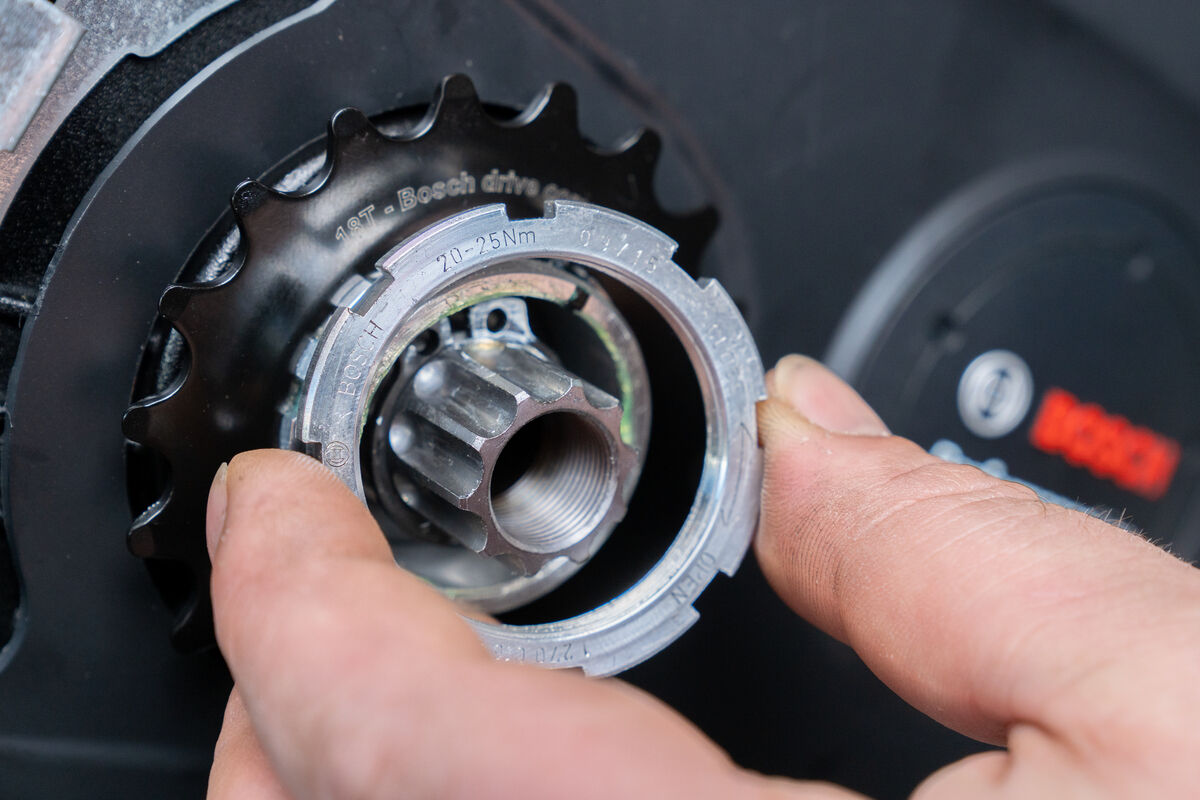
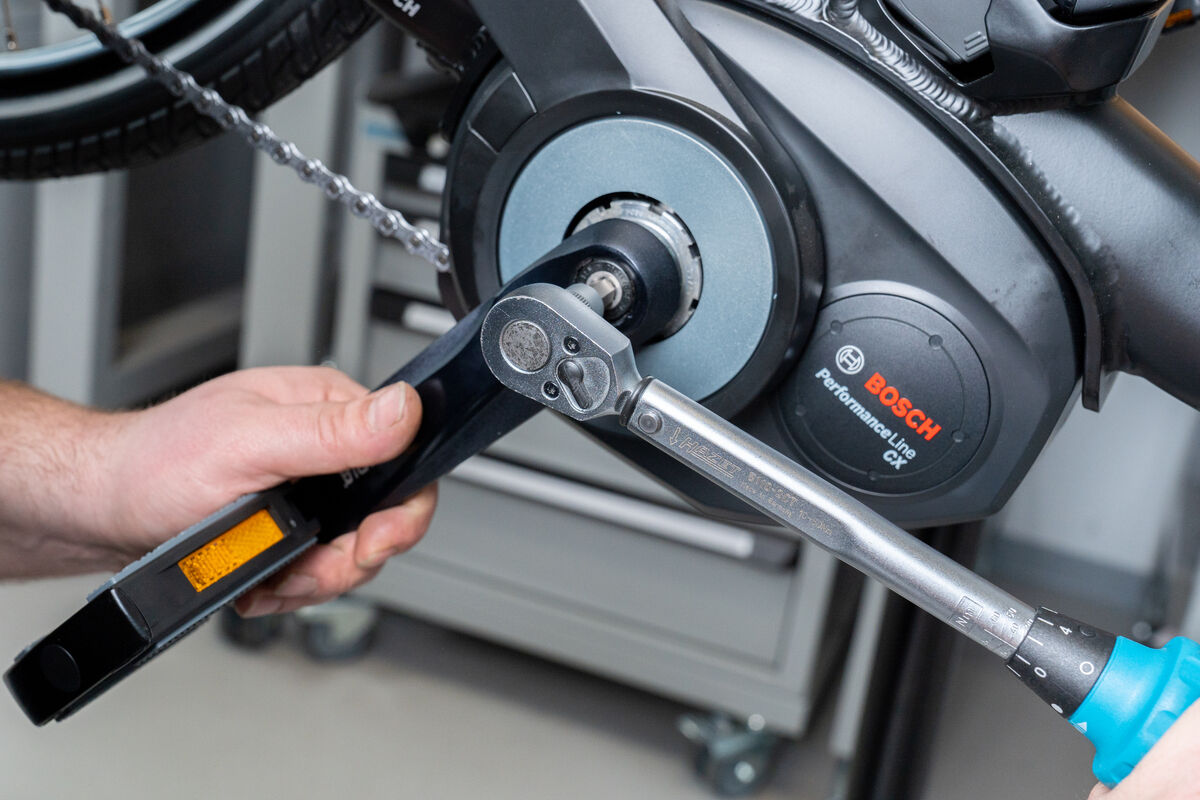
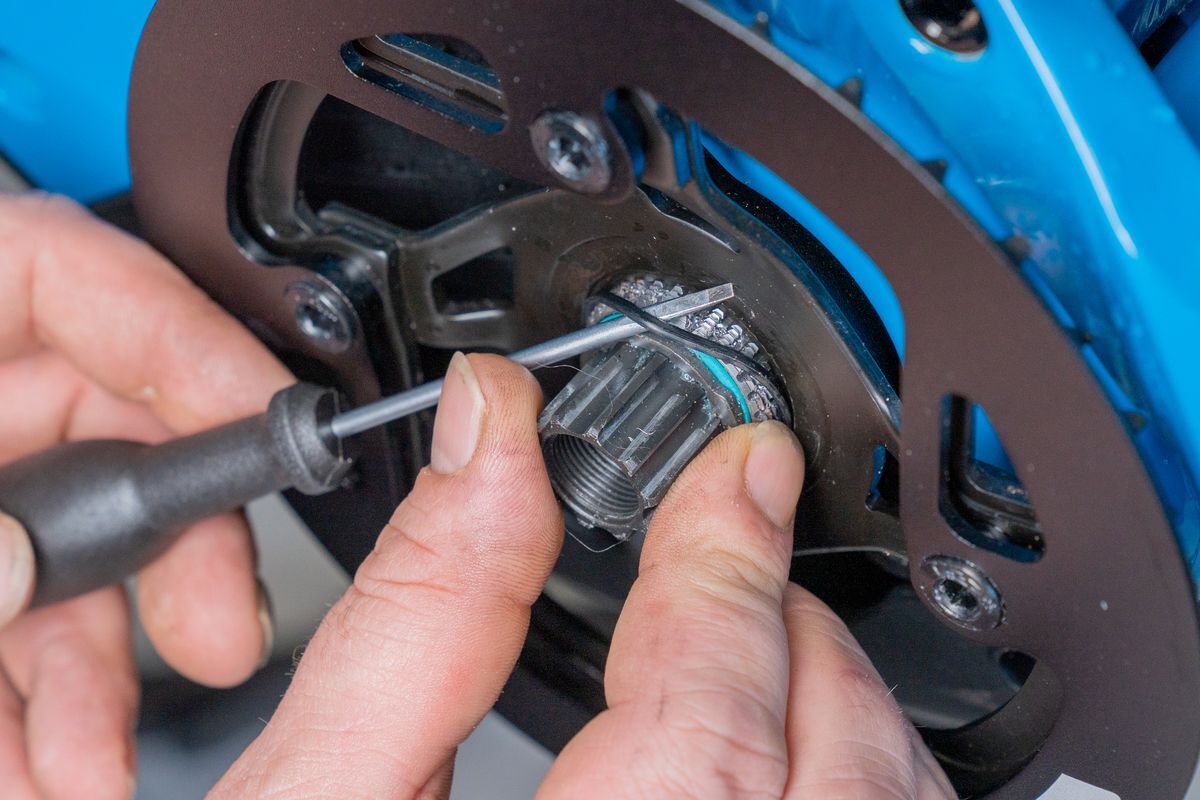
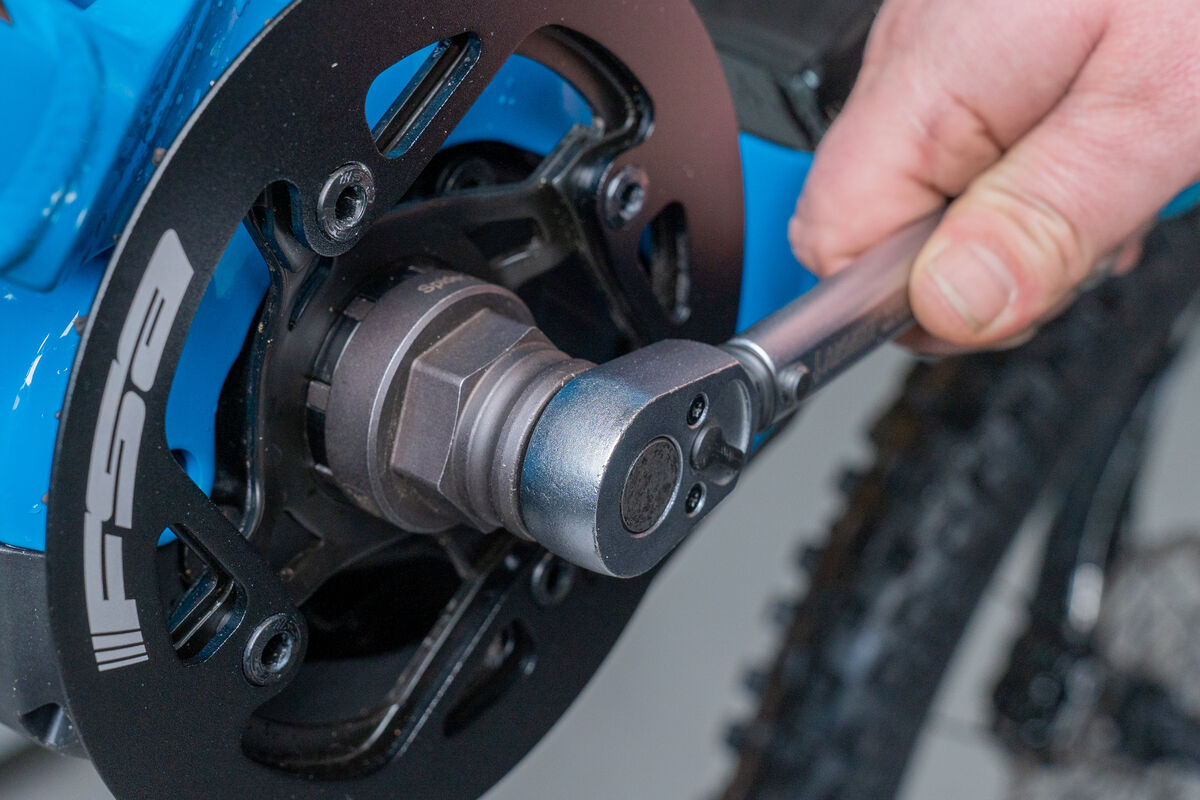
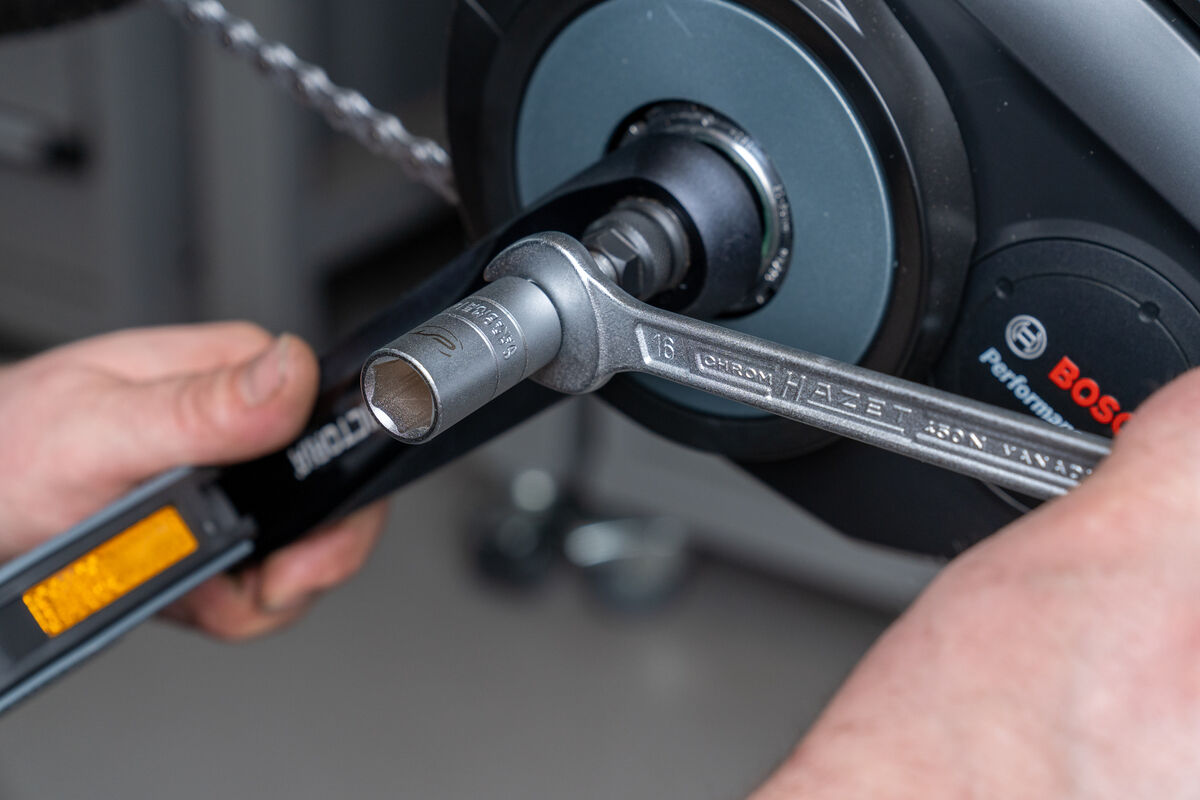
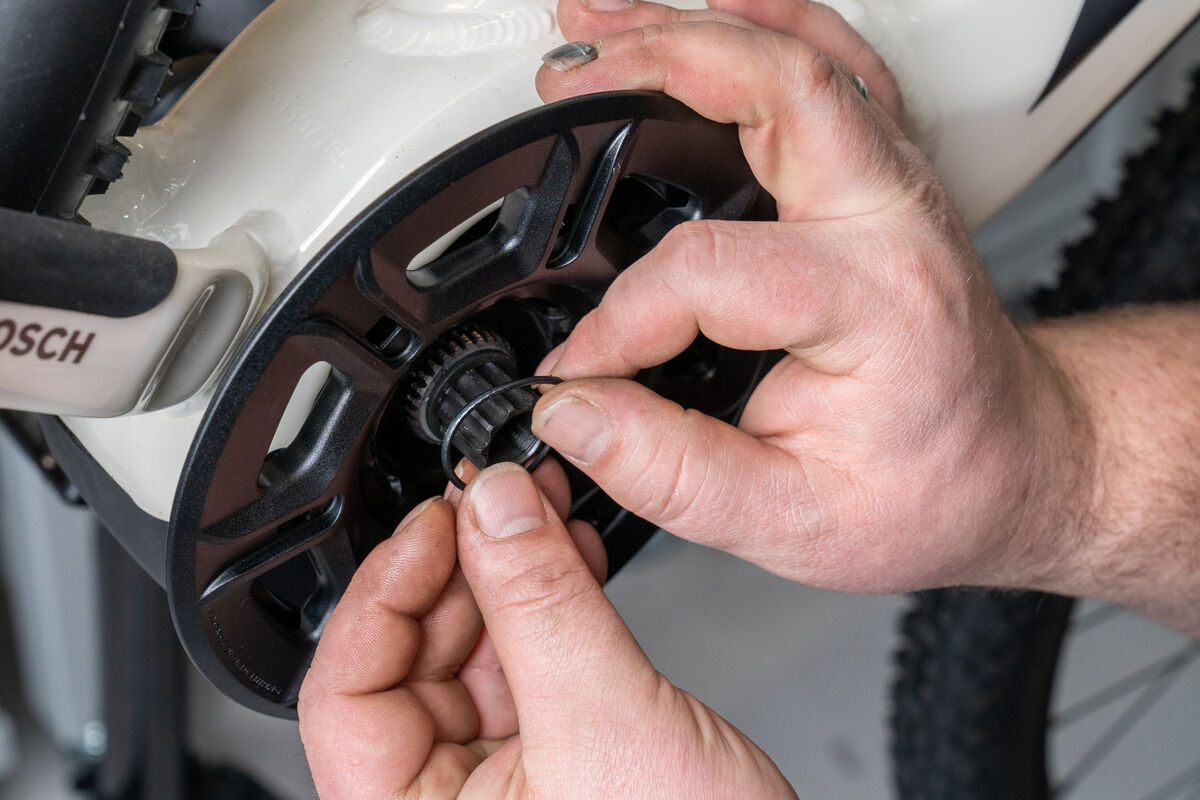
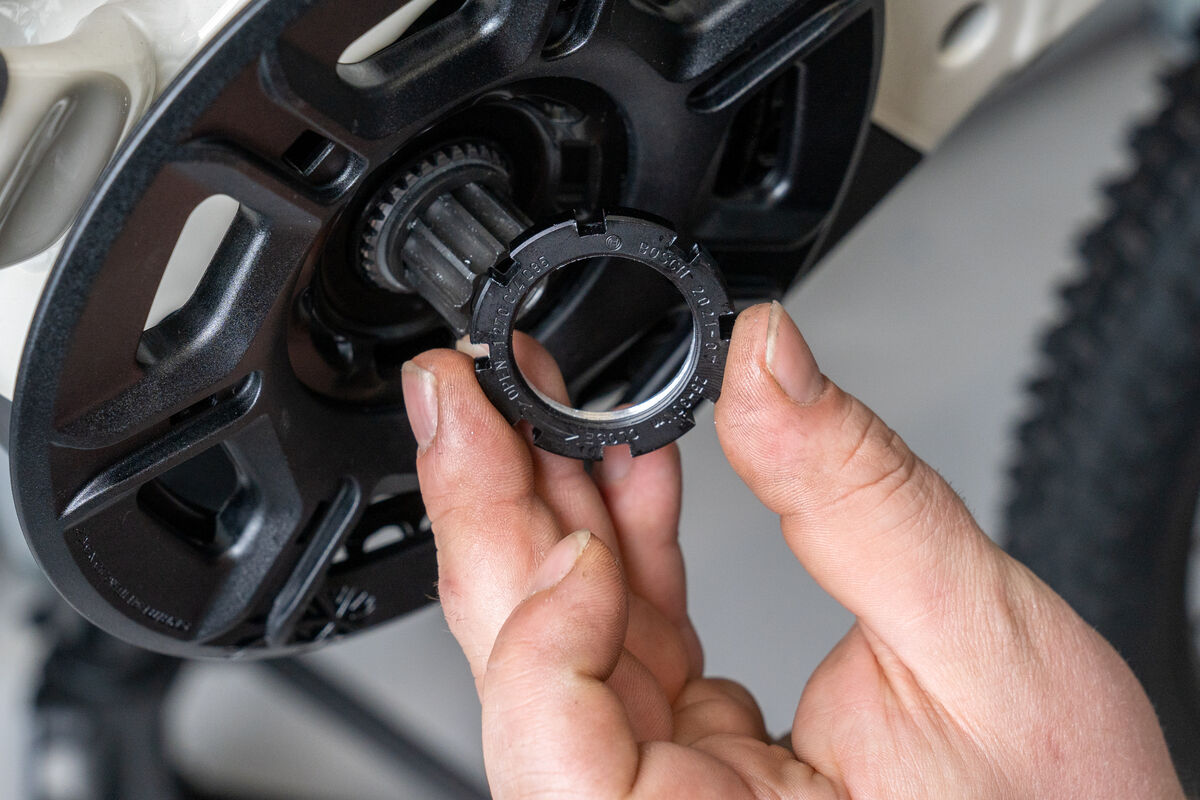
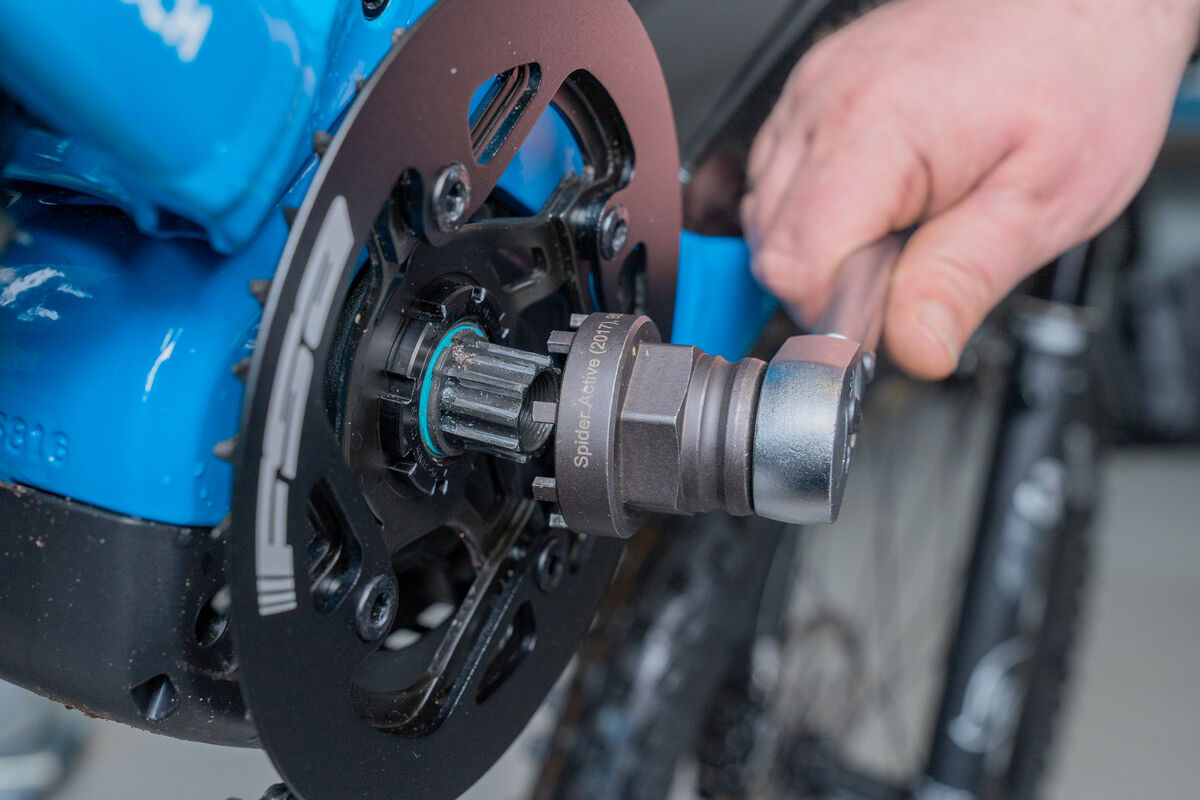
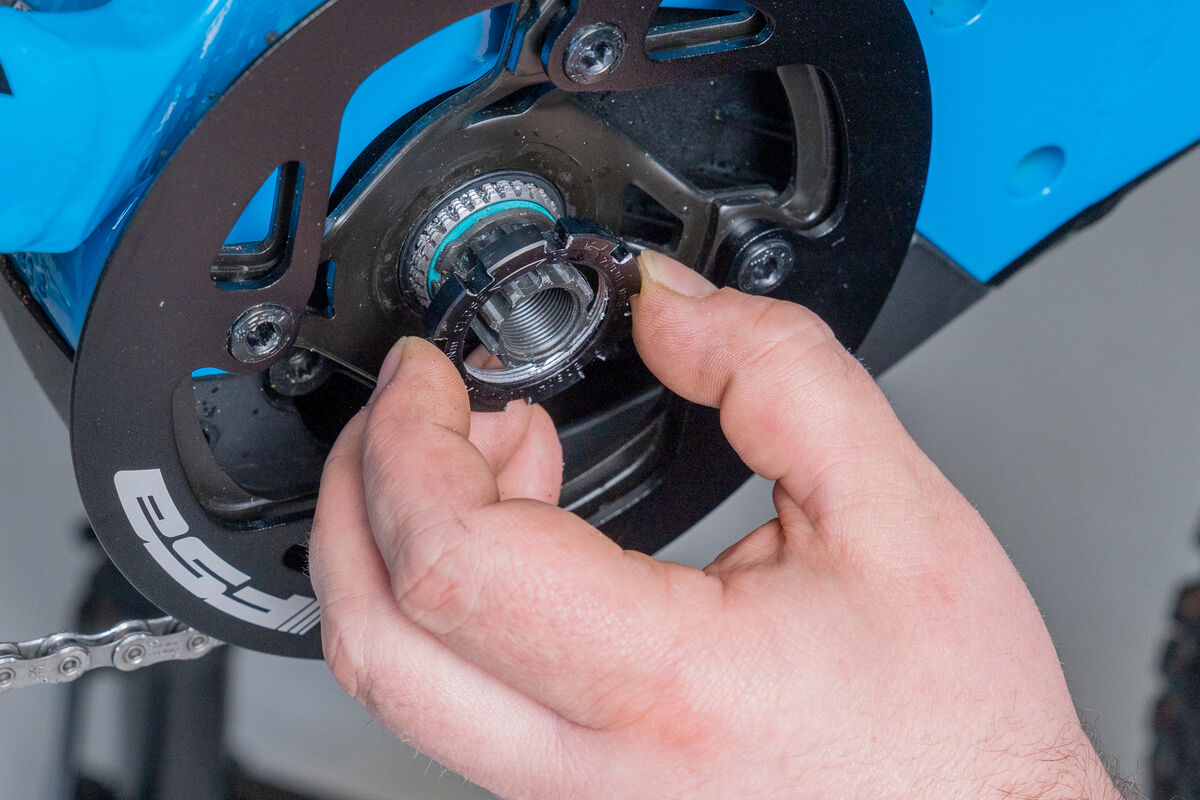
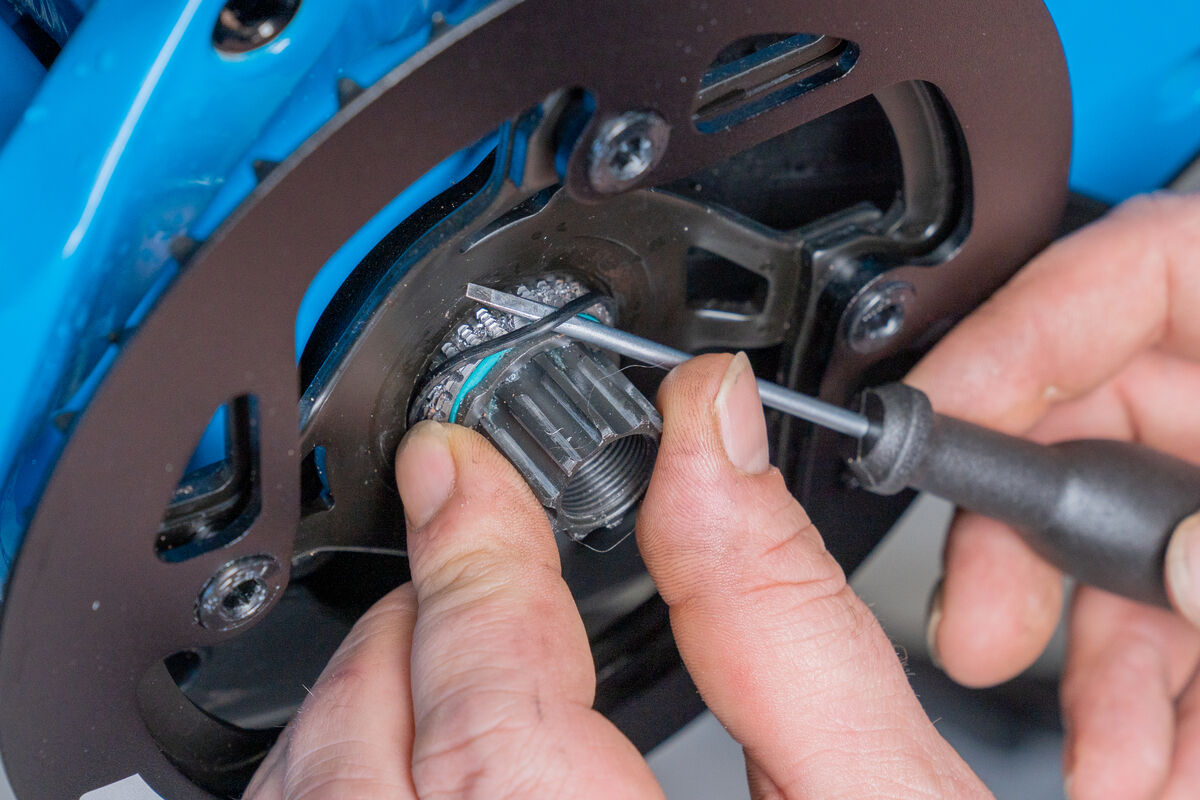
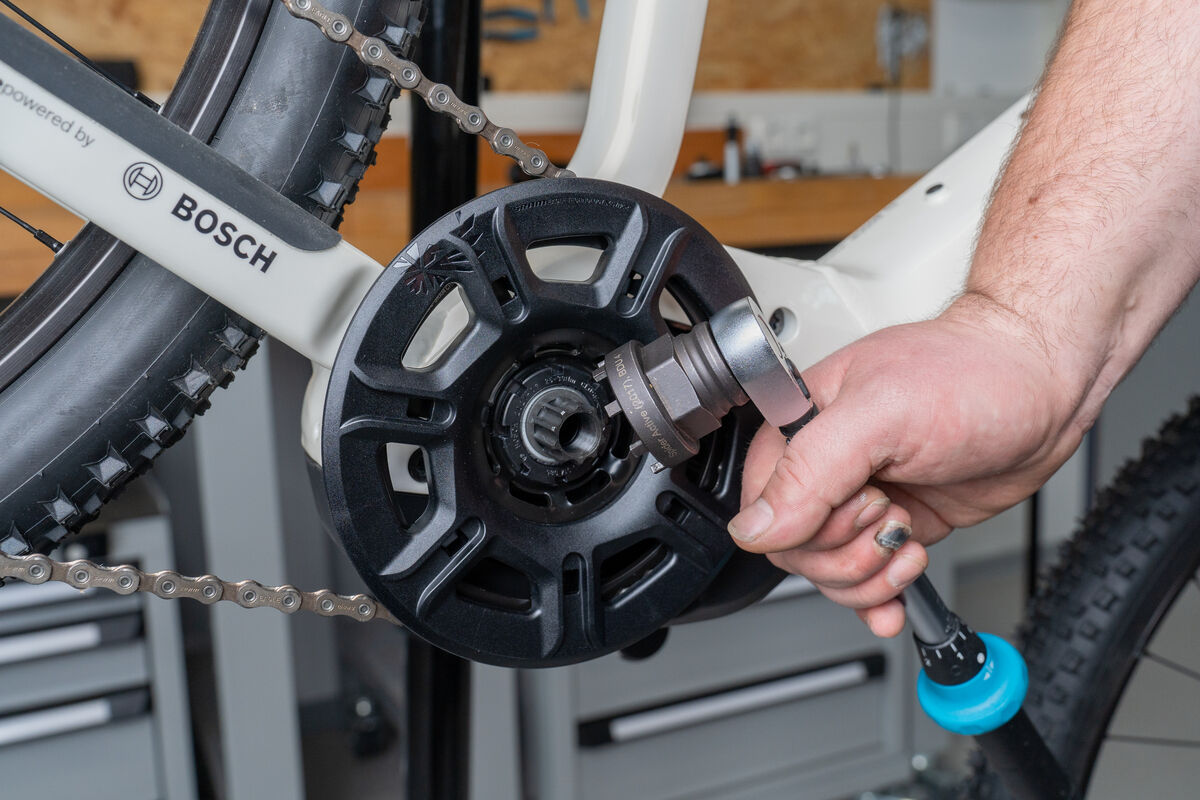
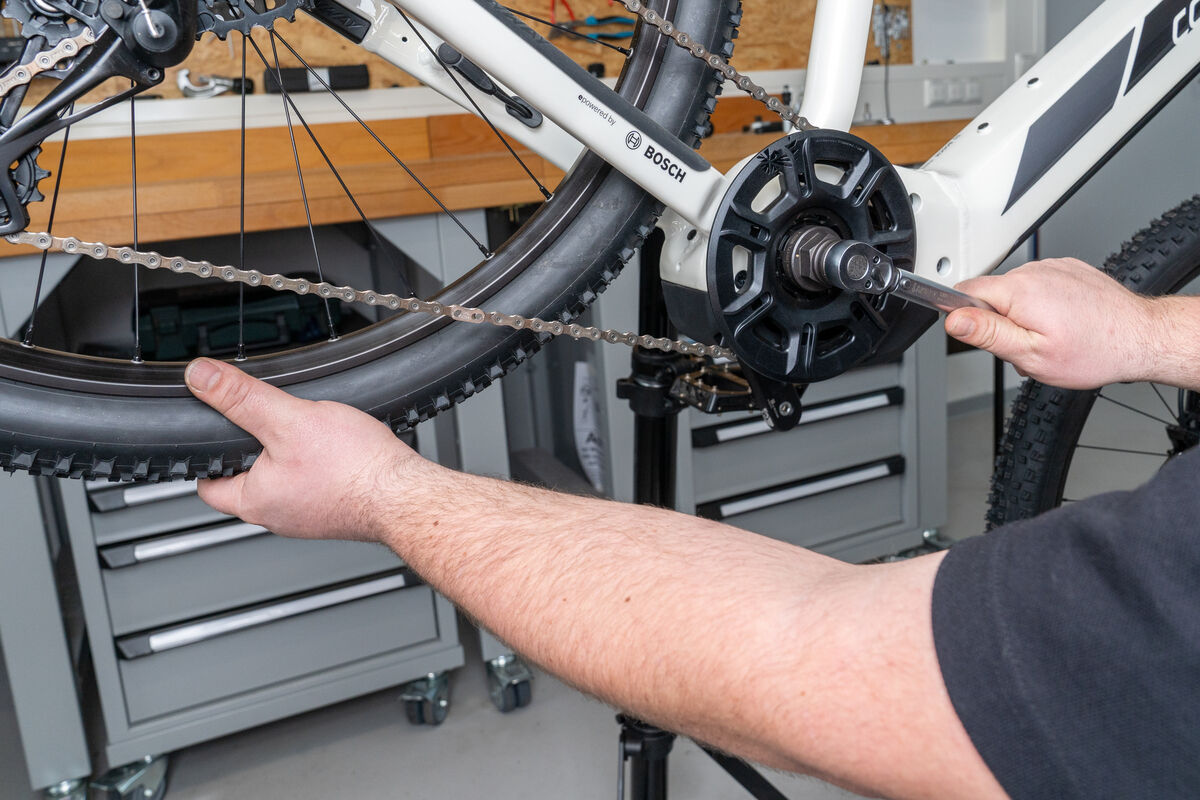
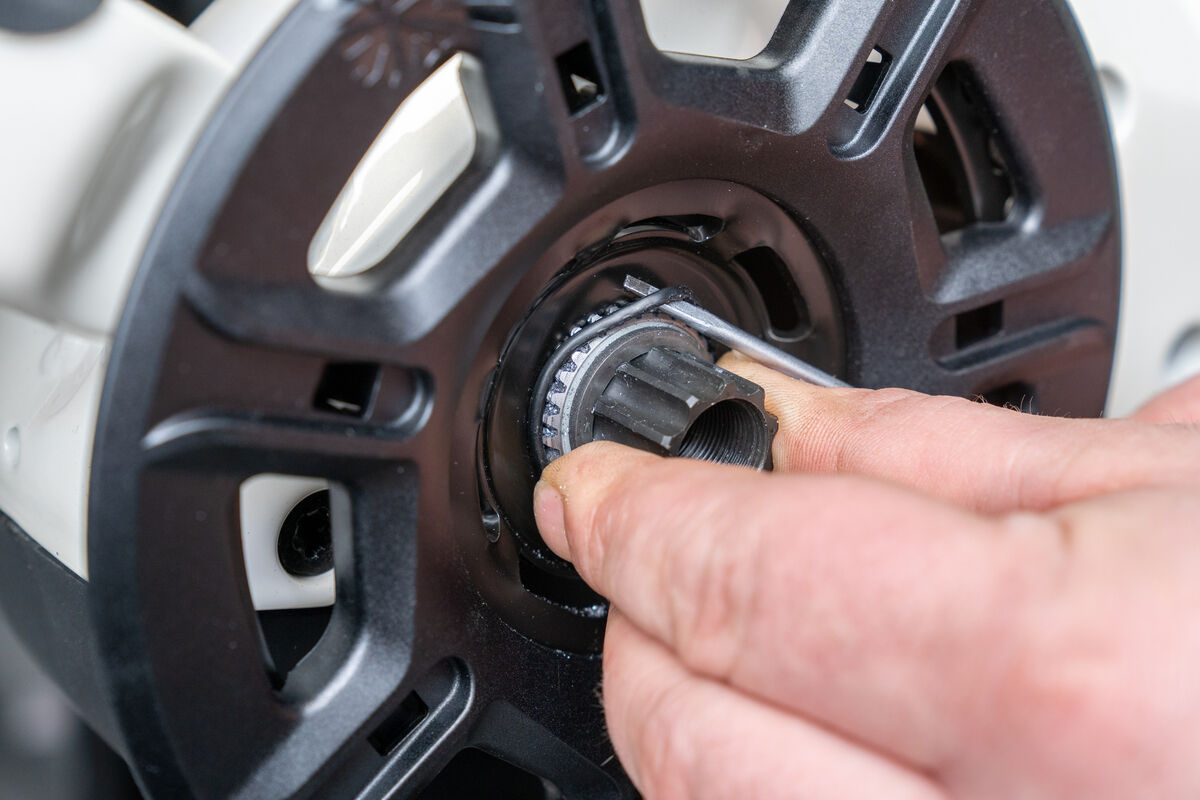
The motor sprocket is held in position on the axle by a lock ring. This must be dismantled next. Since the lock ring sits on the axle, you'll need to keep it from twisting, in order to loosen the ring. To do this, hold the rear tire to block the axle while applying the Bosch lock ring tool on the ratchet. Now turn the ratchet clockwise to loosen the lock ring. Attention: the lock ring of the motor sprocket has a left-hand thread, so it is locked counterclockwise and loosened by turning clockwise. Then use tweezers to lift off the O-ring, which is installed in front of the motor’s chain sprocket – be careful to not destroy it. If it is already damaged, an inexpensive replacement is worthwhile.
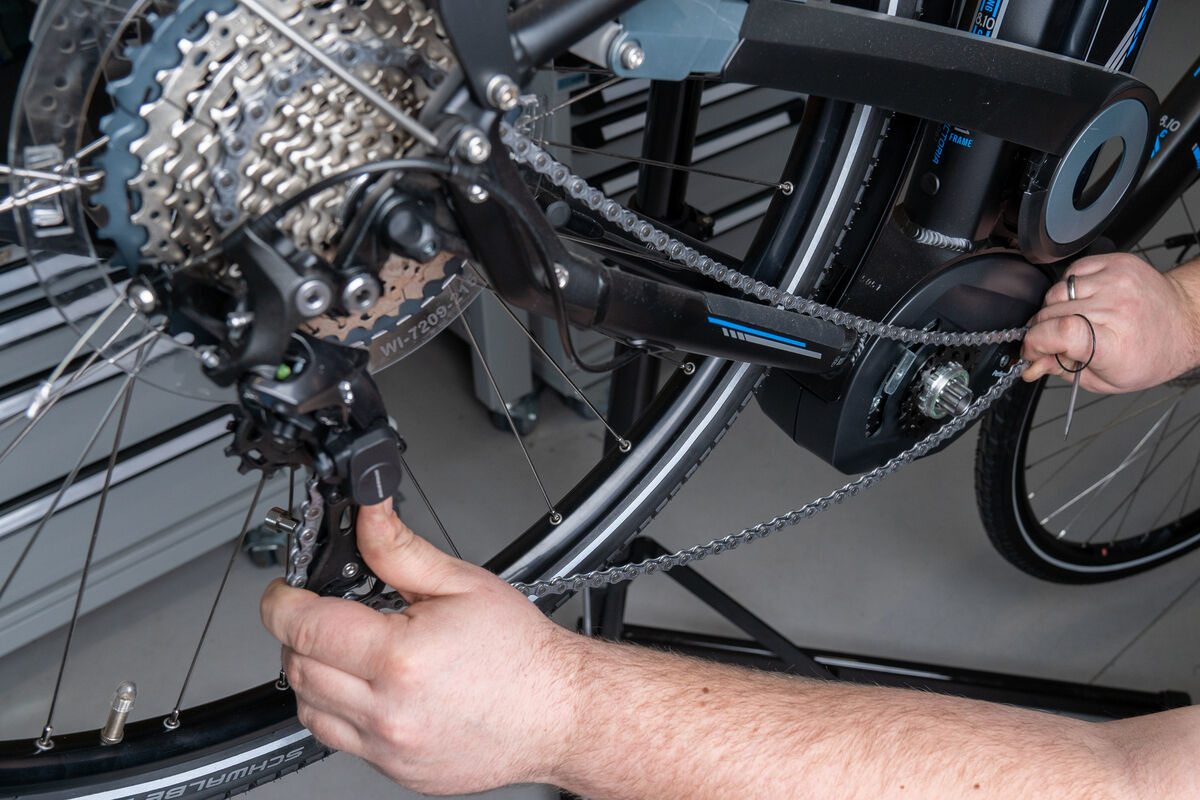
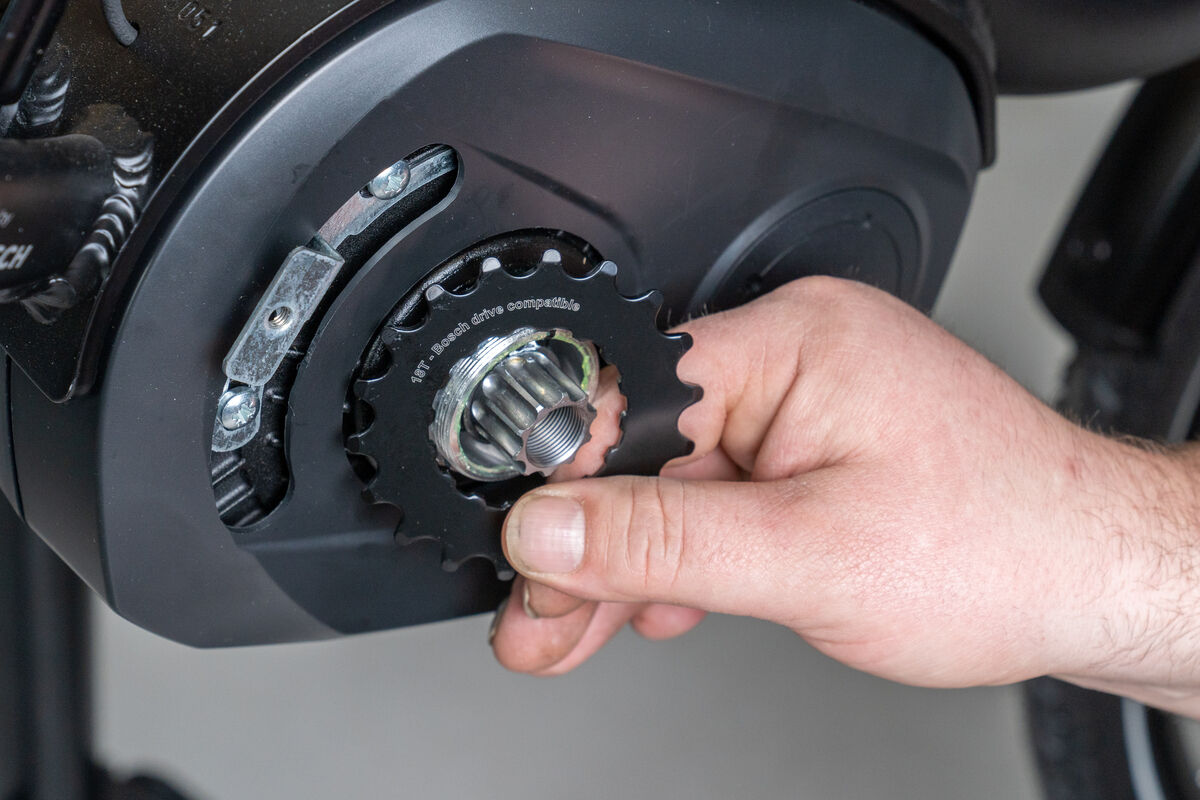
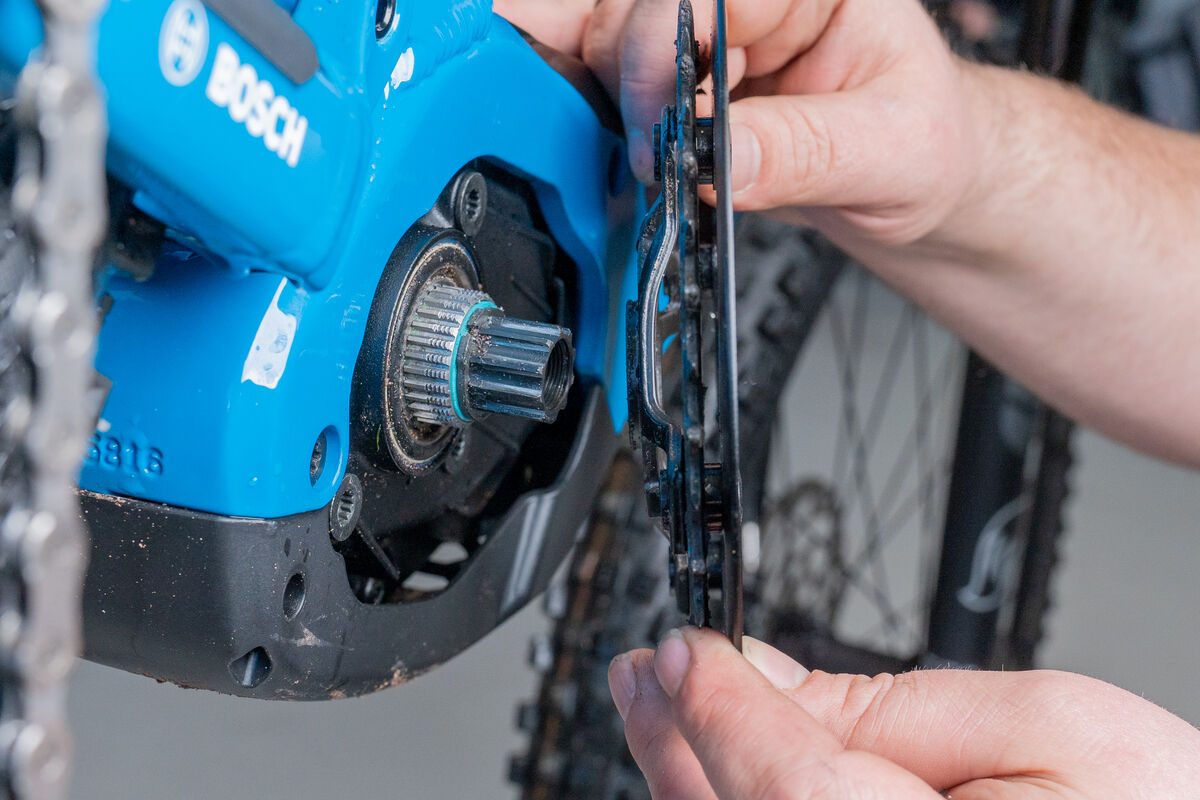
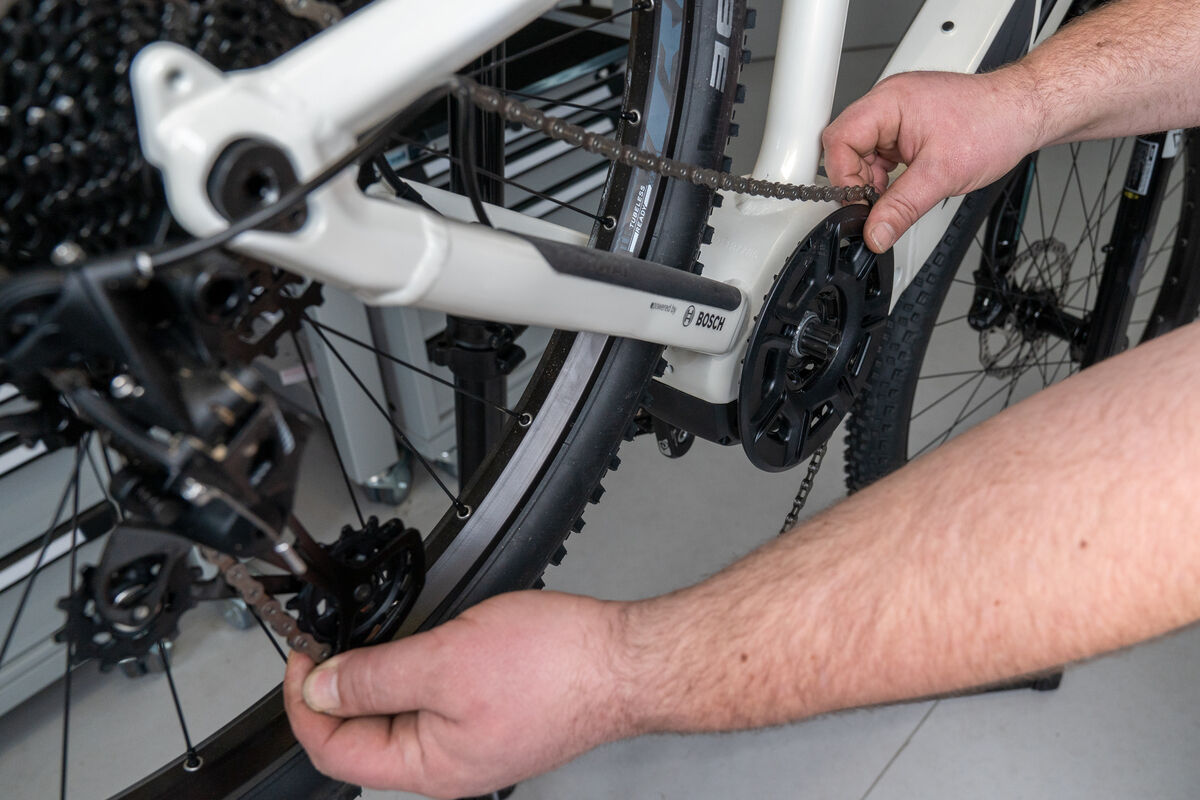
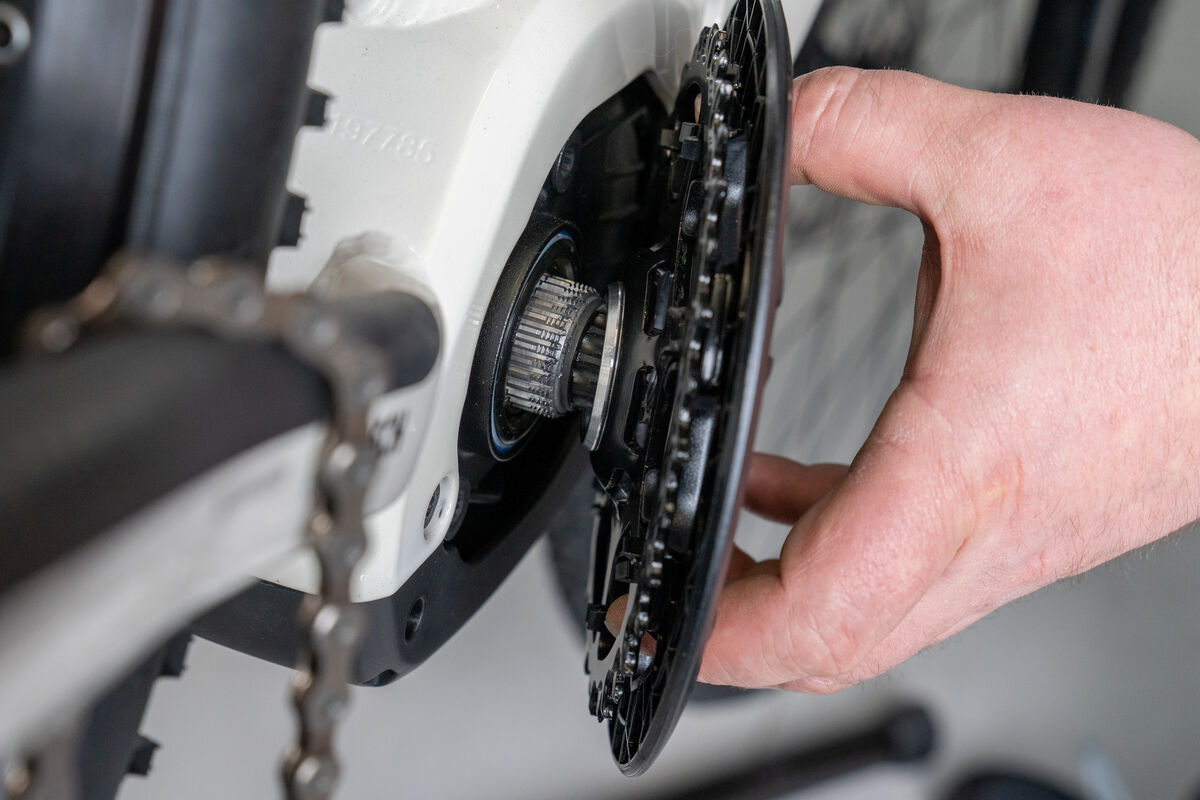
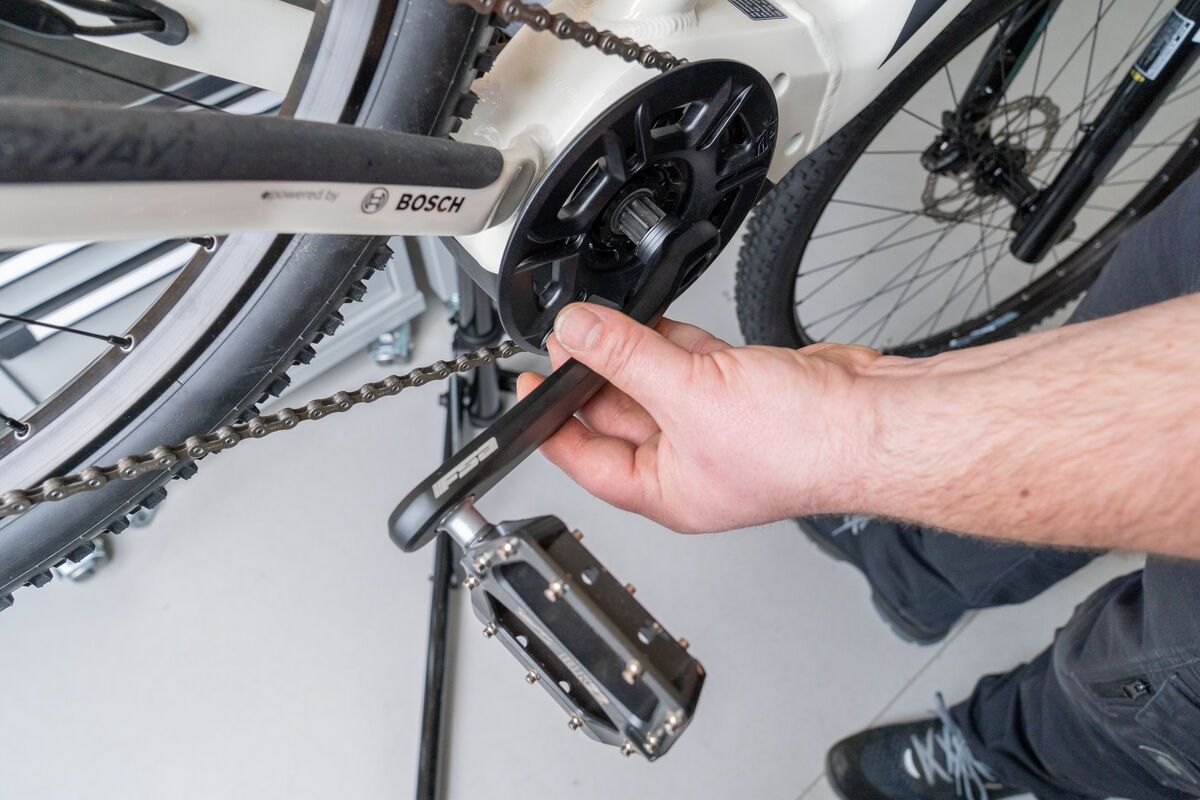
Now that the sprocket is loose, you can easily remove the chain and immediately remove the motor sprocket with the protective ring installed.
Step 3: Installation of the new motor sprocket with spacer ring, O-ring and lock ring
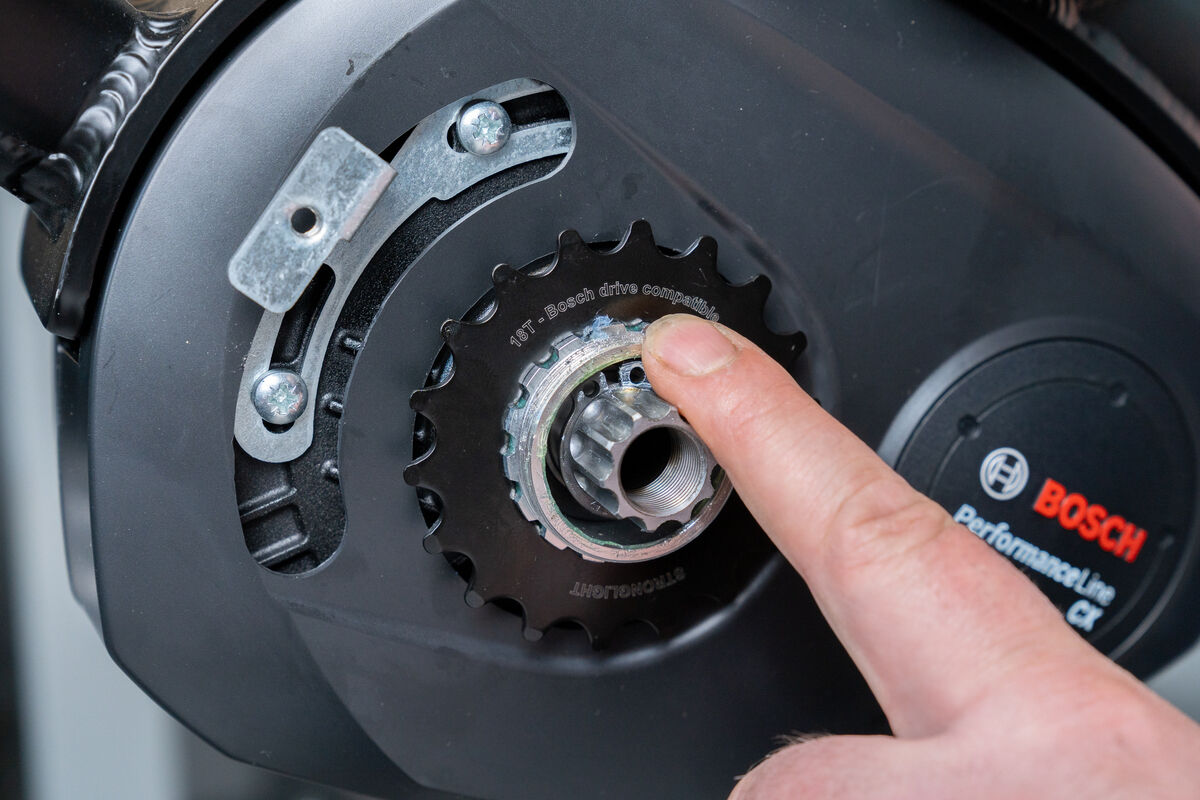
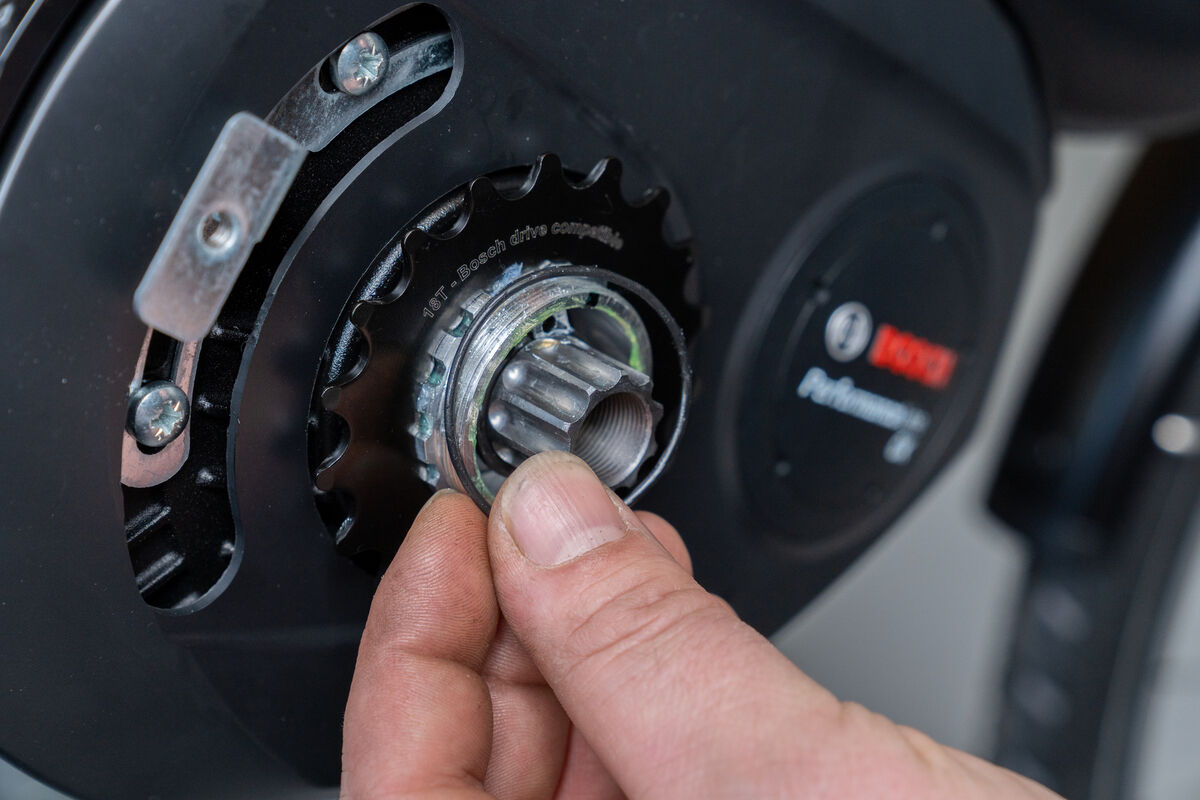
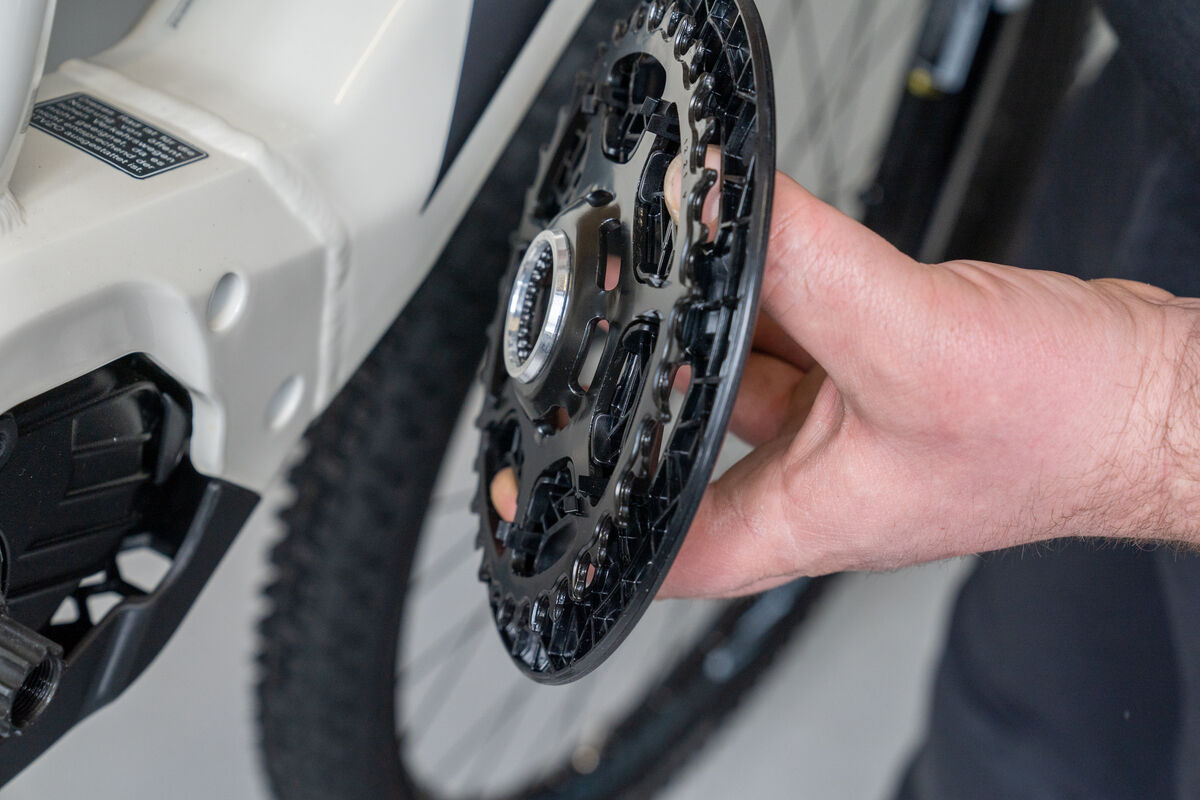
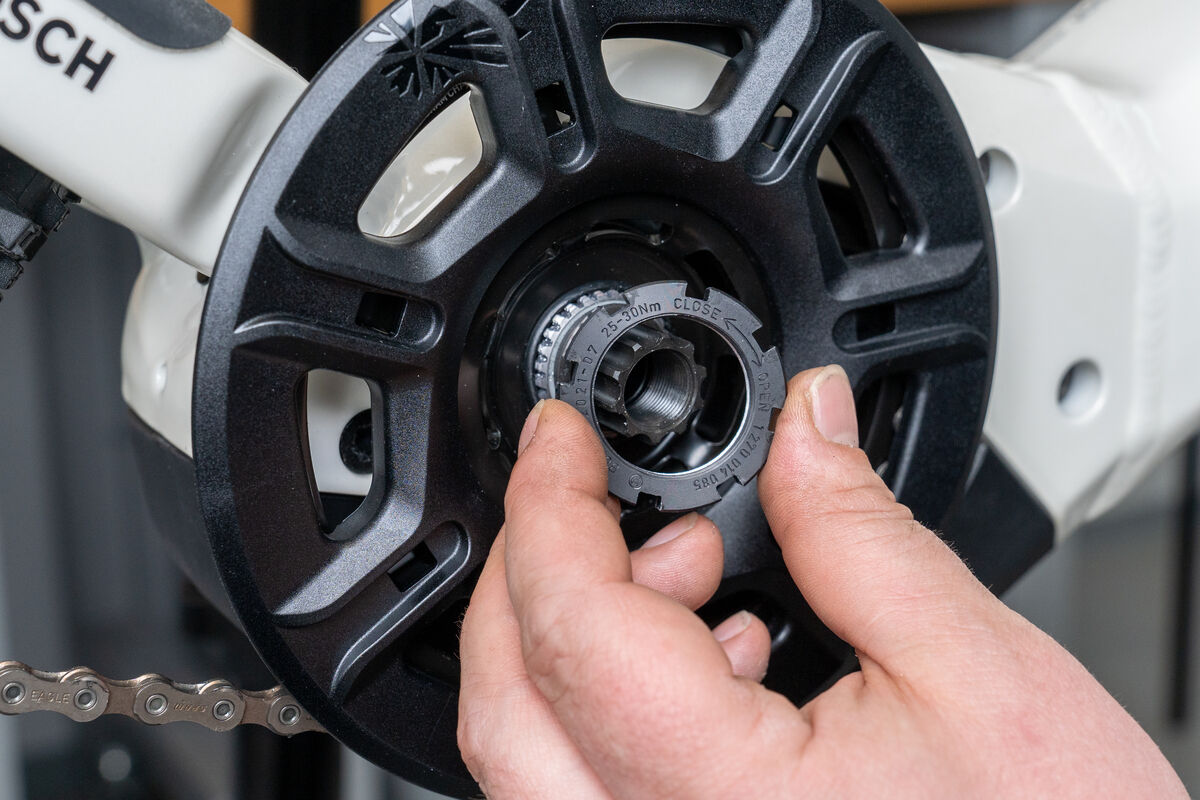
Now mount the spacer ring that comes with the motor sprocket onto the multi-tooth profile of the Bosch drive (the spacer ring is only installed on bikes with a belt drive). What this does: It creates the correct chain line and thus effectively prevents the chain from rubbing on the frame or the engine housing, as a result of an incorrect chain line. After the spacer ring, you now put the new sprocket (depending on the model) on the multi-tooth profile of the axle, making sure that the motor sprocket is put in place the right way. In other words: You should be able to read the lettering on it while you press it on by hand. Now position the O-ring in front of the sprocket.
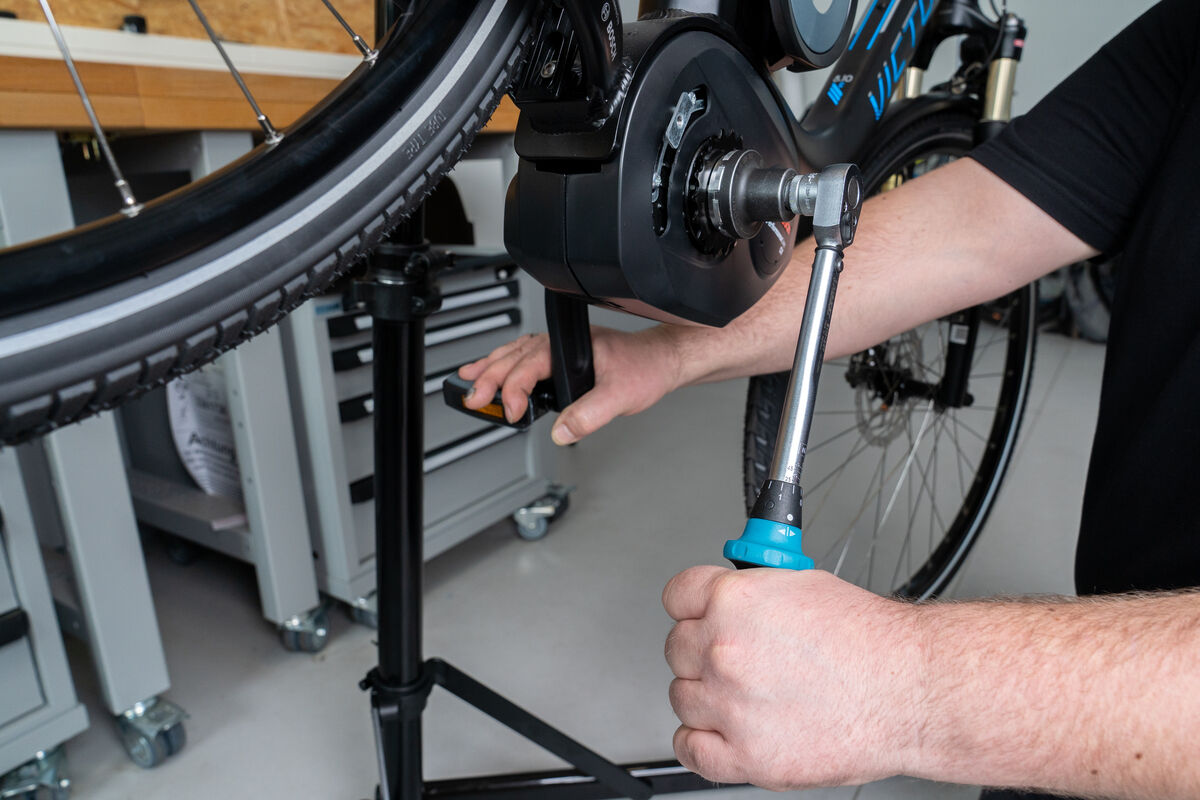
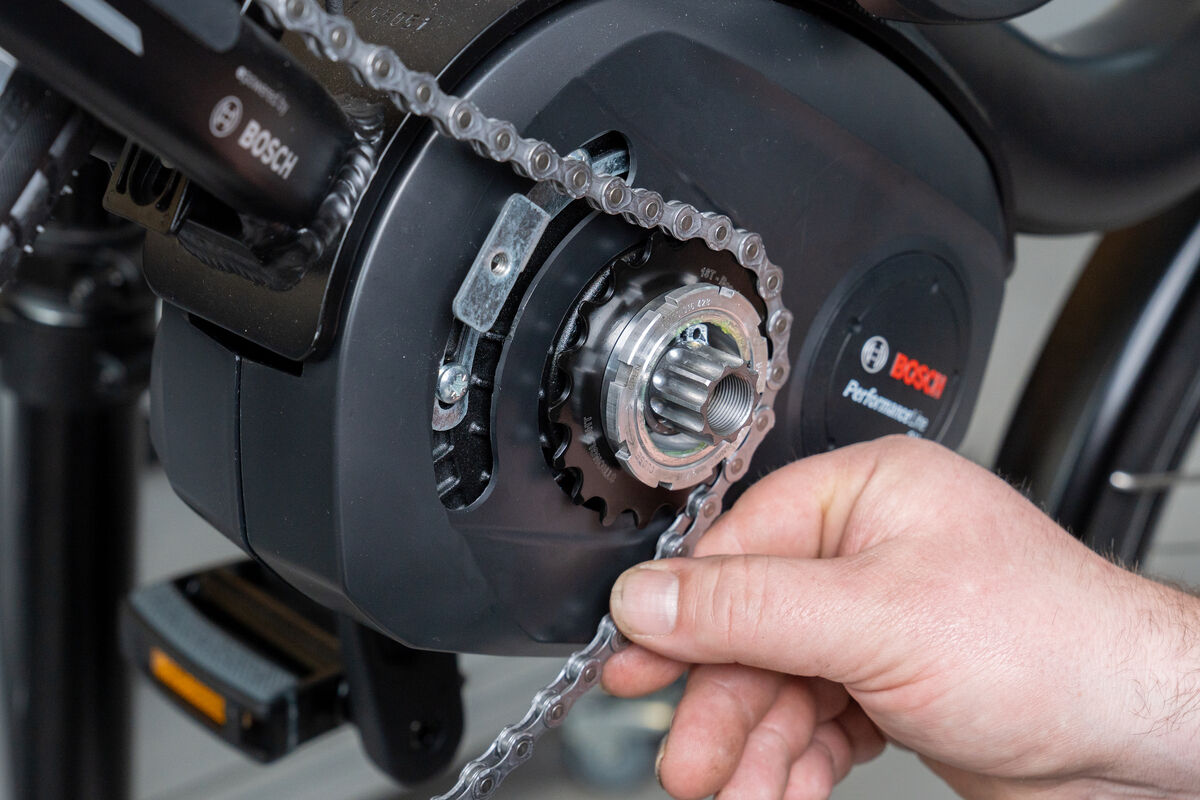
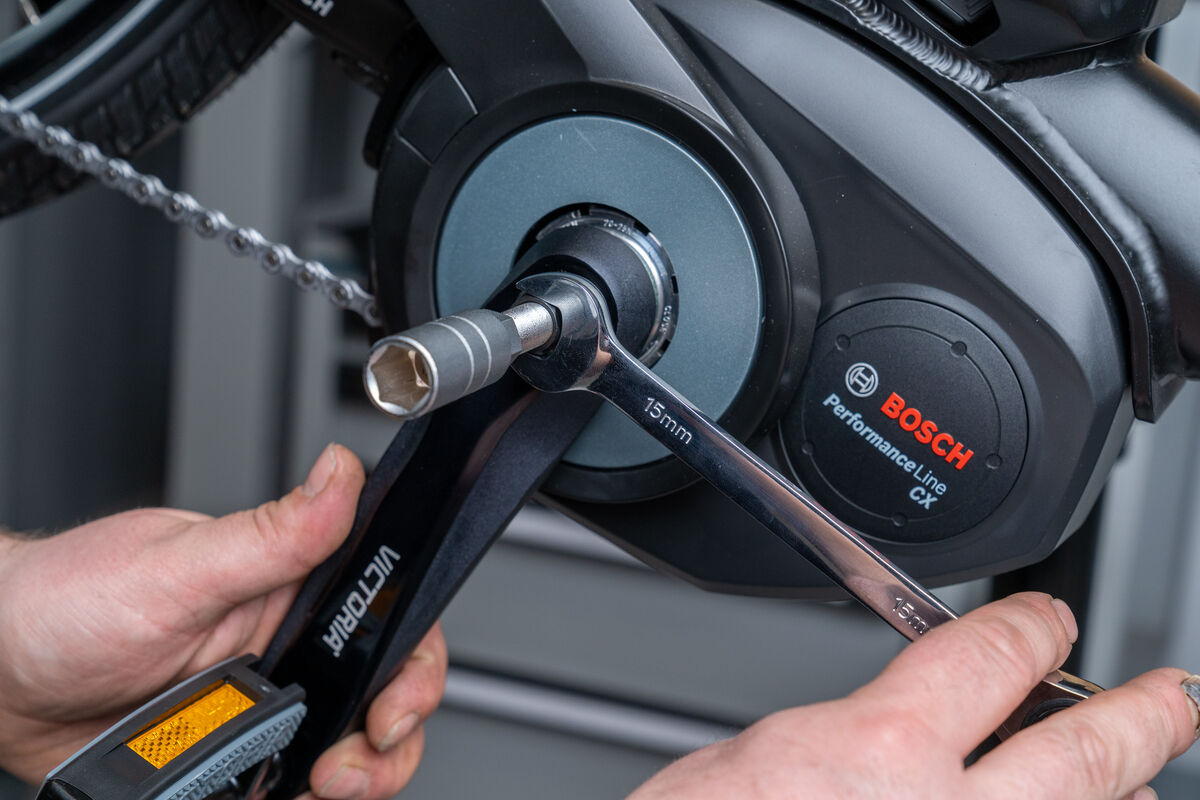
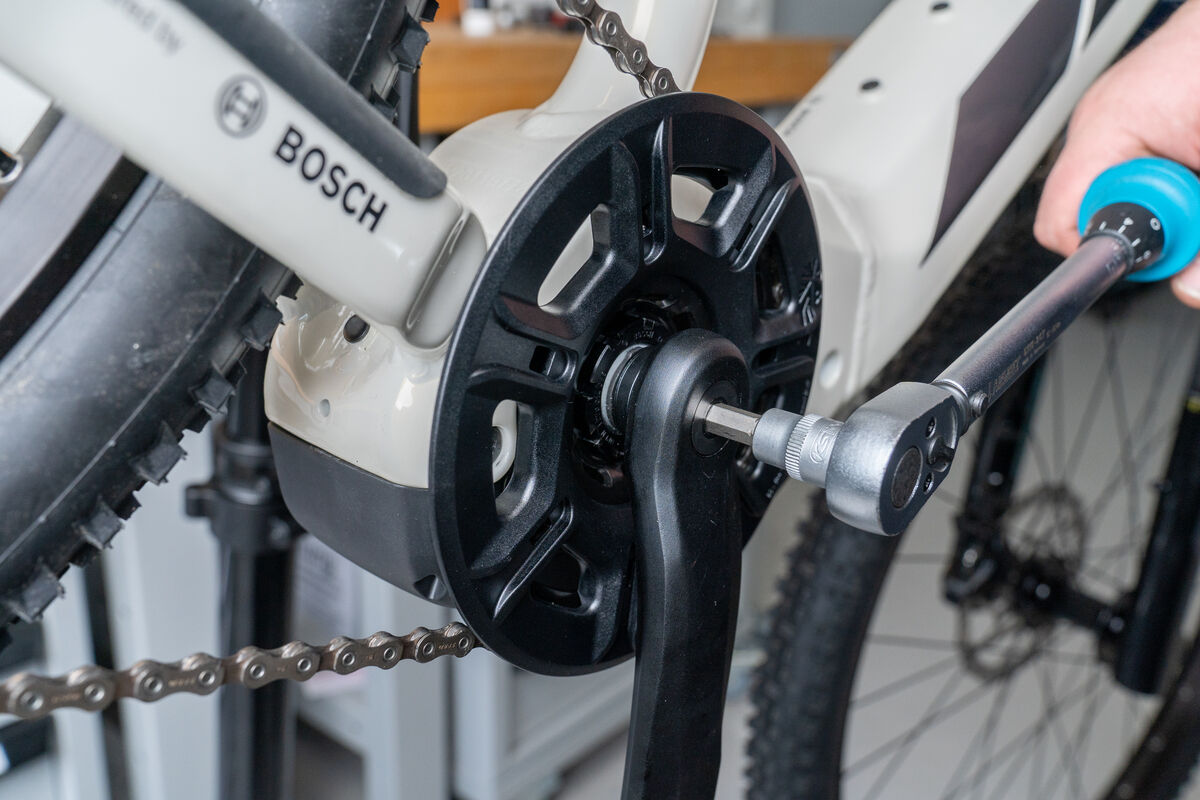
Finally, turn the lock ring (alternatively referred to as a locking ring) by hand counterclockwise back onto the corresponding thread. Lock it with a torque wrench and a Bosch multi-tooth tool from CONTEC with a tightening torque of 20 to 25 Nm. Again, counteract this when turning the left crank. Now you can lift the chain back onto the motor sprocket.
Step 4: Crank arm assembly
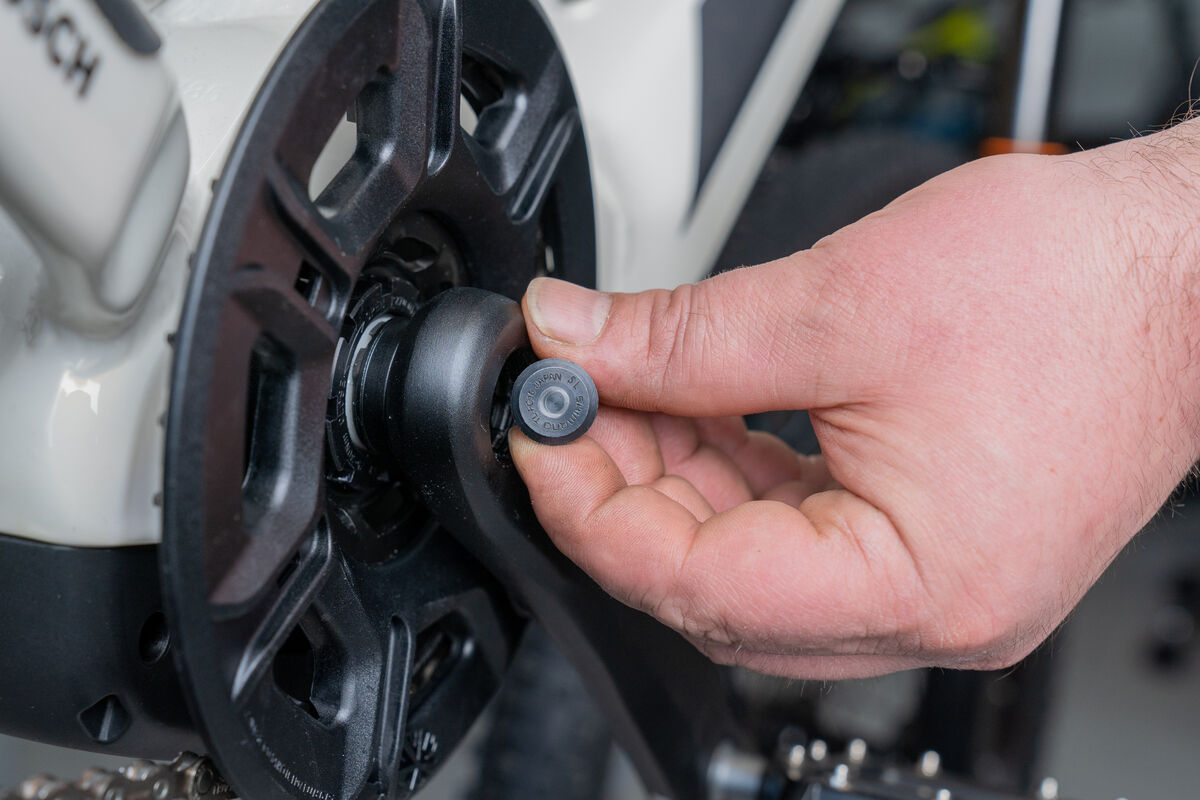
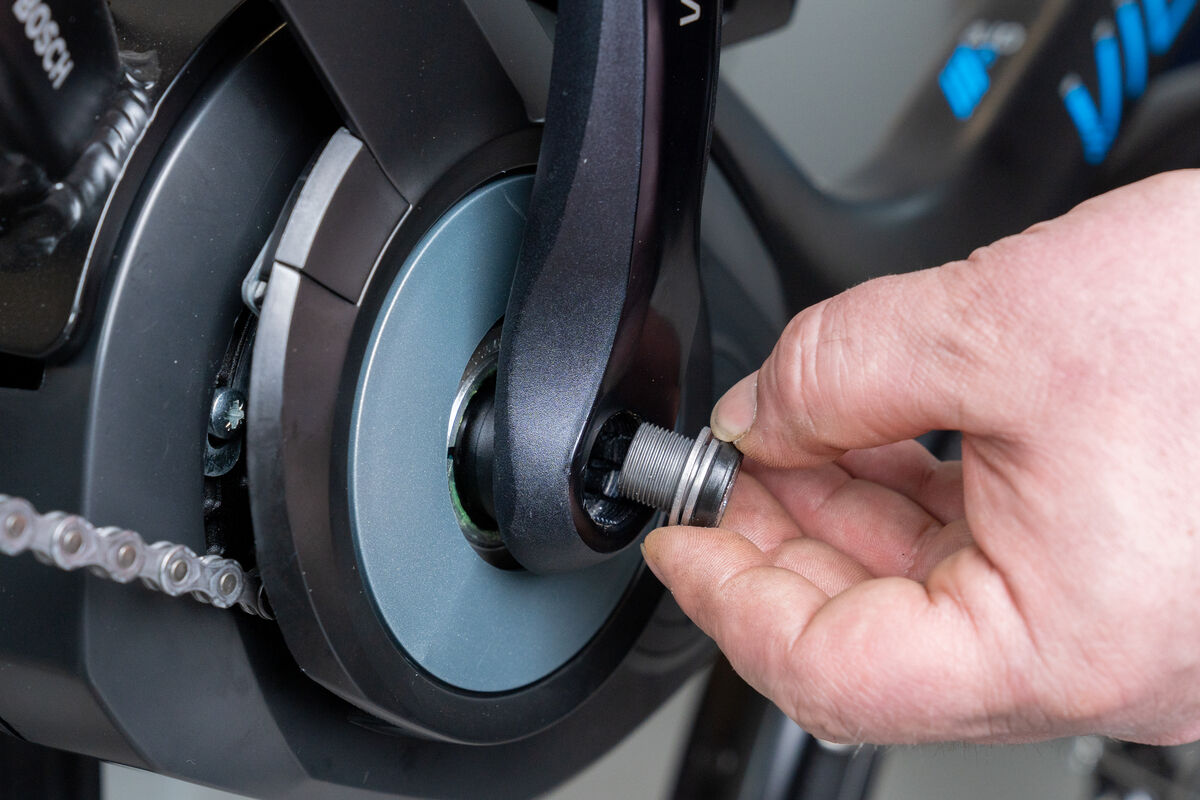
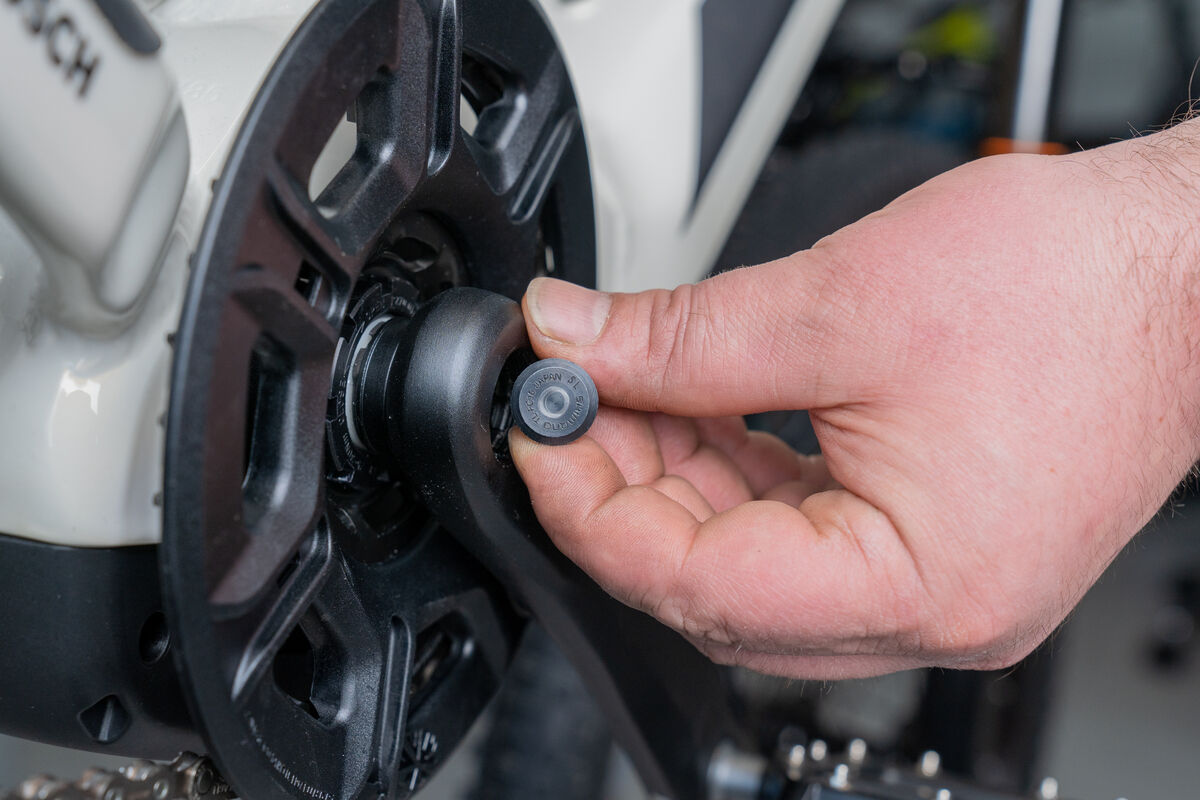
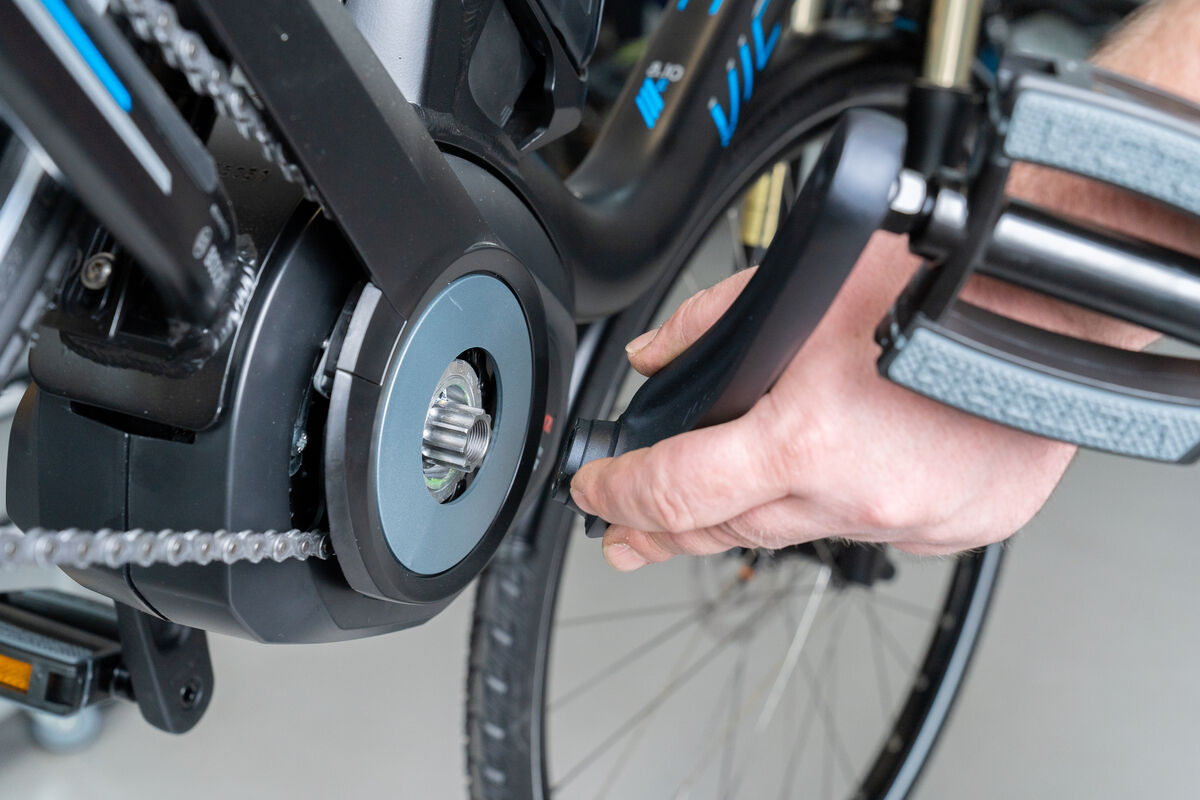
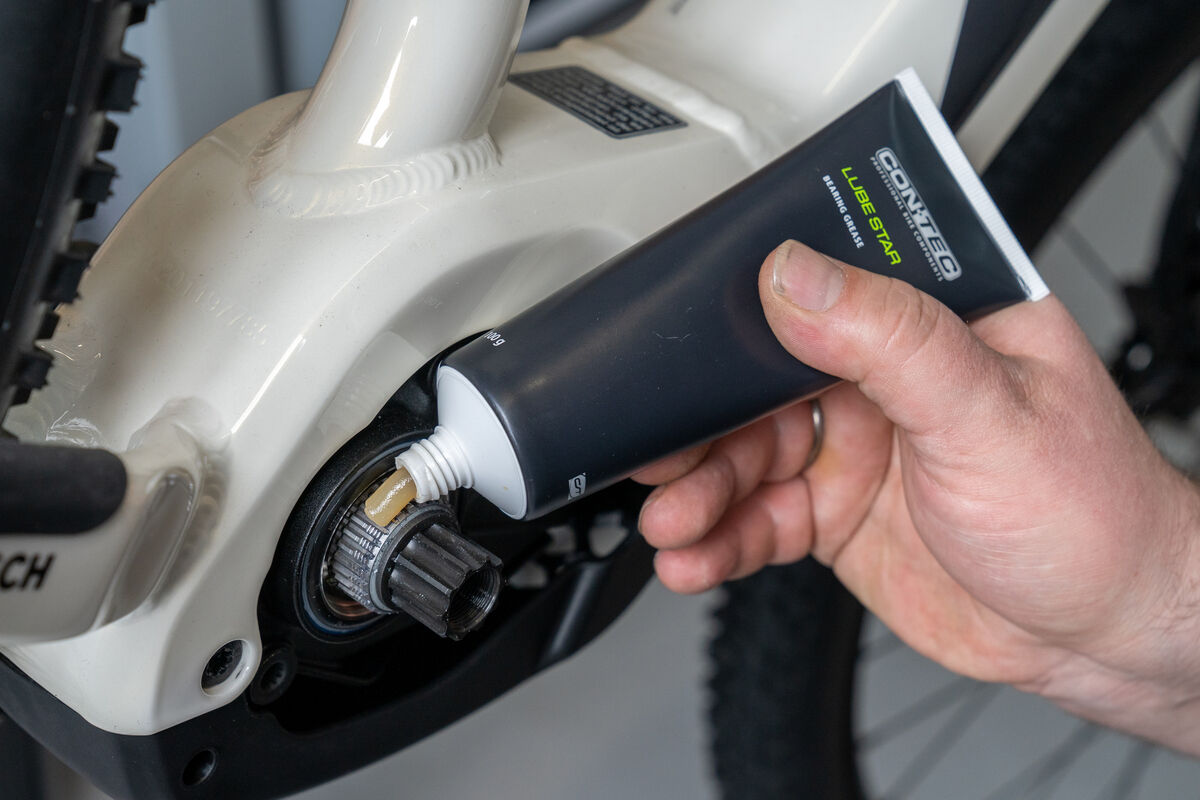
The crank arm can be reassembled, although you should apply some assembly grease to its ISIS axle mount beforehand. This prevents unwanted contact corrosion between the components and makes assembly a little easier for you. First, slide the crank arm carefully onto the ISIS multi-tooth profile of the bottom bracket axle.
Step 5: Crank bolt installation
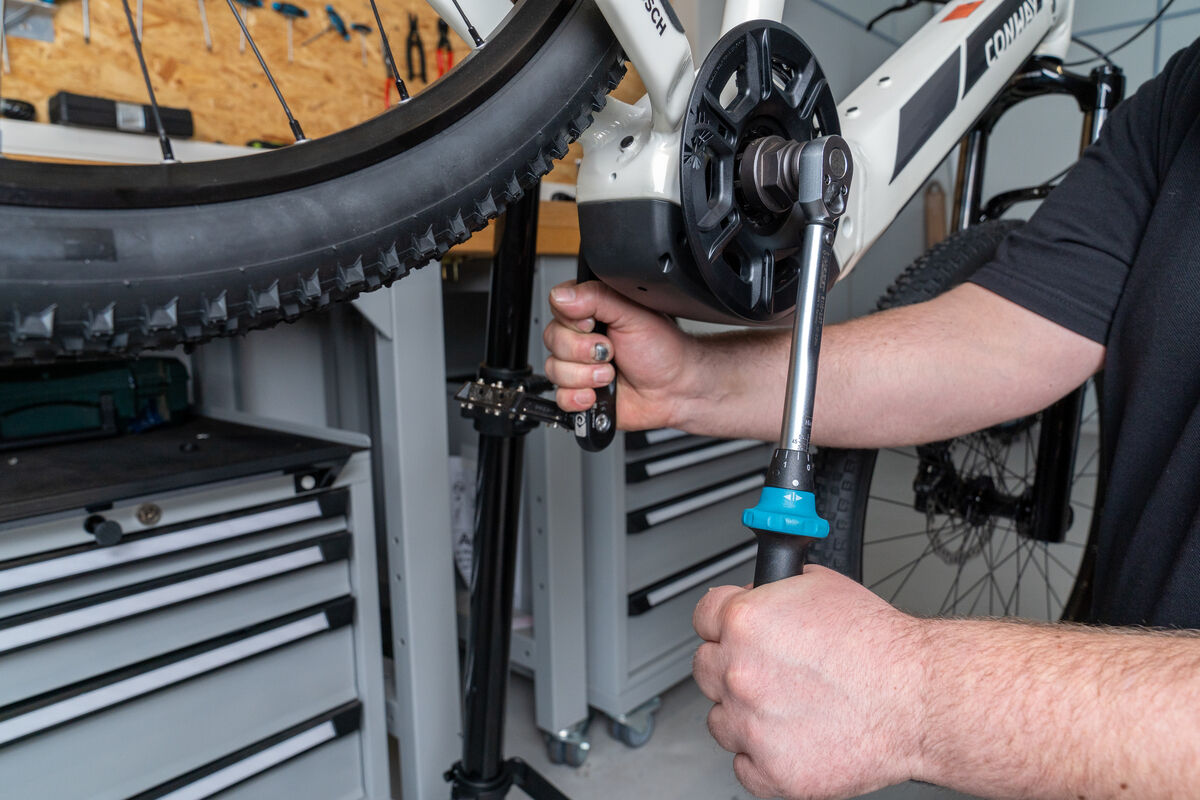
Tighten the crank screw (with/without integrated crank puller) using the inside hexagon key. Some manufacturers write the required tightening torque directly on the screw. This should also be used when tightening the crank bolt using the torque wrench.
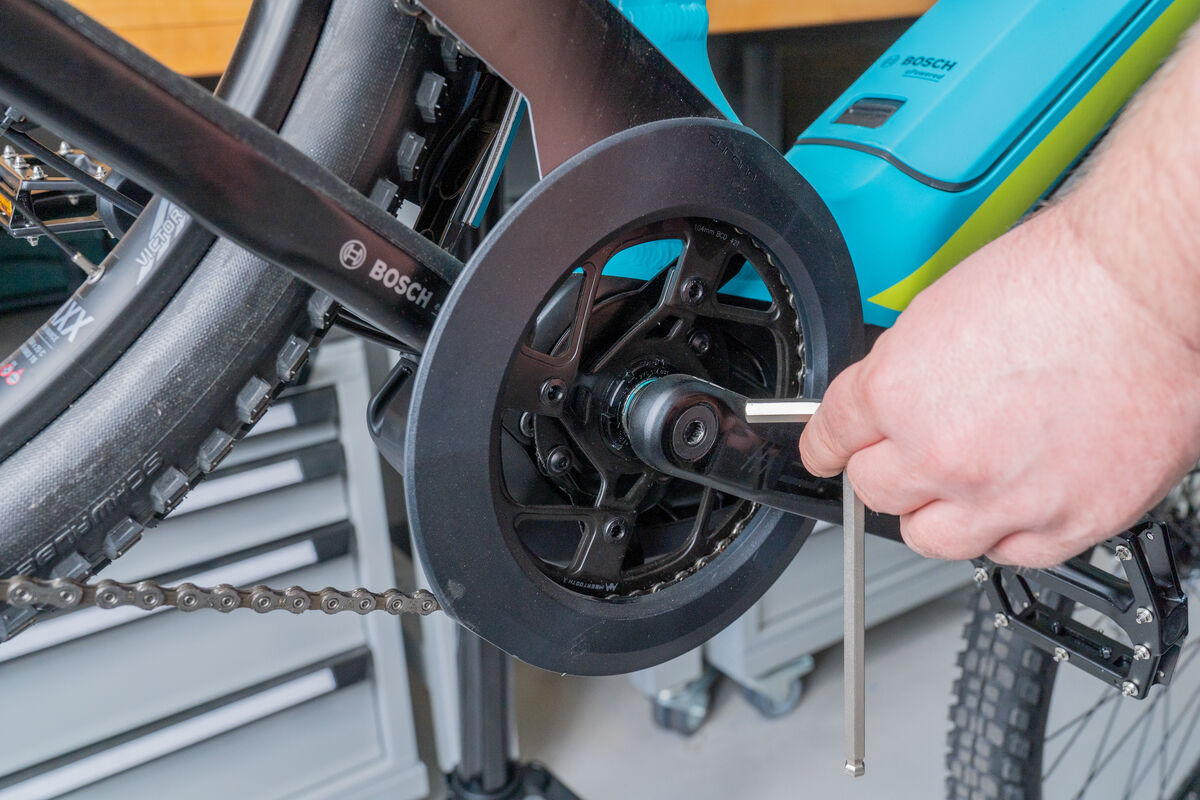
With this type of chain ring on the e-bike motor, you first dismantle the right crank arm. To do this, unscrew the crank screw with an 8 or 10 mm inside hexagon key, and loosen the crank arm from the ISIS bottom bracket spindle. As with many cranks, the crank arm comes off directly, thanks to the integrated puller.
Step 2: Loosen chain ring lock ring
Once that is done, turn to the chain ring lock ring and unscrew it loosely, using a ratchet wrench with a Bosch multi-tooth attachment – turning it clockwise. You can block the rear wheel to counteract this. The lock ring, including the O-ring behind it, can now be removed from the motor unit in no time at all.
Step 3: Remove spider and chain ring
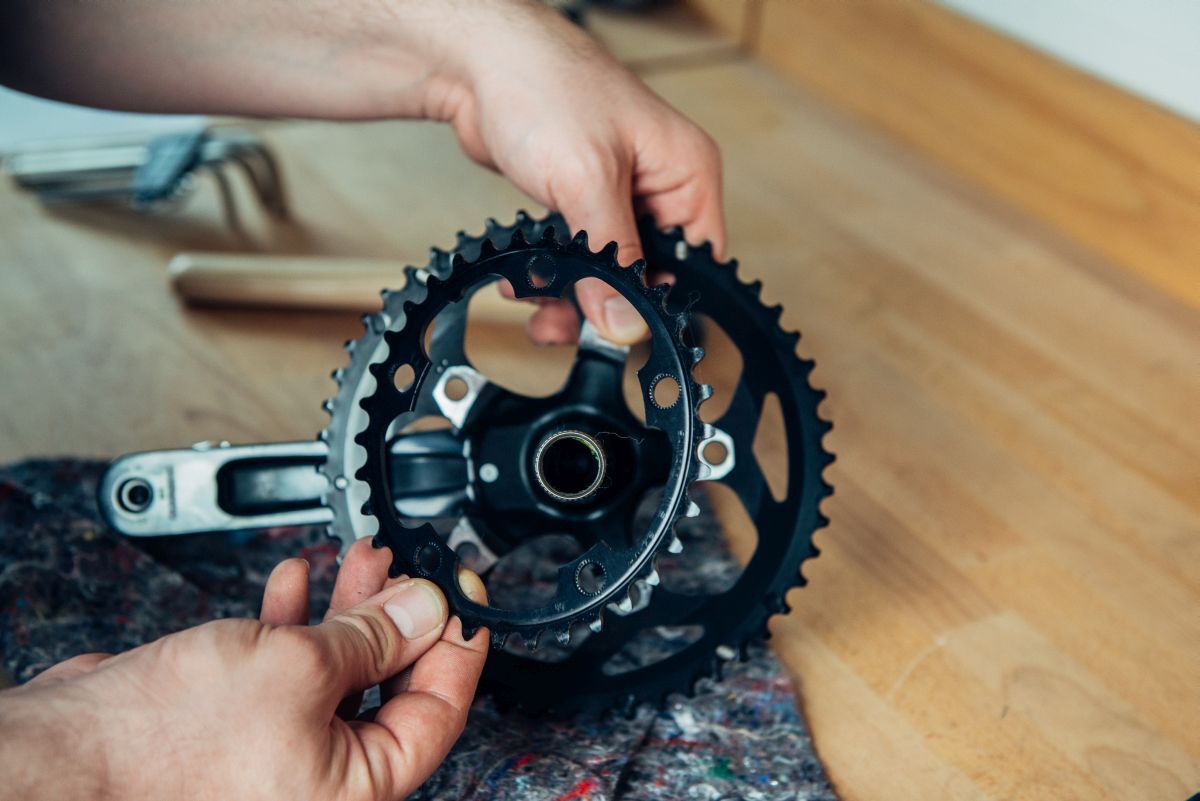
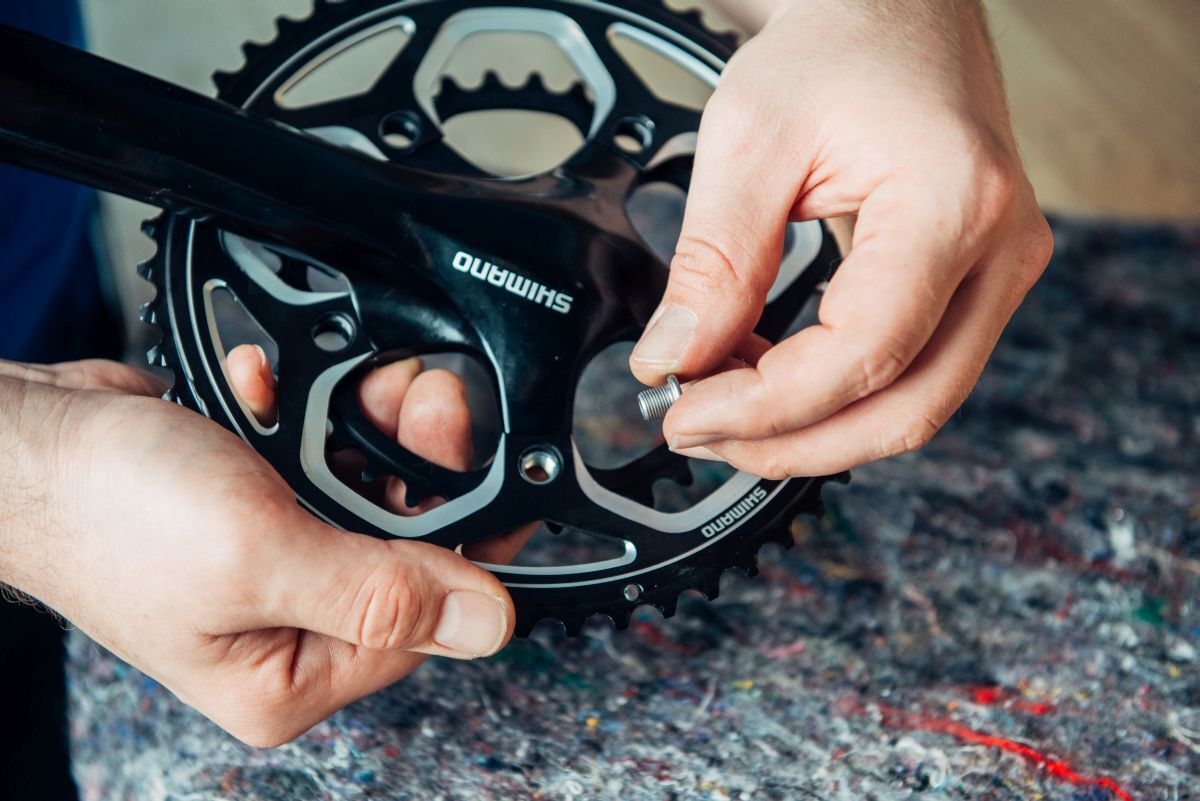
After removing the locking ring and the associated O-ring, you can easily pull off the spider with the chain ring screwed to it. You can now unscrew the worn chain ring from the spider by loosening the chain ring screws. An inside hexagon key or star key is required for this. You may also need a chain ring bolt counter holder for the screws from the other side.
Step 4: Mount a new chain ring on the spider
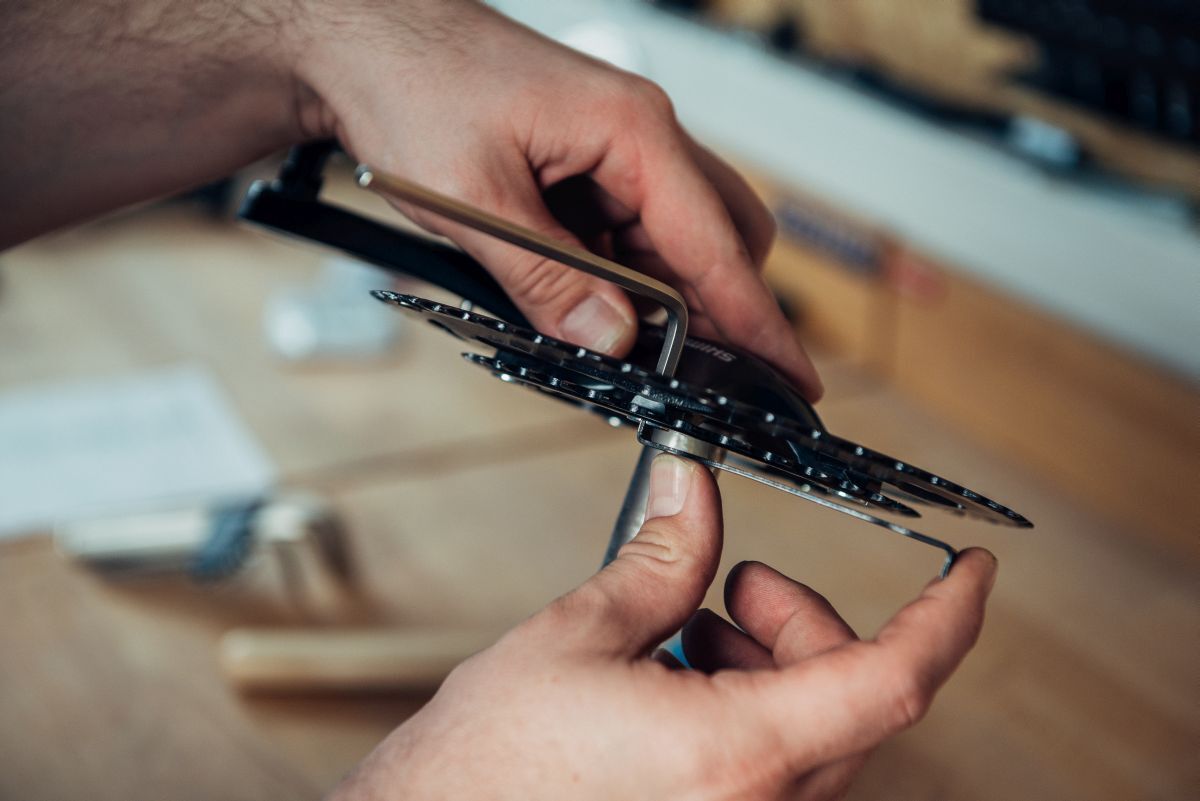
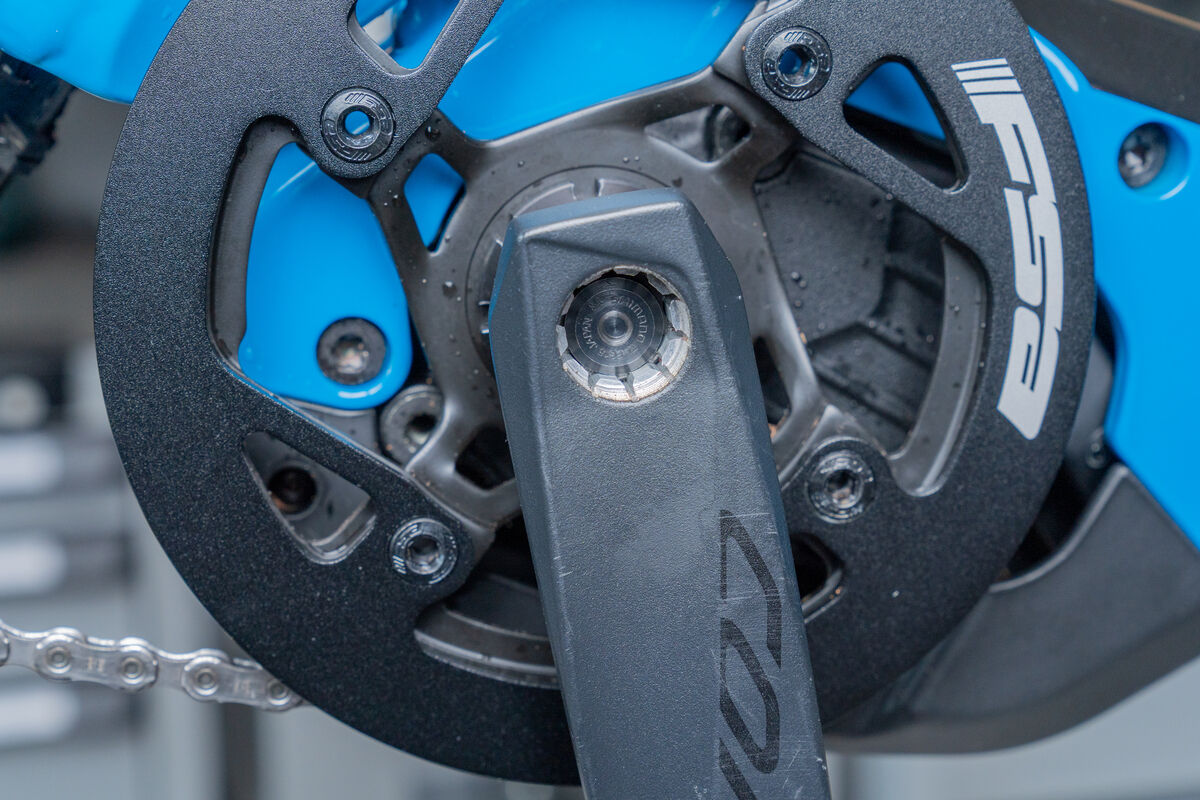
Now you can position your new chain ring on the spider, making sure that the holes in the spider and chain ring overlap. Pay attention to the correct alignment of the chain ring and the orientation of the spider: When mounted, the lettering on the chain ring should be visible.
Now attach the chain ring to the four mounting points of the spider using the chain ring screws. Make sure that you always tighten the screws crosswise. You can fix the screws from the other side with a counter holder for chain ring screws.
Step 5: Mount the spider with the new chain ring on the axle
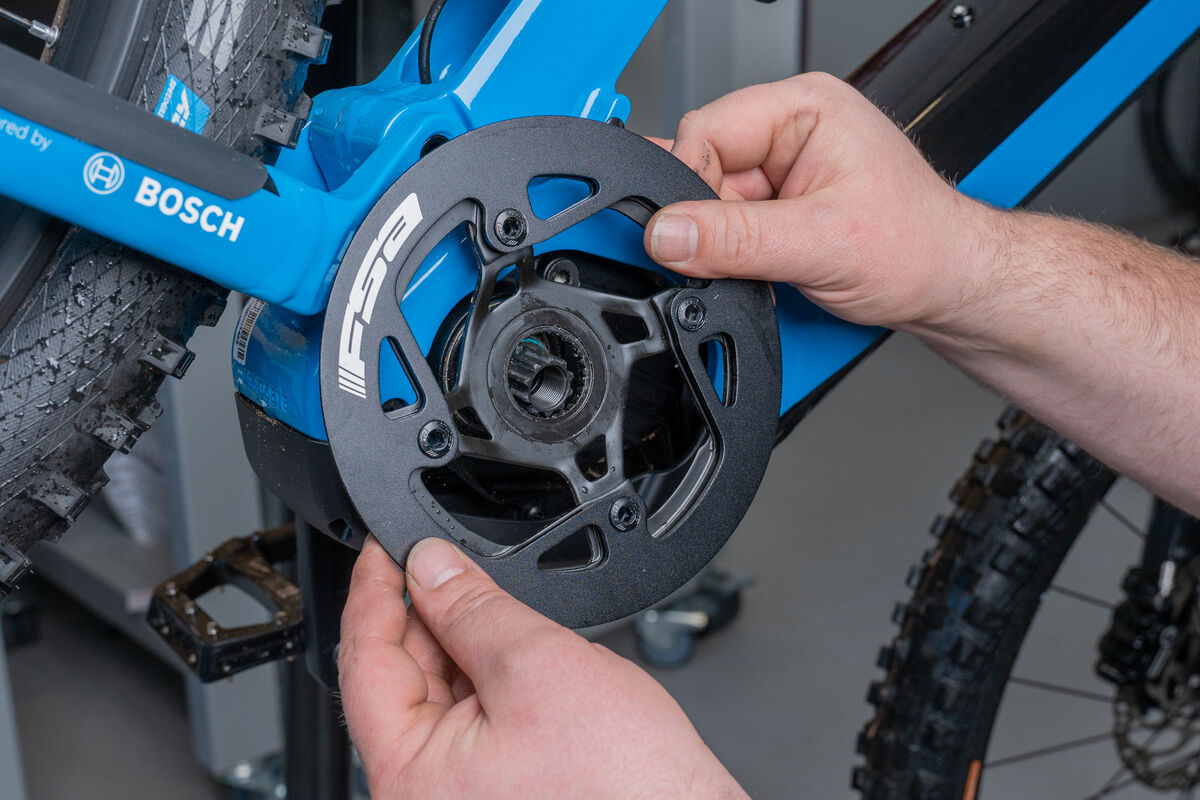
If the new chain ring sits securely on the spider and the O-ring is placed in front of the chain ring, slide this unit onto the multi-tooth profile of the motor axle. There, you press it firmly and fix it with the locking ring (note: this has a left-hand thread). You can usually read the maximum tightening torque on the chain ring. Finally, you put the chain on the chain ring.
Step 6: Attach crank arm
And the crank arm – lightly greased at the axle mount – may be pushed back onto the ISIS bottom bracket axle. Now turn the crank screw clockwise and tighten to the required tightening torque. That's it!
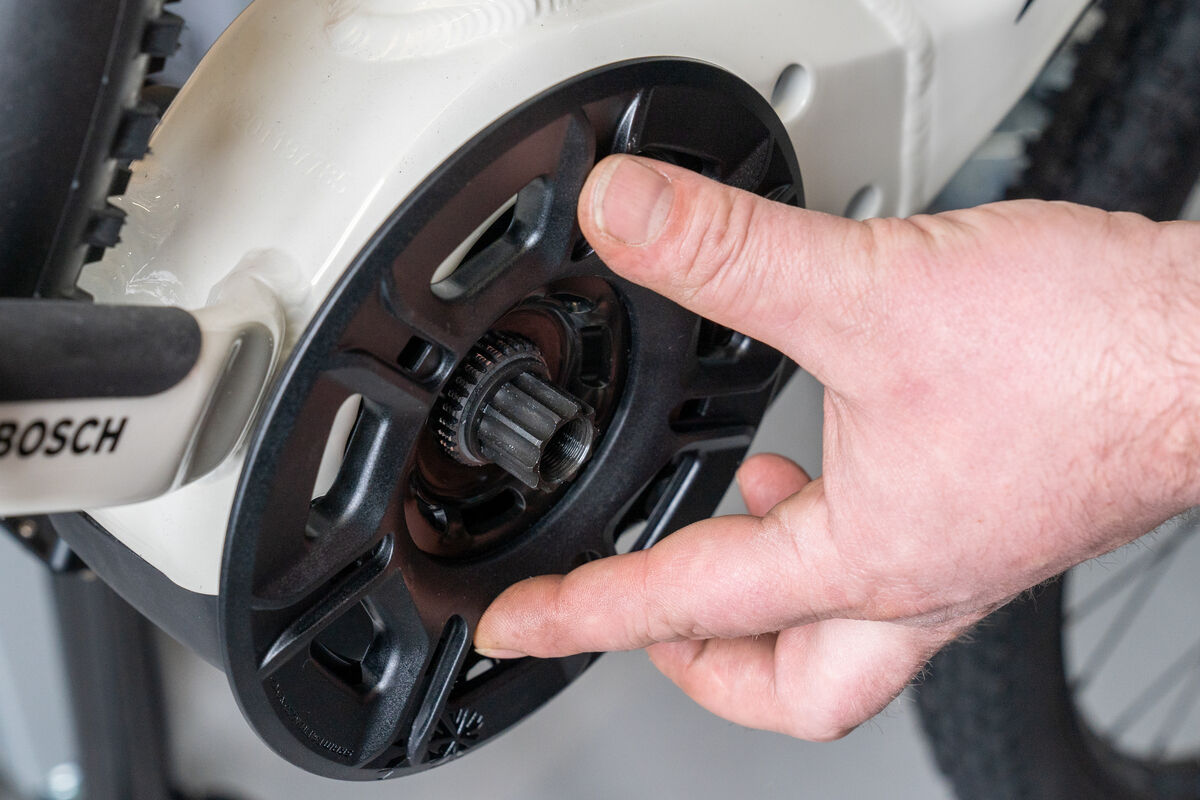
Now you have free access to the chain ring, and you can remove the chain from the chain ring. Simply pull the chain ring off the axle. Before you do this, note how the chain ring was attached correctly. This is the case when you can read the writing on it and the chain ring curves outwards.
Step 3: Remove old chain ring
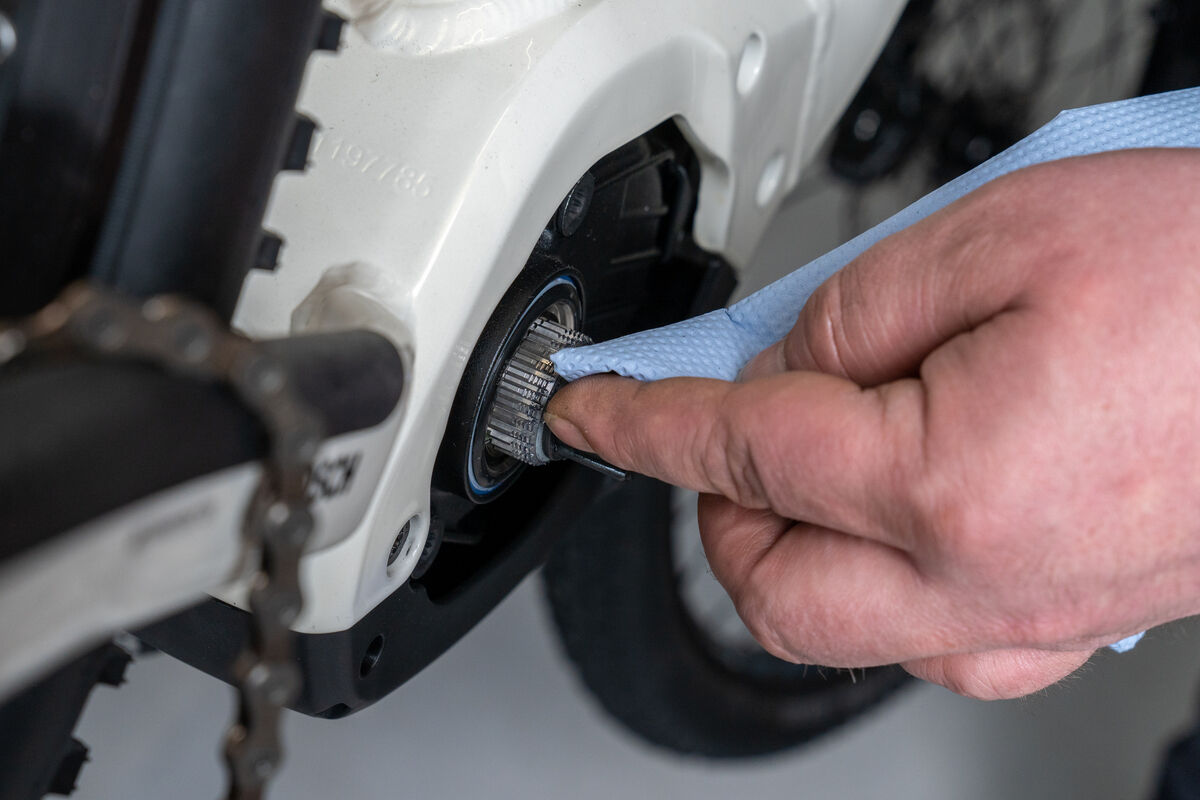
Clean the area around the chain ring mount and re-grease it. Dirt and grime are collected there, which can hinder the right installation. Then, place your new chain ring directly on the axle and press it down by hand.
Step 4: Installing the new chain ring
Step 5: Tighten the chain ring with the locking ring
Now, put the O-ring back on the motor unit. Then, turn the locking ring of the chain ring counterclockwise by hand. Once this has happened, fix the lock ring with a torque wrench. You can find the necessary tightening torque on the lock ring. To do this, hold the crank arm at the opposite side. Now the chain is put back on the chain ring.
Step 6: Crank assembly
Now, the right crank arm is attached to the ISIS bottom bracket axle. We recommend applying a little assembly grease to the axle-crank interface to prevent subsequent contact corrosion. Now "thread" the crank arm onto the ISIS multi-tooth axle of the bottom bracket and finally tighten the right crank, using the crank screw with an inside hexagon key and a torque wrench. Also note the maximum tightening torque, specified by the manufacturer. You can often find this written on the crank screw.
Step 1: Dismantle the right crank arm
With this specific design of an e-bike chain ring, you first dismantle the right crank arm. Unscrew the crank screw with an 8 or 10 mm inside hexagon key and loosen the crank arm from the bottom bracket spindle. Thanks to the integrated puller, the crank arm is released directly in most cases.
Step 2: Loosen chain ring lock ring
Now dedicate yourself to the chain ring lock ring. Unscrew the ratchet clockwise with the appropriate Bosch multi-tooth attachment. When removing the locking ring, pay attention to the O-ring behind it.

If your engine sprocket is worn out, it often makes sense to change the sprocket. Here, we show you how to change the sprocket of an internal gear hub.


