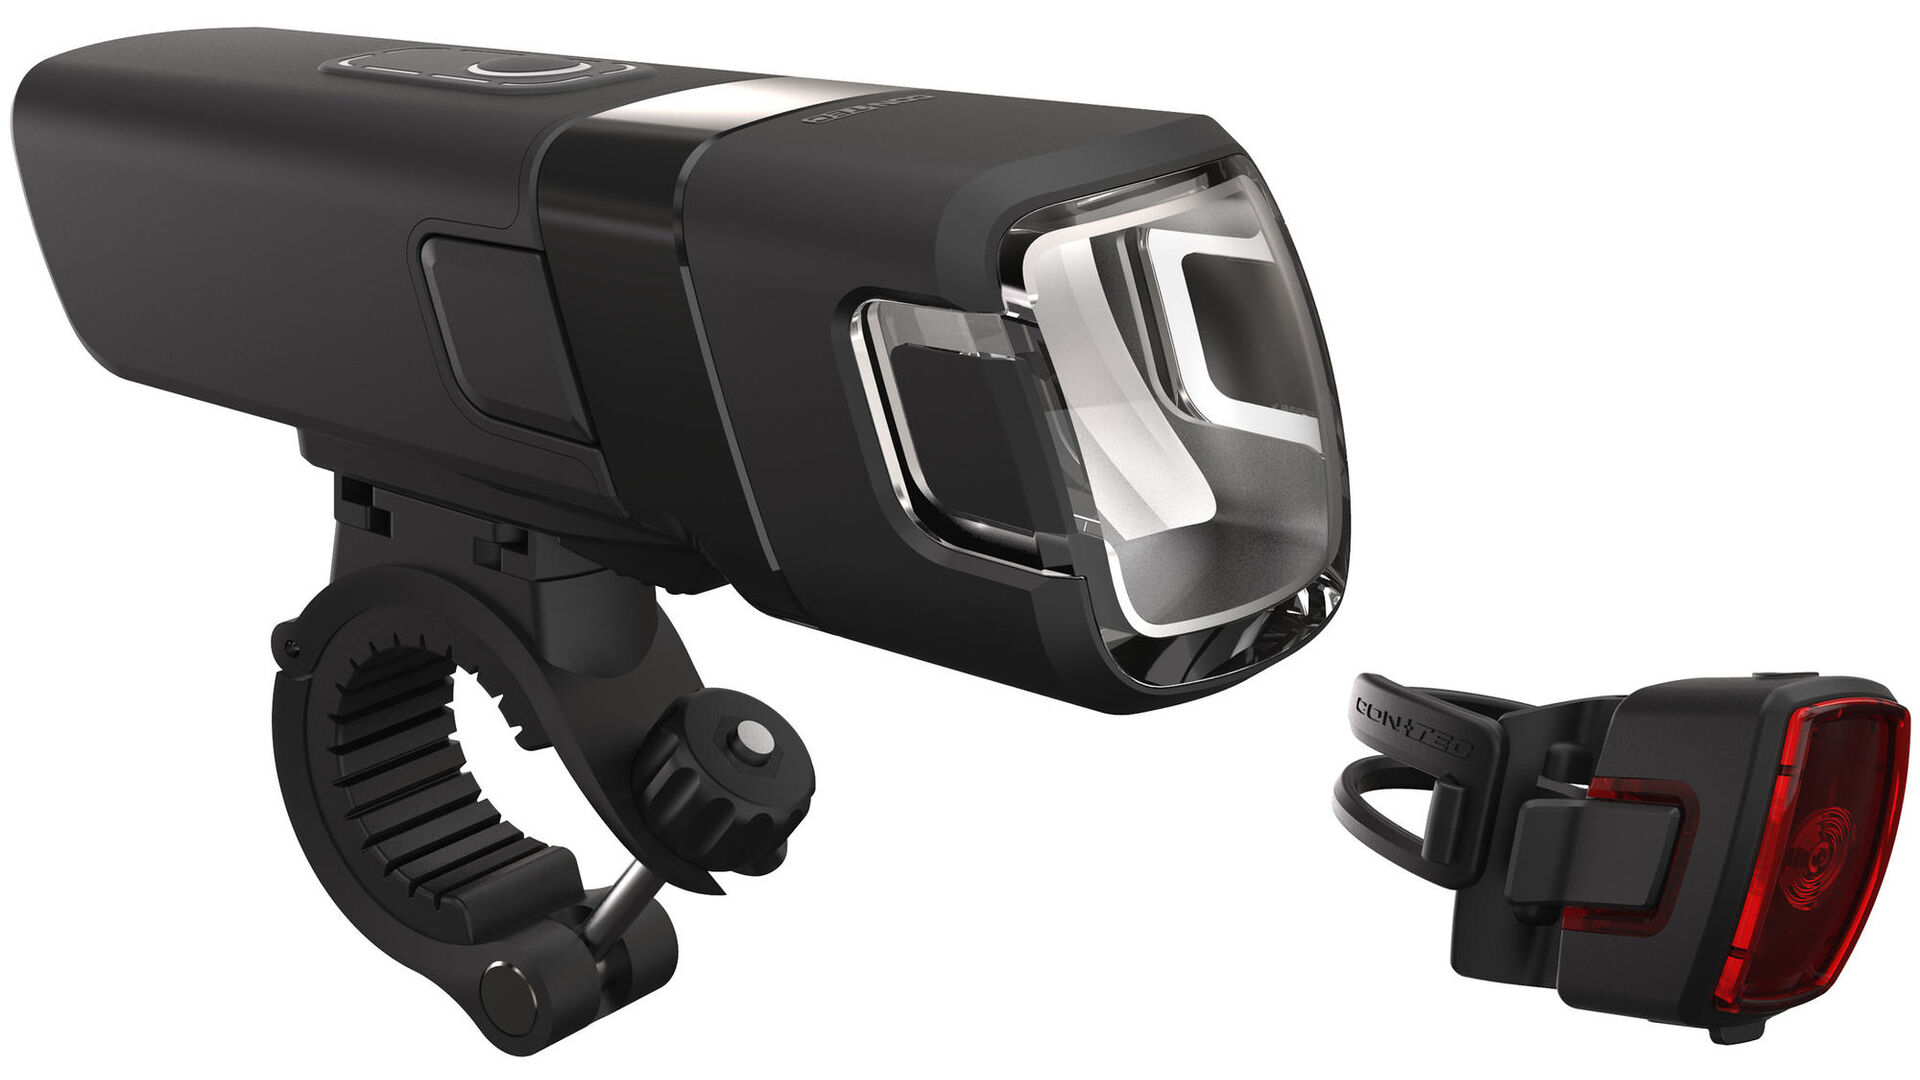
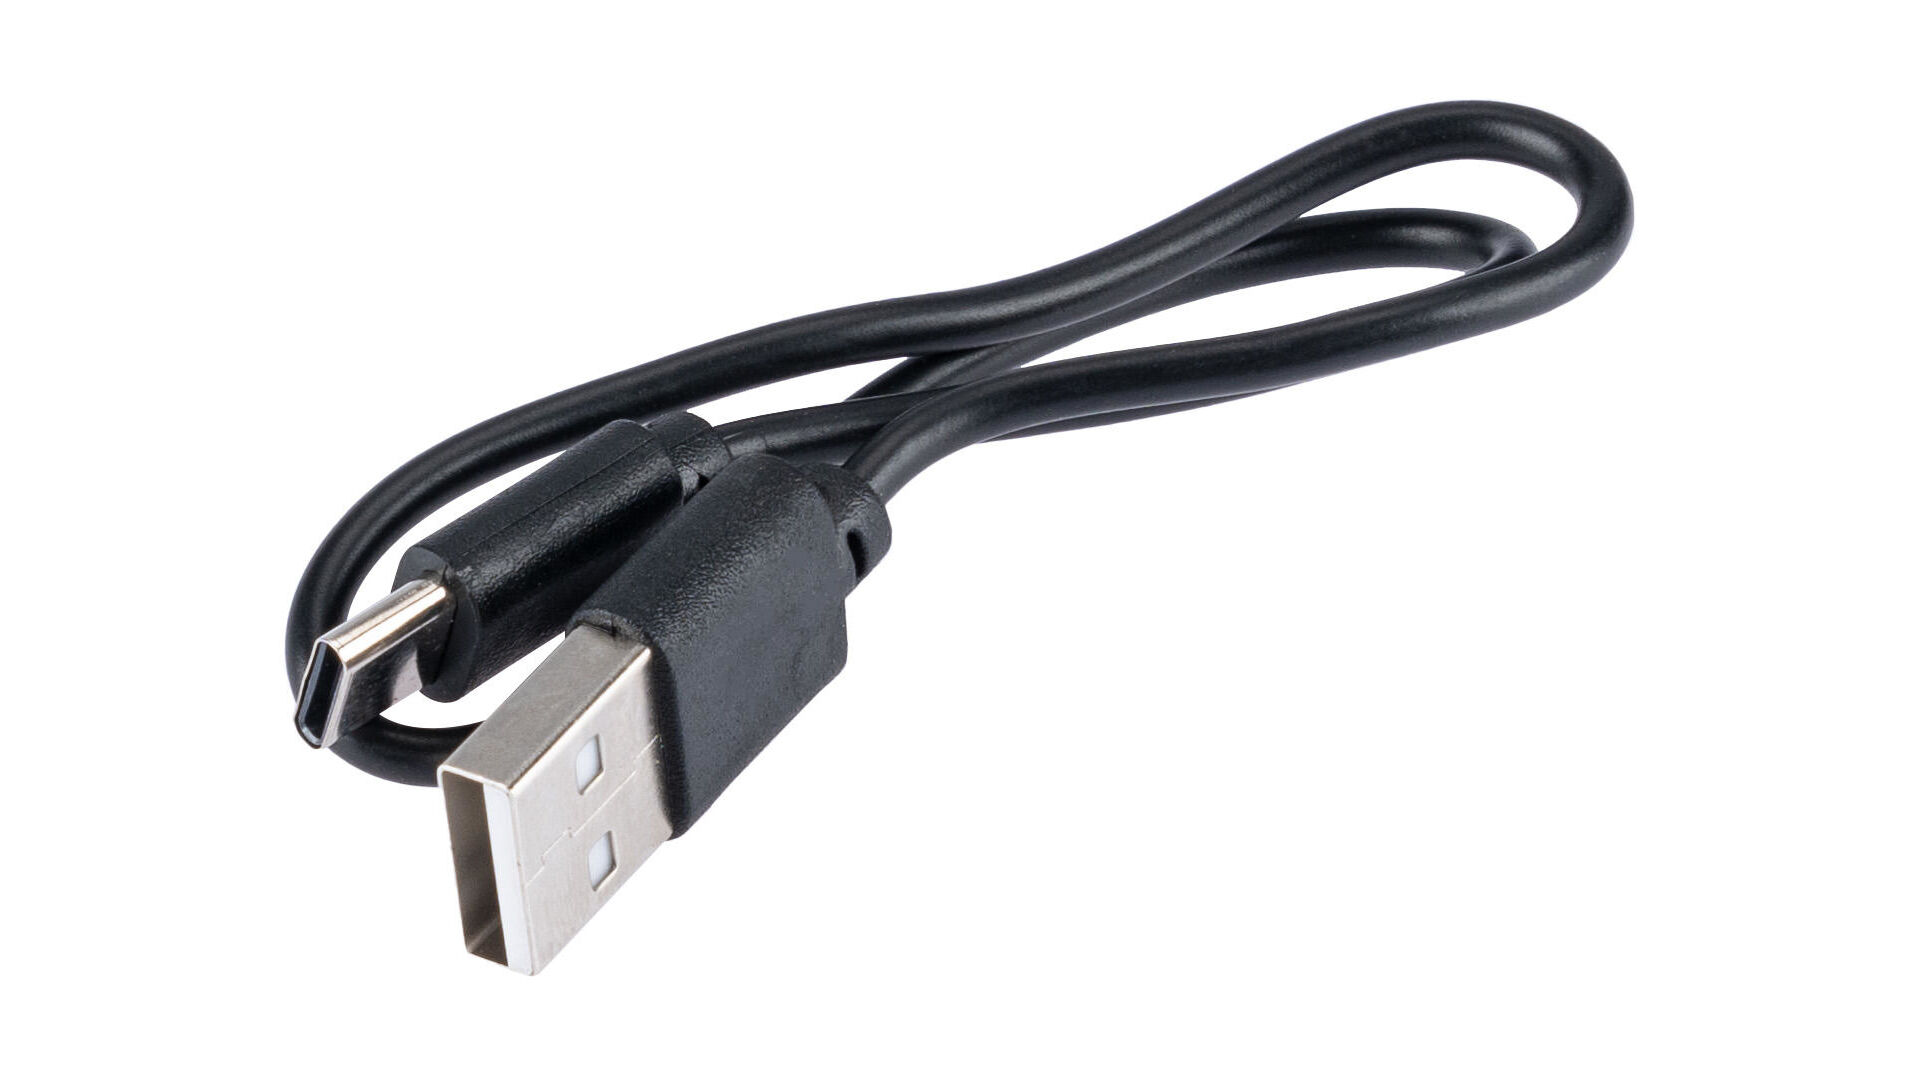
DLUX micro battery-powered light – mounting and light cone comparison
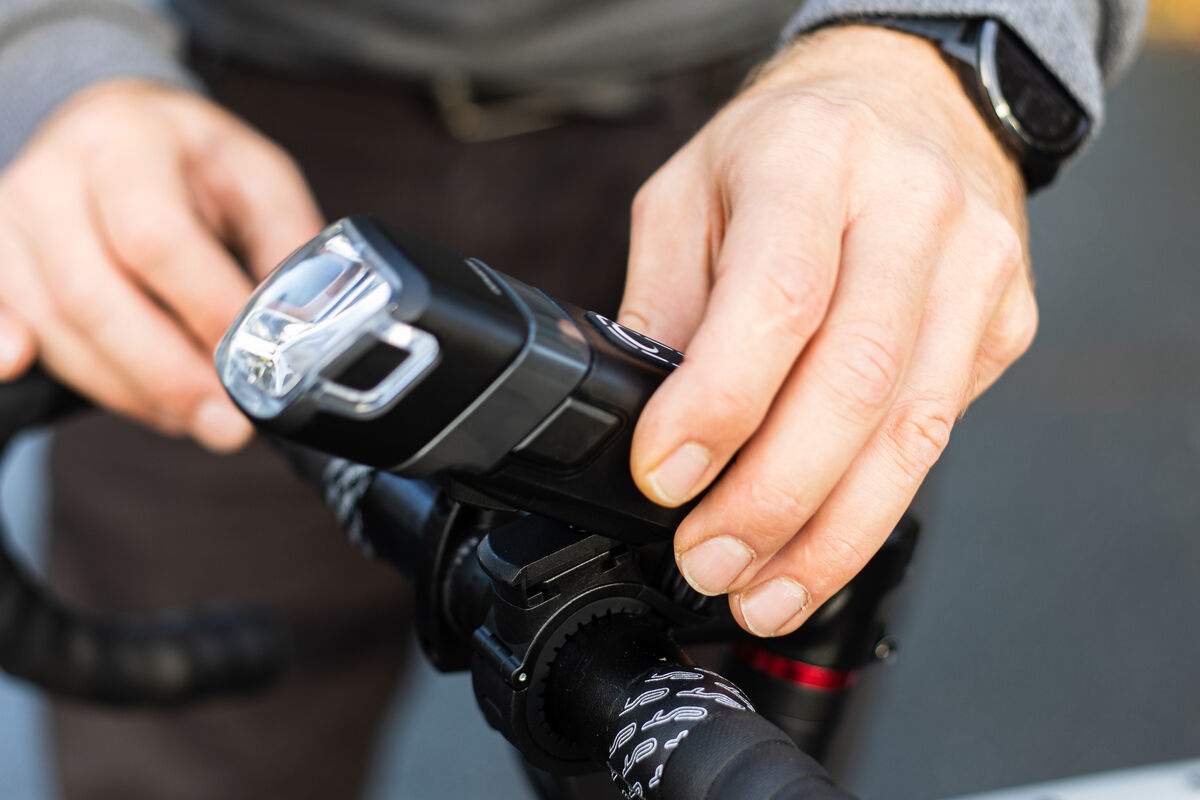
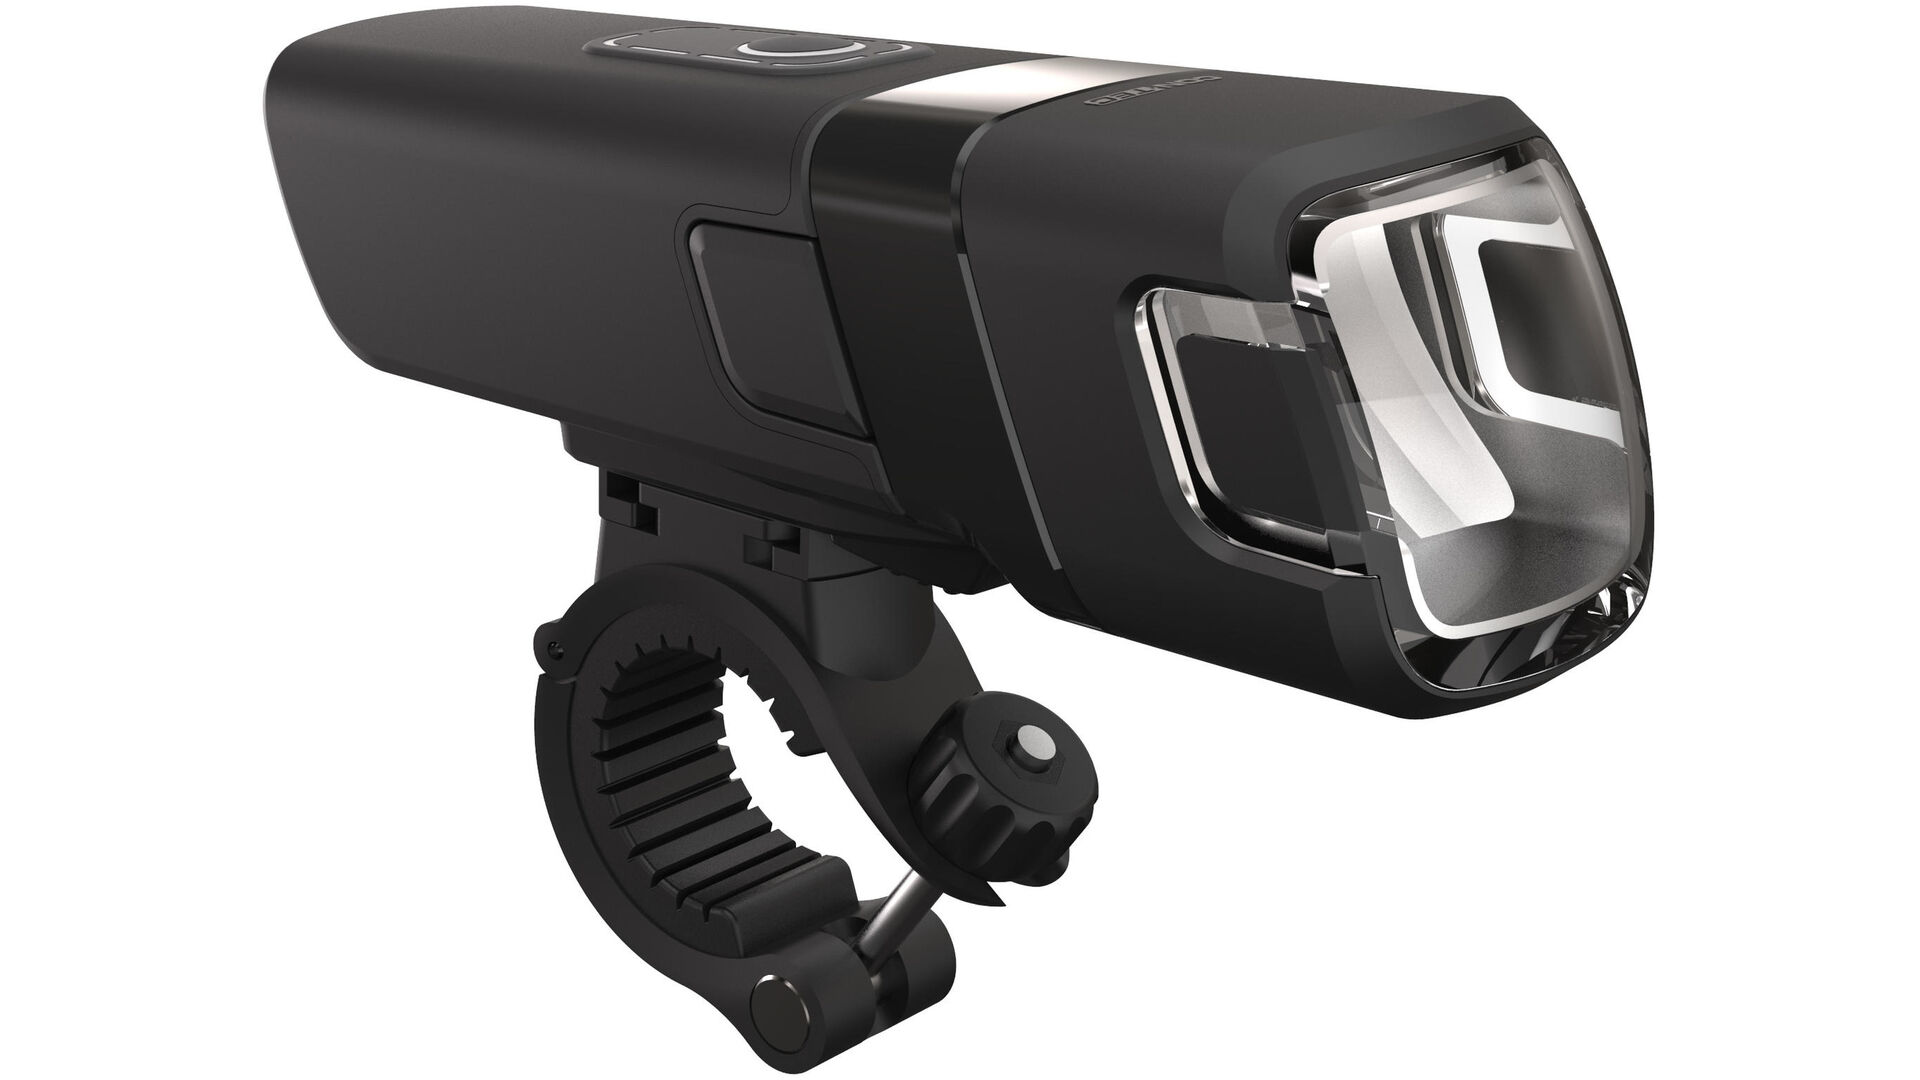
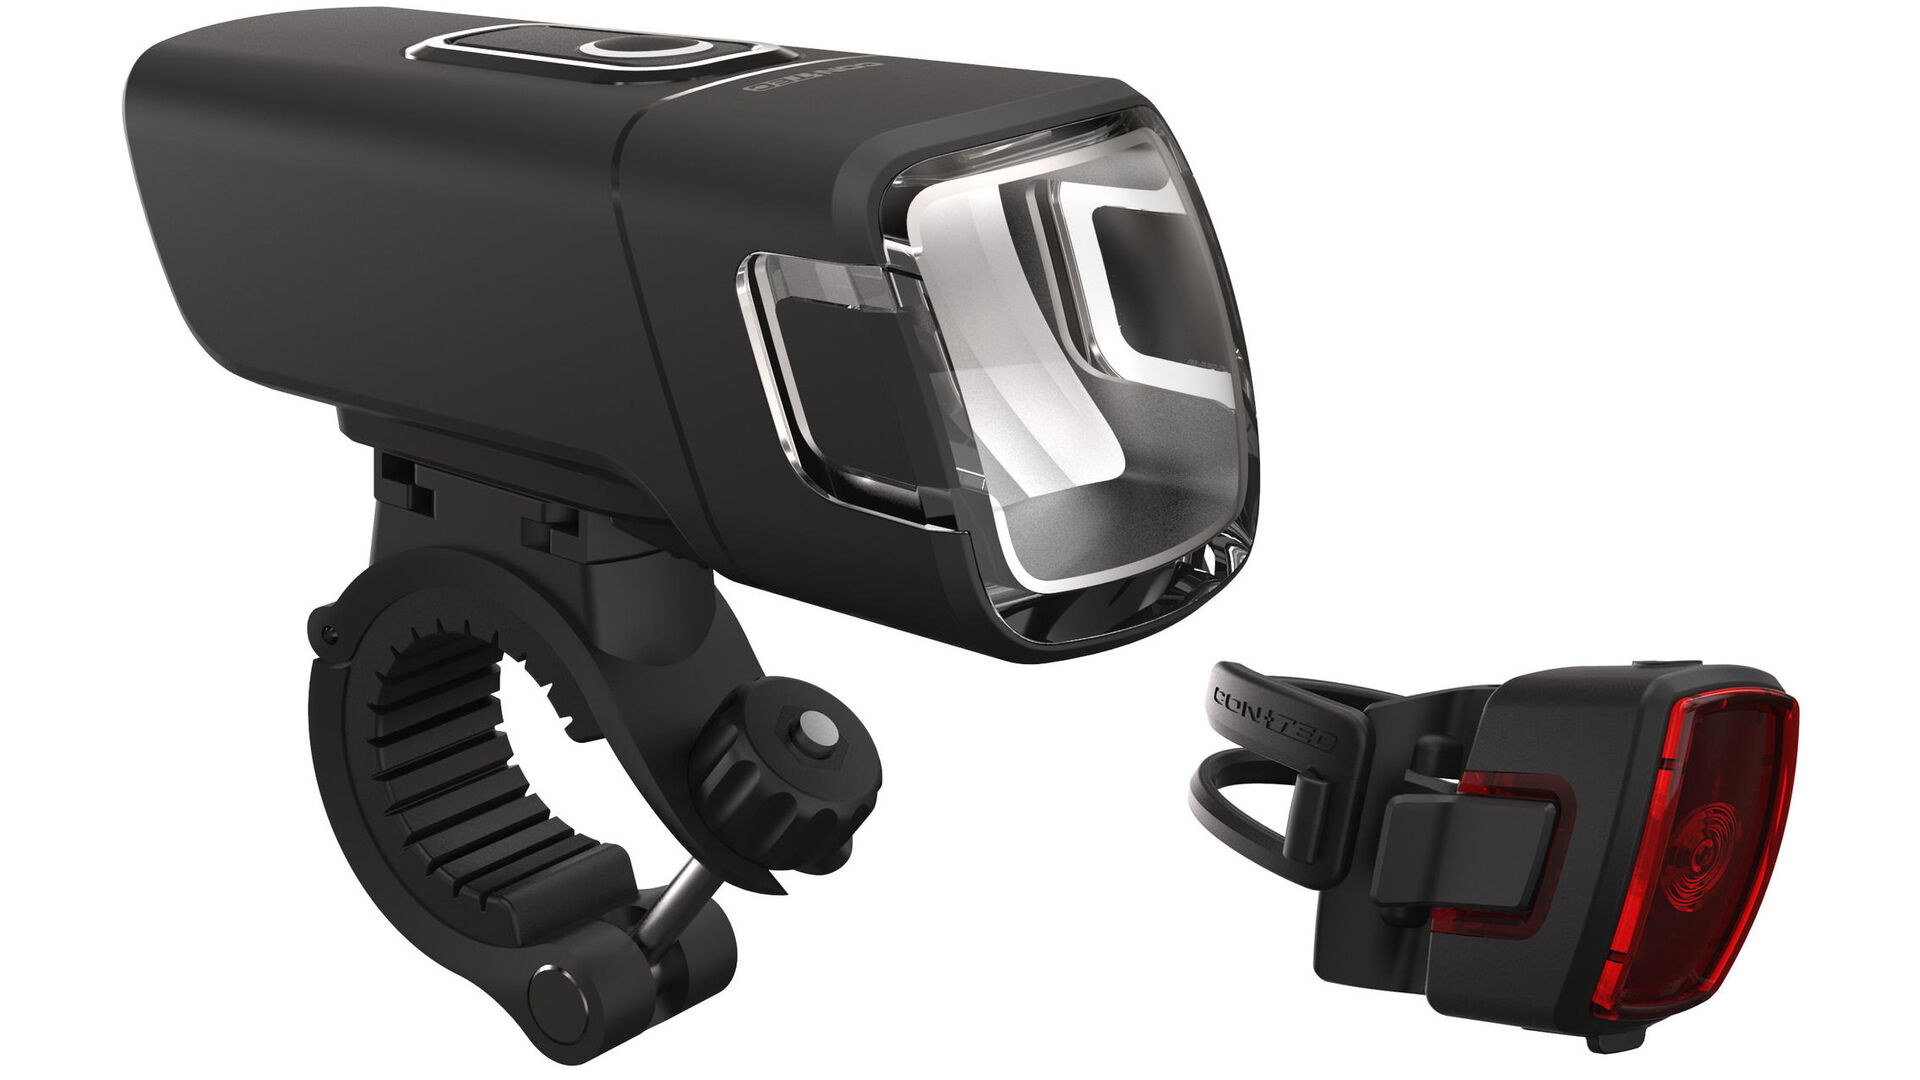
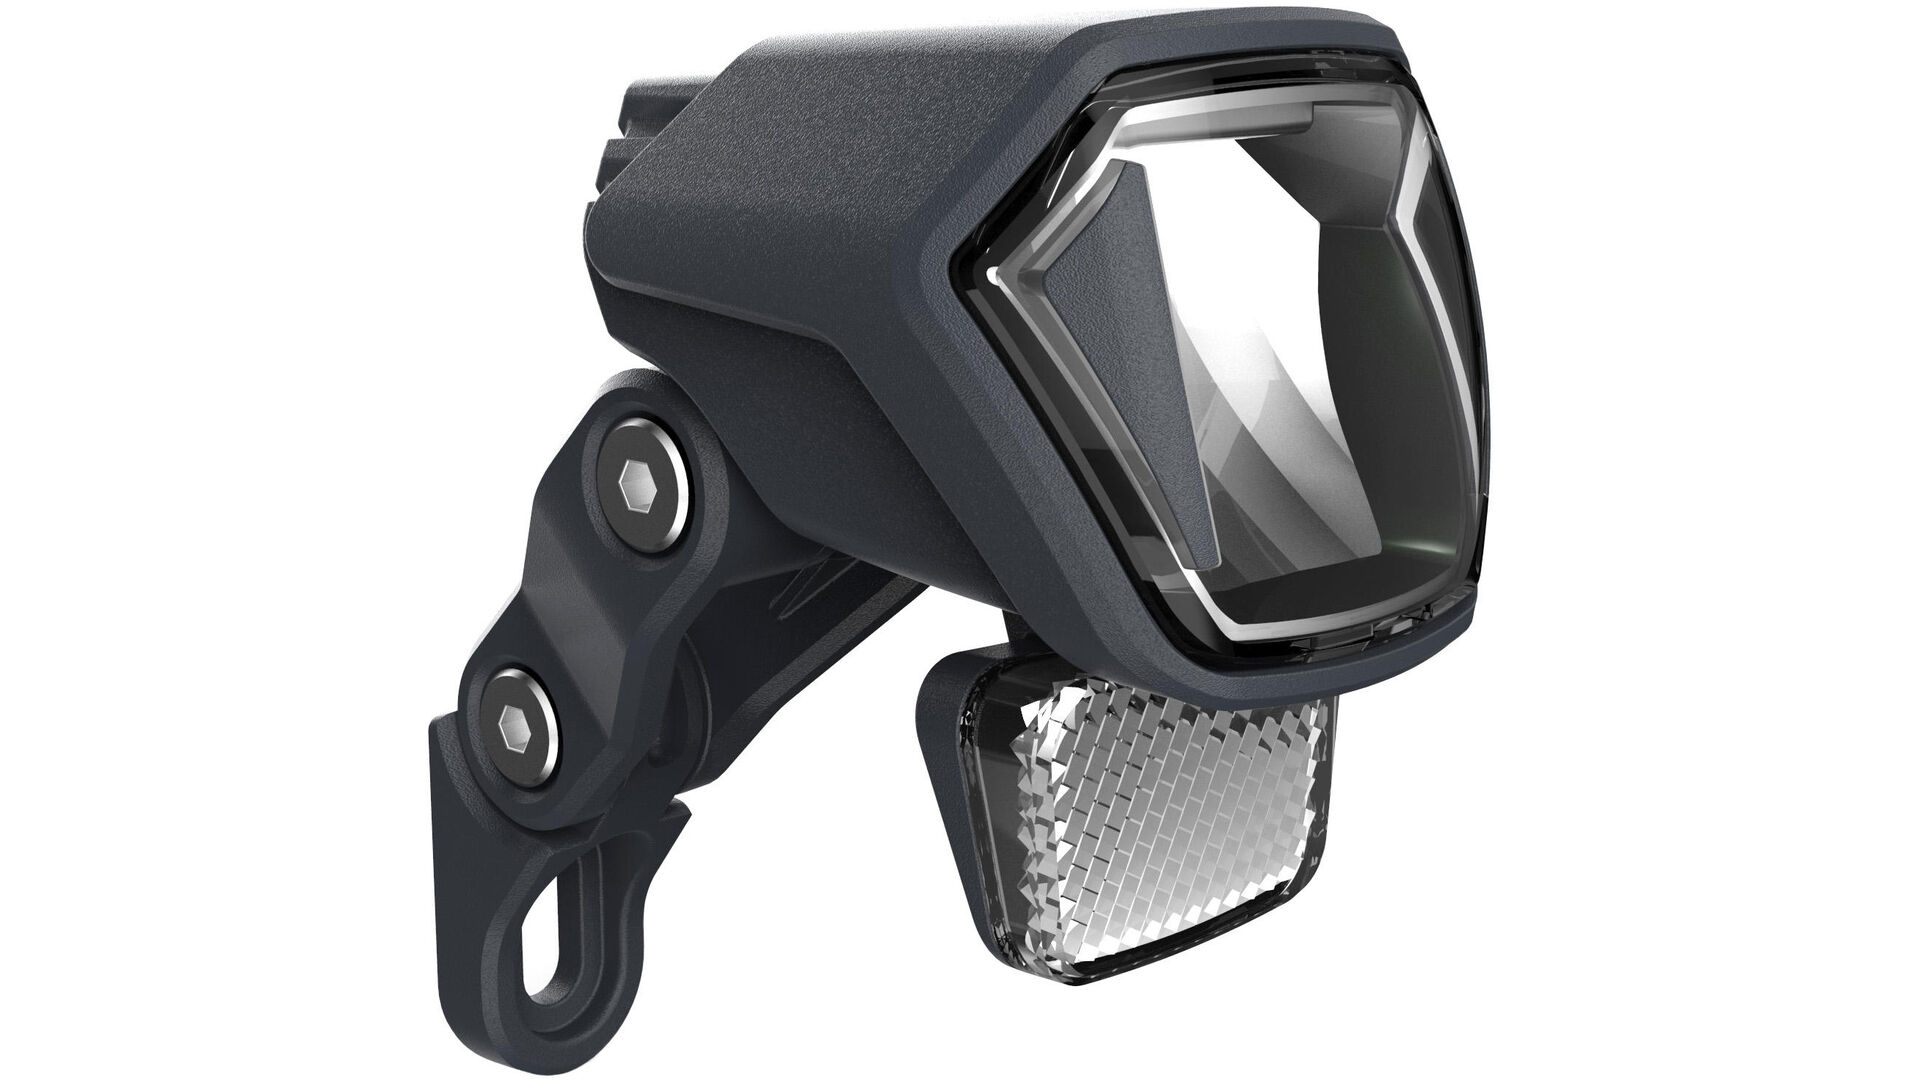
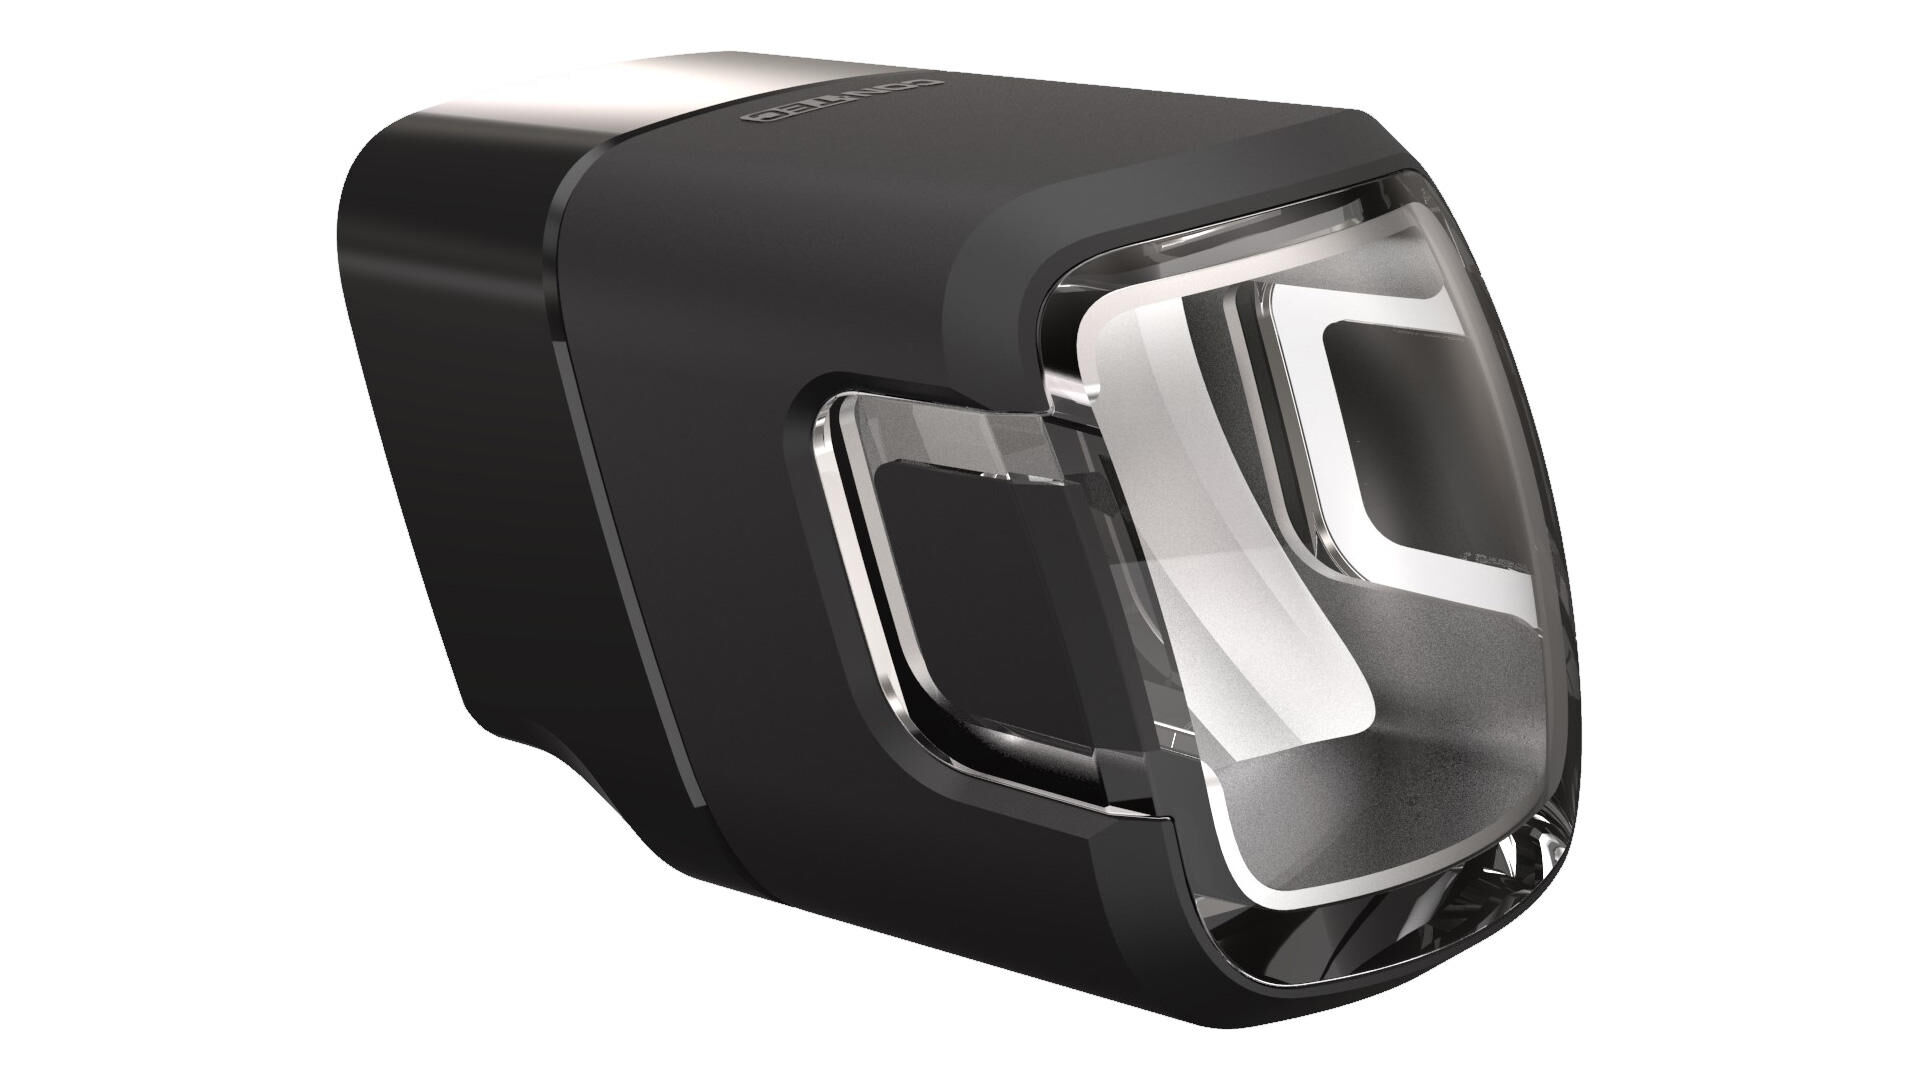
There aren’t many things that attach as easily to a bike than a battery-powered headlamp. In most cases, you won’t even need any tools. Choosing the right headlamp for your bike, however, may not be that easy with just the details provided by the manufacturer. We want to make it extra easy for you to buy one of our DLUX micro headlamps. That is why we show you the light pattern produced by these lamps and how simple it is to attach them.
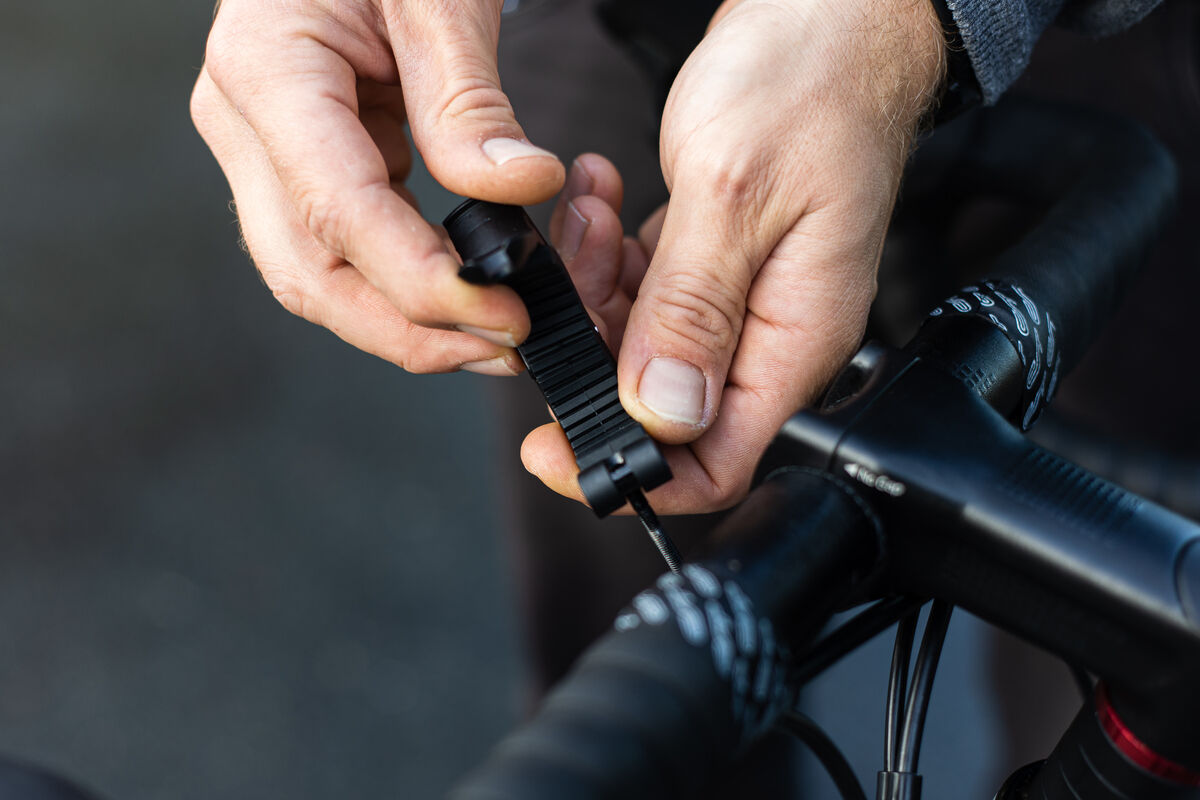
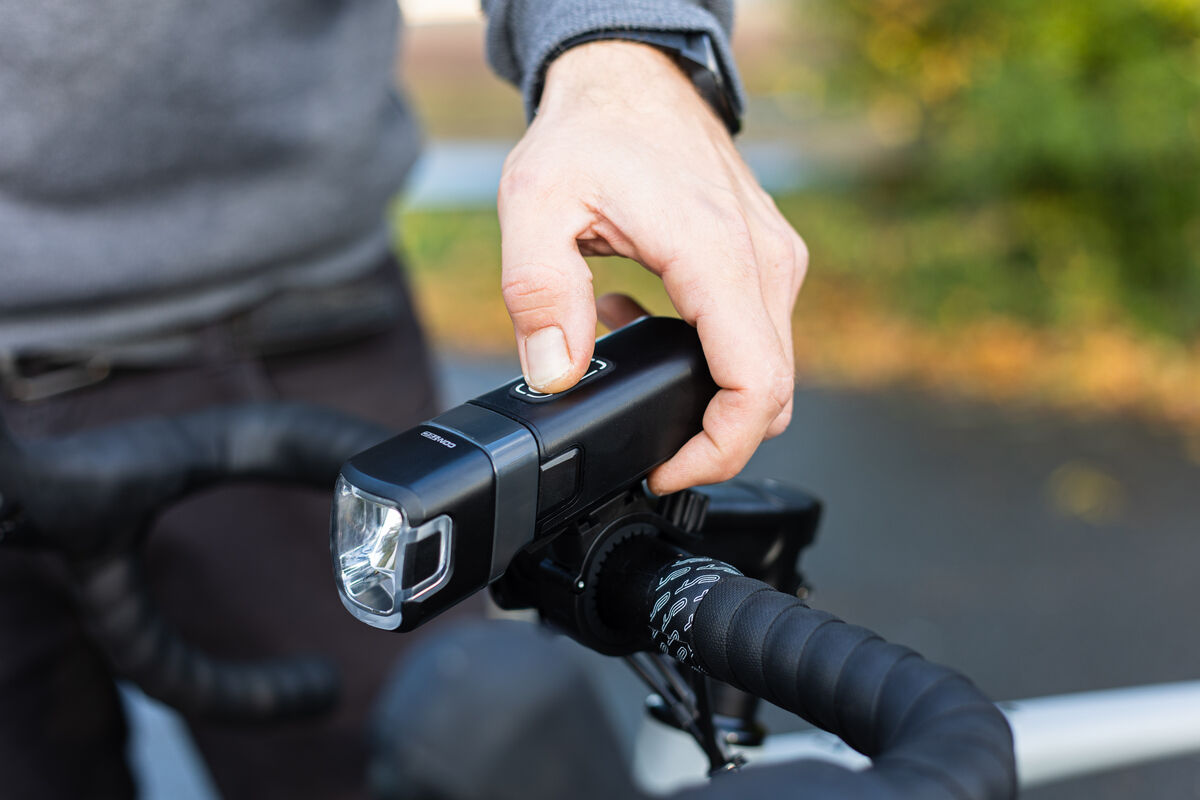
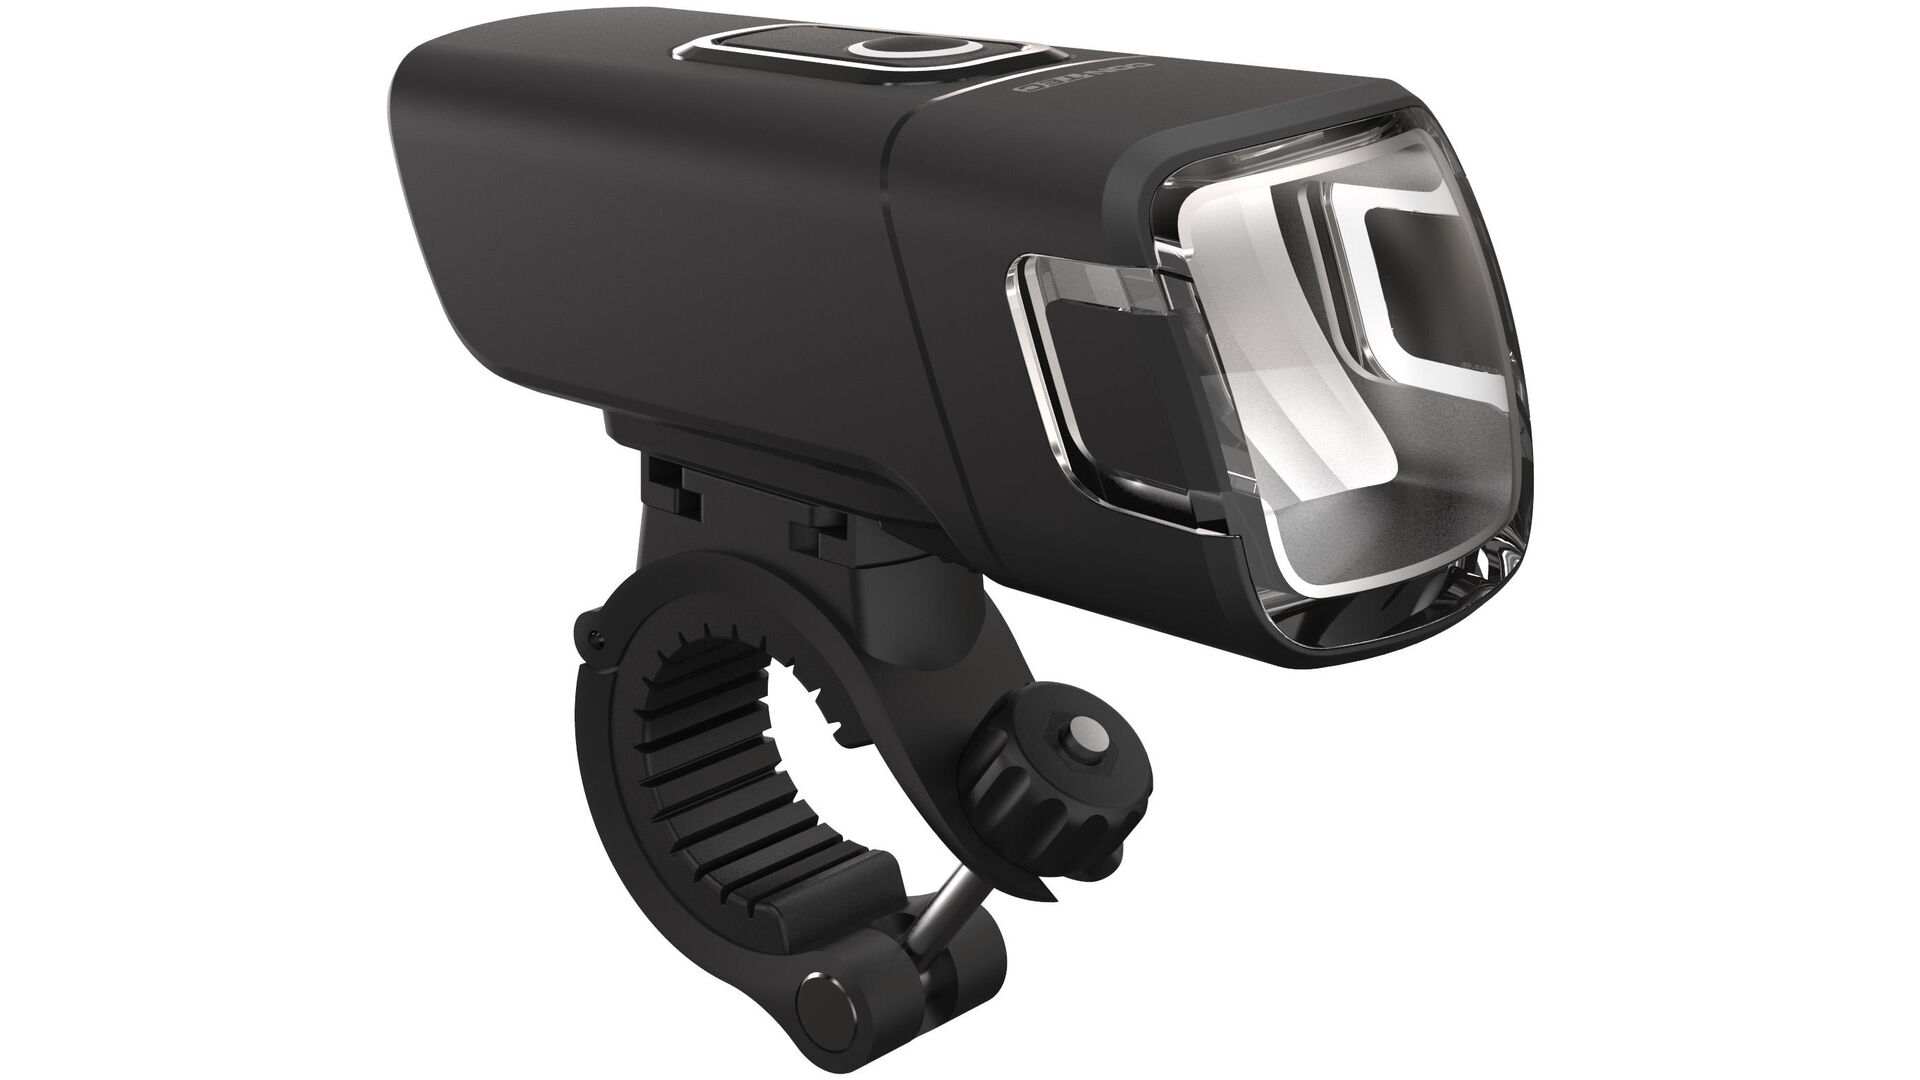
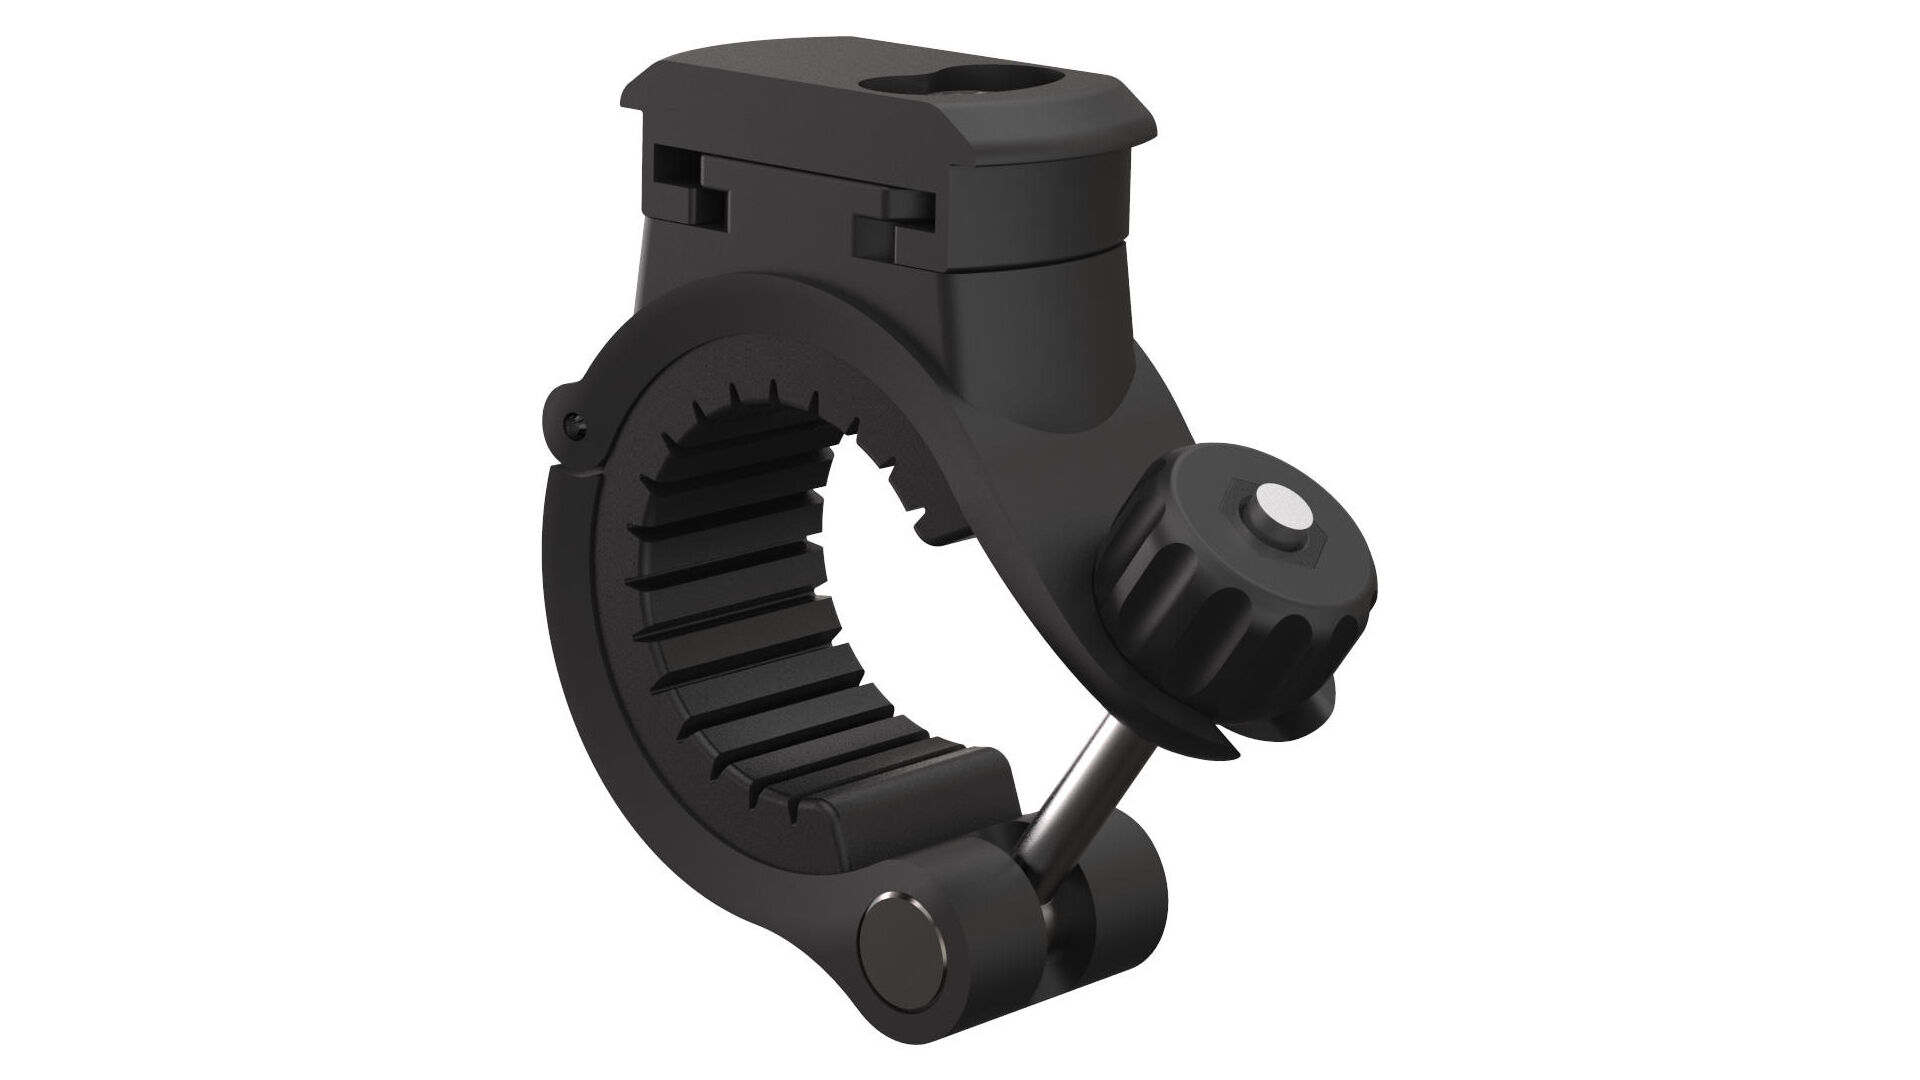
- Start by opening the holder. To do so, you have to unscrew the clamping nut as far as possible.
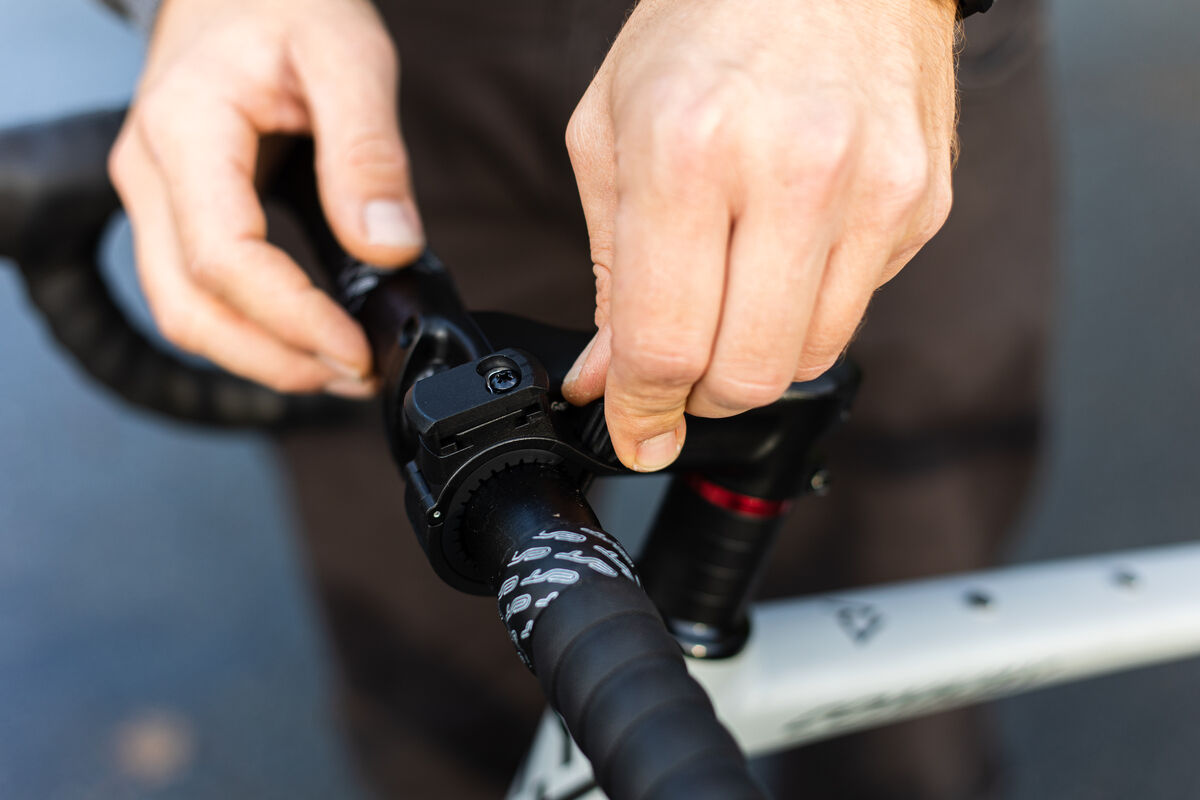
- Then place the holding clamp around the handlebars and close the clamp. Don’t tighten the clamping nut fully as yet.
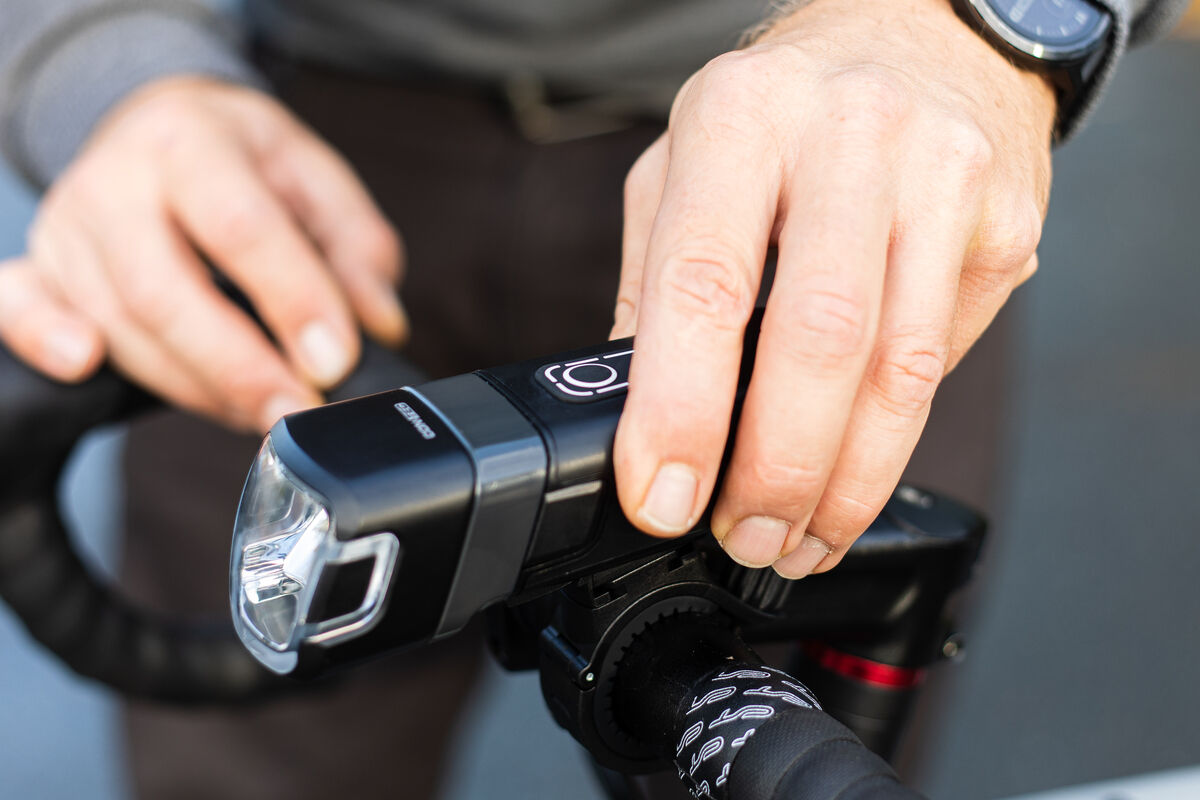
- Click the headlamp into the holder and adjust the direction of the light cone where you want it.
- Once you have found the right angle, you can then tighten the clamping nut fully to ensure the headlamp can no longer move.

The brightest lamps are useless if they are not adjusted properly. We show you how to correctly adjust the lamps on your bike.
Mounting the rear light
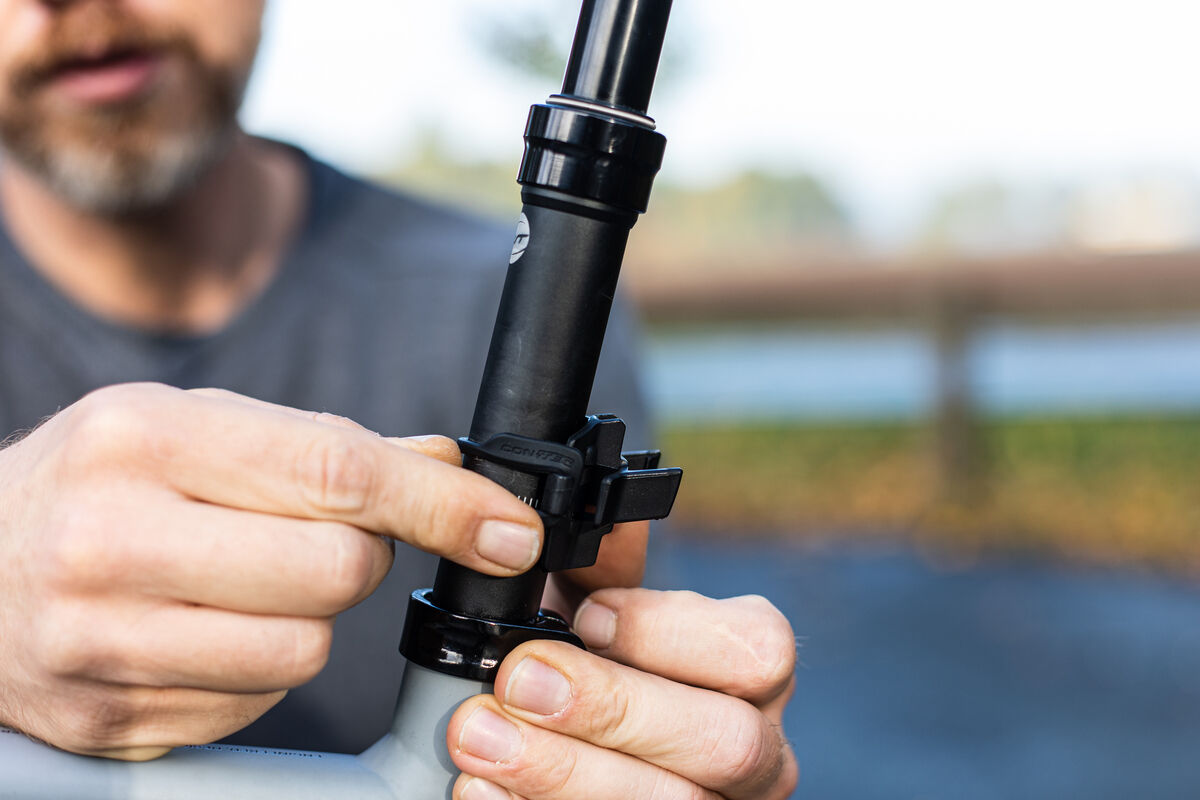
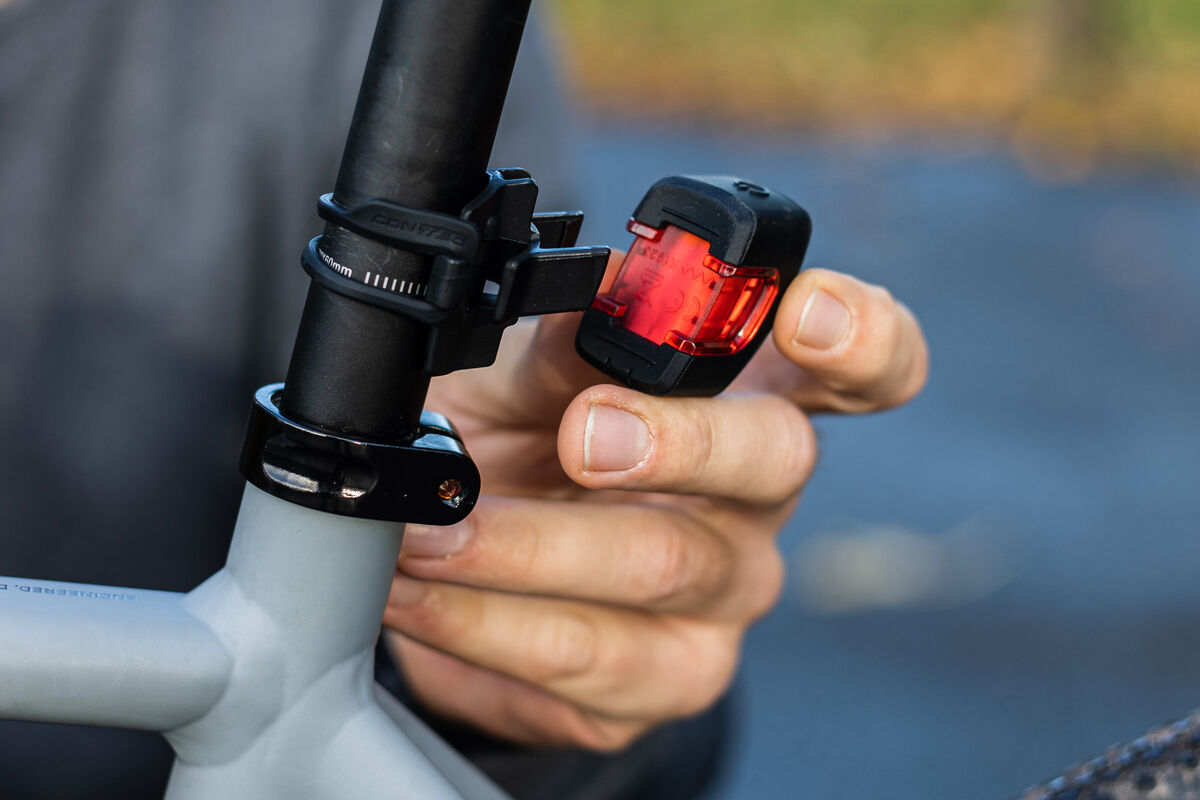
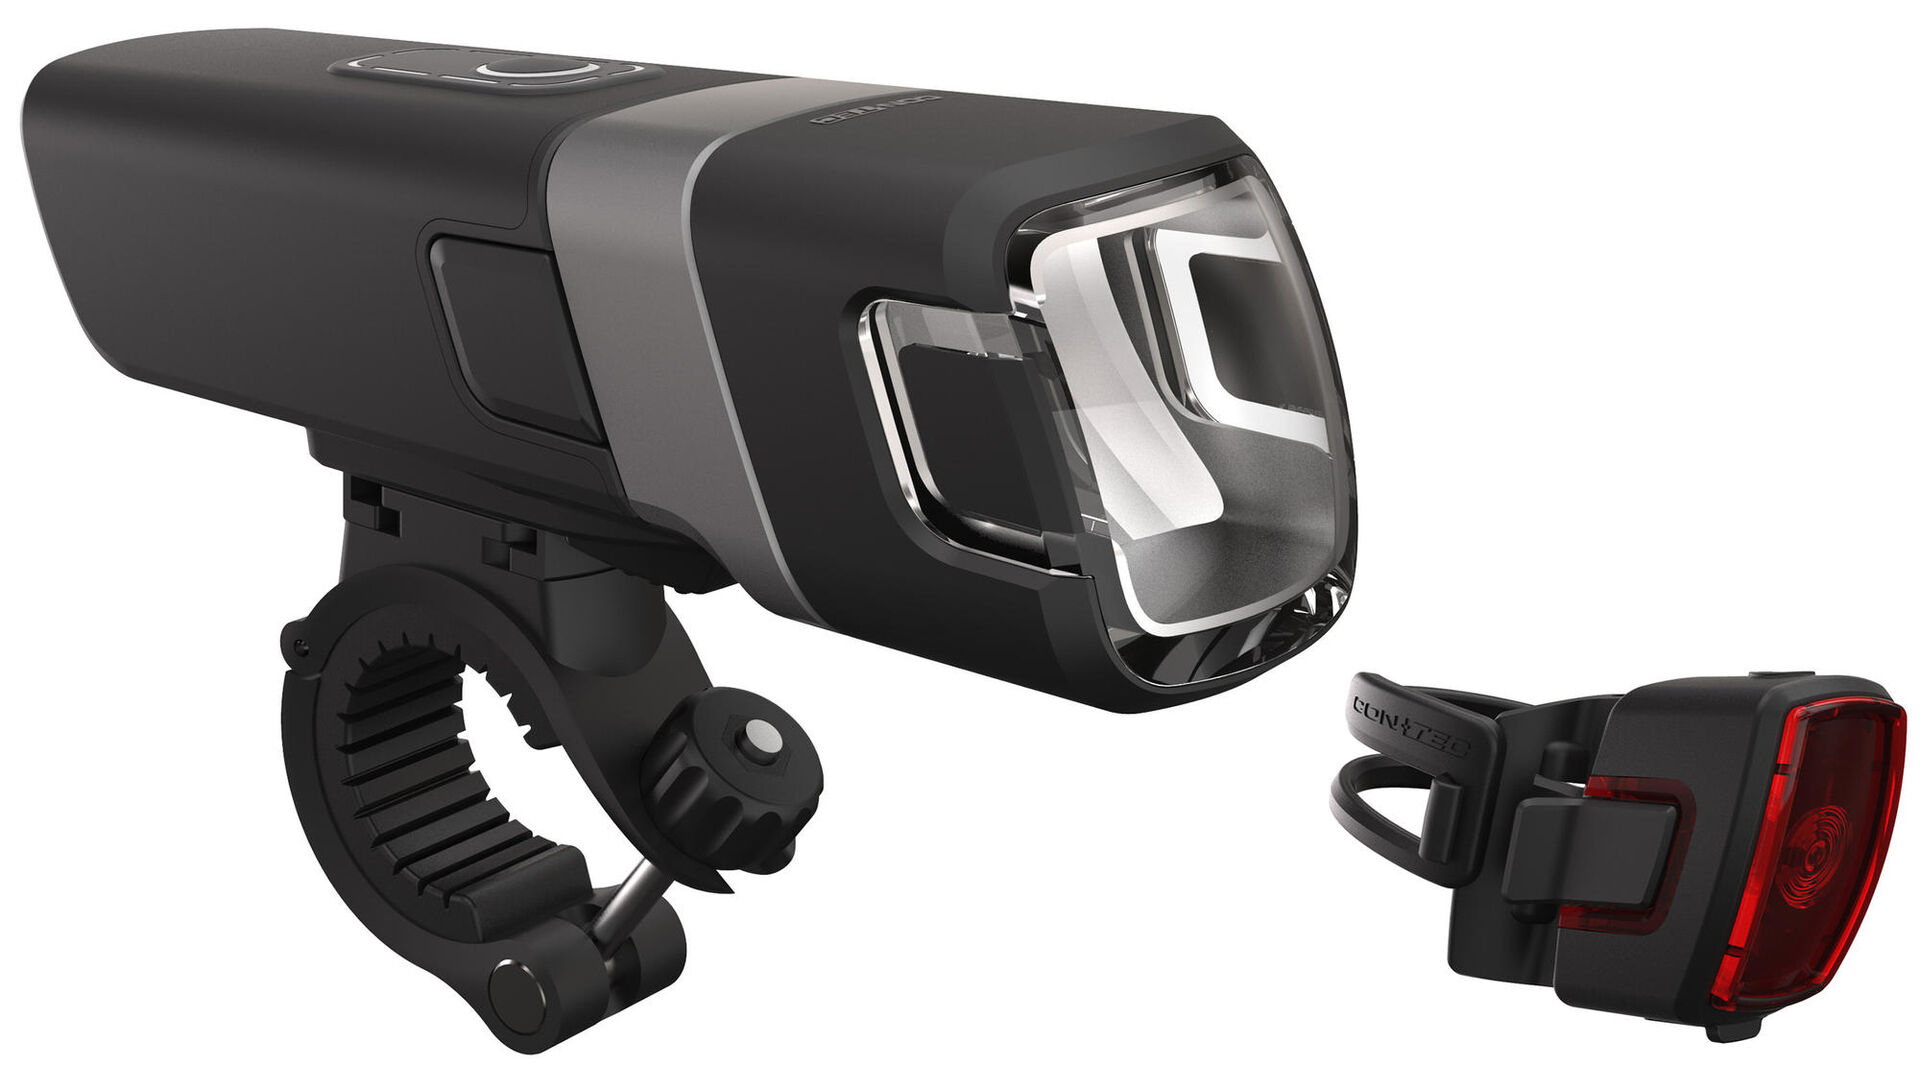
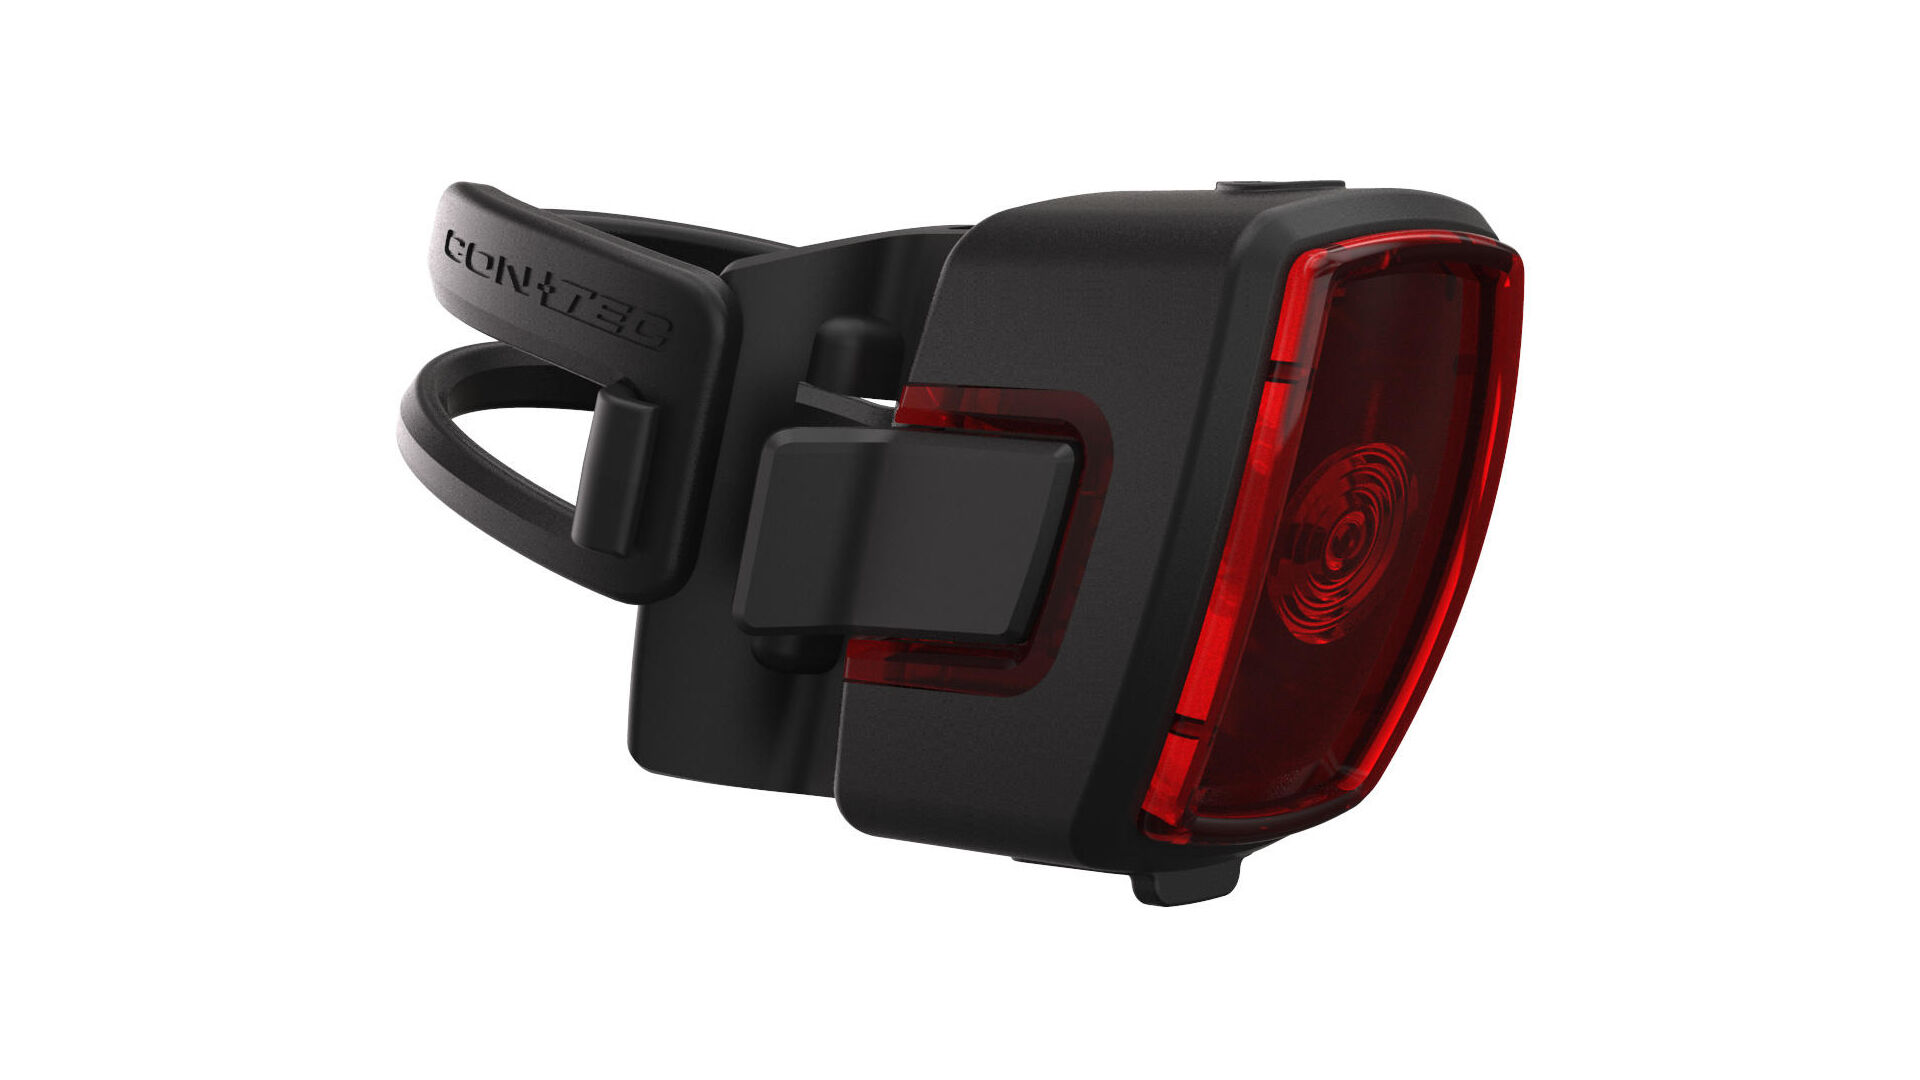
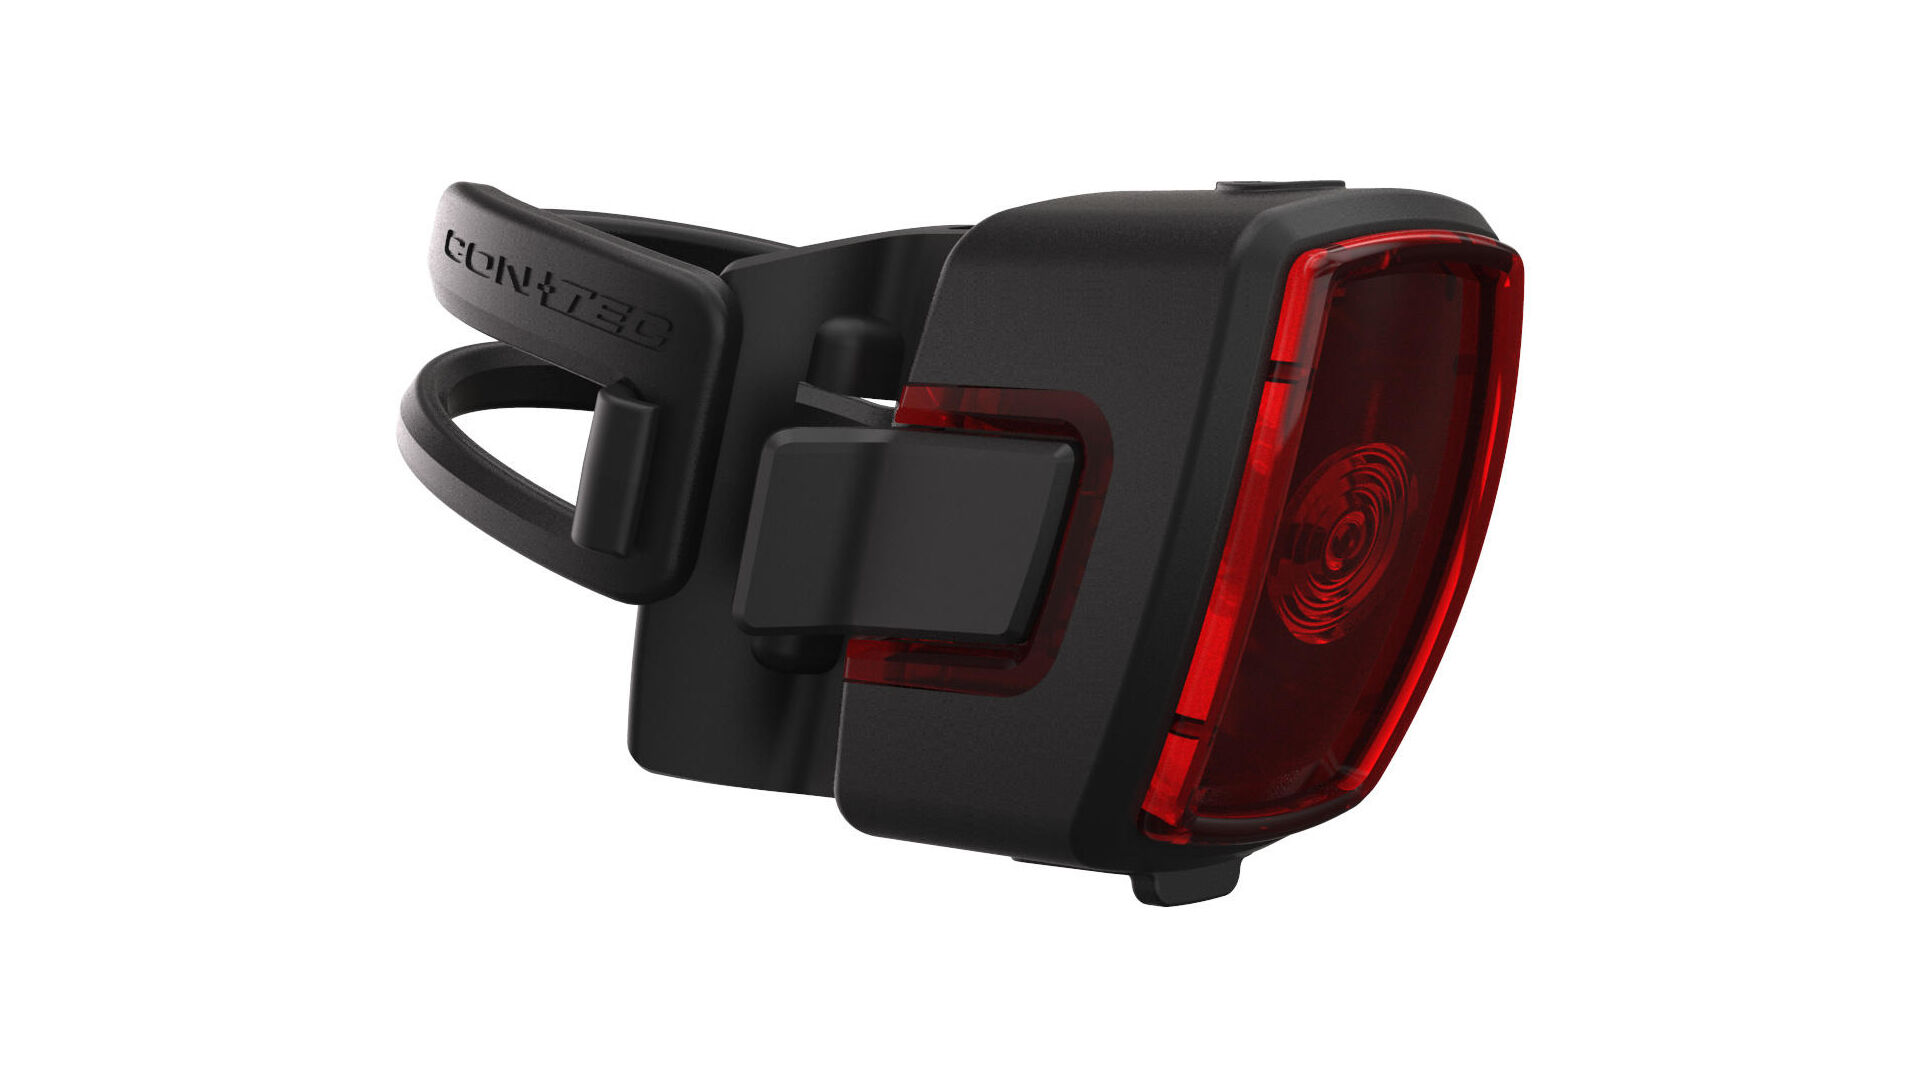
- Attaching the rear light couldn’t be easier. Simply place the rubber of the holder around the seatpost and hook it together.
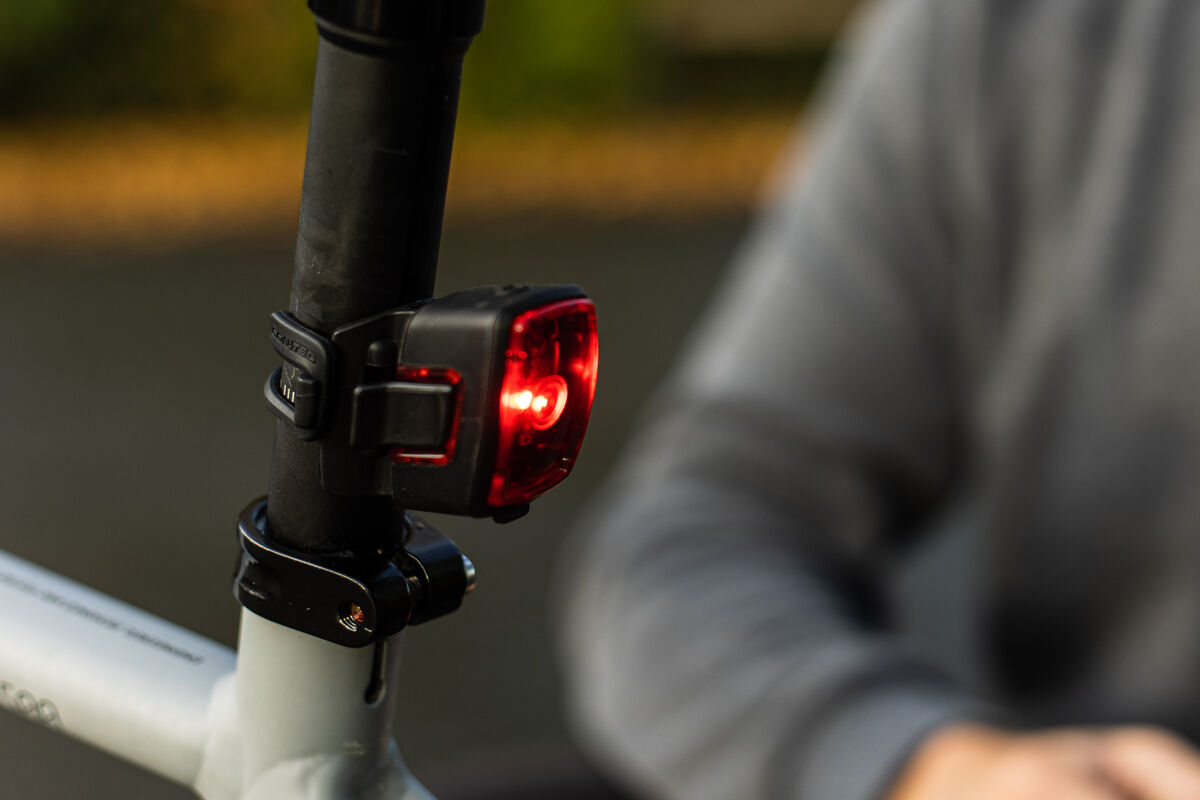
- Once the holder is in place, you can then clip in the rear light. Hold the rear light with its On/Off button facing up and push it into the holder.
- All that’s left is to adjust the light angle to ensure it shines straight backwards.
Why should I compare the light cones?
It isn’t always easy to choose the right lamp. The information given about luminous intensity doesn’t exactly make choosing and comparing any easier. Lux, lumen or sometimes candela – who actually knows what these units of measure really mean?! Besides – high values don’t necessarily mean that the lamps offer the illumination you want. A laser pointer, for example, has a very high lux value – but it definitely wouldn’t light up a dark street.
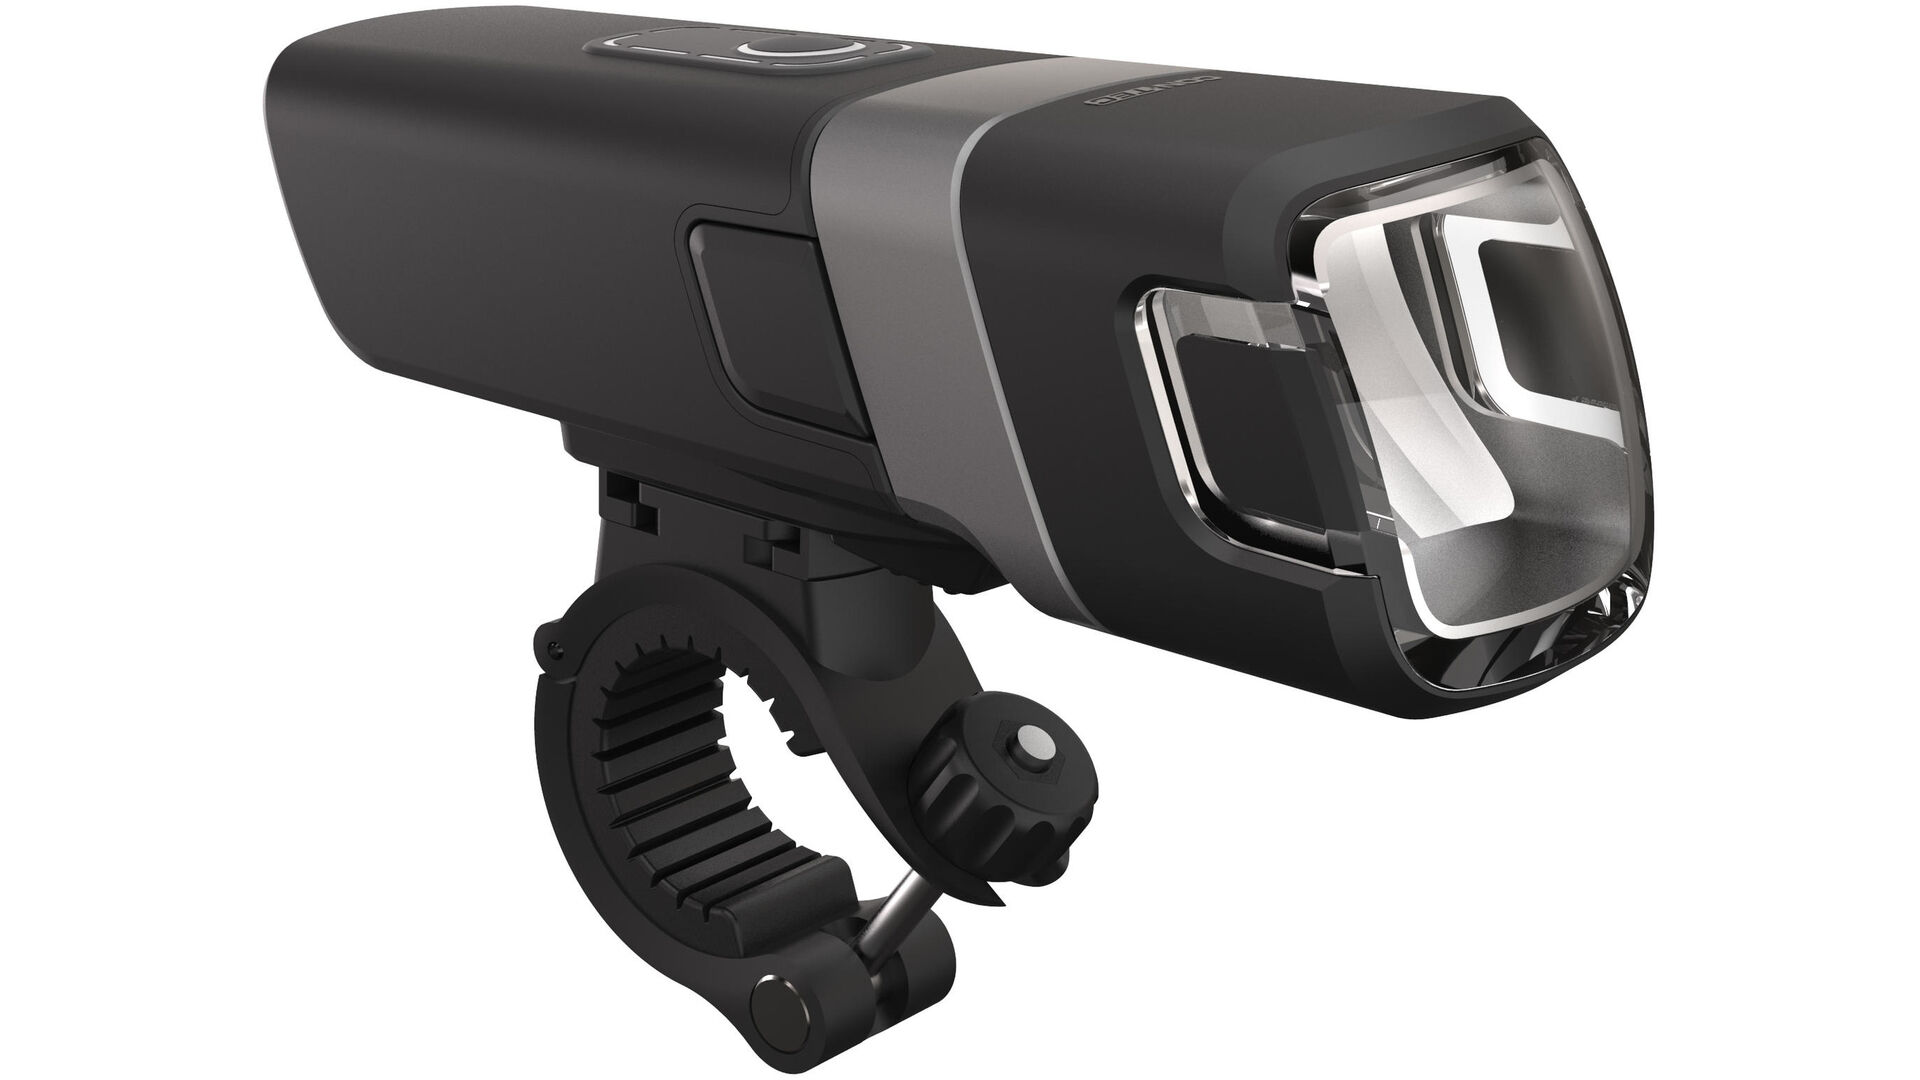
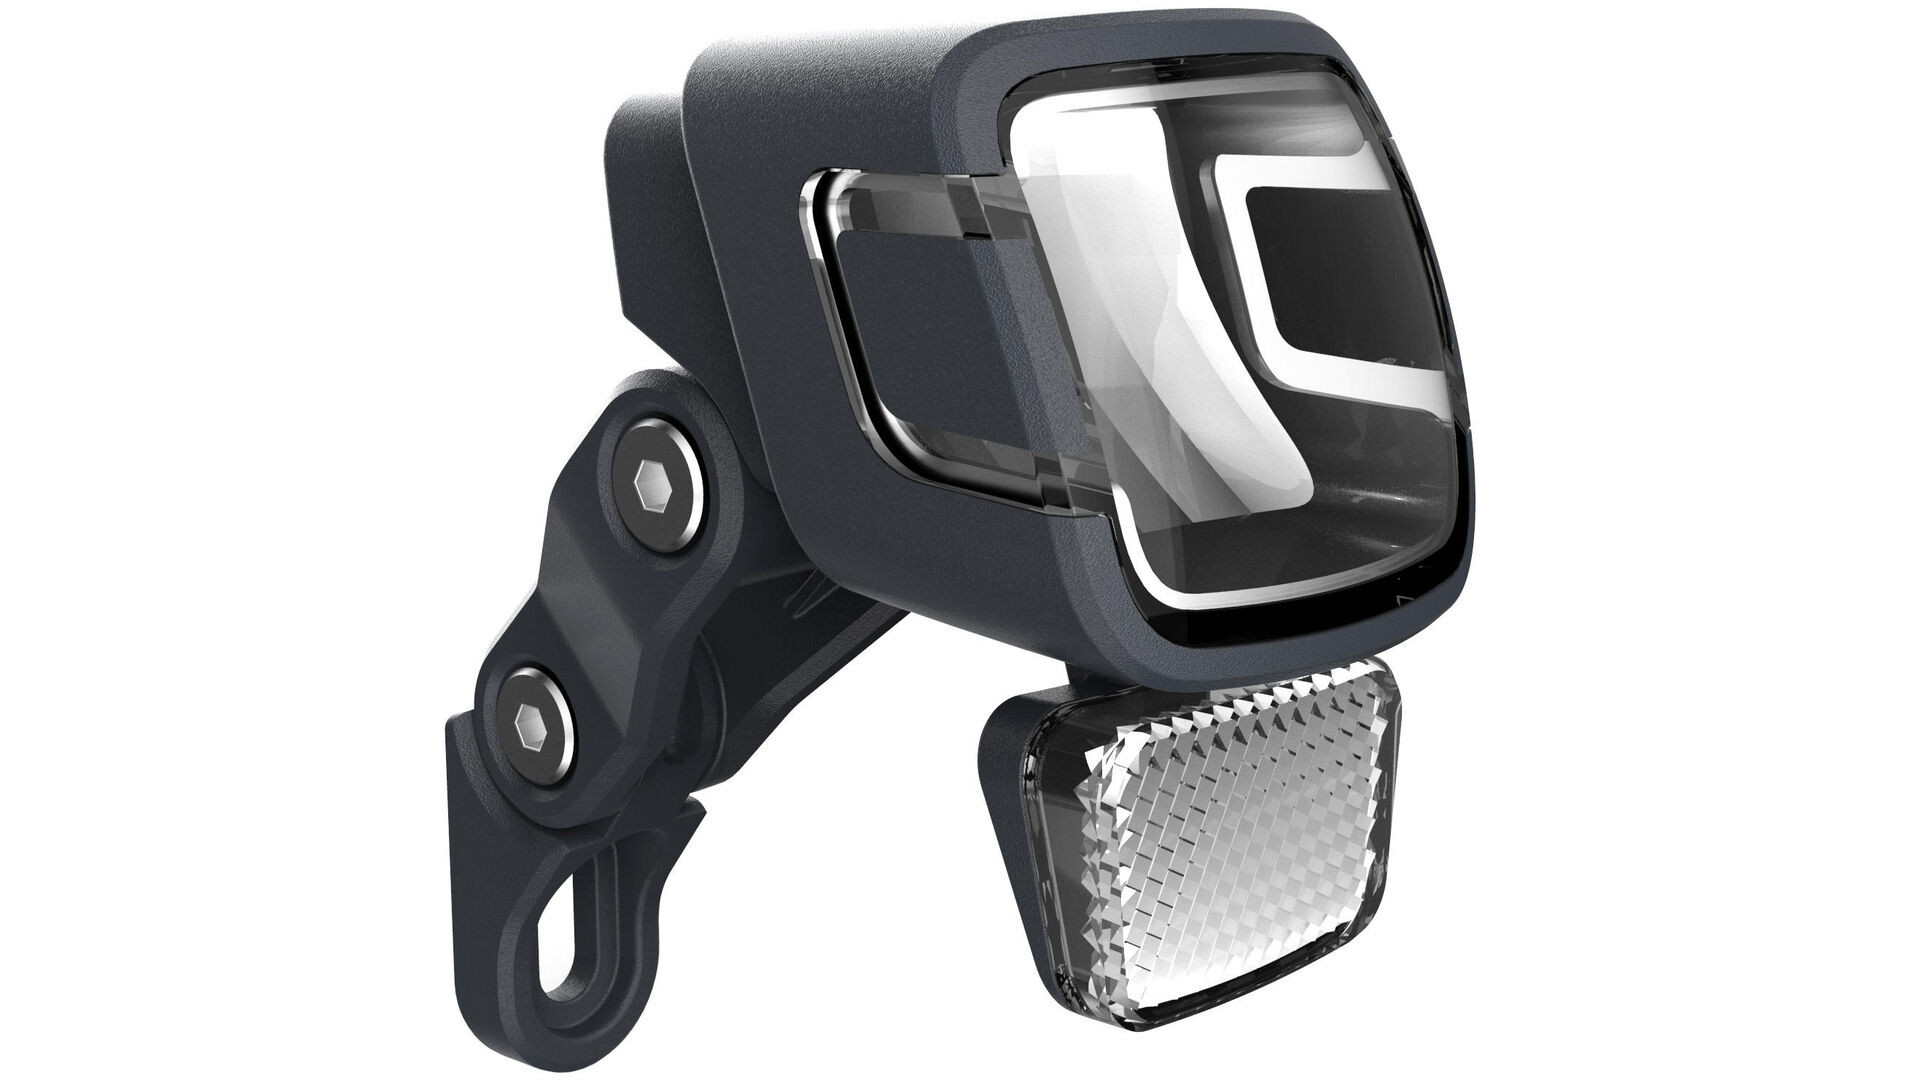
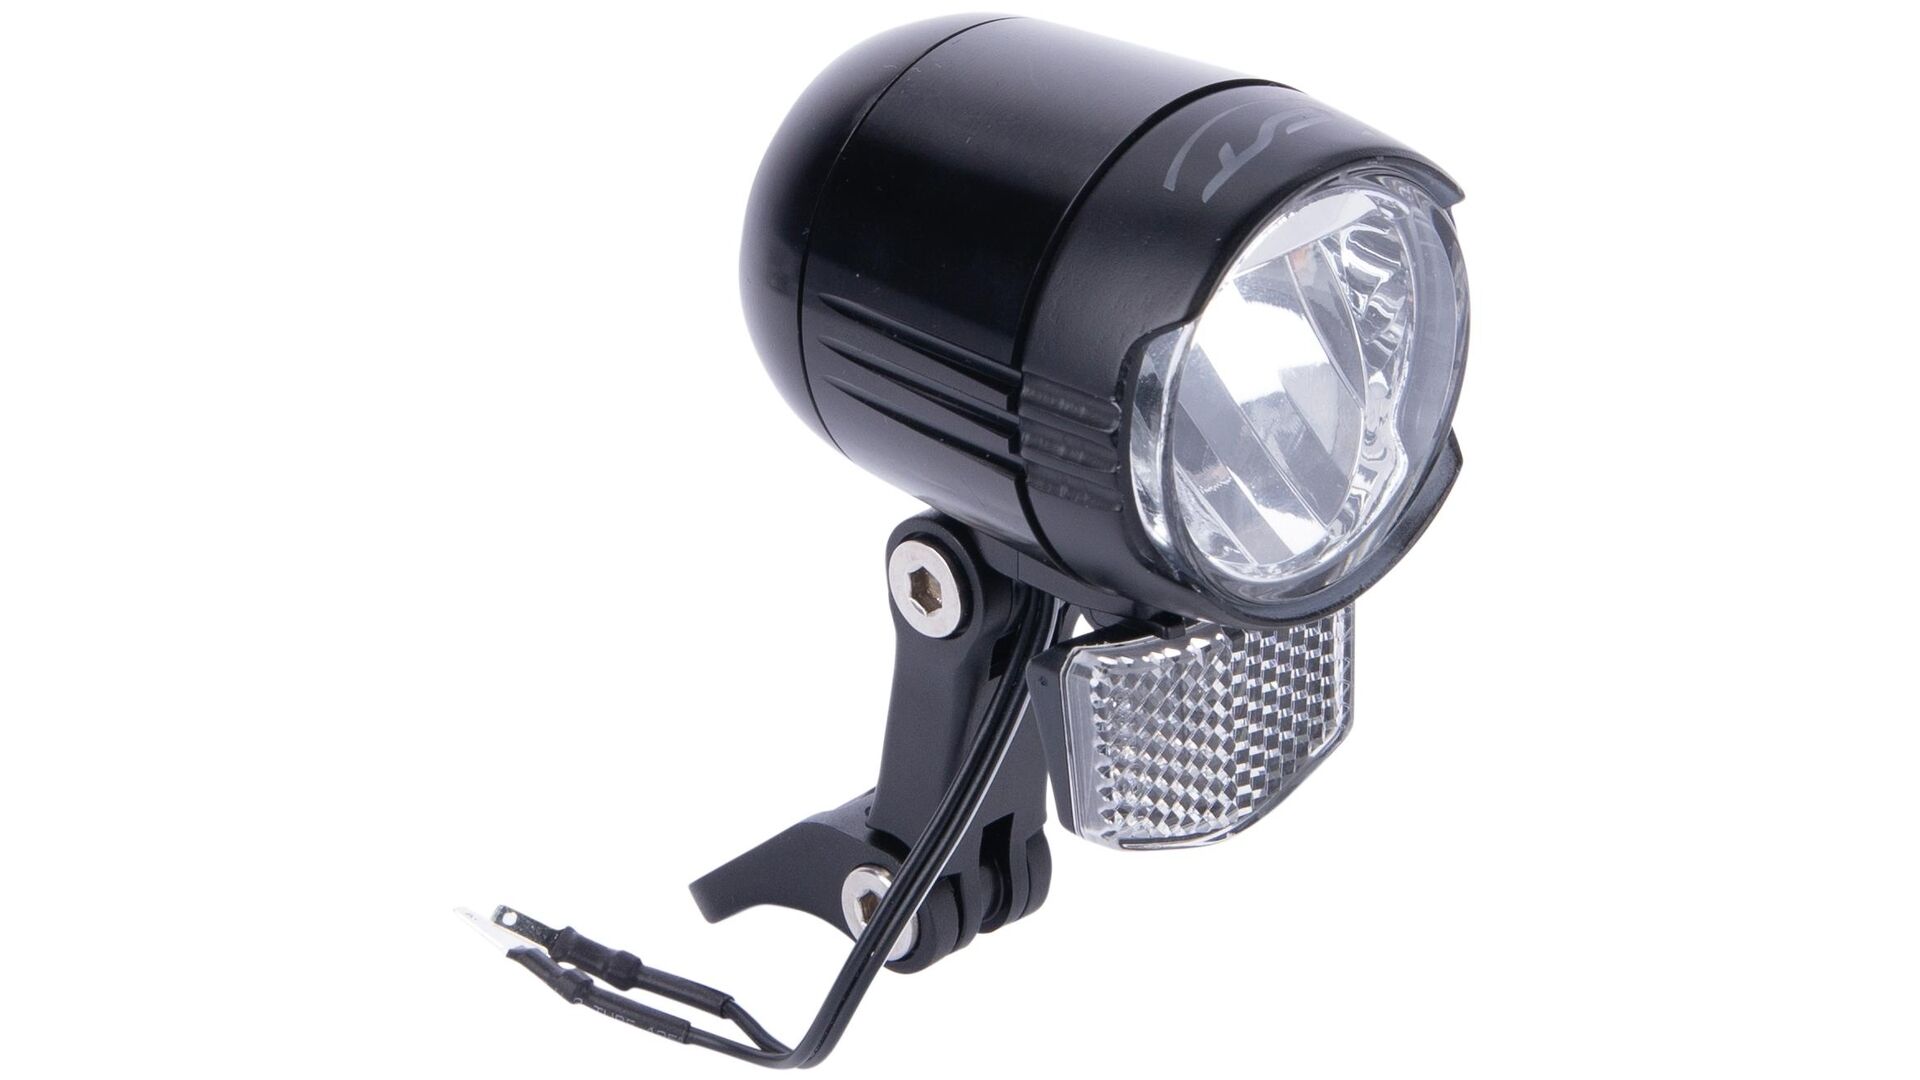
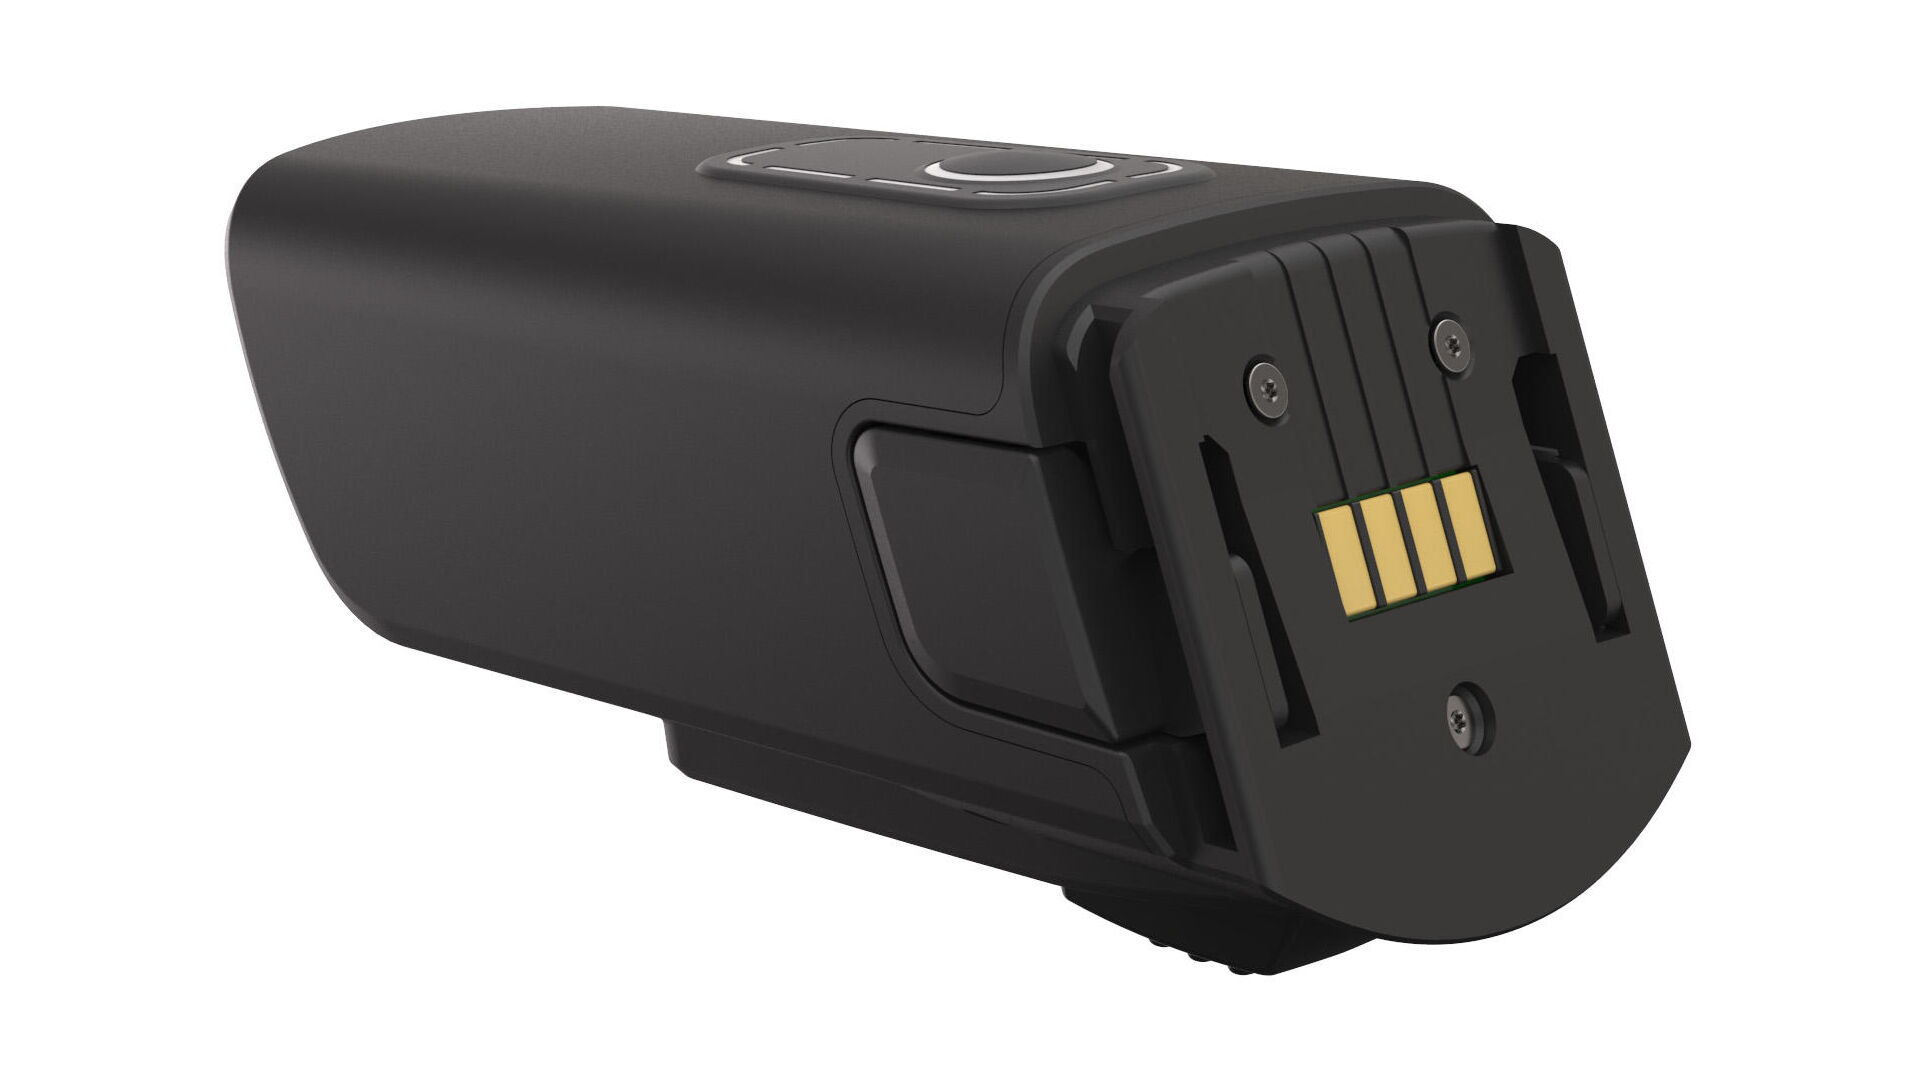
So, let’s have a look at the light cones of our new DLUX micro series. Our lamps are available as three different models: with 40, 80, and 120 lux. The rechargeable batteries of the 80 and 120 lux models can also be used as powerbanks. And the lamp heads of these two models are also interchangeable. But enough about side facts. The question really is in what way the light cones of these lamps differ. We just got ourselves one lamp of each model and took photographs of their light cones to better demonstrate the differences.
Setup of the light cone comparison
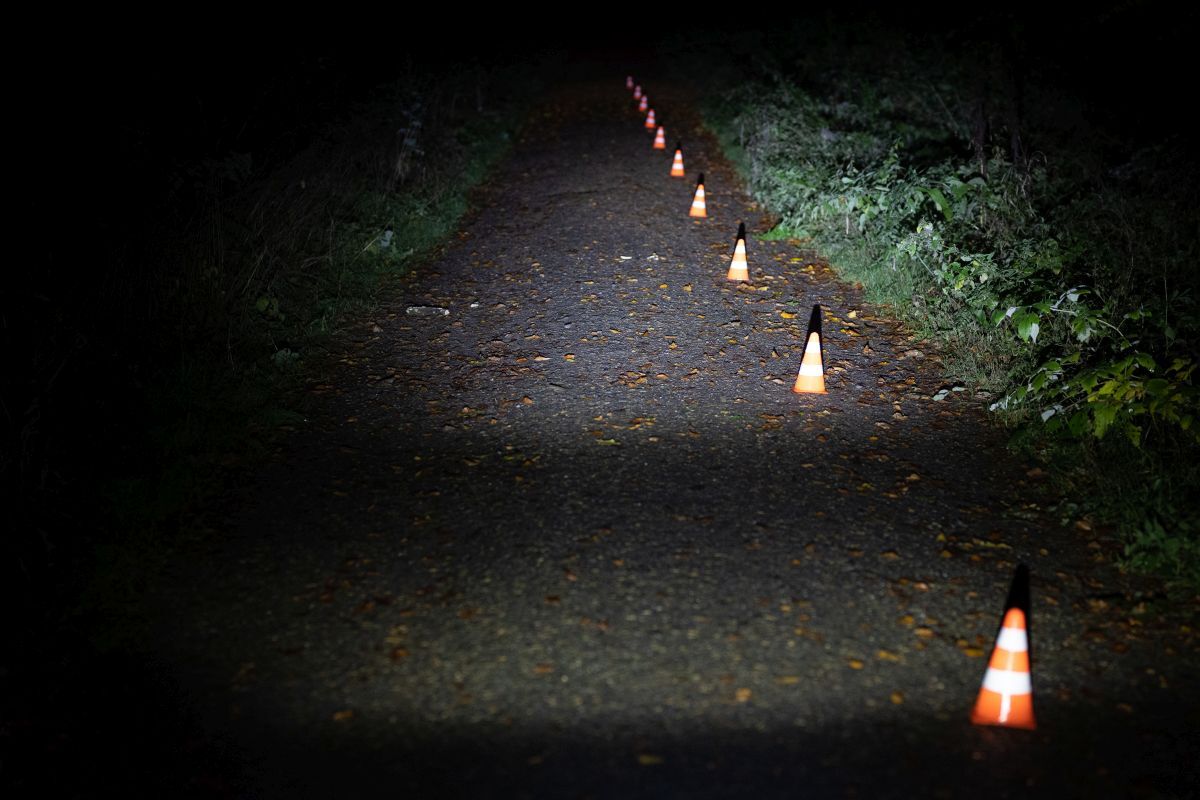
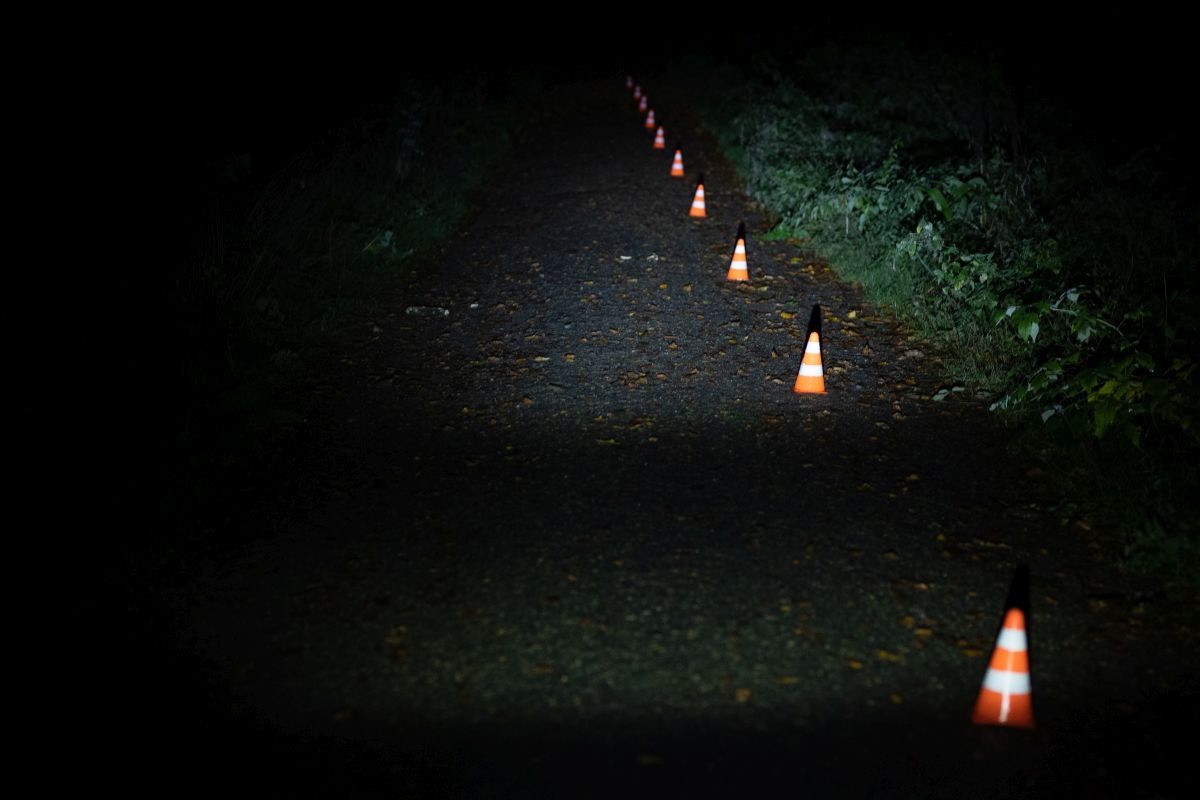
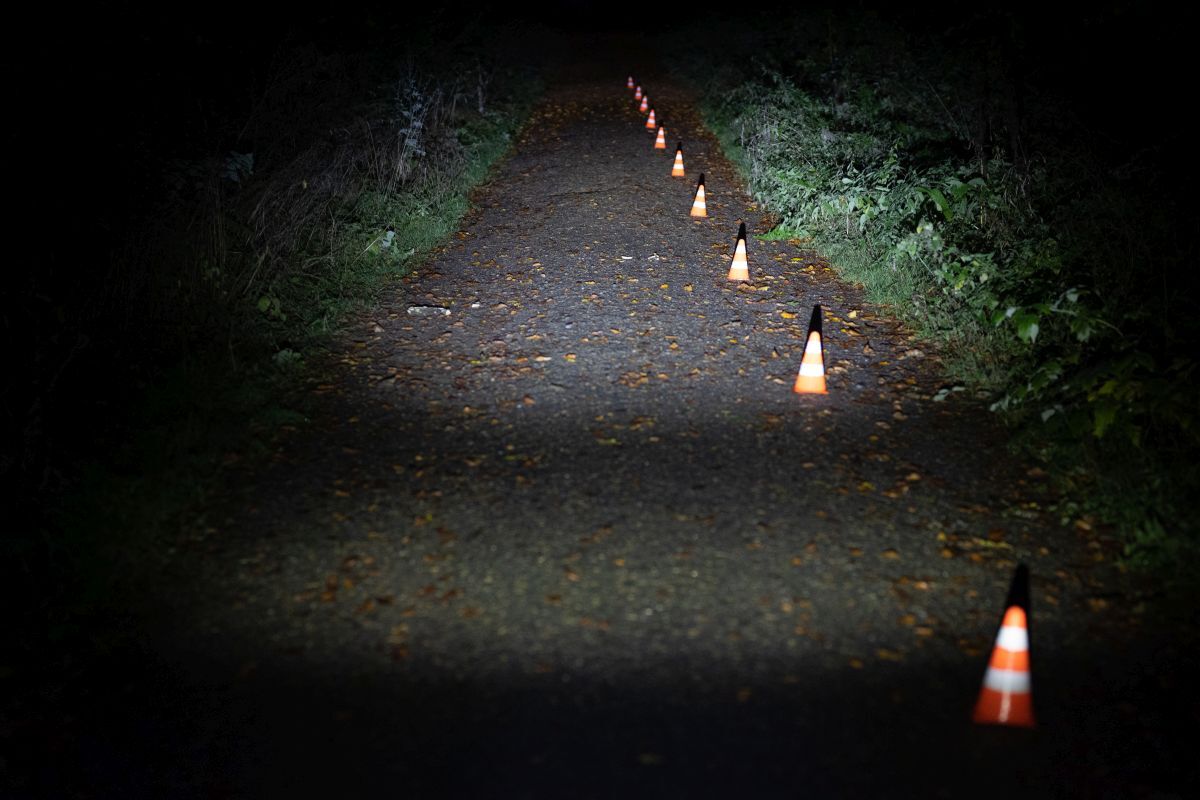
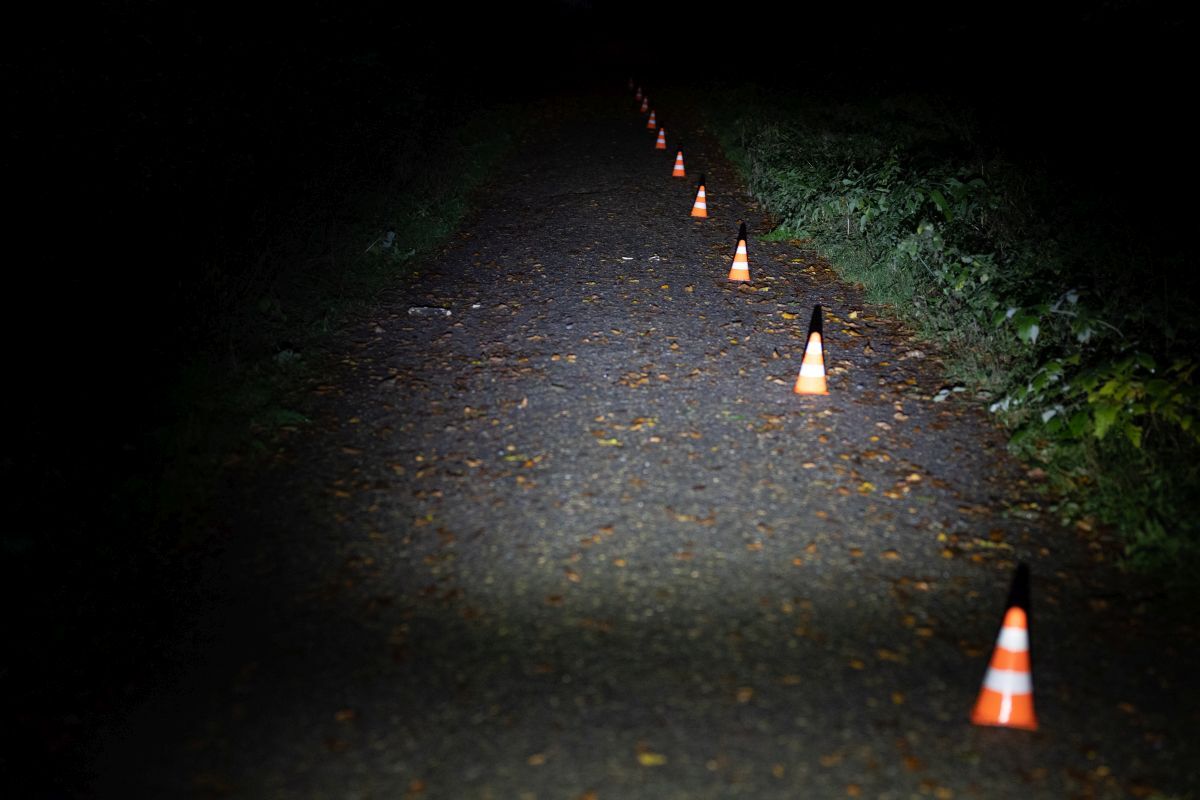
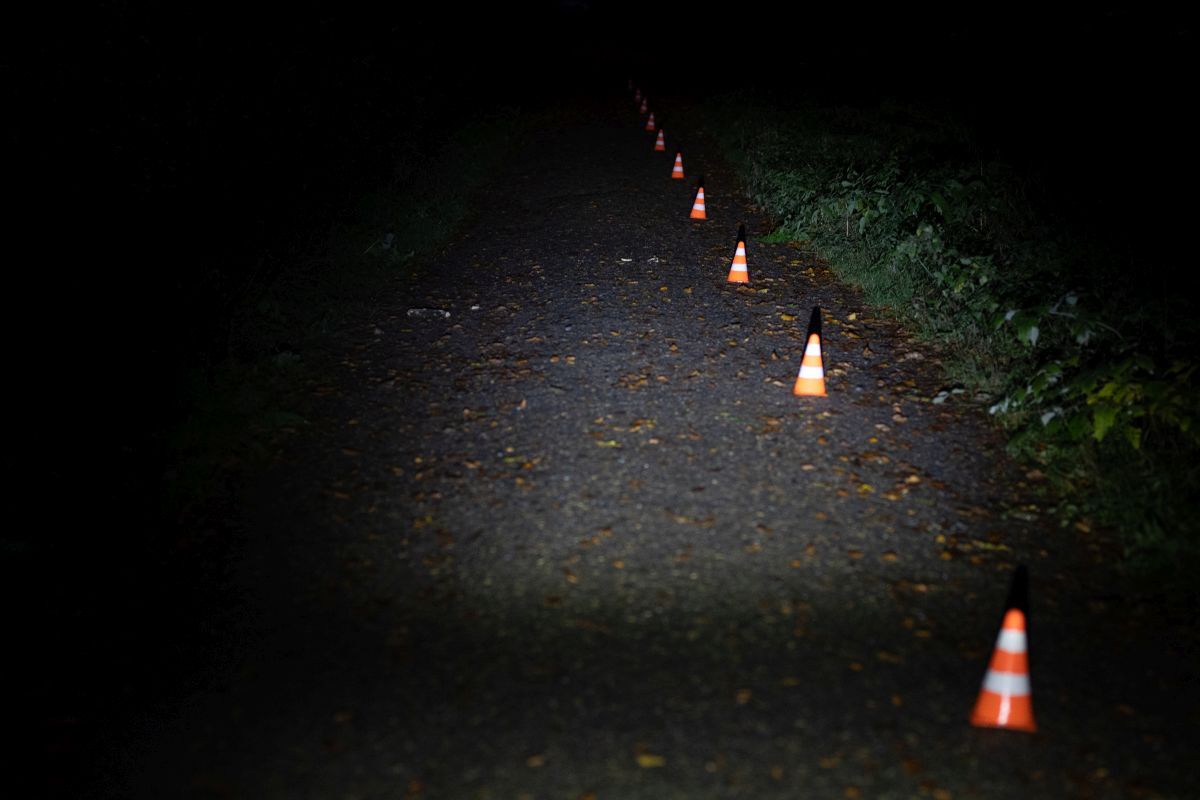
We set up a row of traffic cones with five metres in between each two to better demonstrate the light range of these bike lamps. In total, we installed ten cones, meaning that the furthest cone stood at 50 m distance from the lamp.
The camera settings we used are right here for optimal comparability and to make our visualisation of the light cones as transparent as possible:
- Aperture: F/5.6
- Exposure: 1/6 s
- ISO value: 2000
- Focal length: 16 mm
We hope you enjoy our little comparison experiment and that it is helpful for you to choose the right lamp.
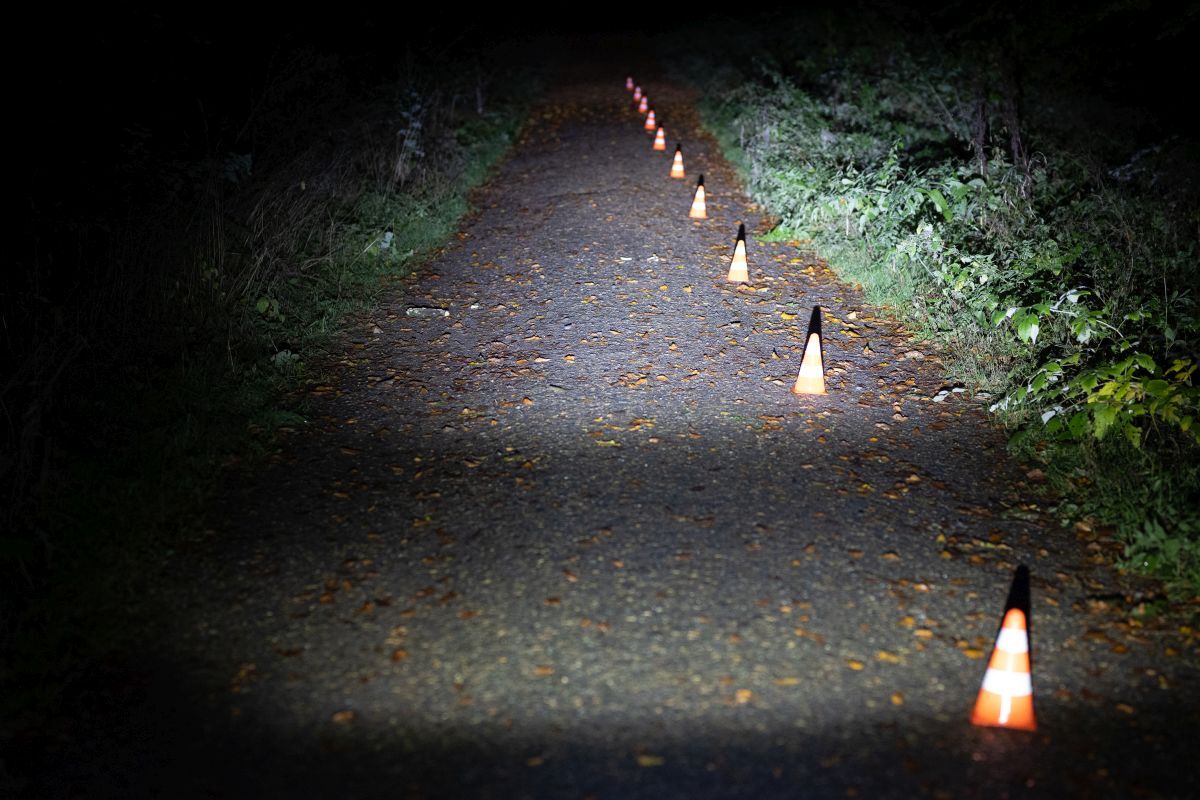
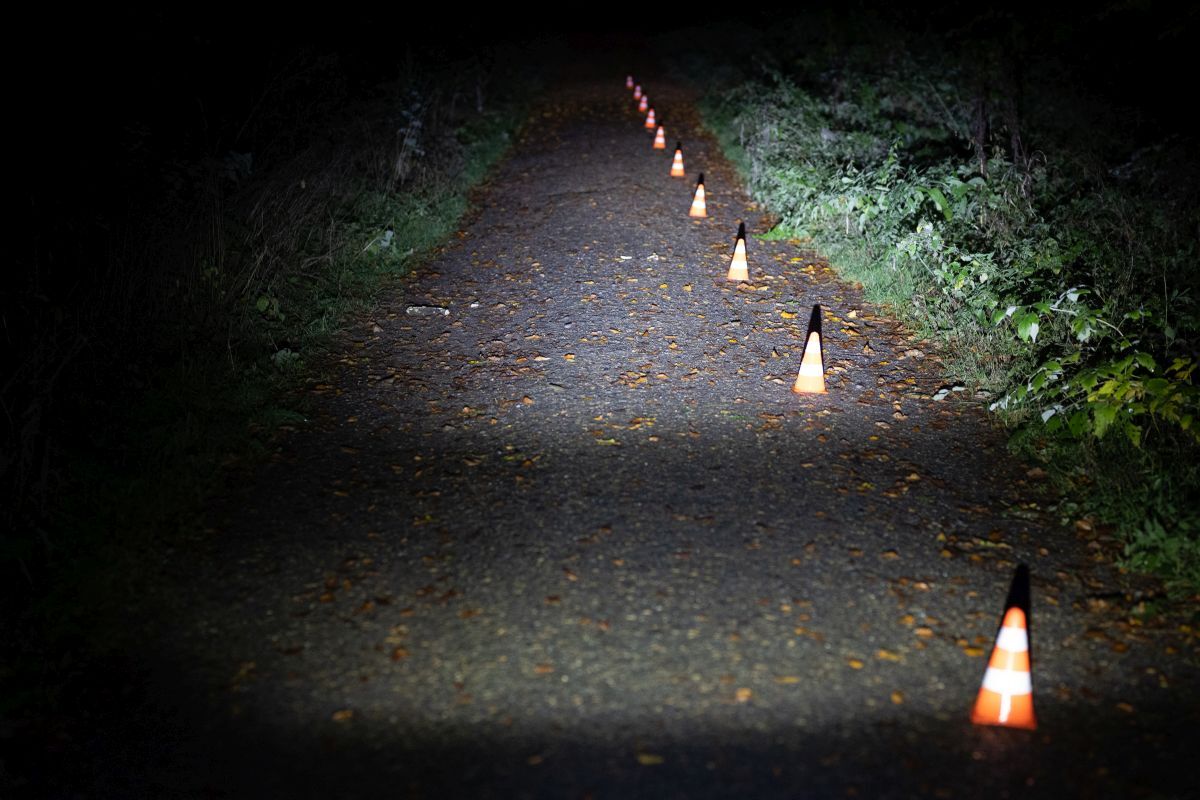
DLUX micro 120 is the flagship model of this lamp series and generates 120 lux. It gives you a visibility range of a good 50 m, ensuring the way ahead is brightly lit for you. You will see every obstacle and unevenness in the road well in advance – no matter how fast you go. DLUX micro 120 is definitely a good choice for people who enjoy fast-paced rides on unlit forest tracks, where the unexpected can always be expected.
Light cone of the "DLUX micro 80"
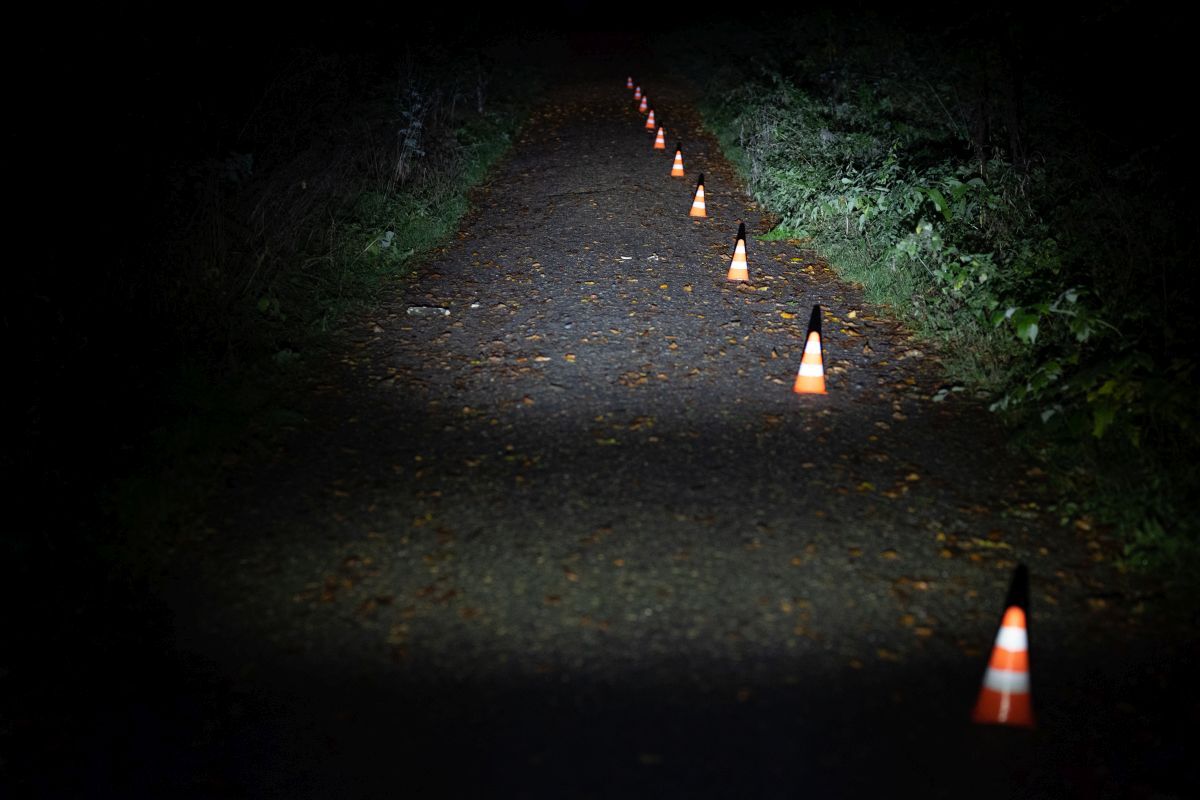
You can’t go wrong with our well-balanced DLUX micro 80 – the mid-level model of the DLUX micro series. As the name suggests, it offers a light output of 80 lux. It illuminates your way 40 m ahead. DLUX micro 80 is a good companion for dark roads without street lights.
Light cone of the DLUX micro 40
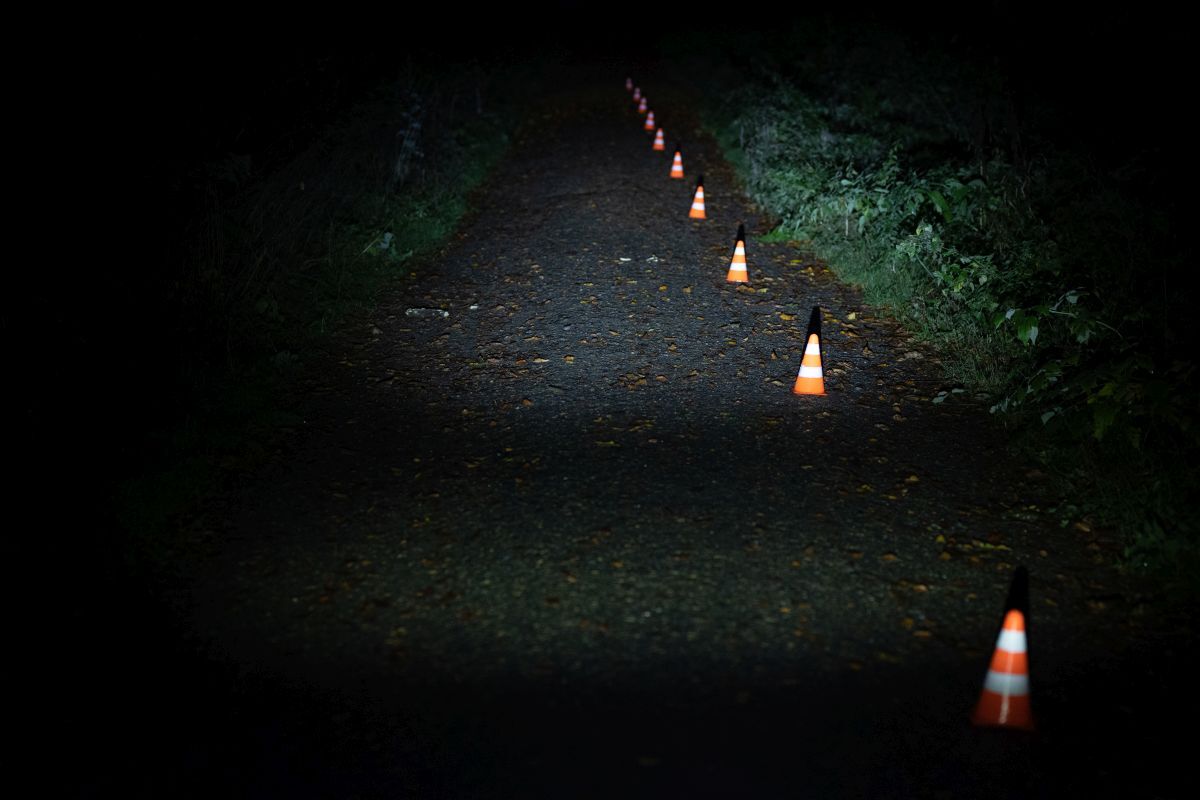
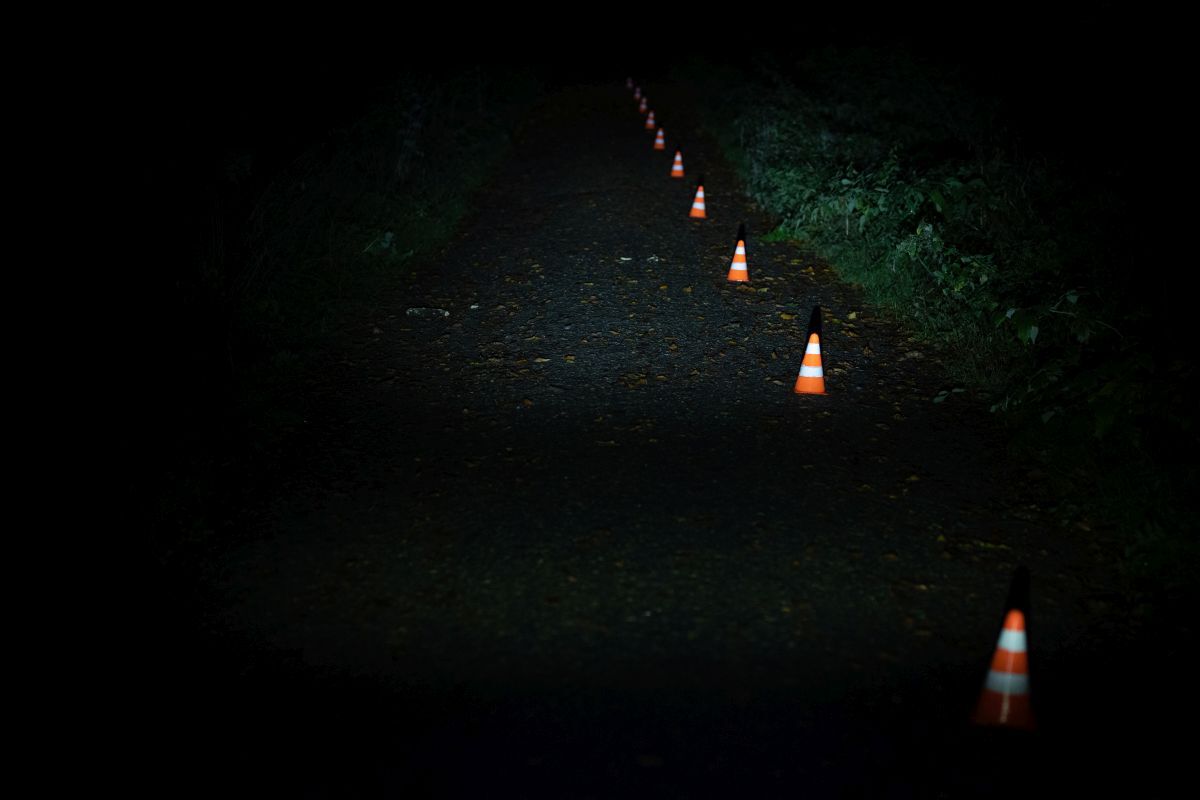
DLUX micro 40 is the least powerful of the lamps in the DLUX family, offering an output of just 40 lux. But then again: 40 lux is perfectly sufficient to see and be seen in the city, and to have enough light to go by on the occasional dark street.


