Wrapping bar tape correctly: Instructions for road and gravel bikes
A well-wrapped bar tape on the bike is the key to a secure grip, comfortable damping and a look that perfectly matches the rest of the bike. If you're reading this, you already know what a high quality bar tape can do for you. But wrapping it yourself can seem complicated at first glance. Here we show you the right technique and give you tips for great results. At the end, we'll give you a short overview of the materials. Click here if you want to continue reading.
First of all: road or gravel bike?
The first question: does it make a difference whether you have a road or a gravel bike? Gravel bikers often choose thicker and therefore more comfortable versions, such as our models padded with EVA foam.
Gravel bikes also have wider handlebars and require a little more tape. However, our experience shows, that there is usually enough material in most straps for wider handlebars. For extreme widths, choose longer straps to be on the safe side.
Removing the old tape, cleaning and preparation
First of all, take your time: this way you will achieve an even result and, with sufficient patience, you avoid gaps and irregularities.
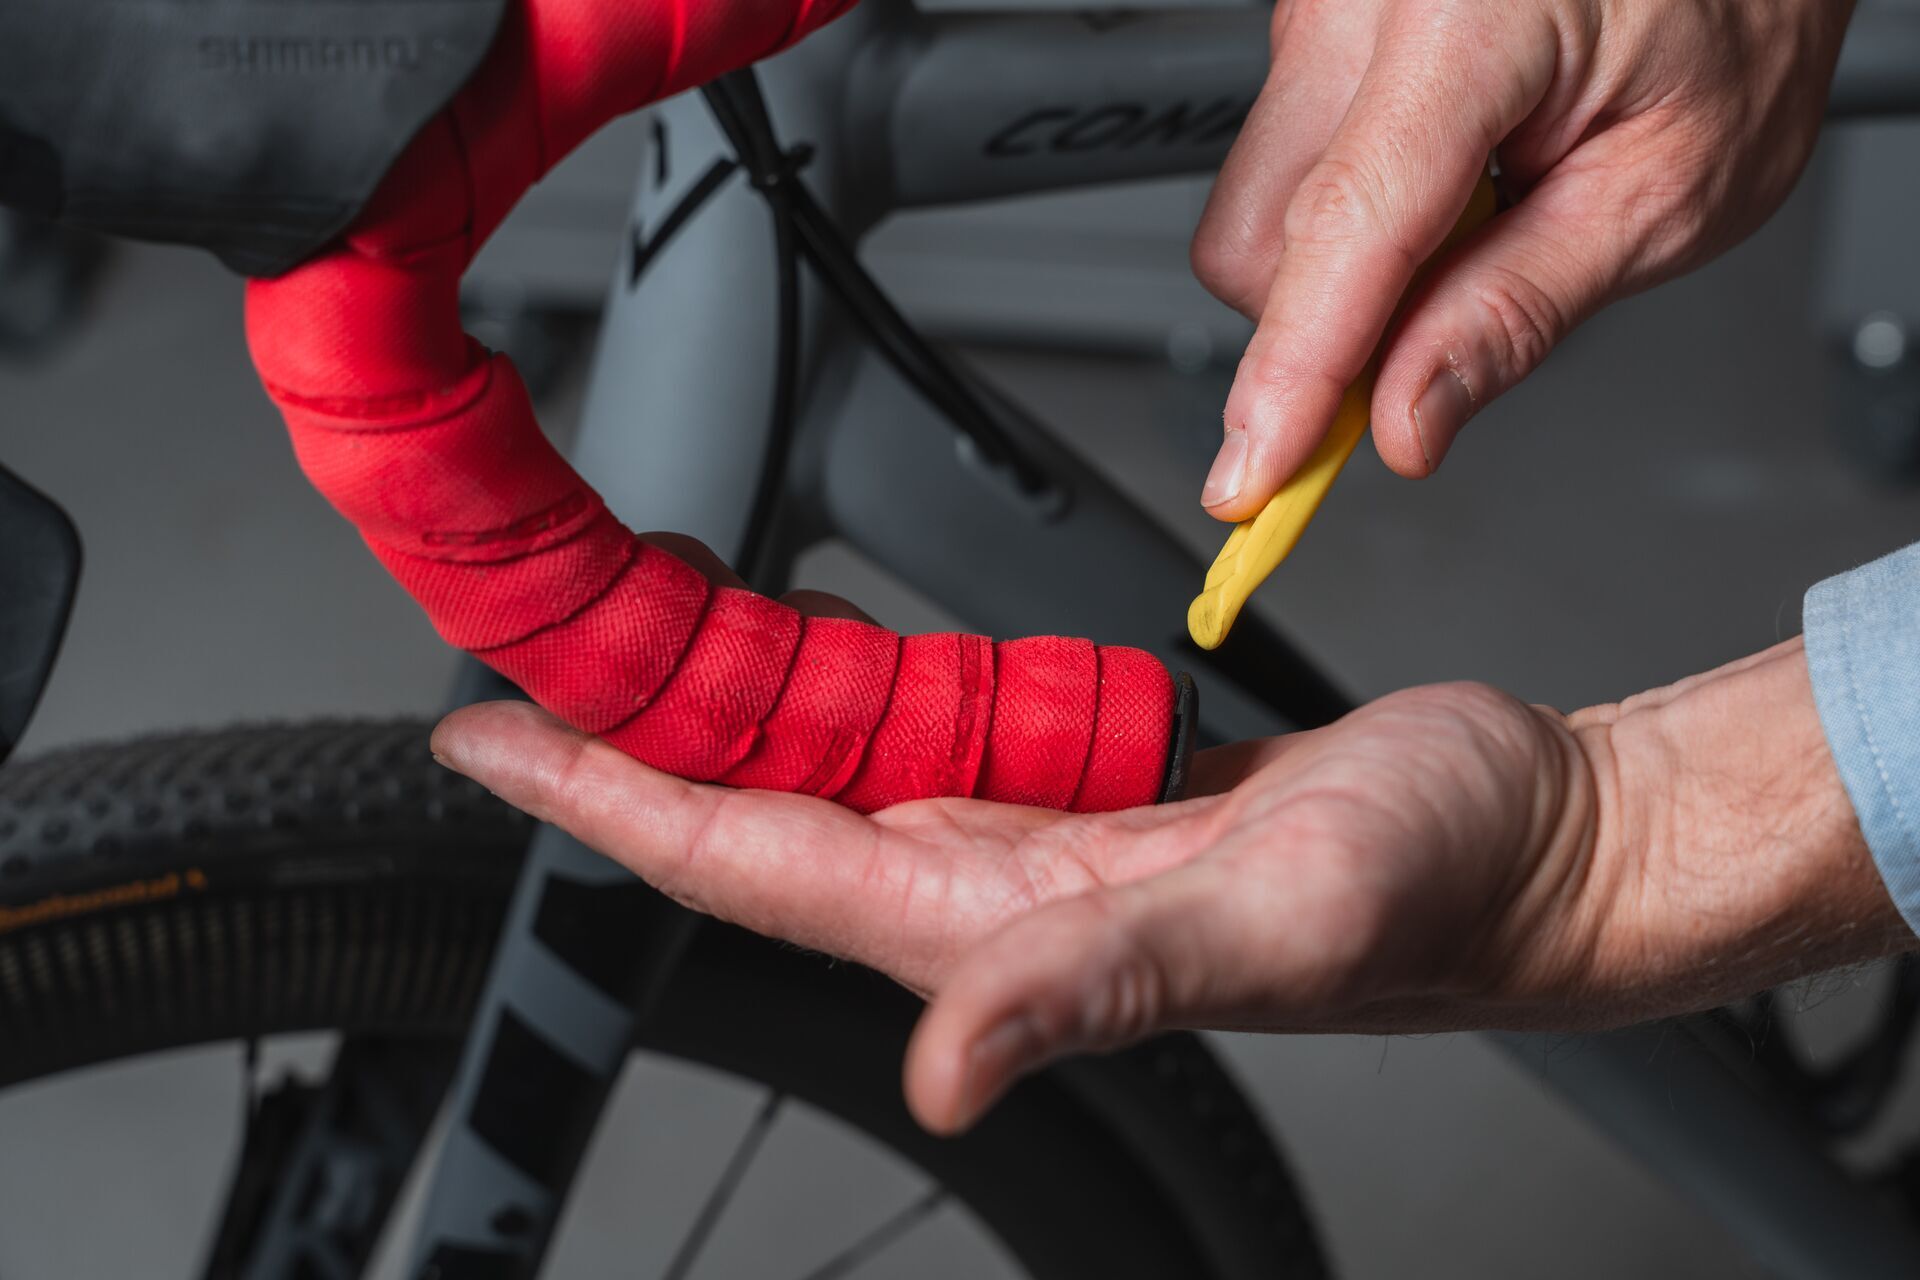
First remove the old bar tape completely. It is better not to use a carpet knife. You can scratch aluminium with high pressure and damage carbon handlebars. It is best to simply unwind it backwards.
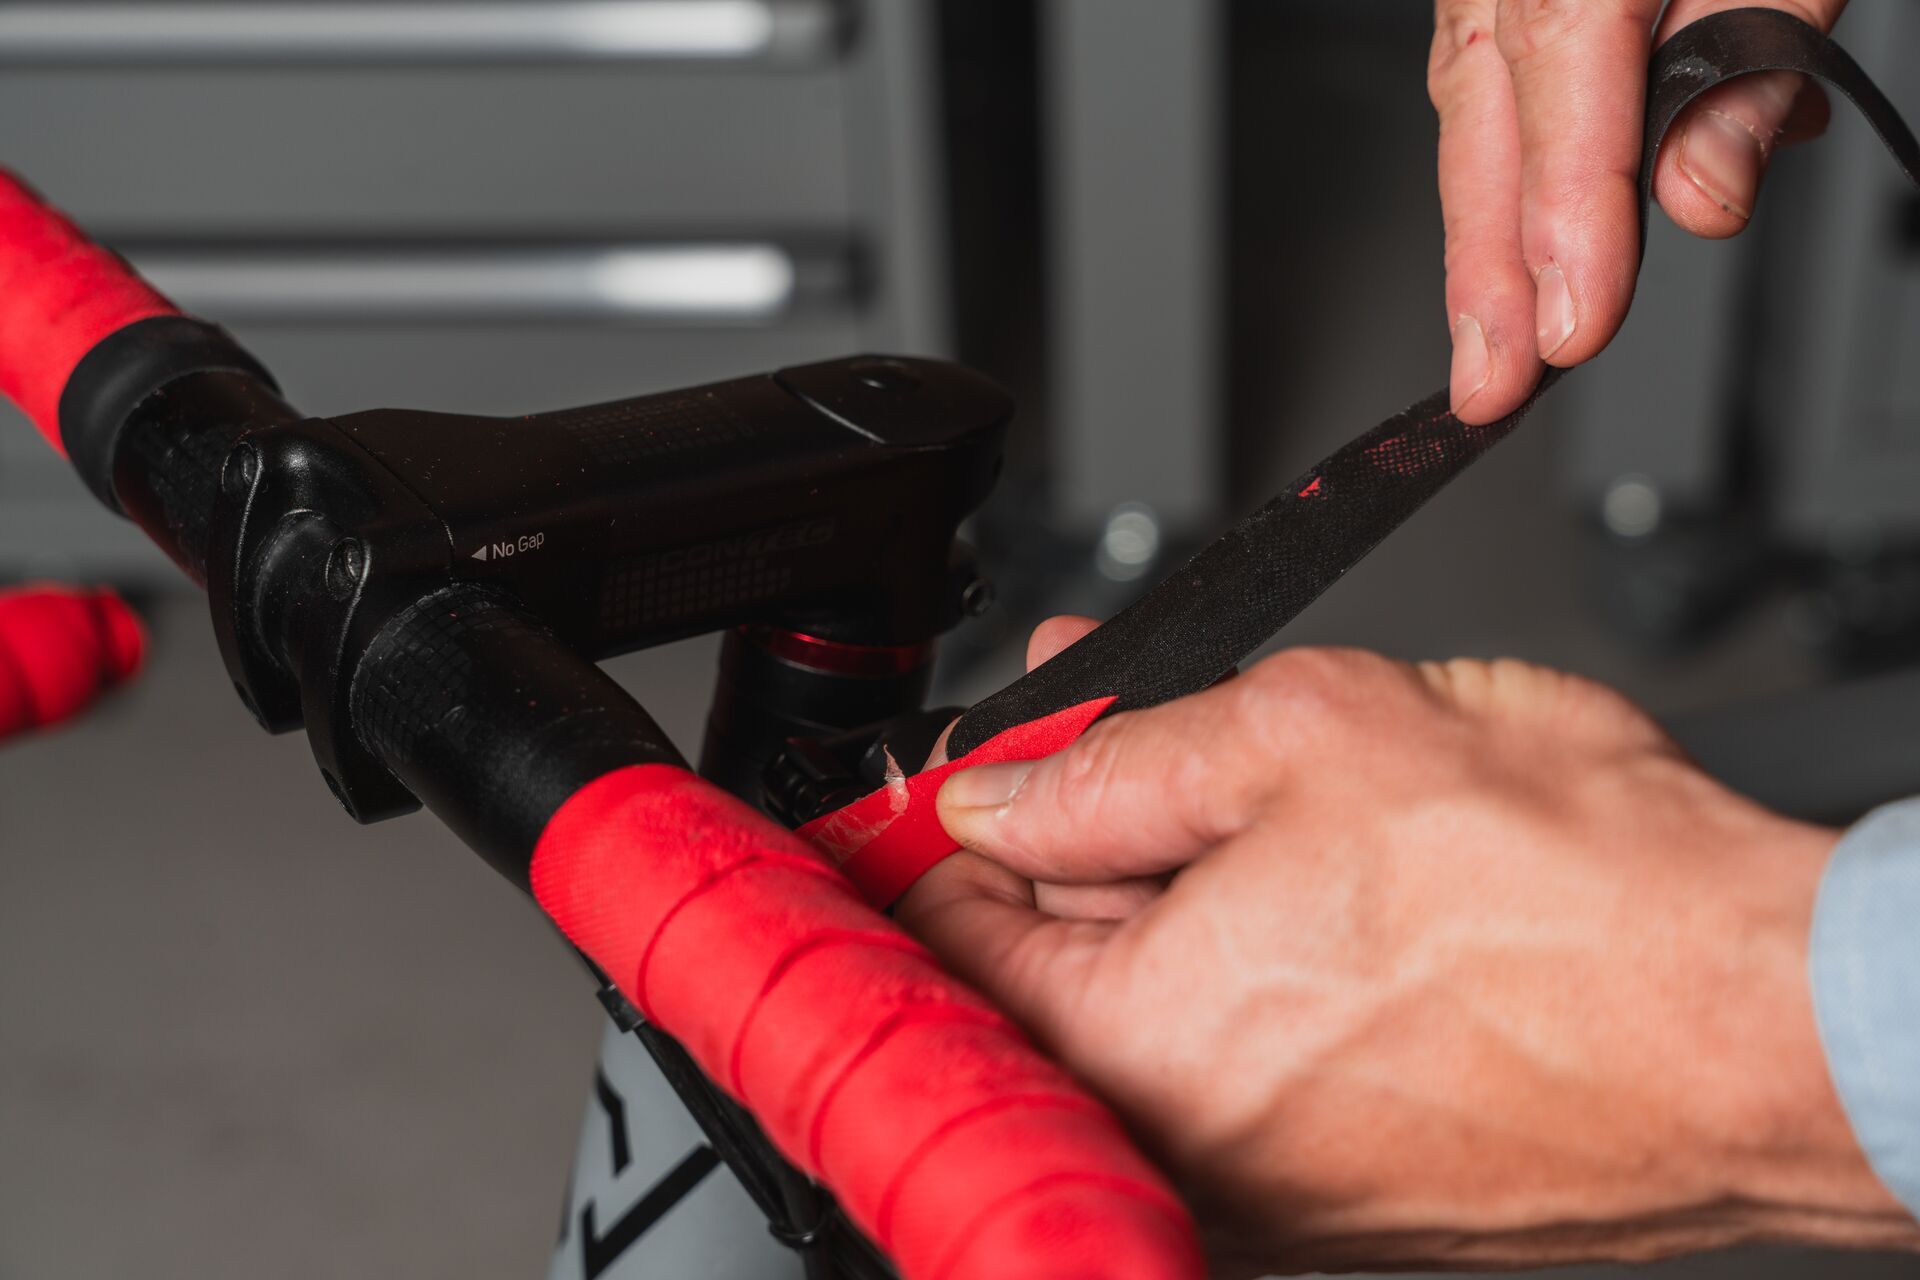
Can I clean carbon handlebars with petrol?
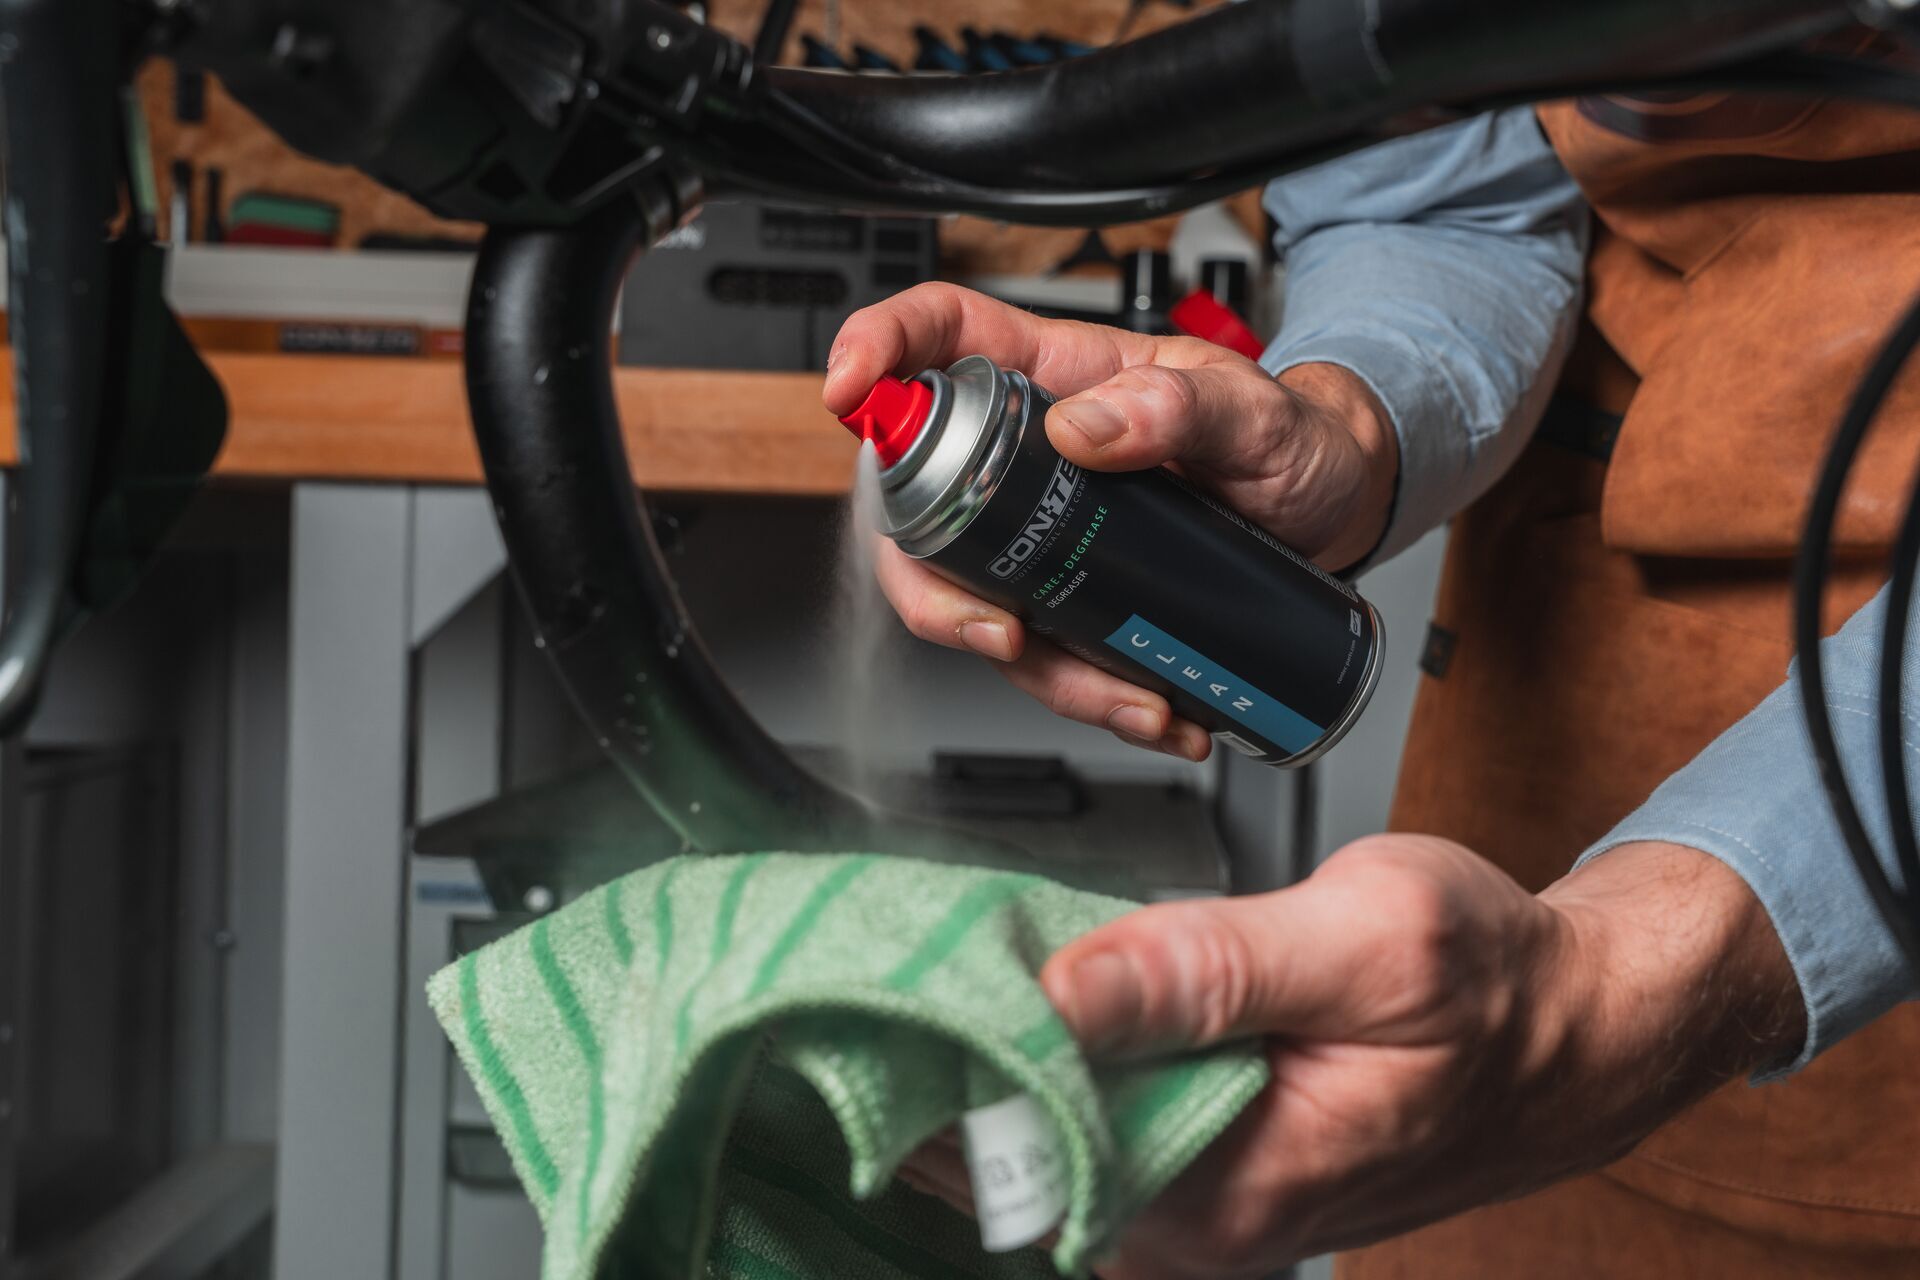
Yes, but then you must clean the handlebars thoroughly. Classic petrol helps to remove adhesive residues on aluminium handlebars. However, petrol is questionable for carbon handlebars. There are adhesive removers for carbon that have been specially developed for this purpose. These are a safer choice. Isopropyl alcohol is also milder and less aggressive. A mild soap solution can also be sufficient for smaller residues. PS: Make sure that the adhesive residue is also removed from under the rubber grips. When cleaning, you can also check the bare handlebars for any cracks or damage. Better safe than sorry.
Secure the cables
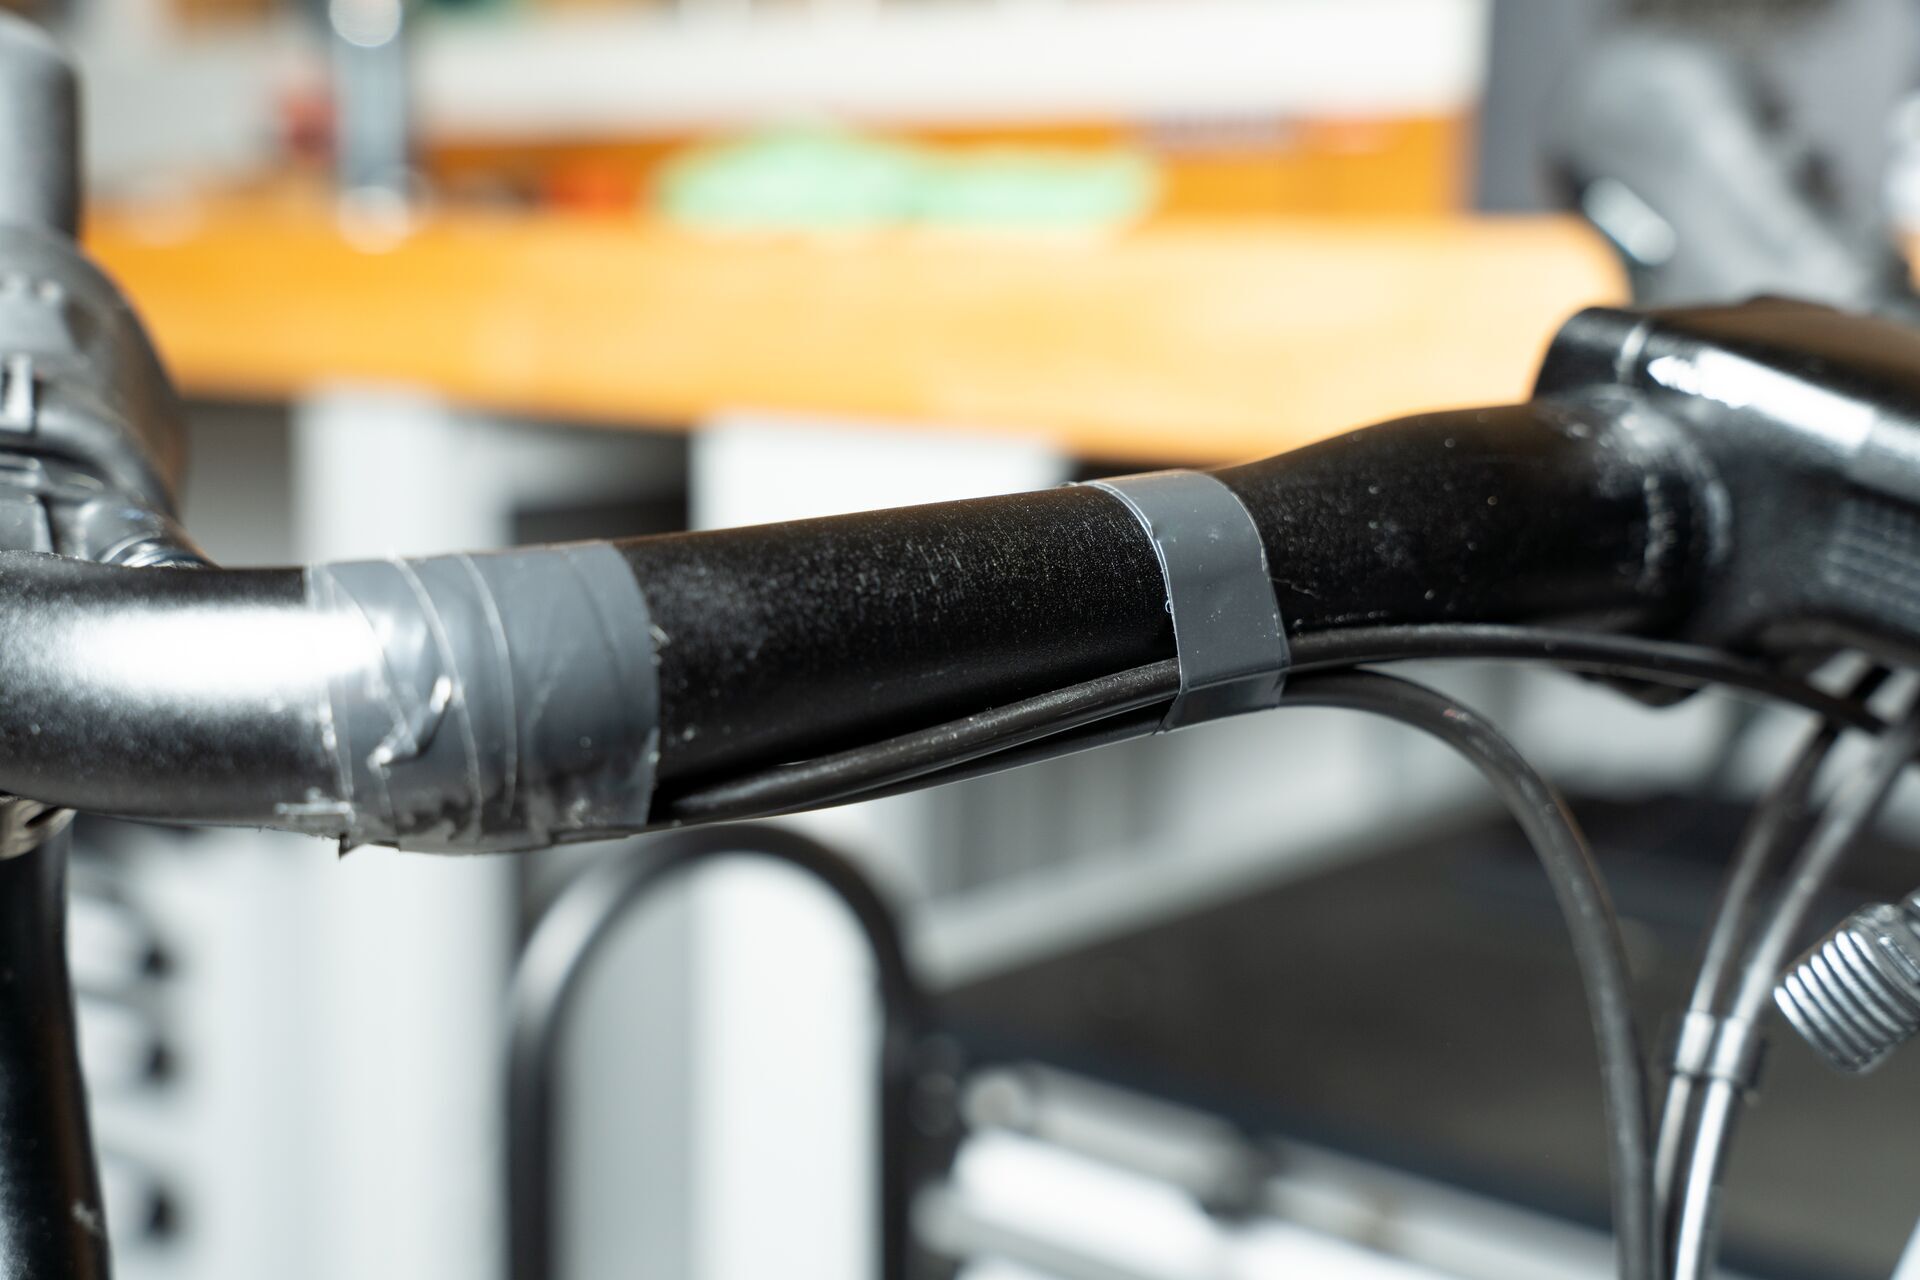
Before you set off, the cables for the gears and brakes must be in direct contact with the handlebar. If this wasn't the case before, you can now make sure it is. Use insulating tape to ensure that the cables are where they least cause unevenness.
Textile tape or padding under the bar tape?
Everyone likes comfort, whether you're on a gravel or a road bike. On a gravel bike, however, the demands on the bar tape are often a little higher than on a road bike, as the uneven surface requires more cushioning. Here, it is best to use our tapes with EVA foam padding and a thickness of 3,5mm. Gravel bikes also have wider handlebars and require slightly more tape. However, our experience shows, that there is usually enough material in most straps for wider handlebars. For extreme widths, choose longer straps to be on the safe side.
Step-by-step instructions for wrapping bar tape
Start and direction
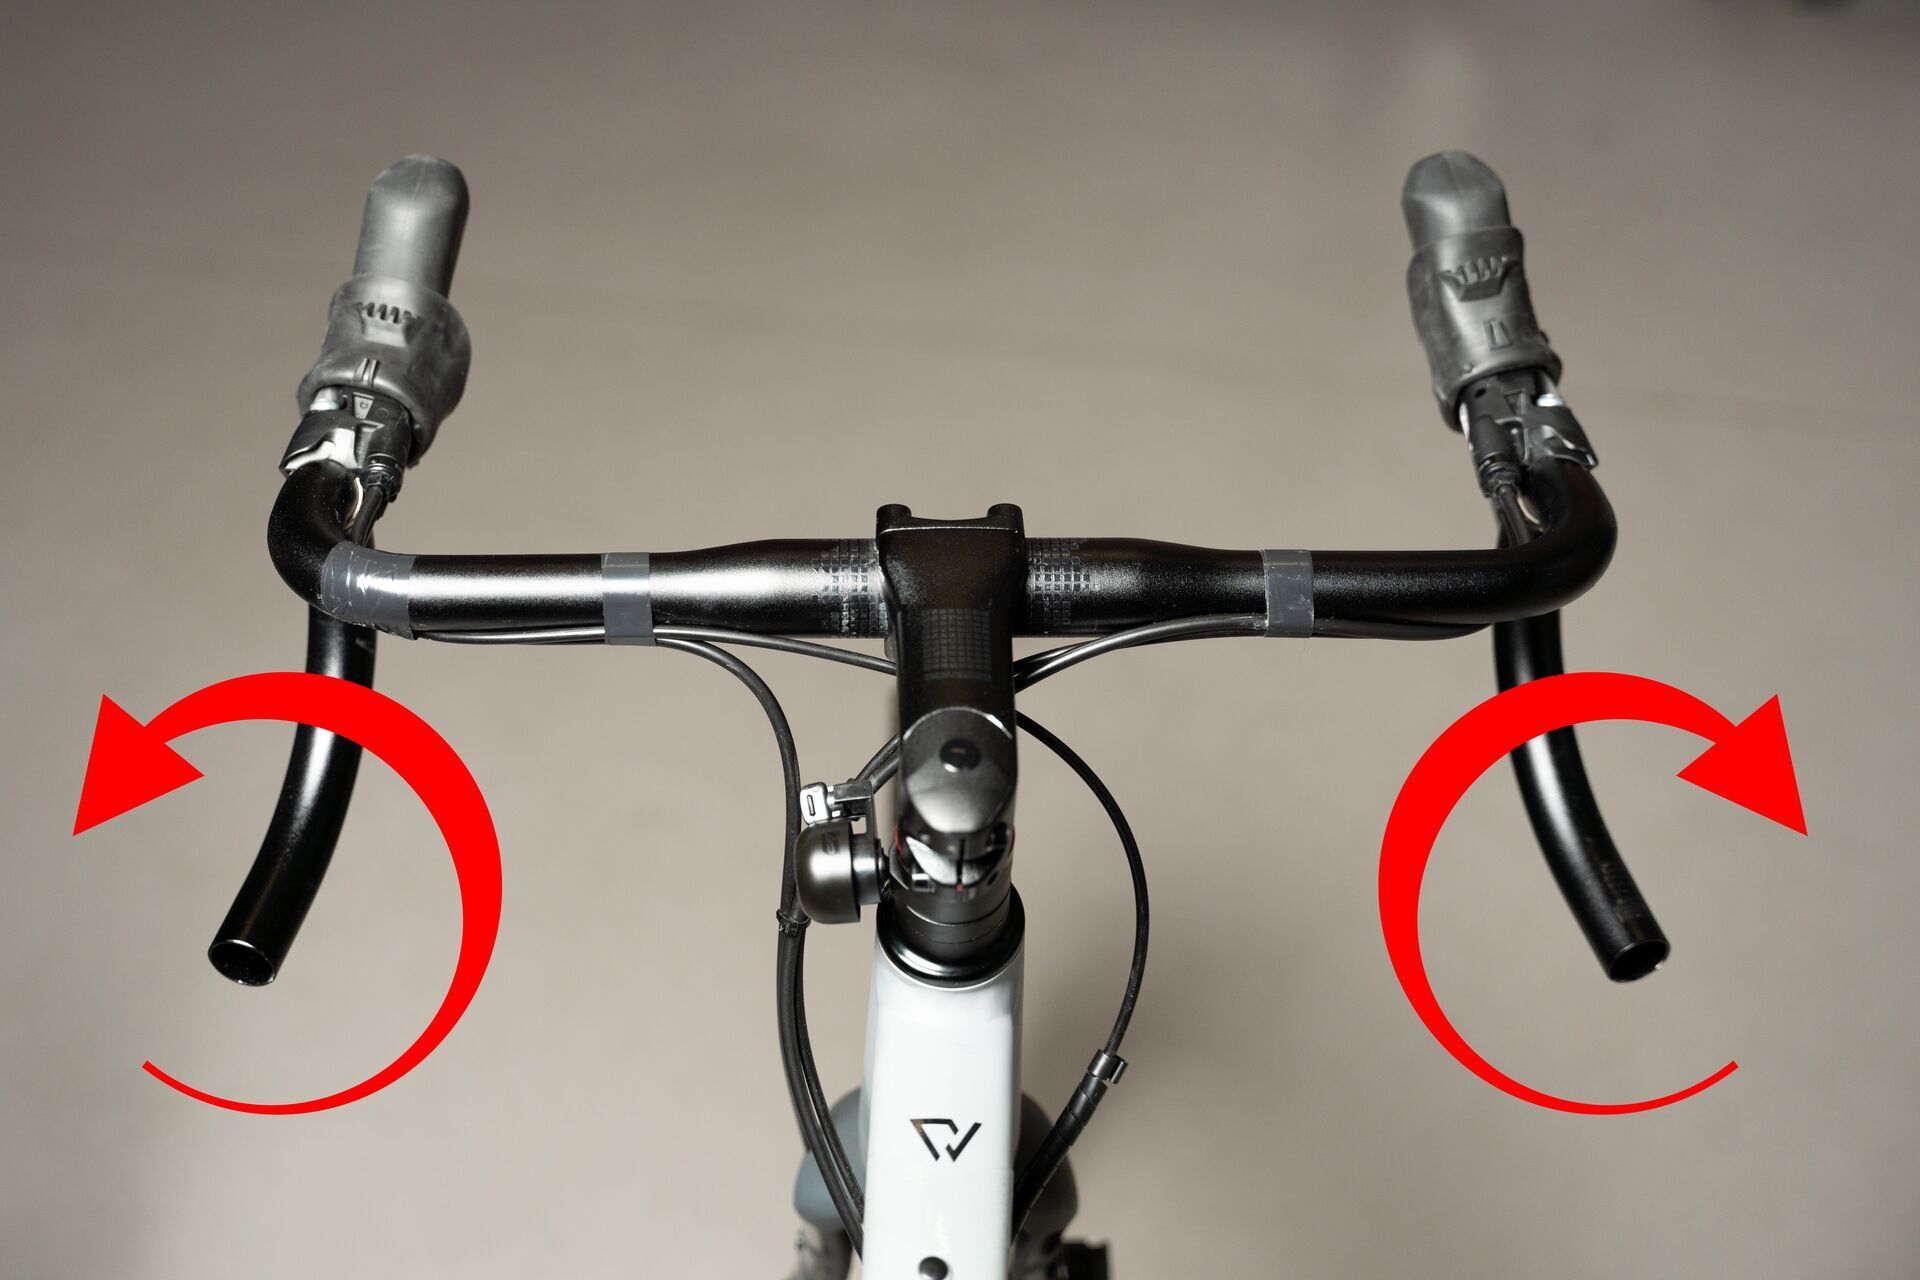
You always start at the end of the handlebar - here on the left-hand side. It doesn't matter which one you choose. But the winding direction is crucial: on the right-hand side, it goes clockwise, on the left-hand side anti-clockwise - from the rider's perspective.
With some designs, however, it is also possible to wrap both sides in the same direction in order to achieve a uniform look.
Let's start
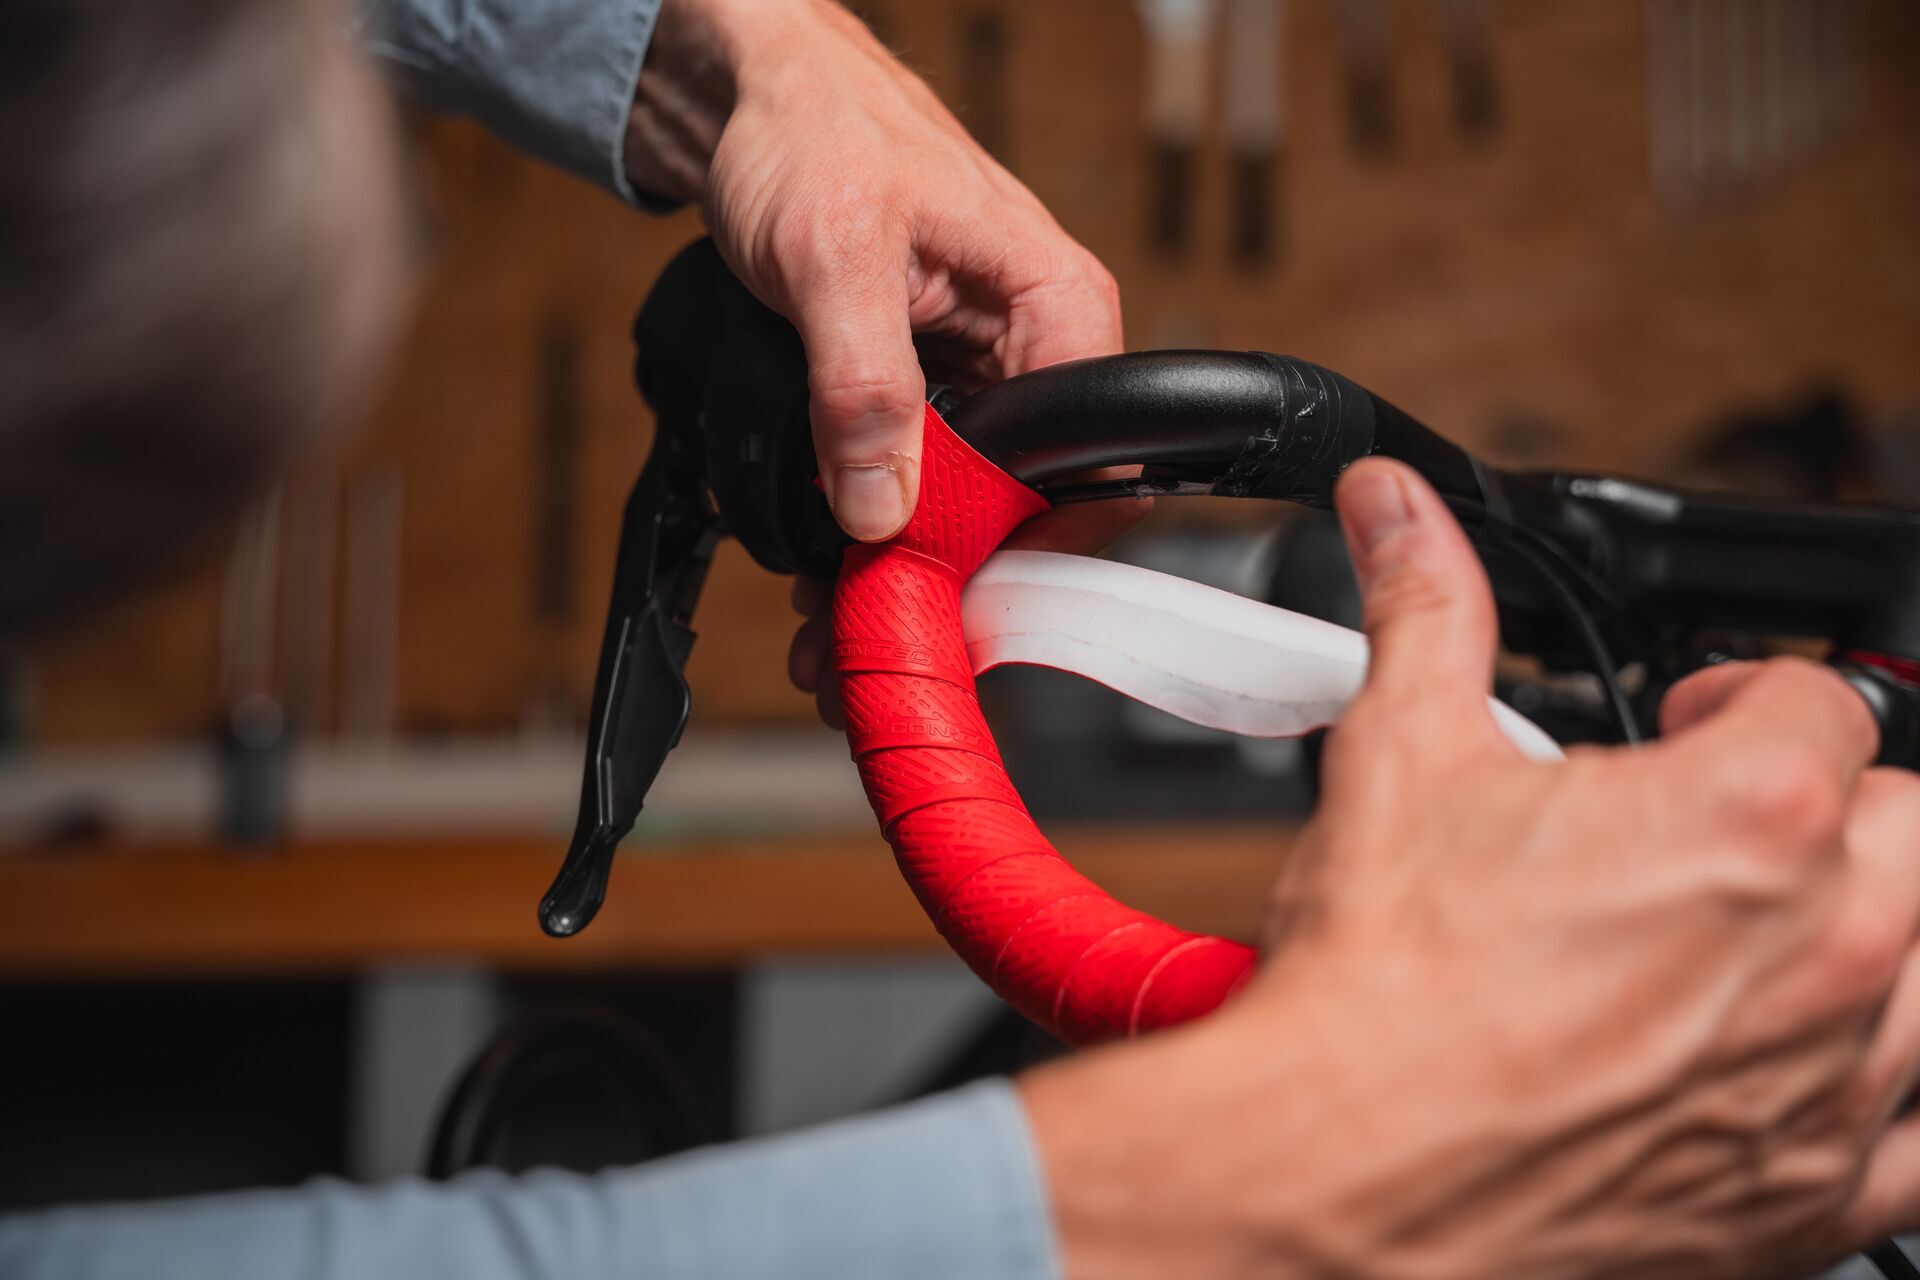
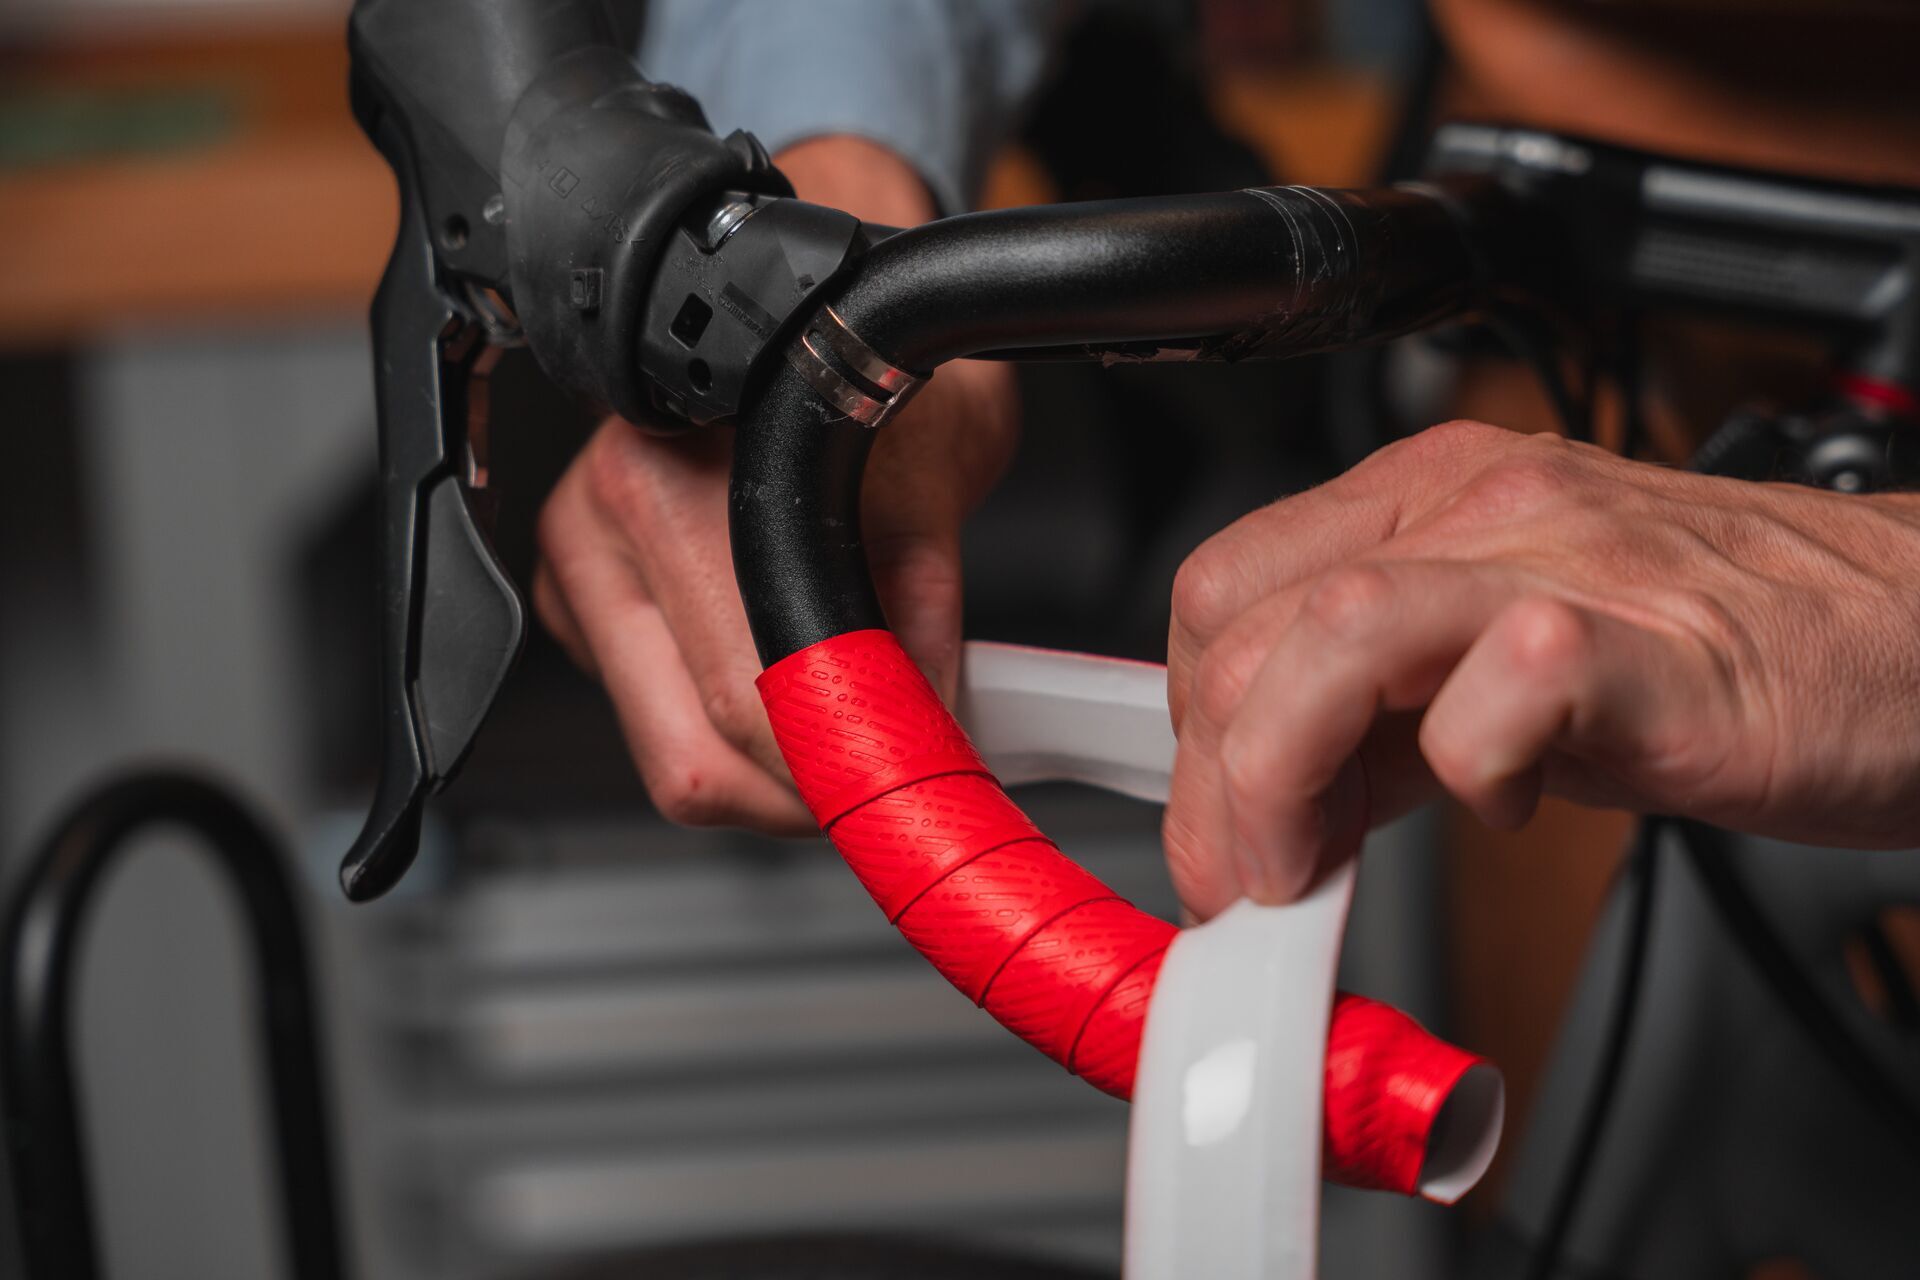
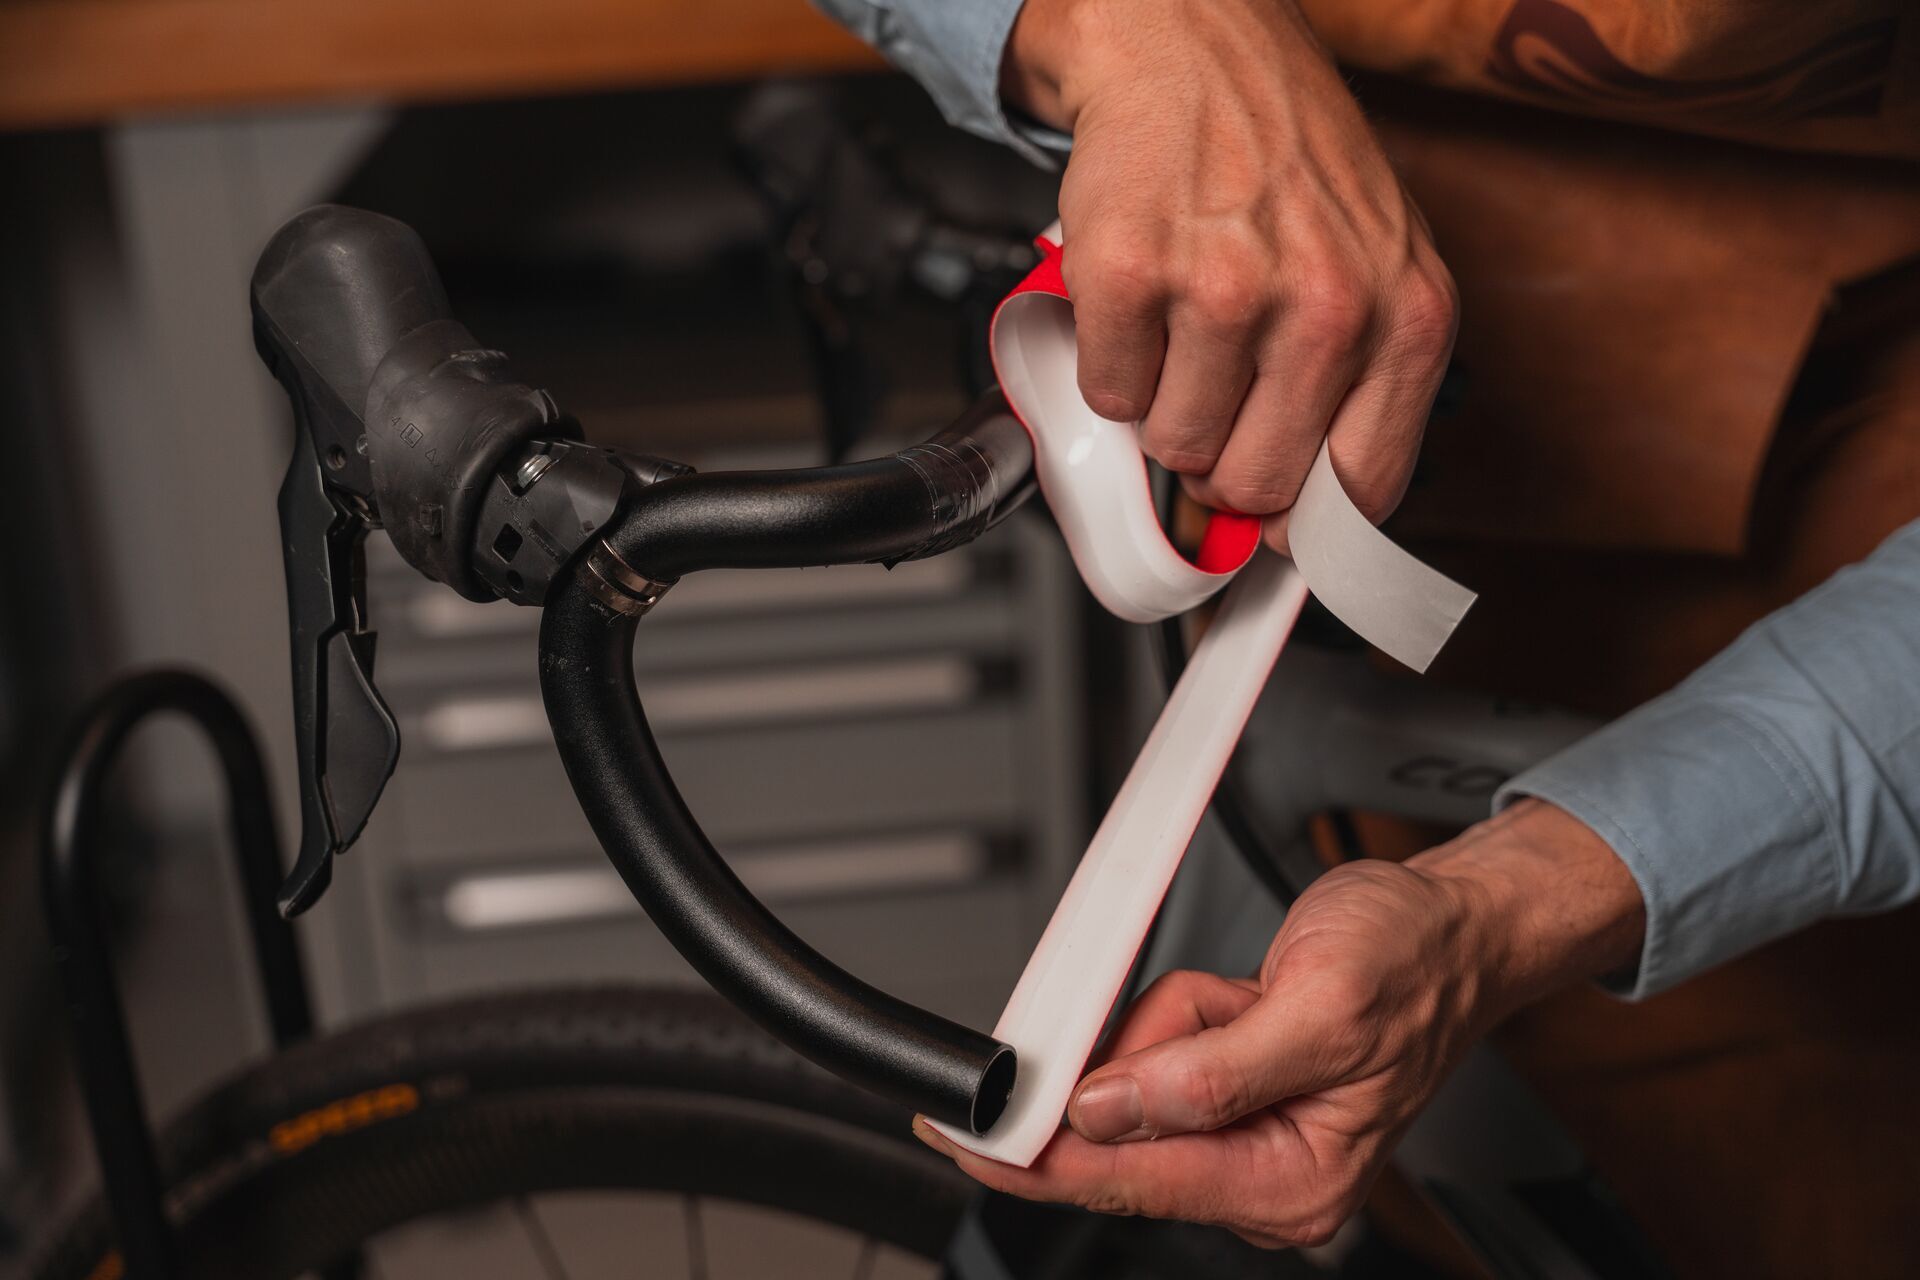
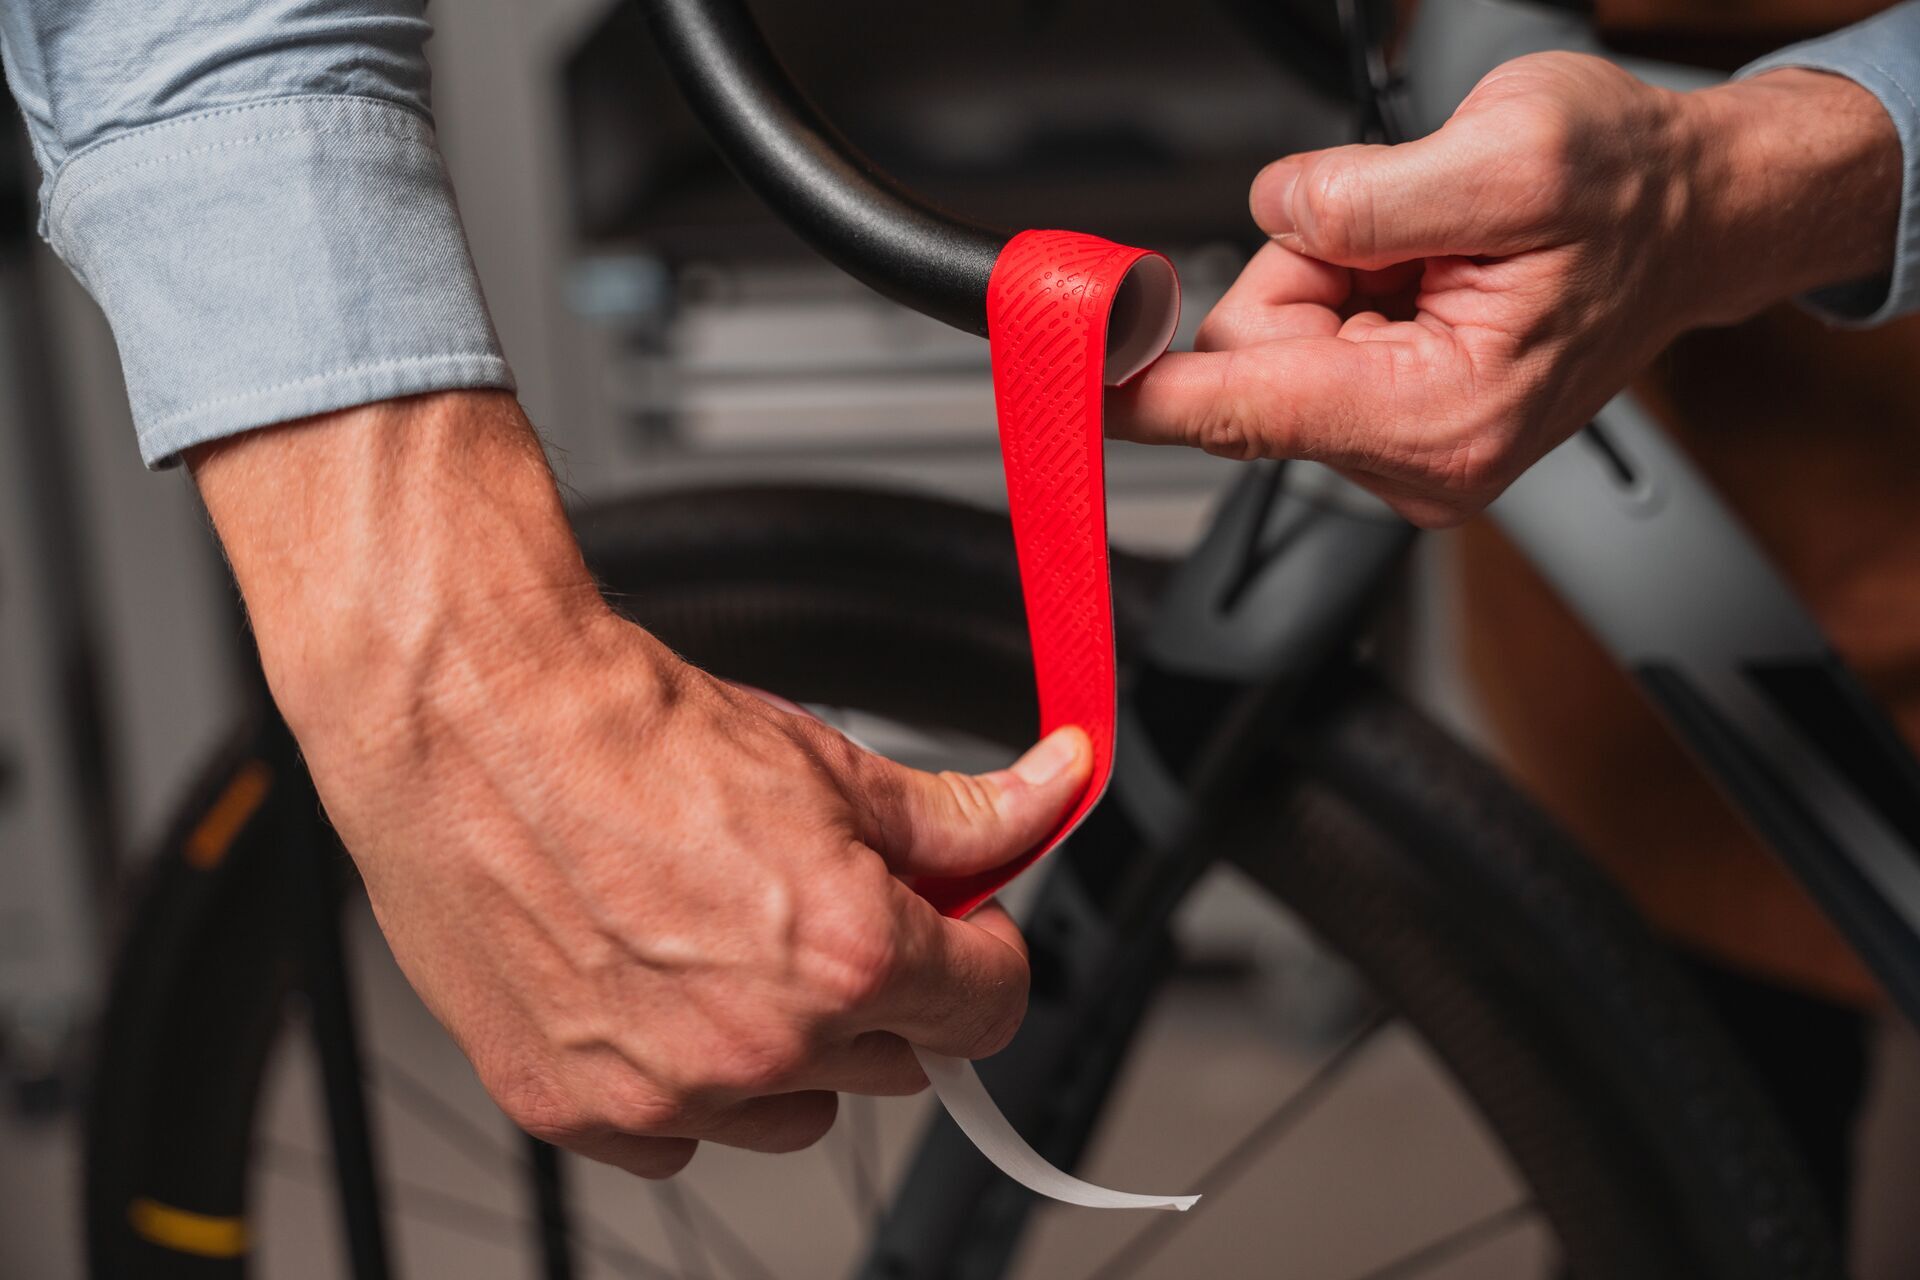
Remove the protective film from the adhesive surface of the handlebar tape - initially only about 30cm. Now position the end of the tape for the first wrap at a 90 degree angle so that the end on the underside of the handlebar is facing outwards towards you and protrudes halfway over the edge of the handlebar.
The end of the handlebar should extend to the centre of the adhesive strip. Why is that? If the protruding material is pressed into the hole at the end with the handlebar plug, this produces the best finish.
Cover by a quarter to a third
Now wrap the next one at an angle. Ideally, each additional wrap should cover the previous one by a quarter to a third. This ensures that the adhesive surface has direct contact with the handlebar and does not stick to the already wrapped tape.
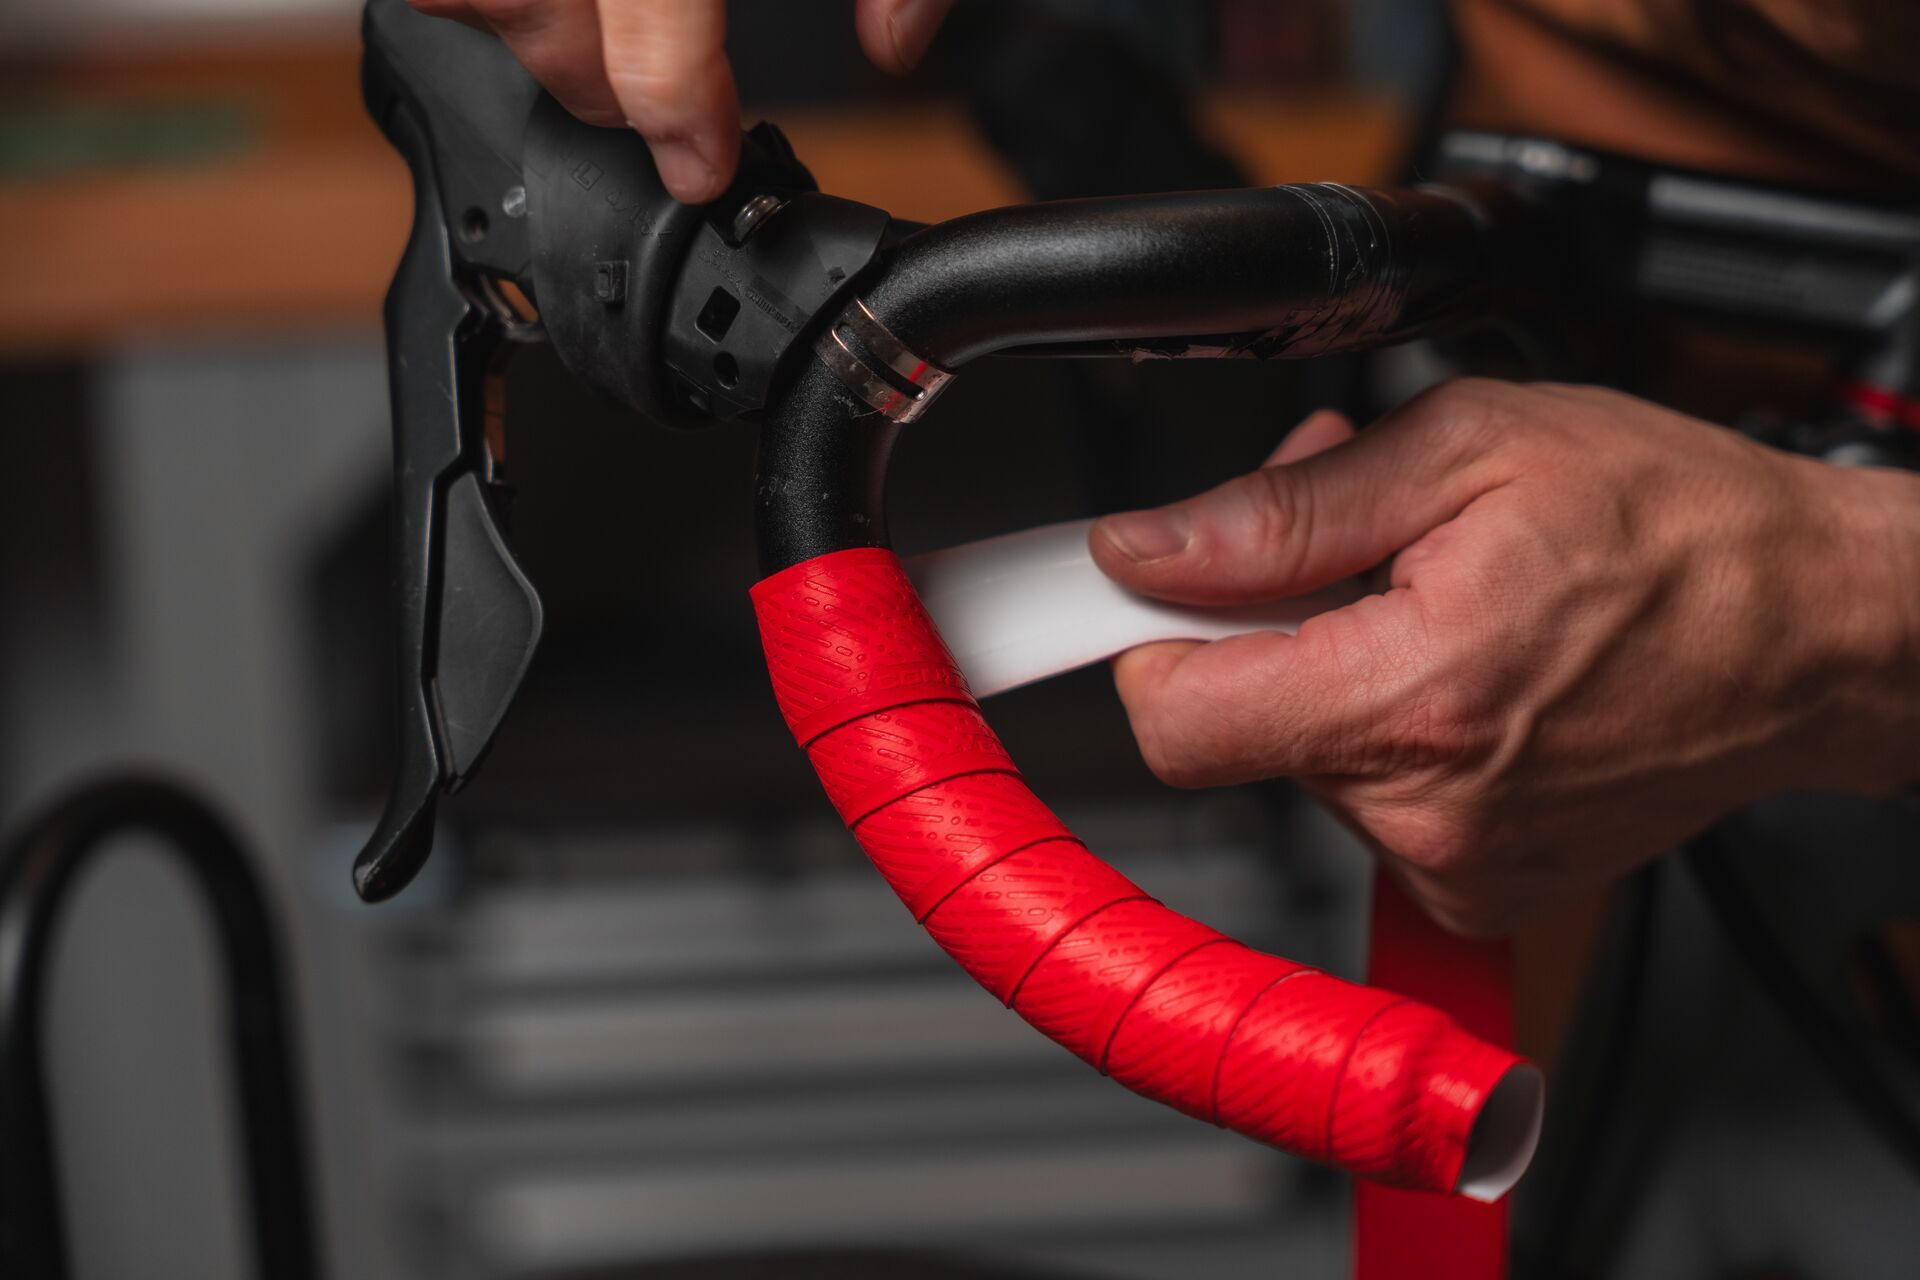
Make sure that this angle remains constant. You can orientate yourself on the inside of the adhesive strip for each wrap. During the entire process, it is important to keep the tape under constant tension. Depending on the material, it may be necessary to stretch the tape slightly or simply wrap it tightly.
Pay special attention on the shifters and brake units
Wrapping the shifters and brake units is a little more tricky. There are various techniques here, such as the "double eight method", which primarily fulfils aesthetic purposes. In most cases, however, simple wrapping is completely sufficient.
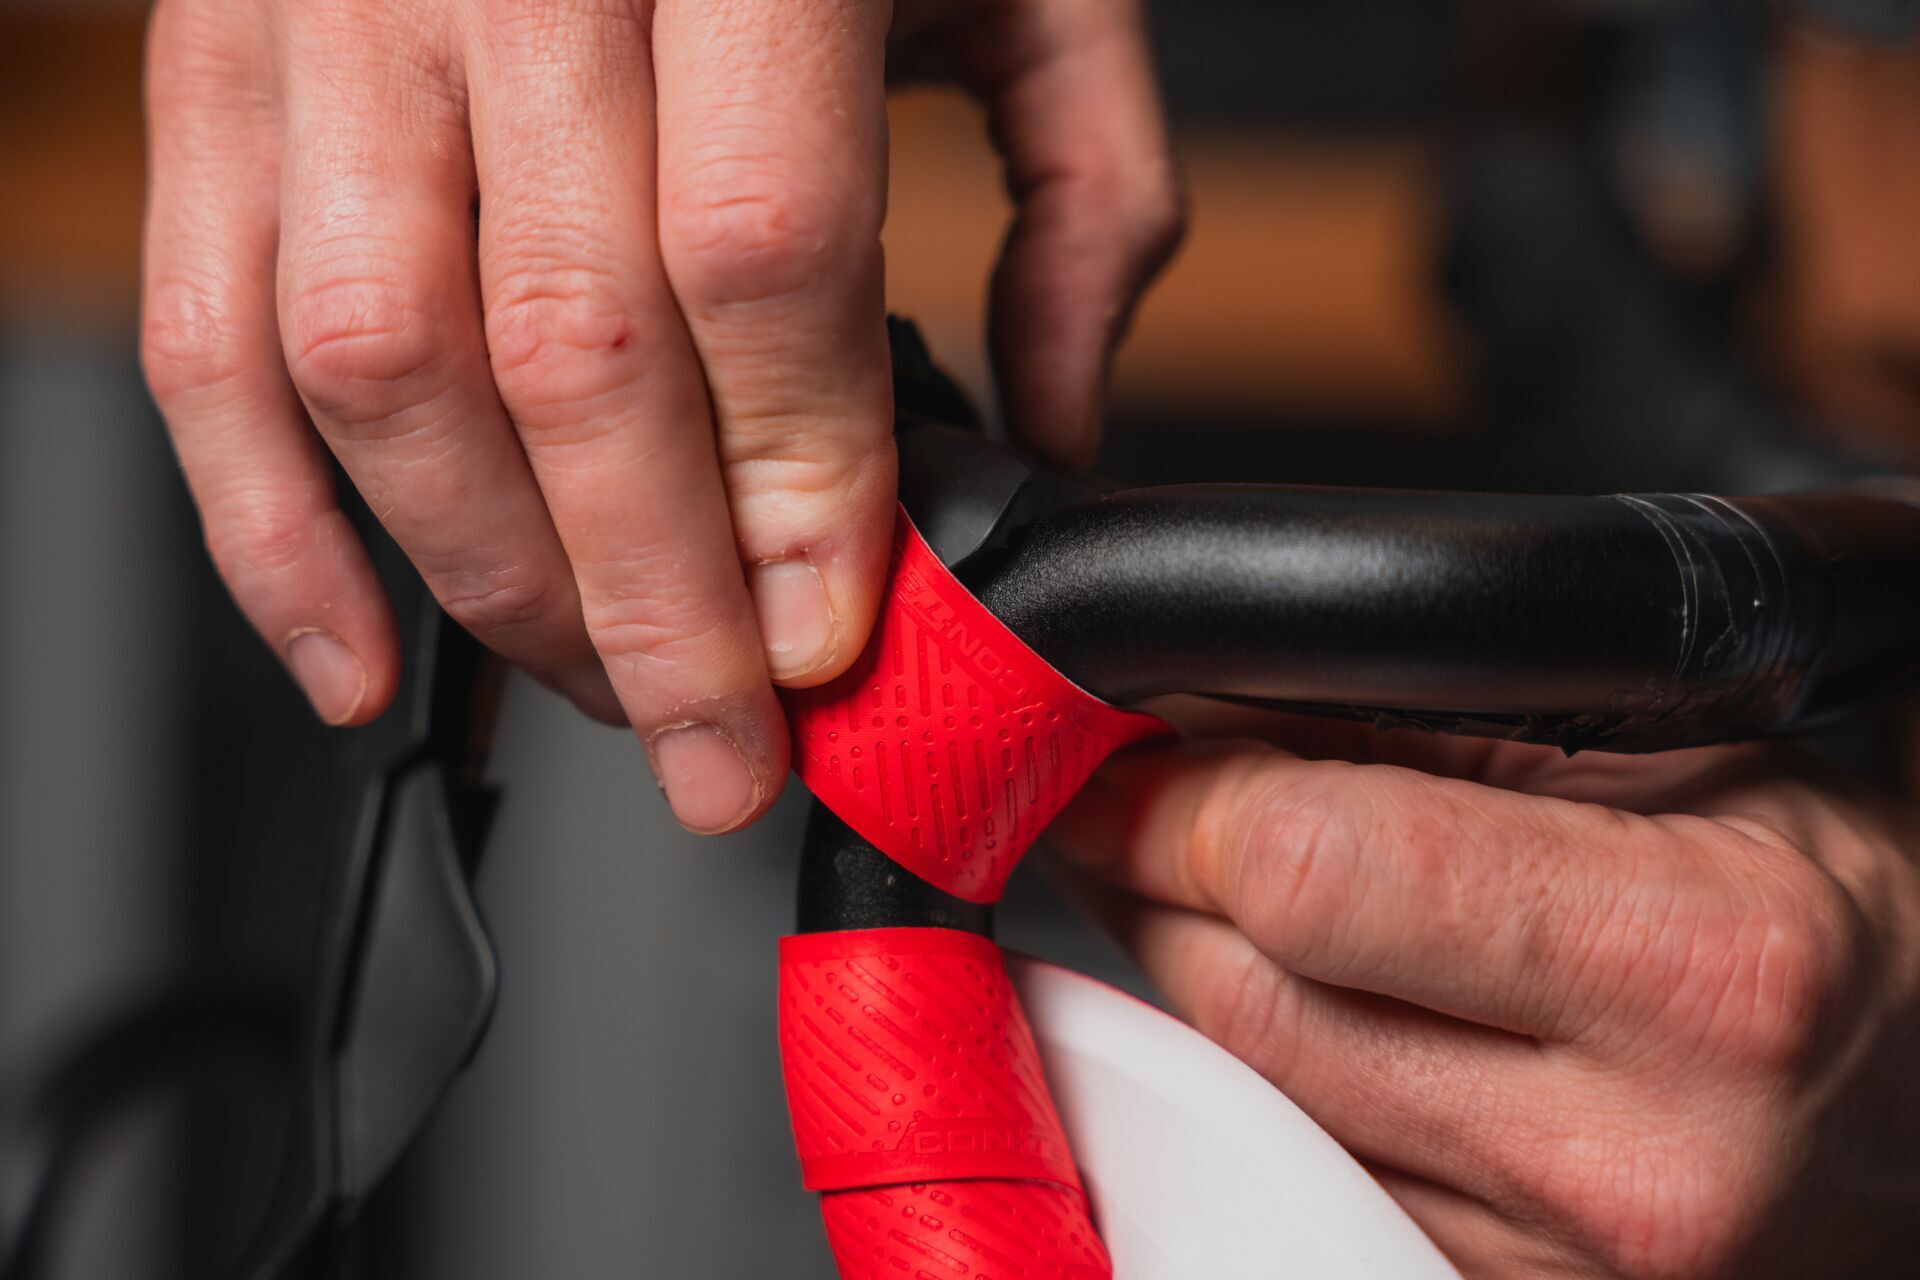
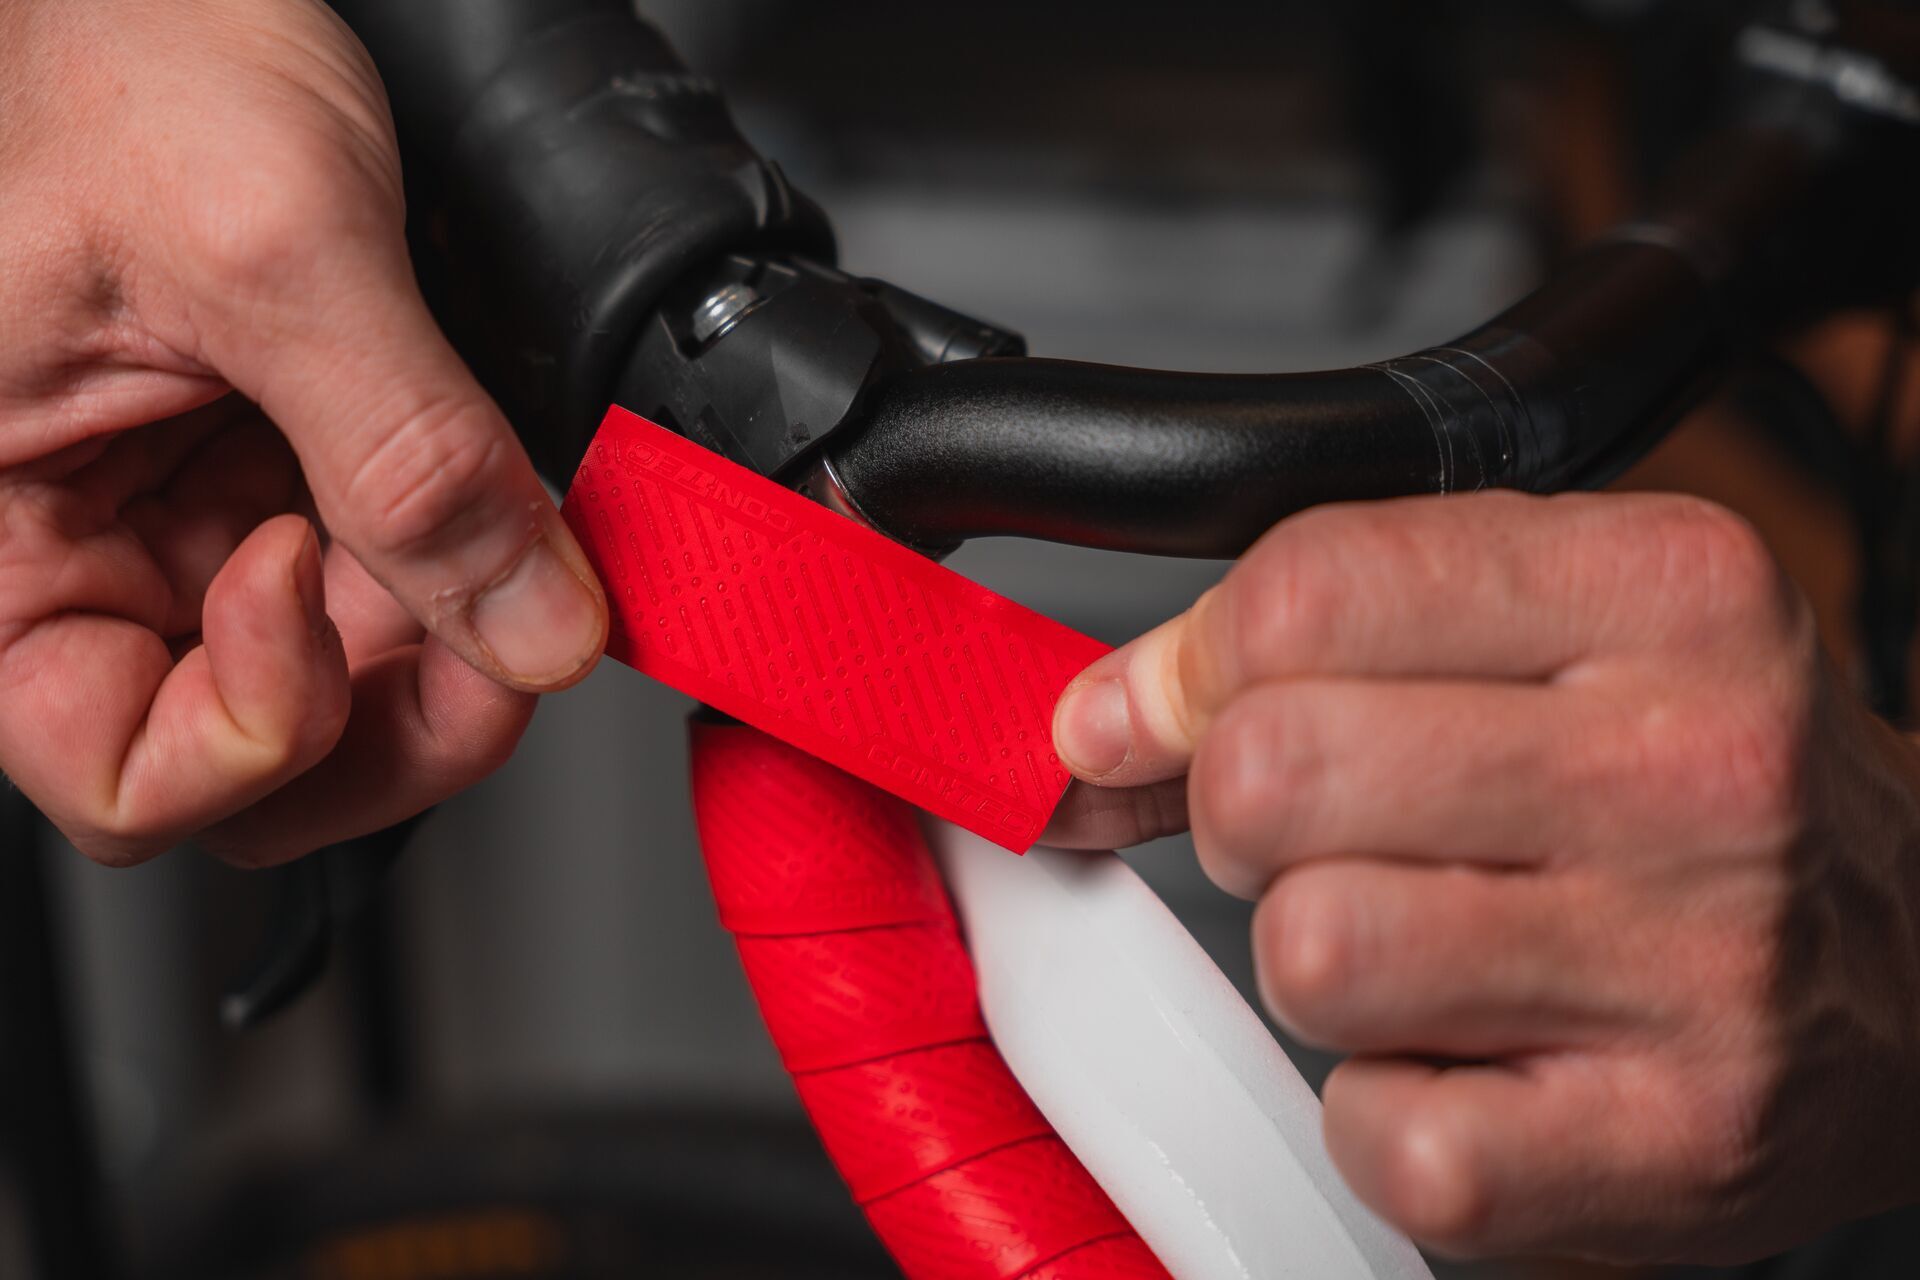
An additional piece must also be glued over the clamp of the shift and brake unit. You can either do this at the beginning or when you get there. This piece is sometimes already supplied, but even then it often has to be cut to the correct size of 5 to 8cm so that the clamp is completely covered. This creates an even cover and surface on the handlebar.
Technique directly on the clamp
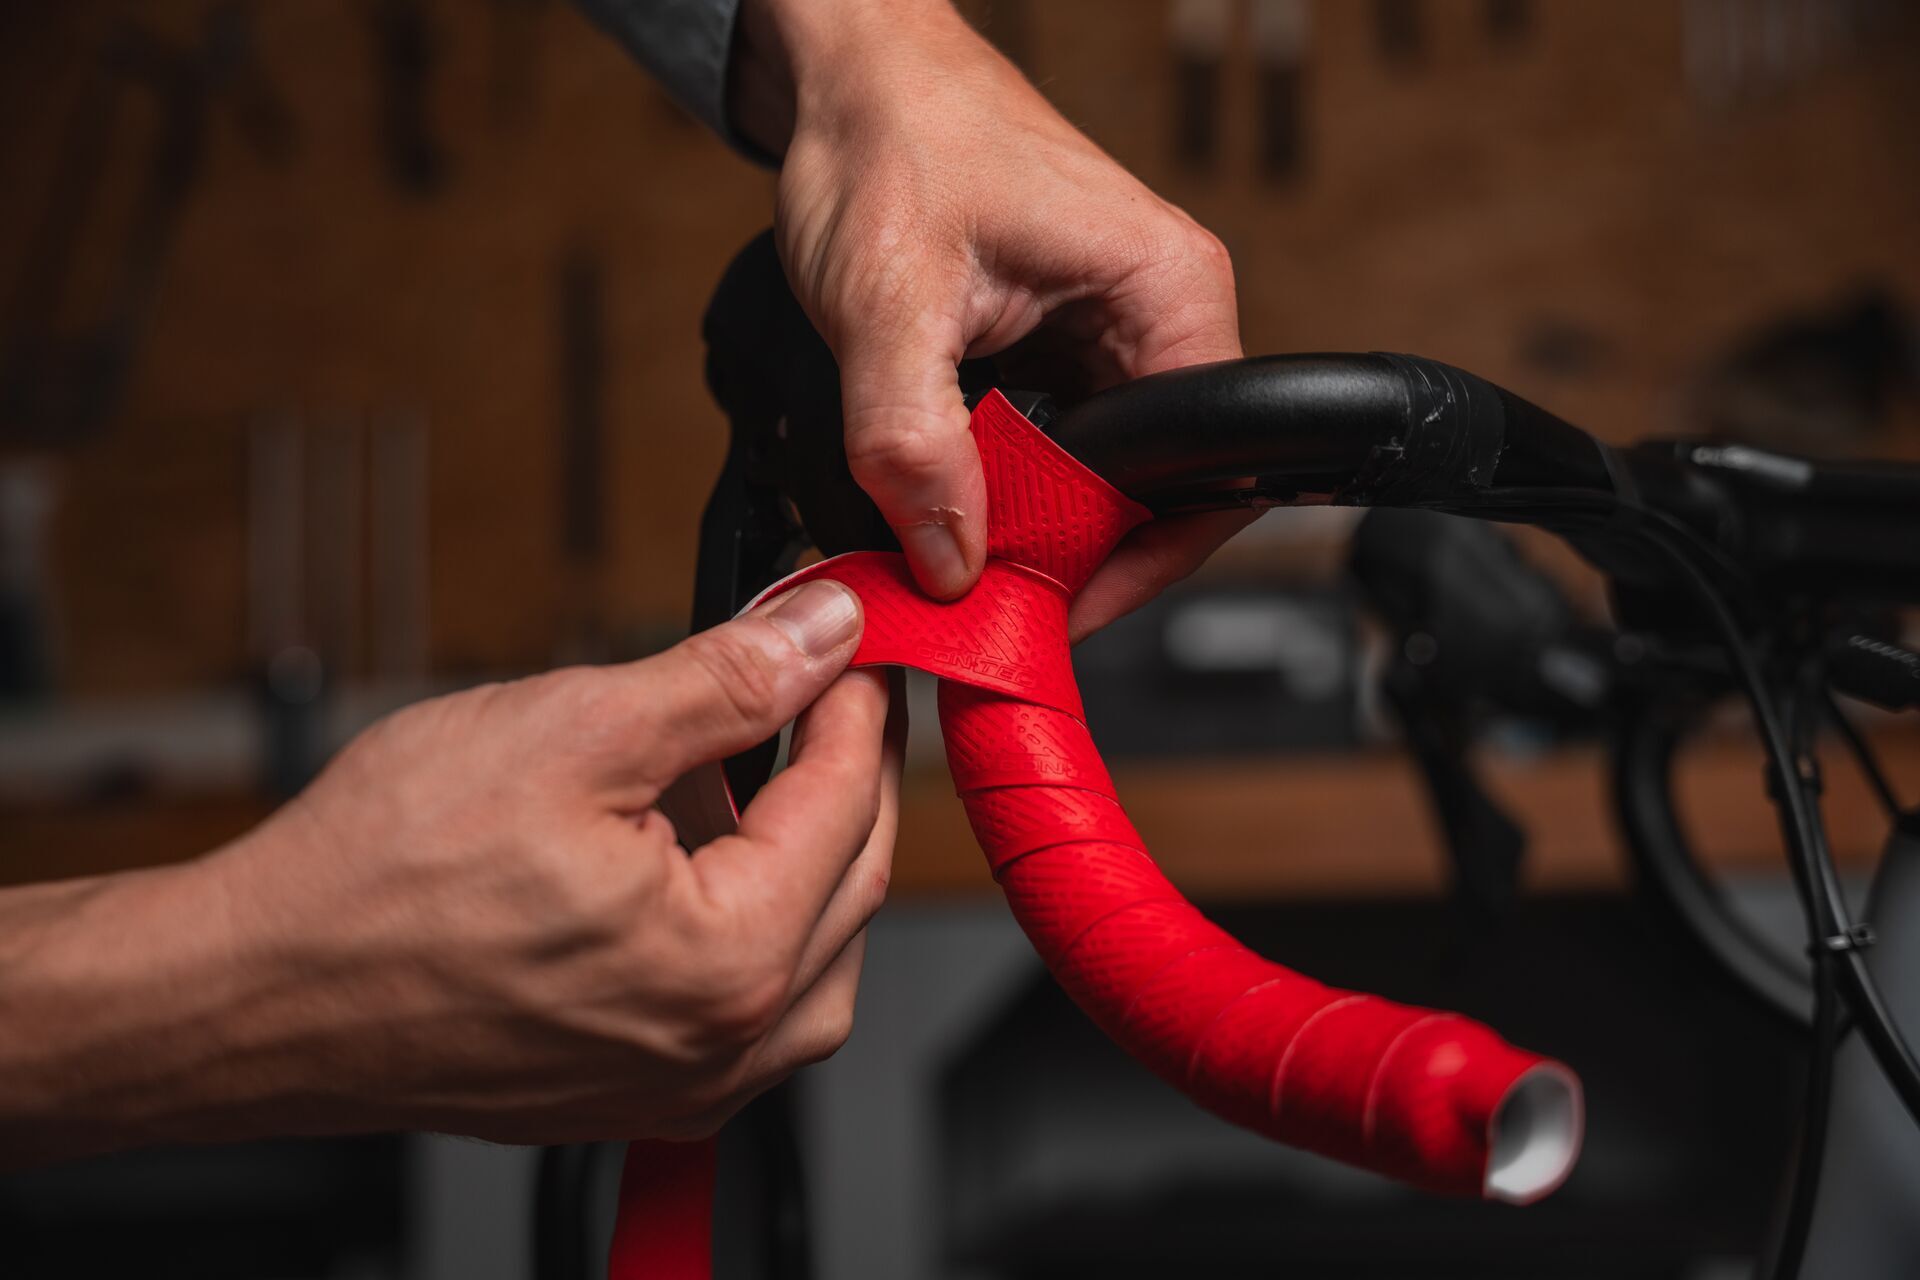
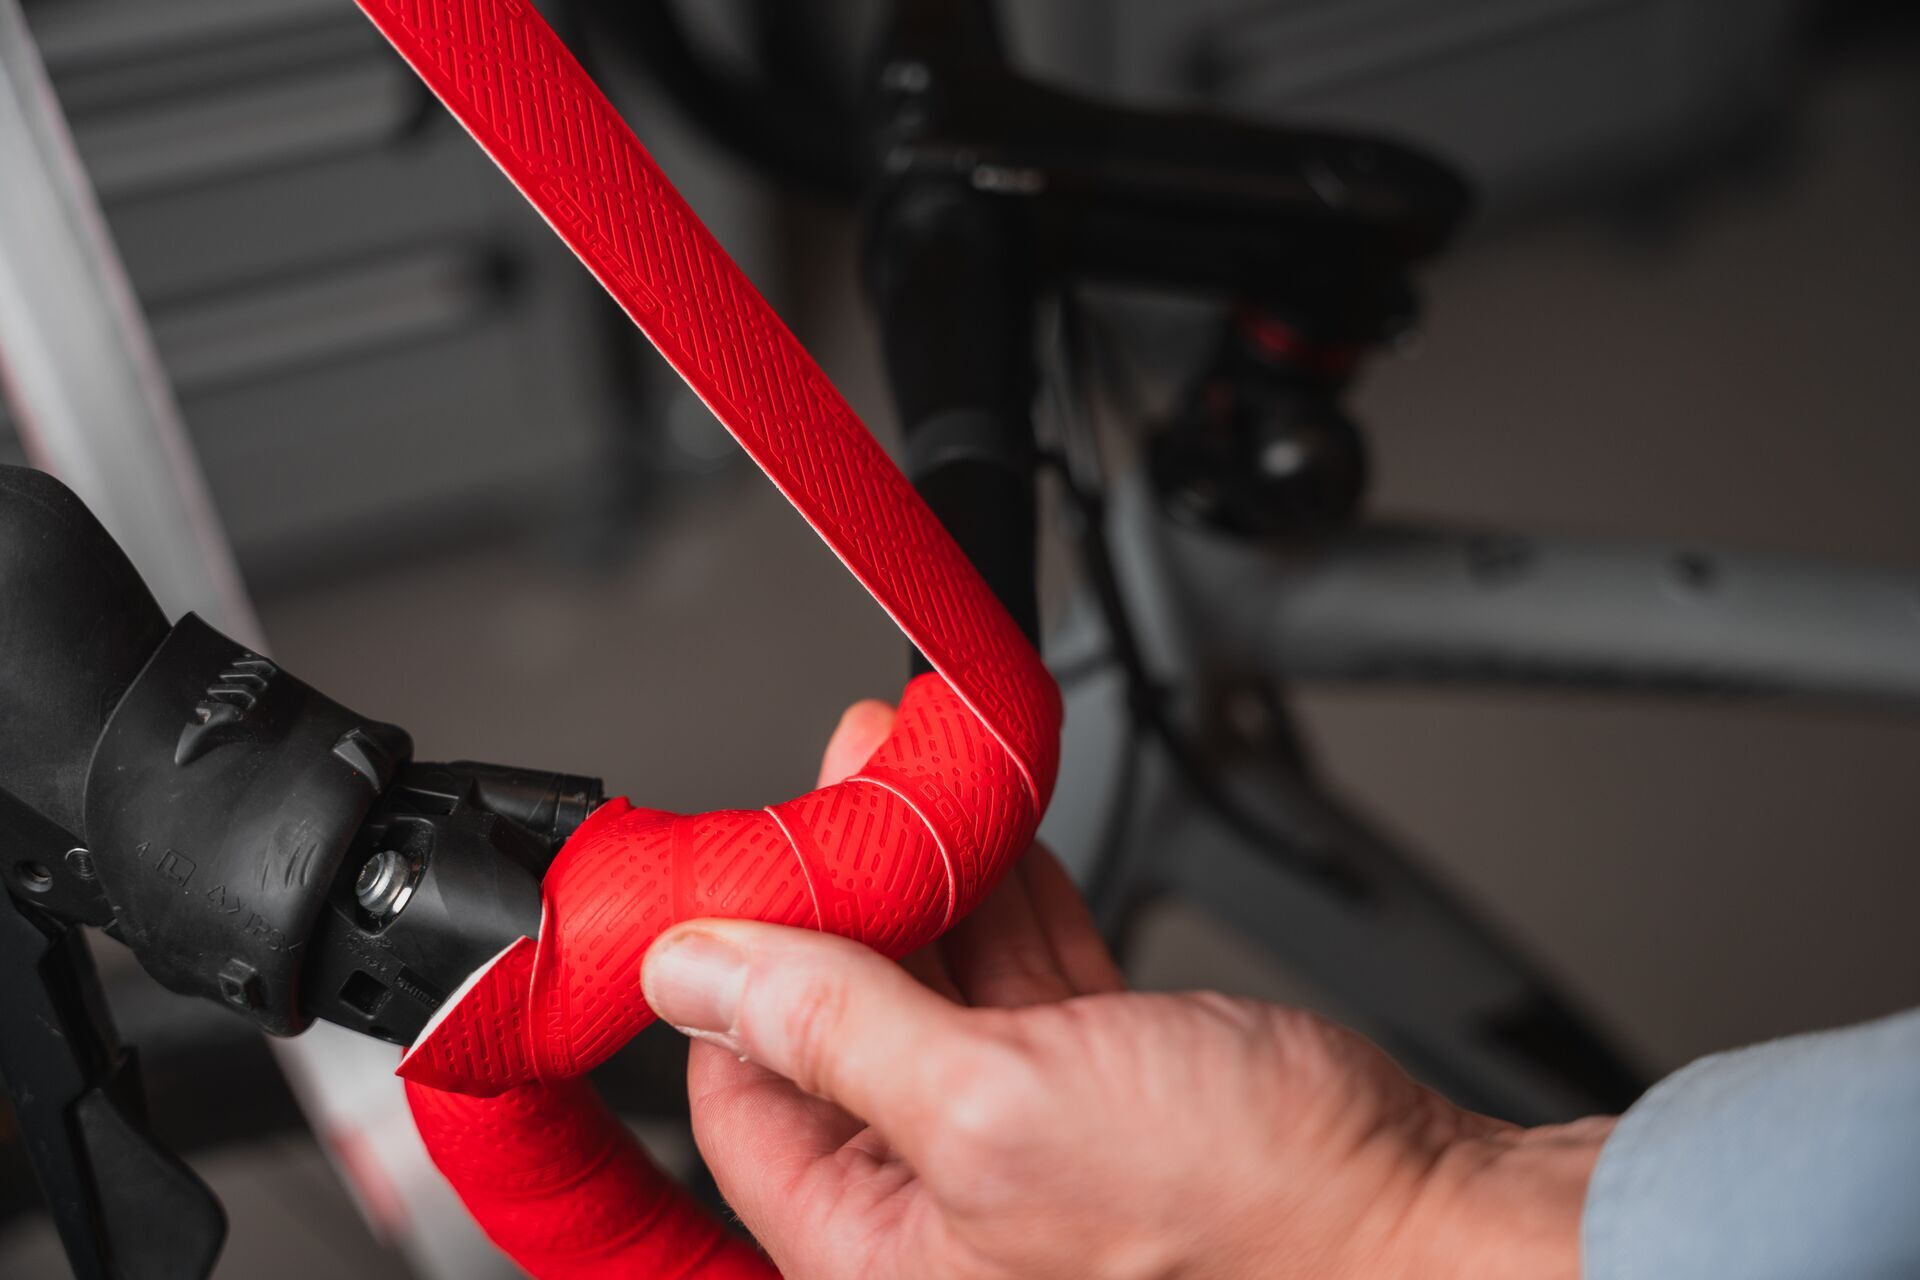
You have already turned over the rubber grip. Now wrap the bar tape evenly from bottom to top until you reach just below the clamp of the brake and shift lever. The last wrap will then already cover the additional piece to some extent. Then make a wrap where the tape runs diagonally over the corner of the clamp and reaches the top of the handlebar on the other side. Pull tight enough so that it fits well, but not too tight that it overstretches the tape. Where the bar tape would have left a gap, the additional piece already provides coverage.
If this is not the case, unwind another piece and position the additional piece so that no more gaps are visible and you are satisfied with the result.
Finishing the wrapping
The bar tape is usually shortened where the handlebar gets thicker. If you want to fit a speedometer or additional equipment, you should leave enough space for this.
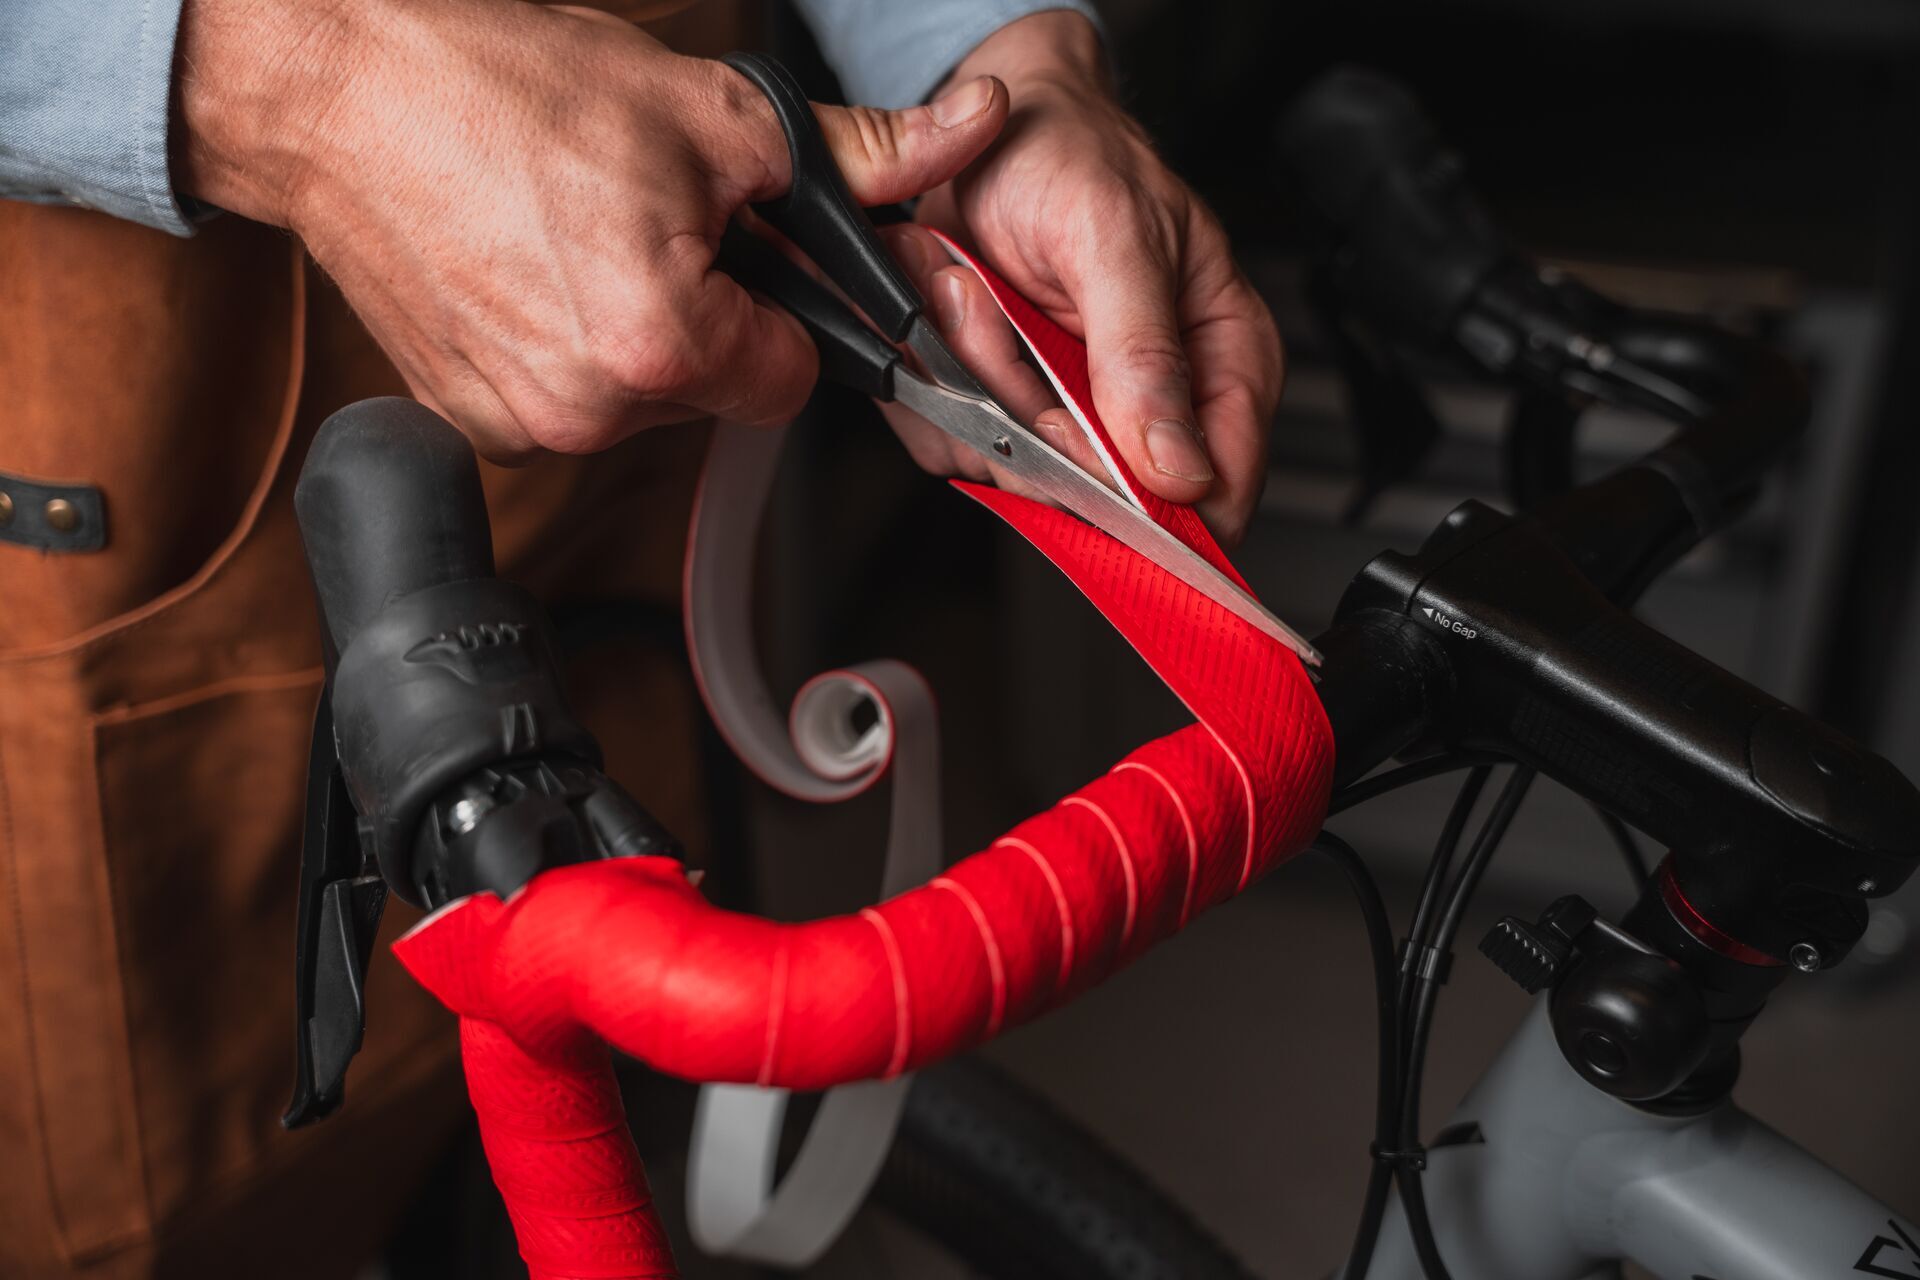
The wrapping itself gets cut at an angle. Where you want the end to be, pull it diagonally in the direction of wrapping, but cut it straight with scissors - i.e. parallel in the direction of travel. The same applies here: do not cut directly on the handlebar surface with a carpet knife.
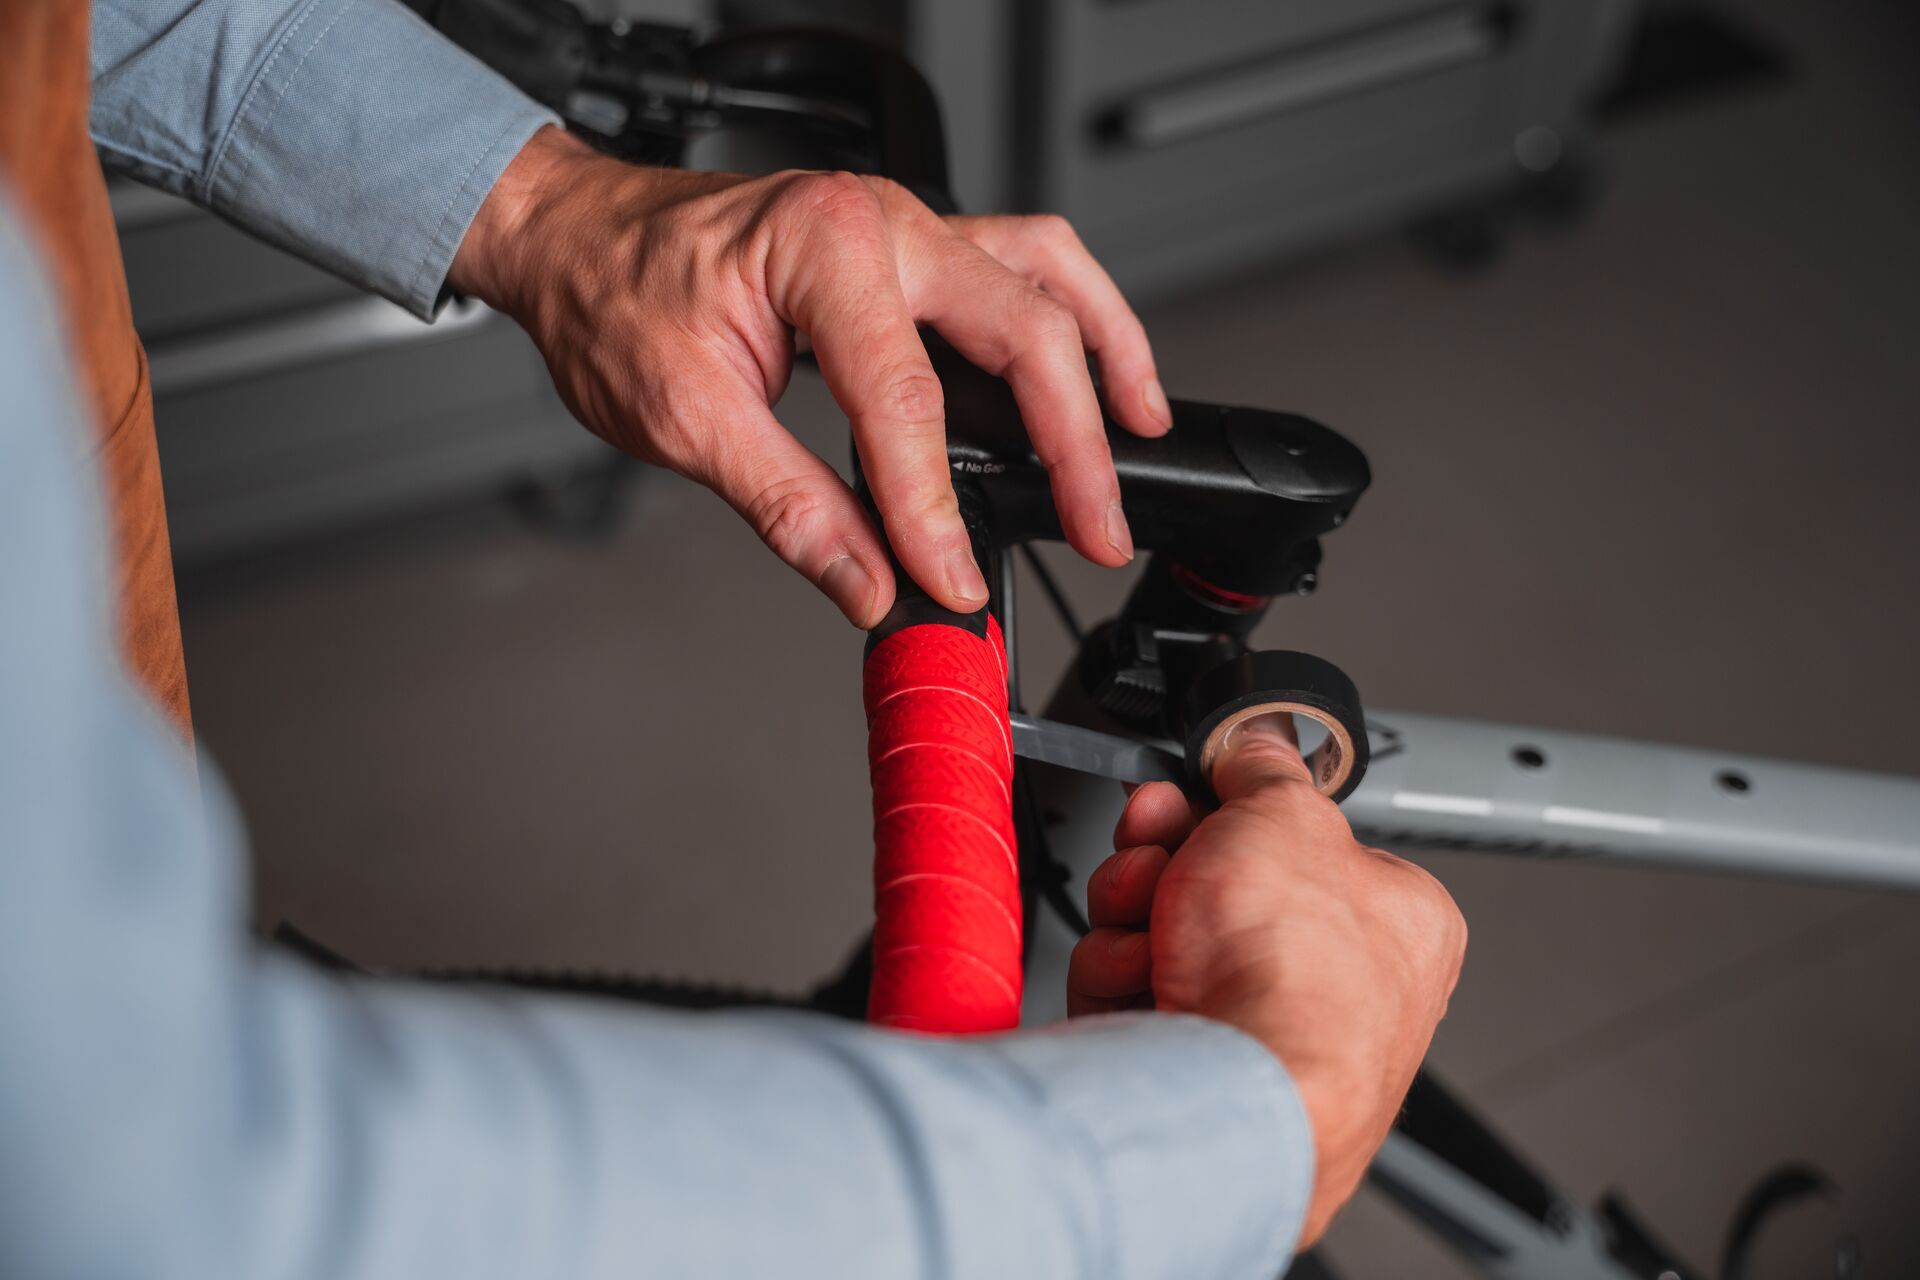
The tapered end is finally wrapped around the handlebar and secured. This can be done with insulating tape or an adhesive strip supplied by the manufacturer.
Finish at the bar end
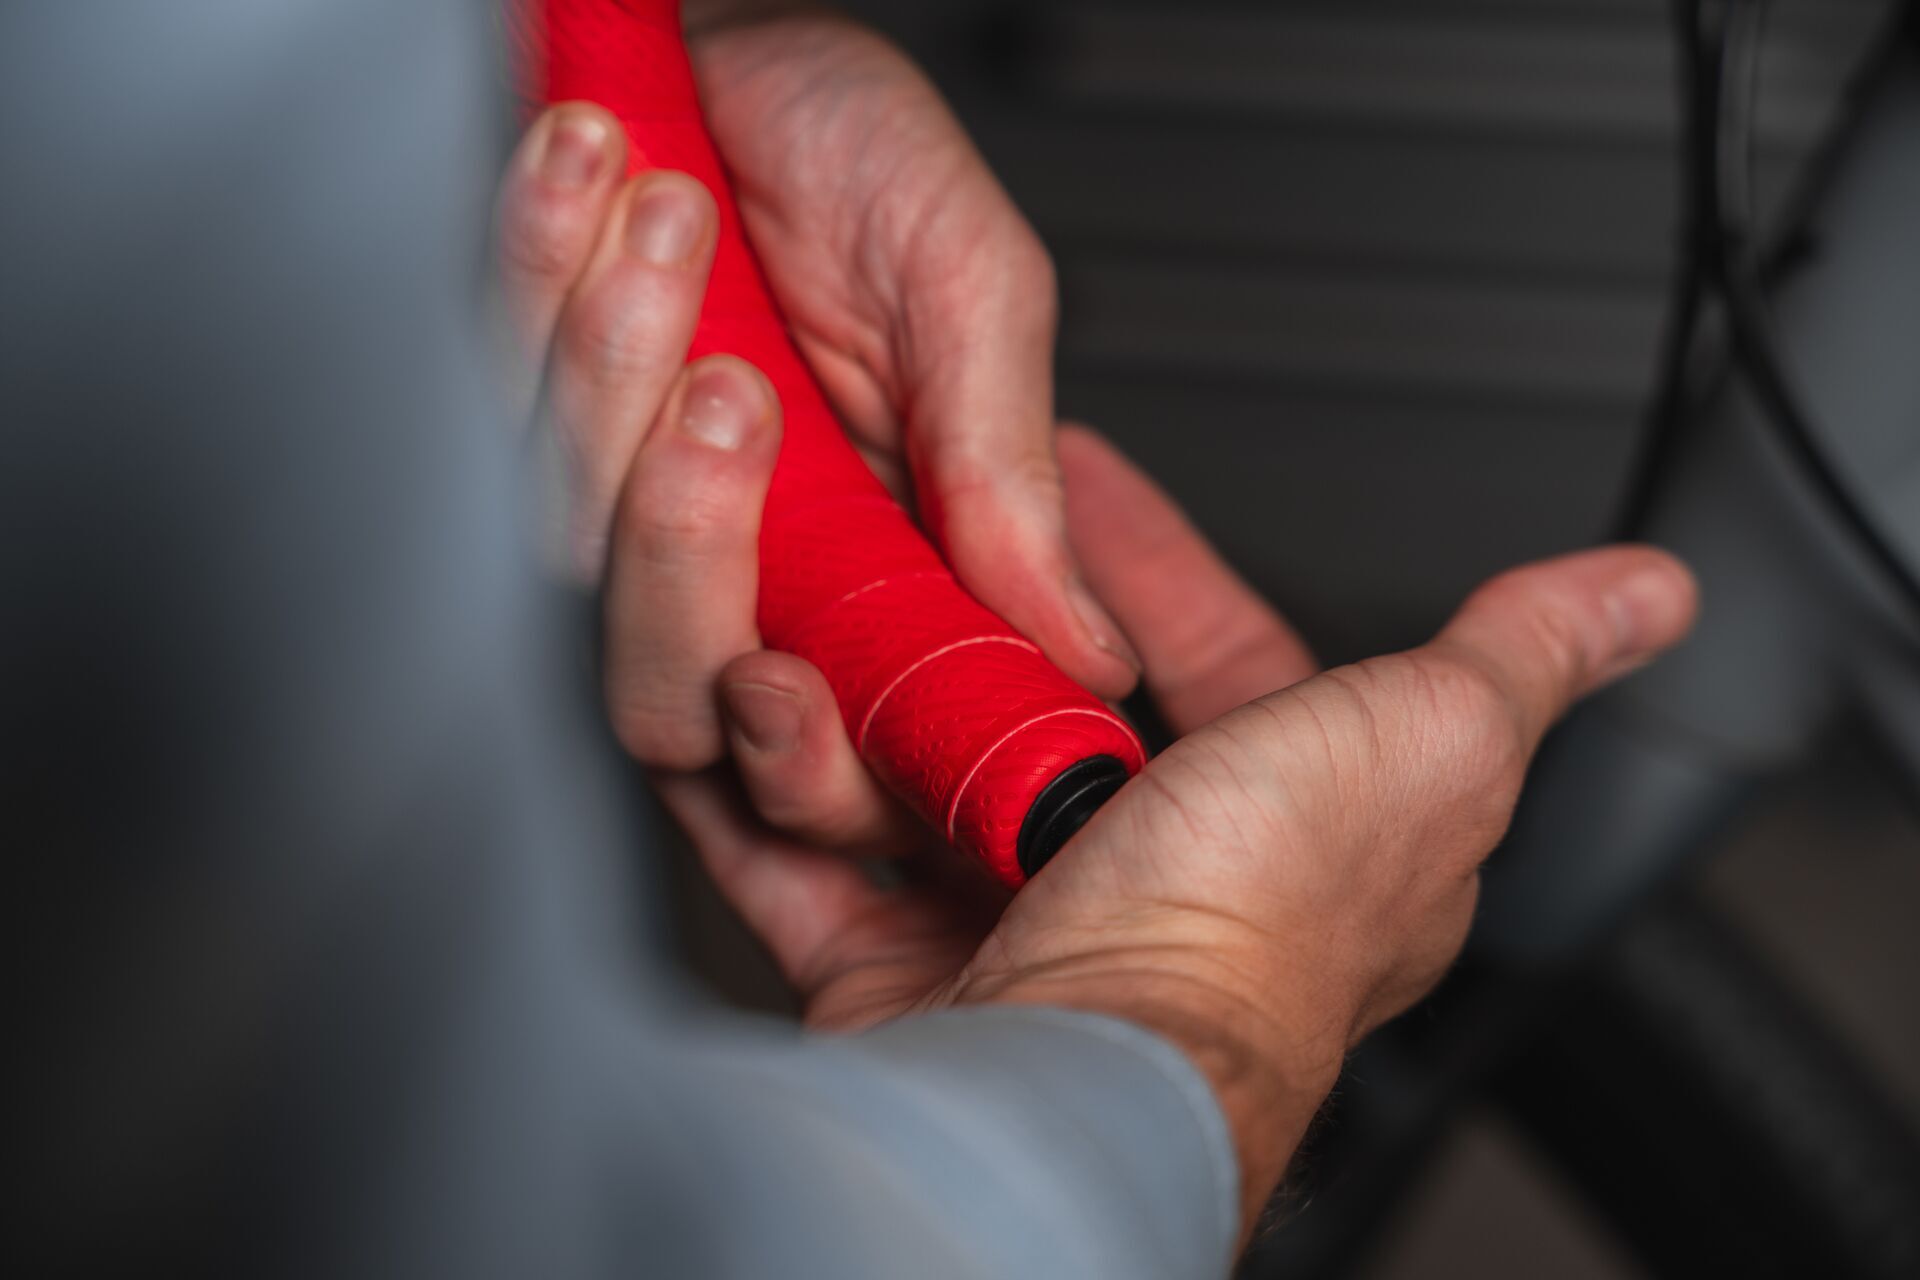
Oh yes, there was something else: the start of the wrapping at the bar end still doesn't look really clean. You can simply stuff the excess into the hole in the handlebar. Then push in the bar end plug - this is almost always supplied. The result is a sleek finish.
On to the next side
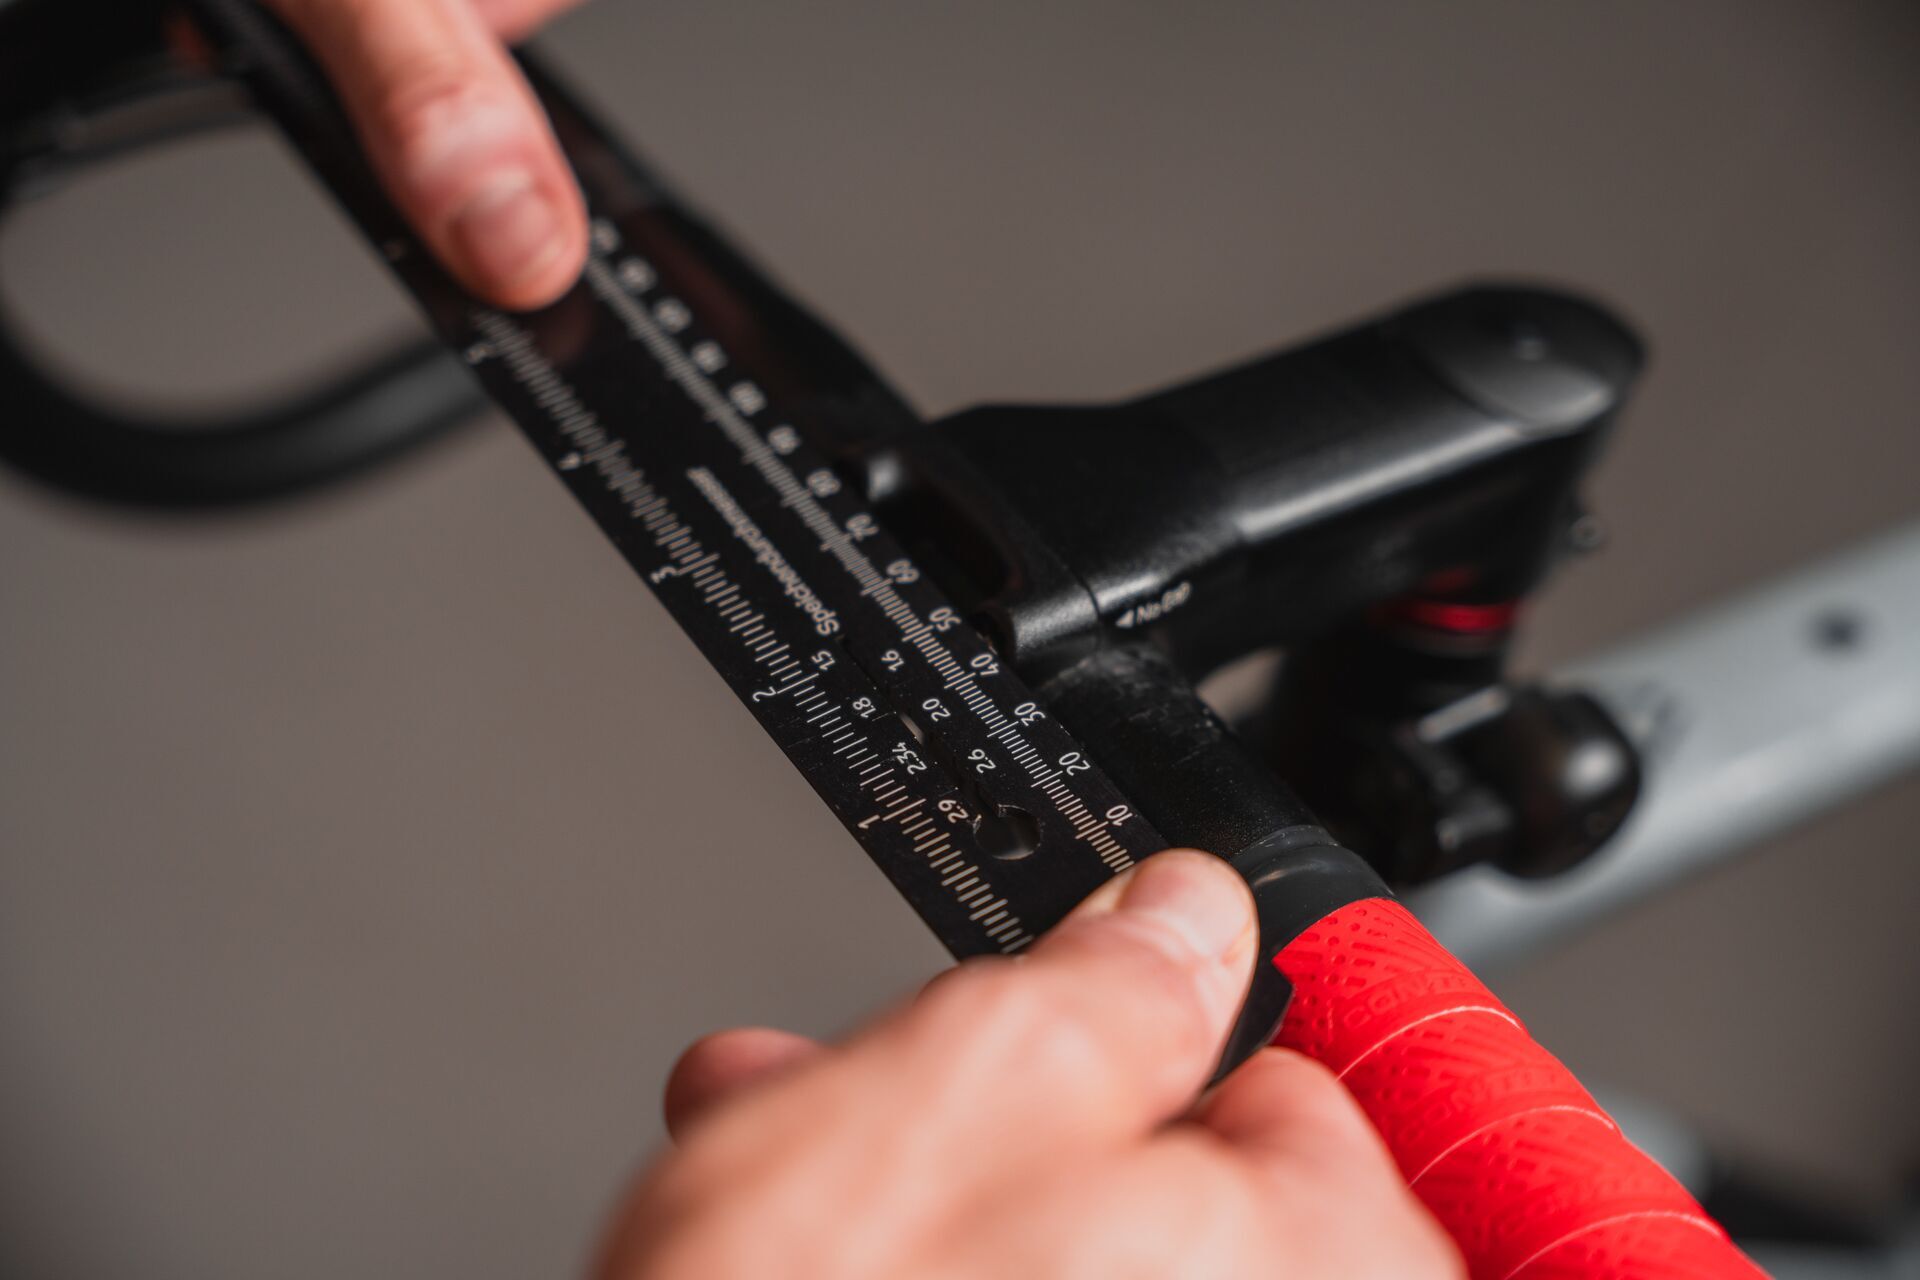
That was one side - for the other, simply proceed in the same way in a mirrored direction. To ensure that everything is symmetrical in the end, it is best to measure the distance from the first side to the stem and use this as a guide for the second side.
Final check
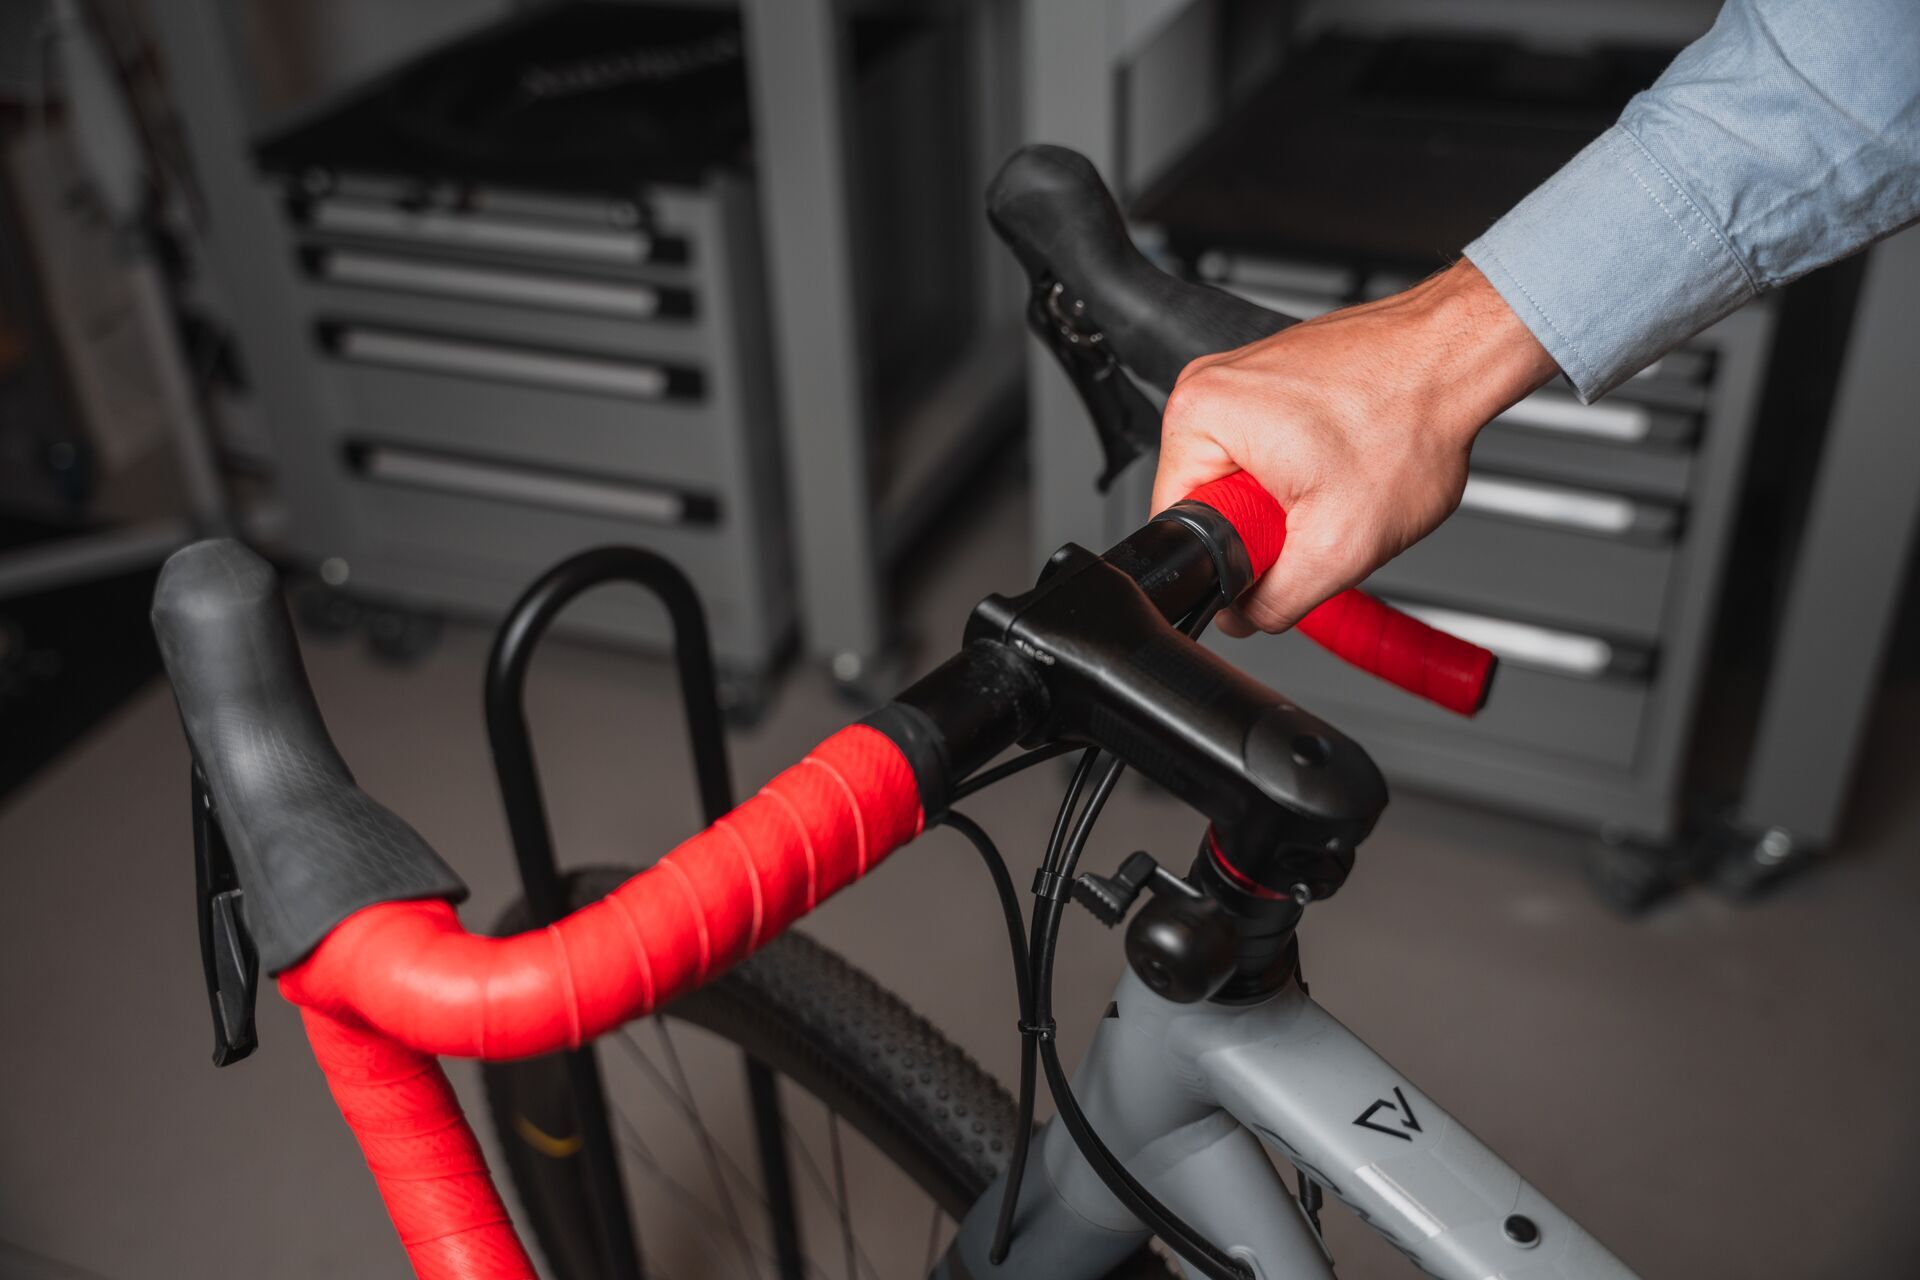
If you have followed our tips, your road handlebar should now be perfectly wrapped with bar tape. Check the result again carefully. Is nothing sticking out, is everything even and straight? Now you can really enjoy your next rides again.
How often should bar tape be changed?
The next change is due when the bar tape is worn, cracked or uncomfortable to grip. It should also be replaced after falls or if it is very dirty. Depending on how intensively you ride, this can be done every 6 to 12 months. Sweat, dirt and suntan lotion attack bar tape, so you should definitely be mindful about this when cleaning your bike.
Bonus material guide: bar tape at a glance
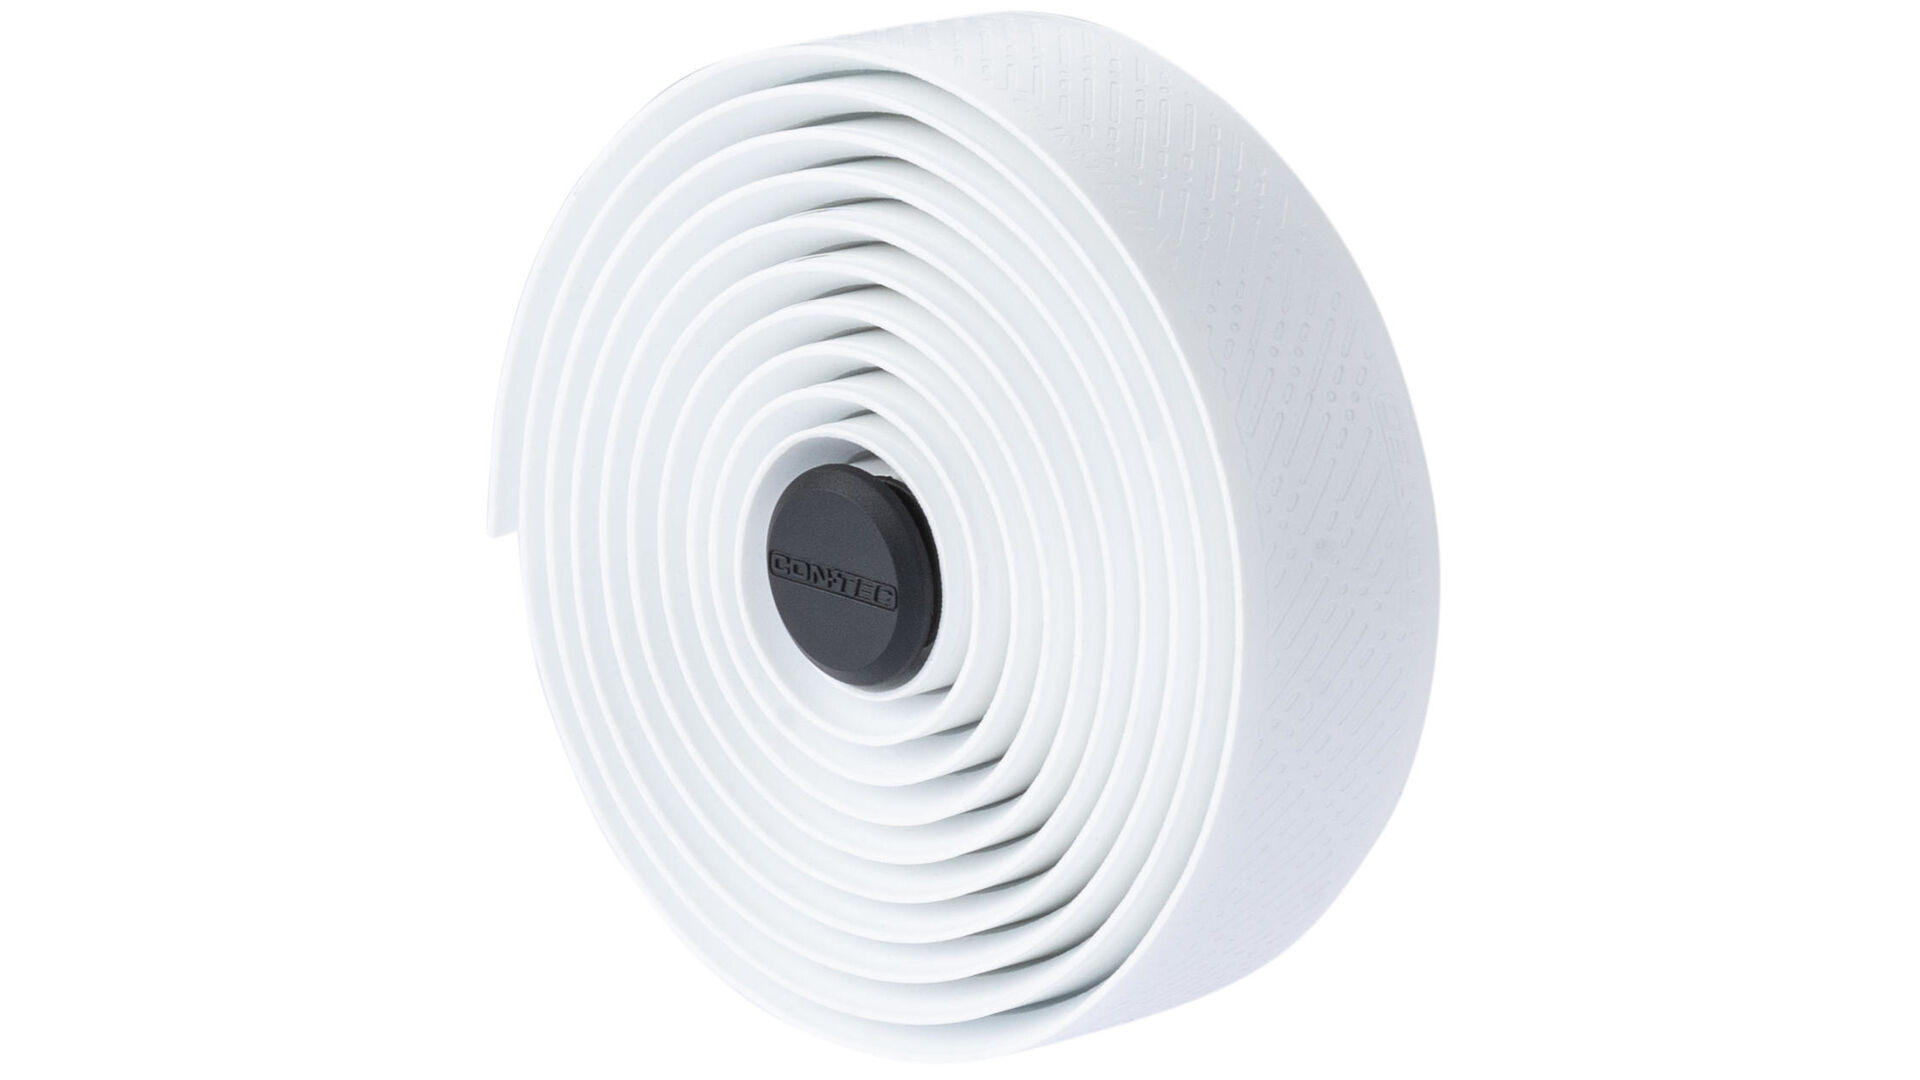
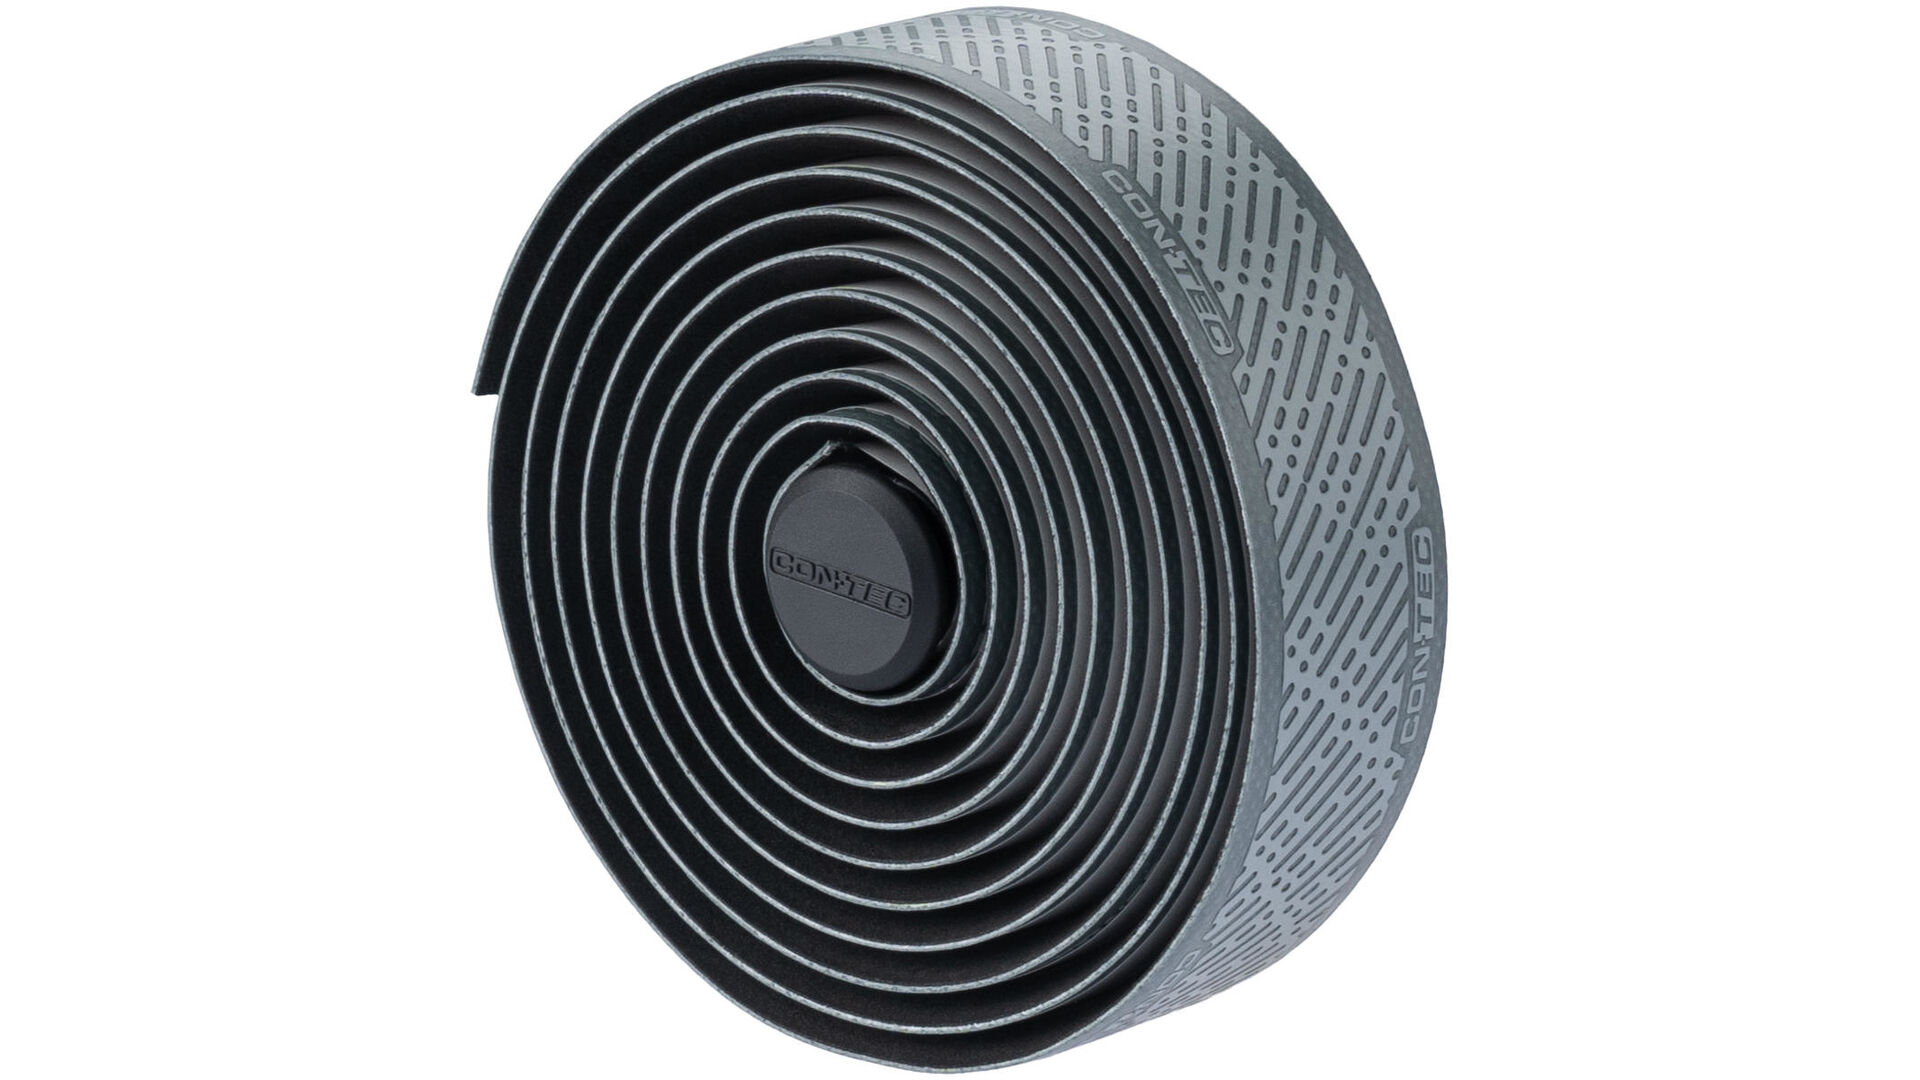
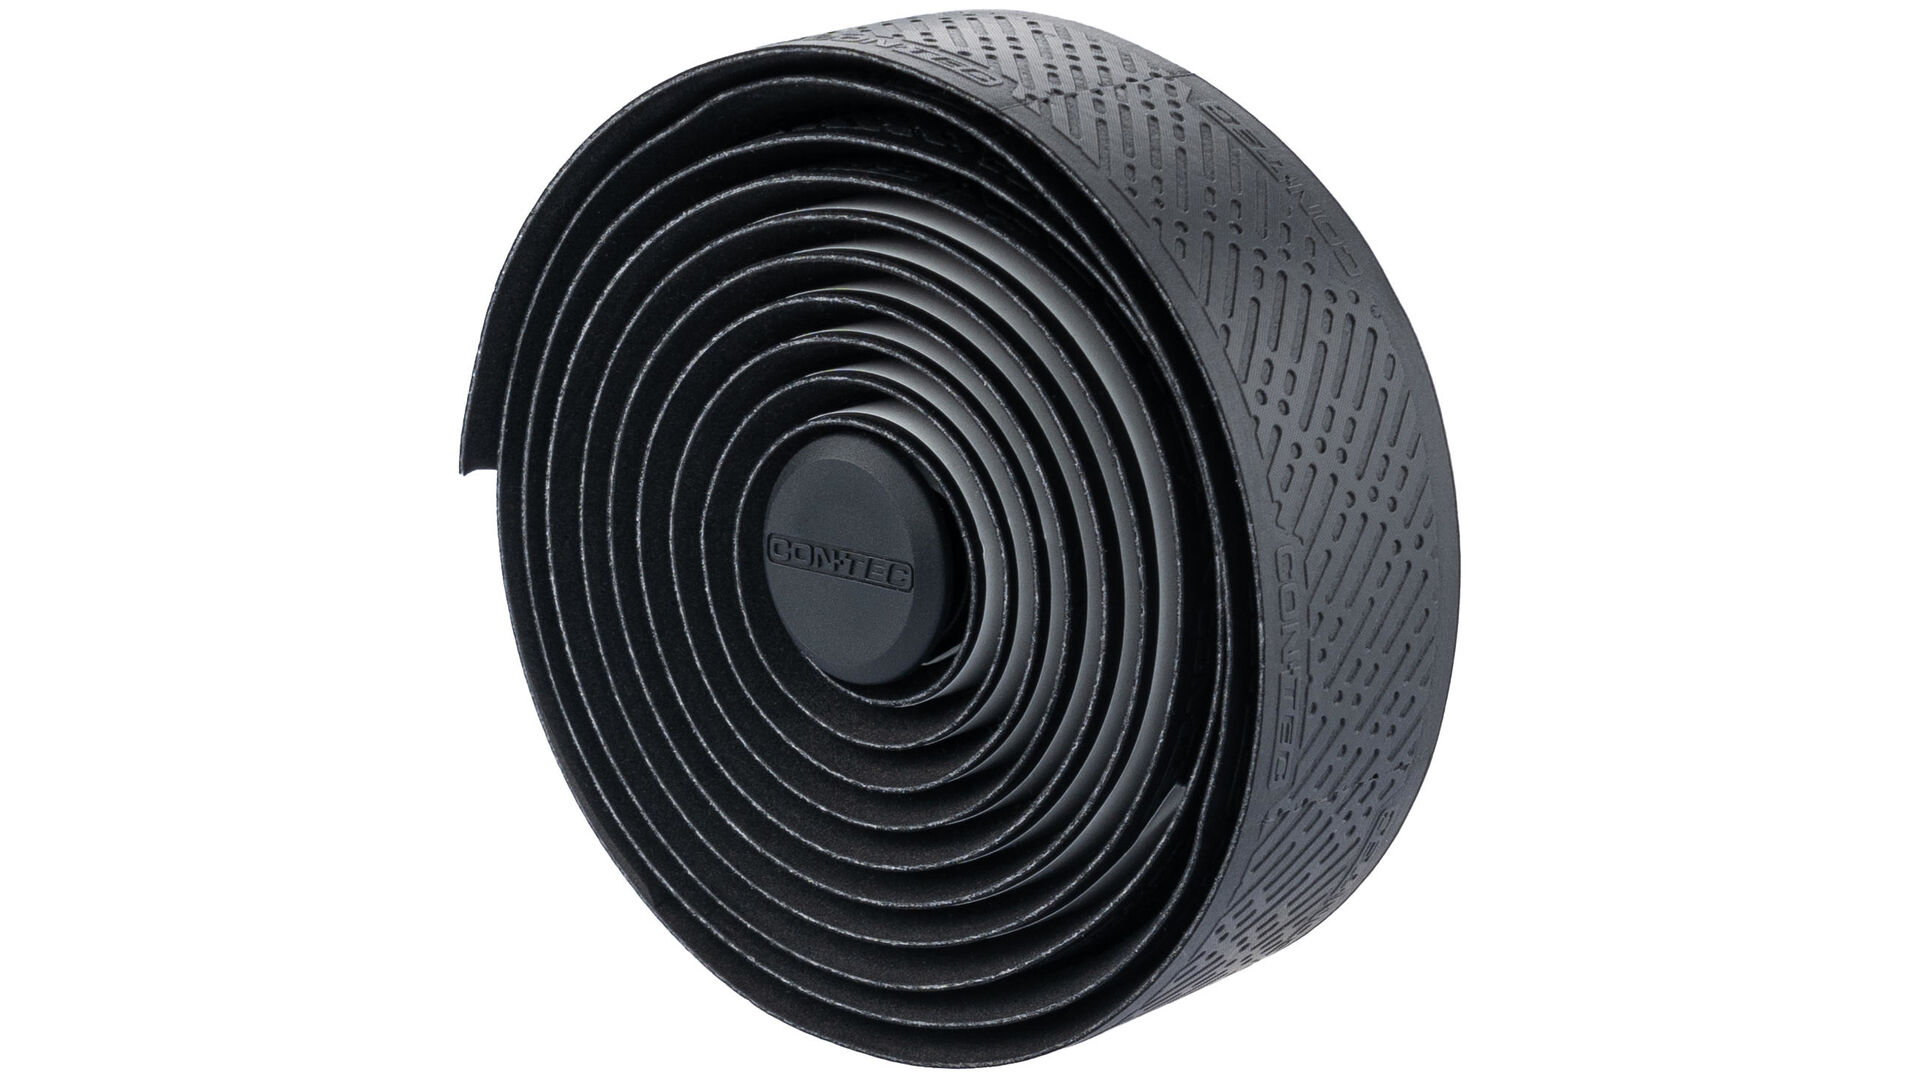
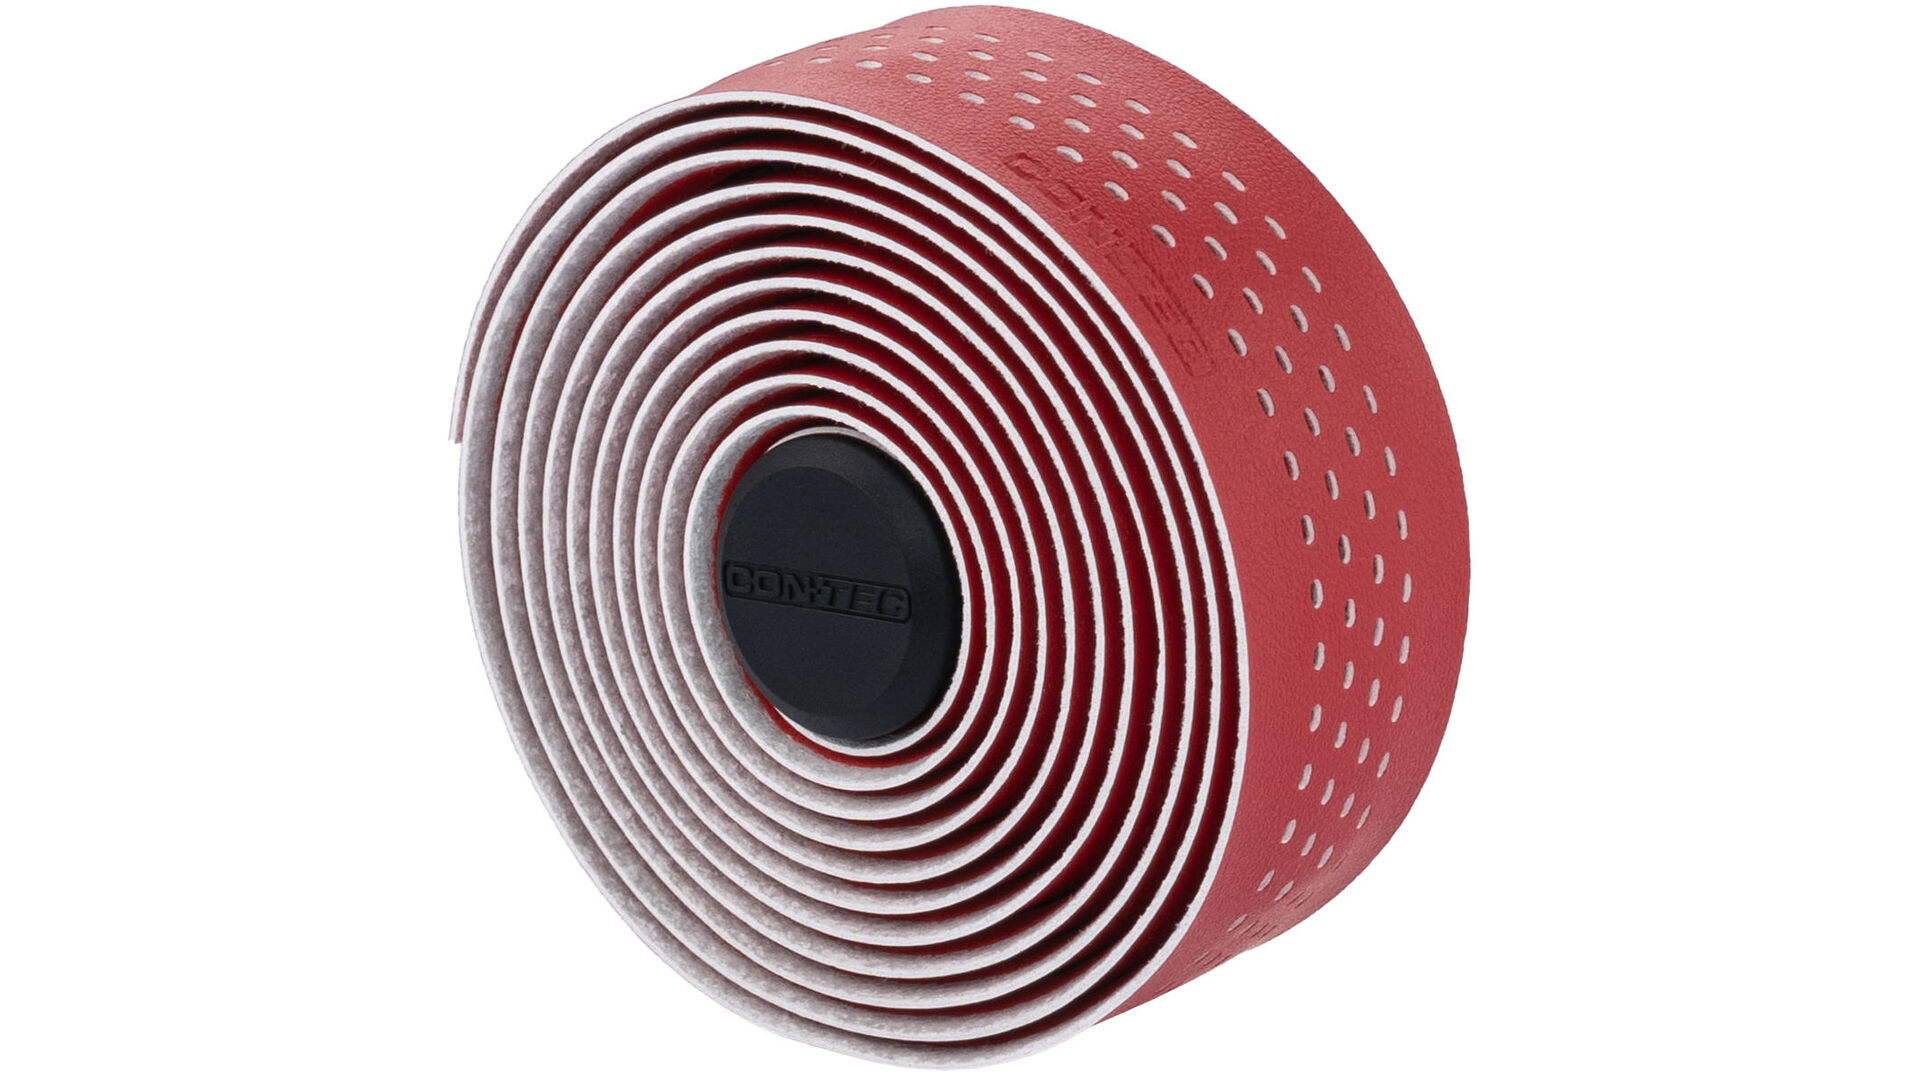
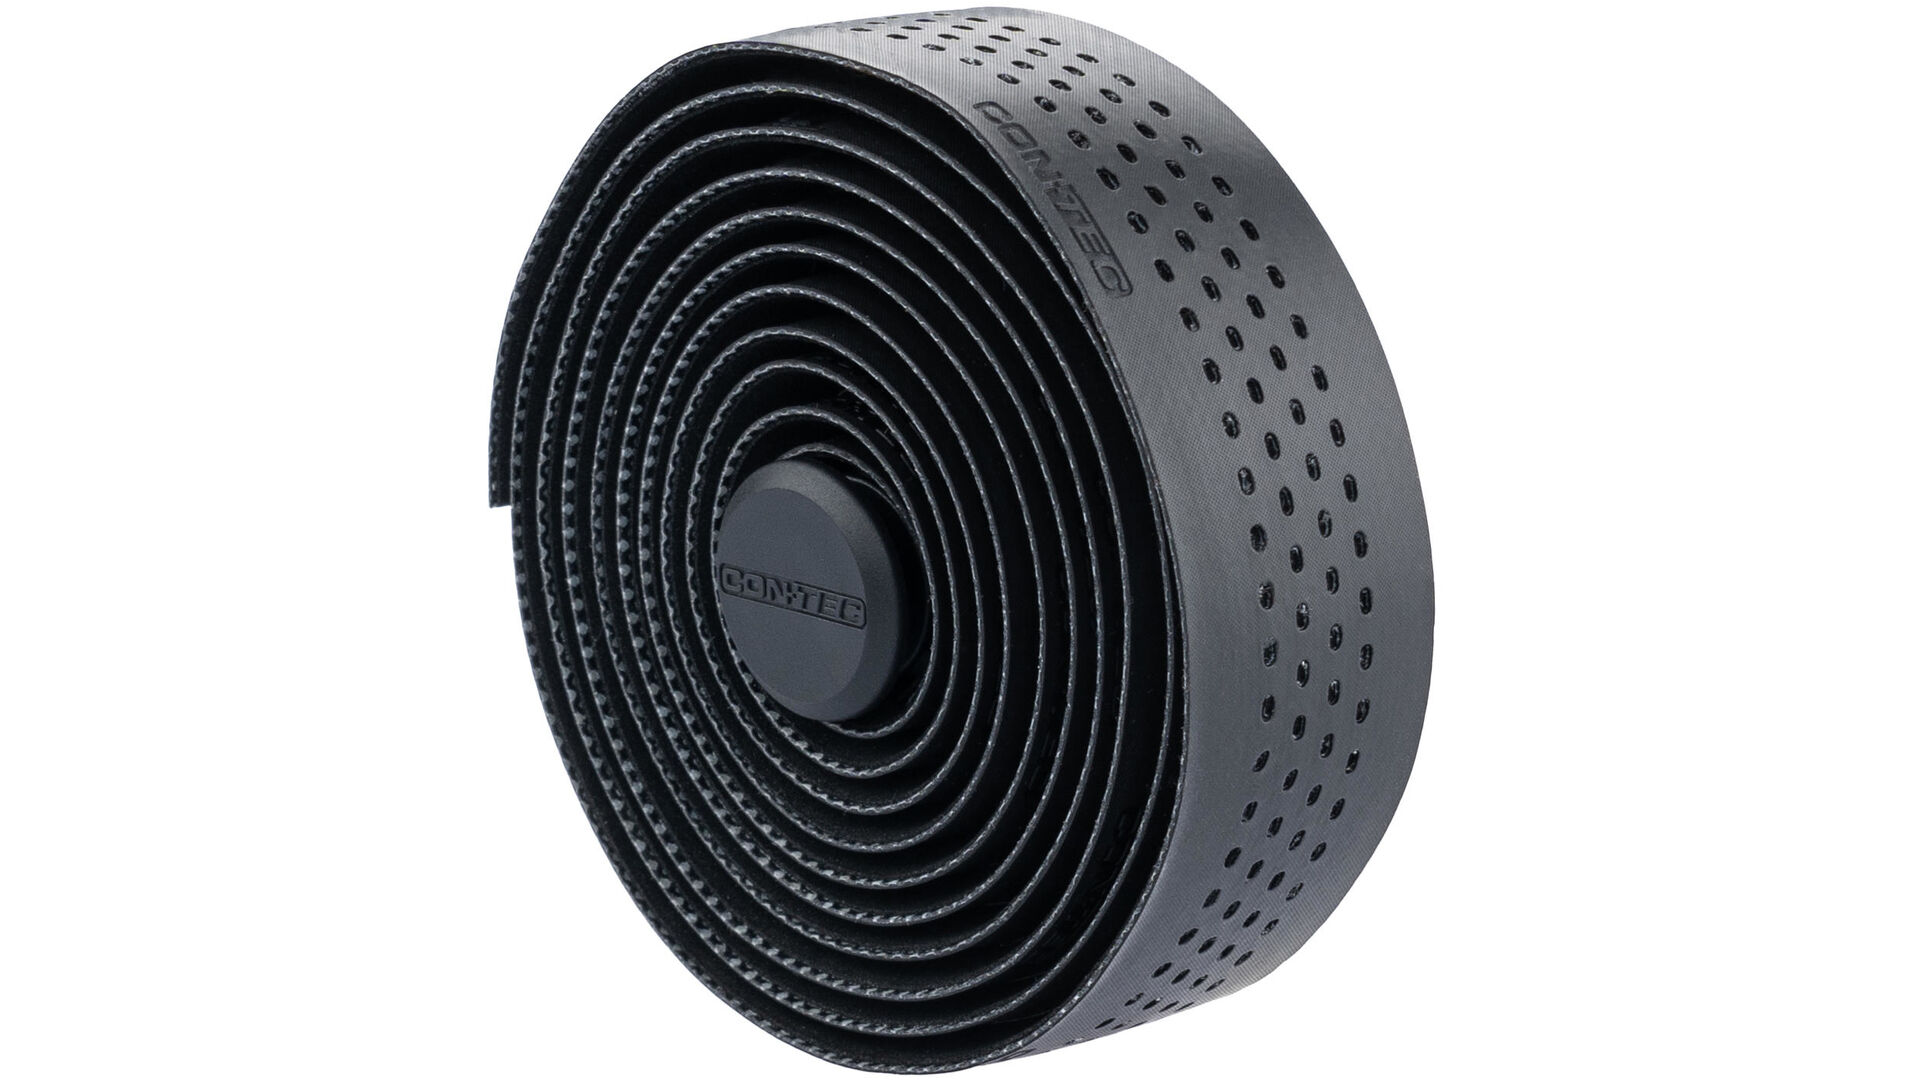
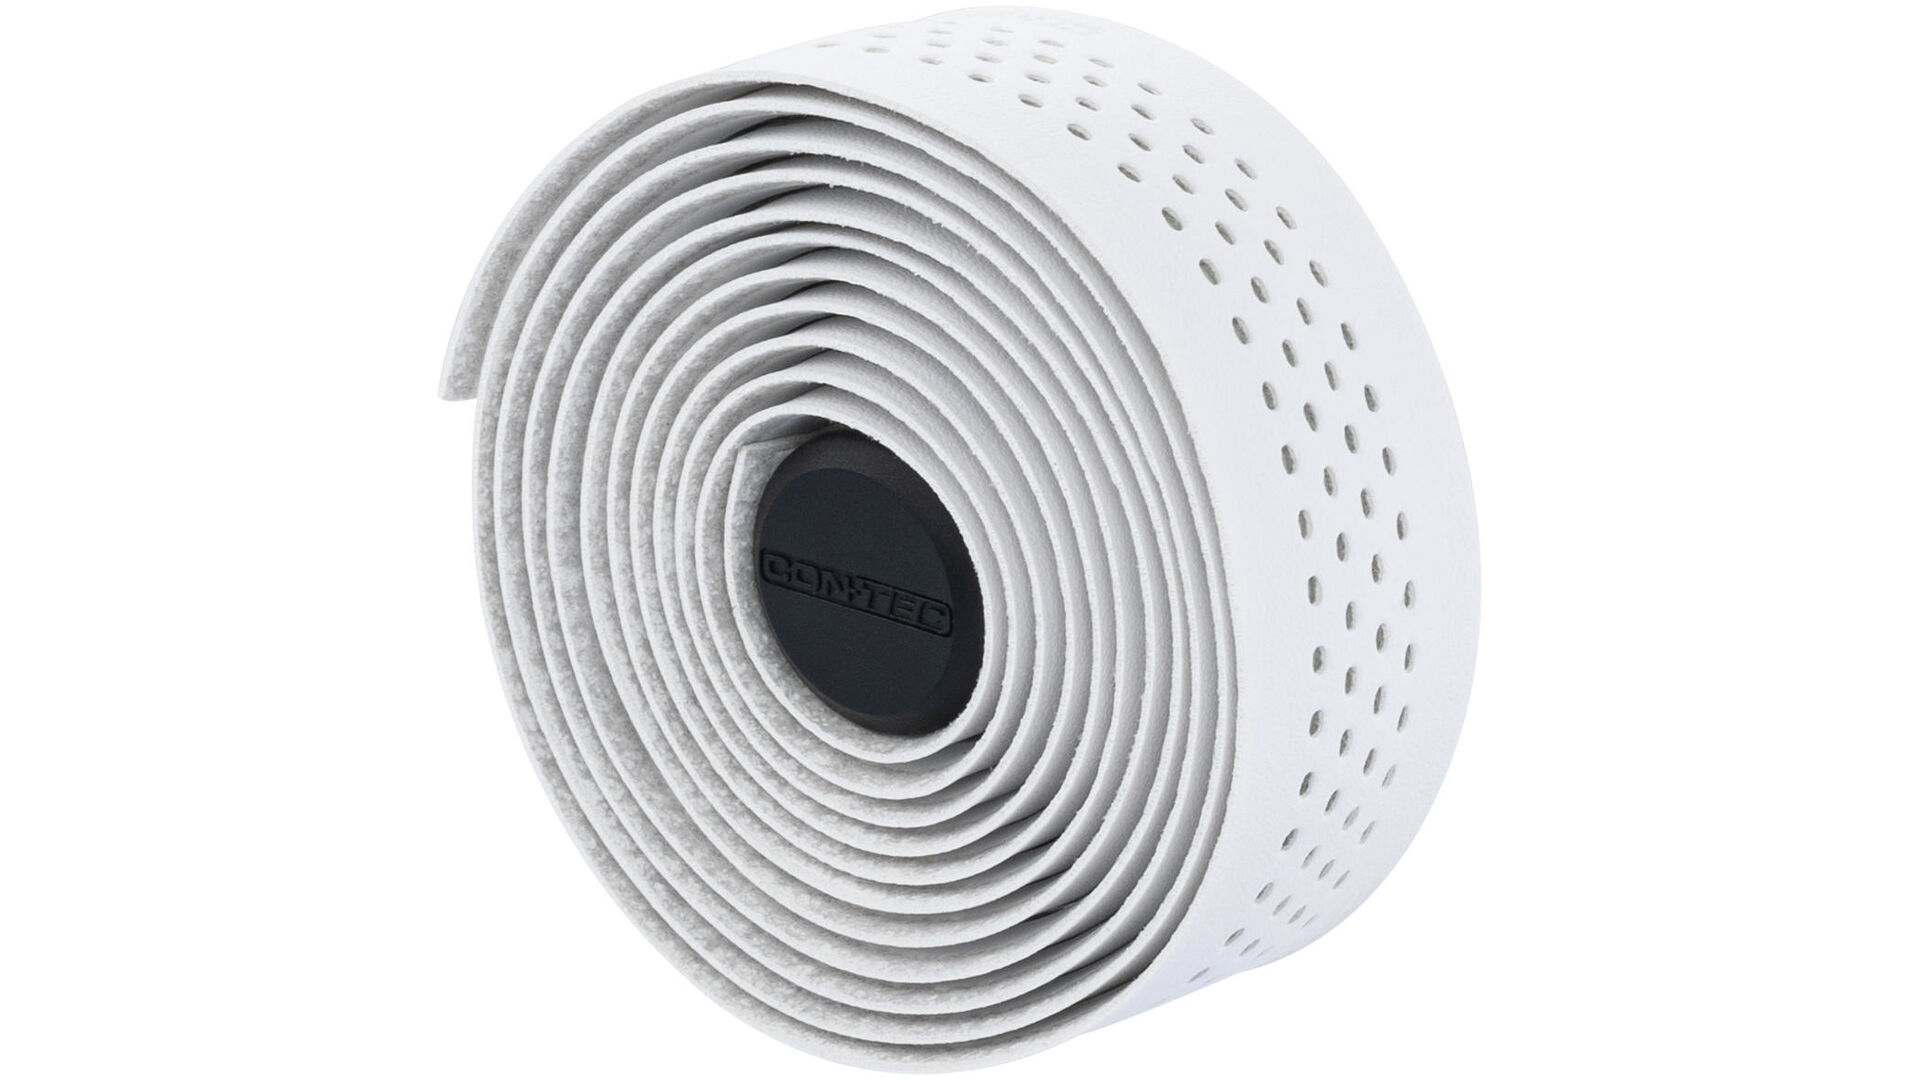
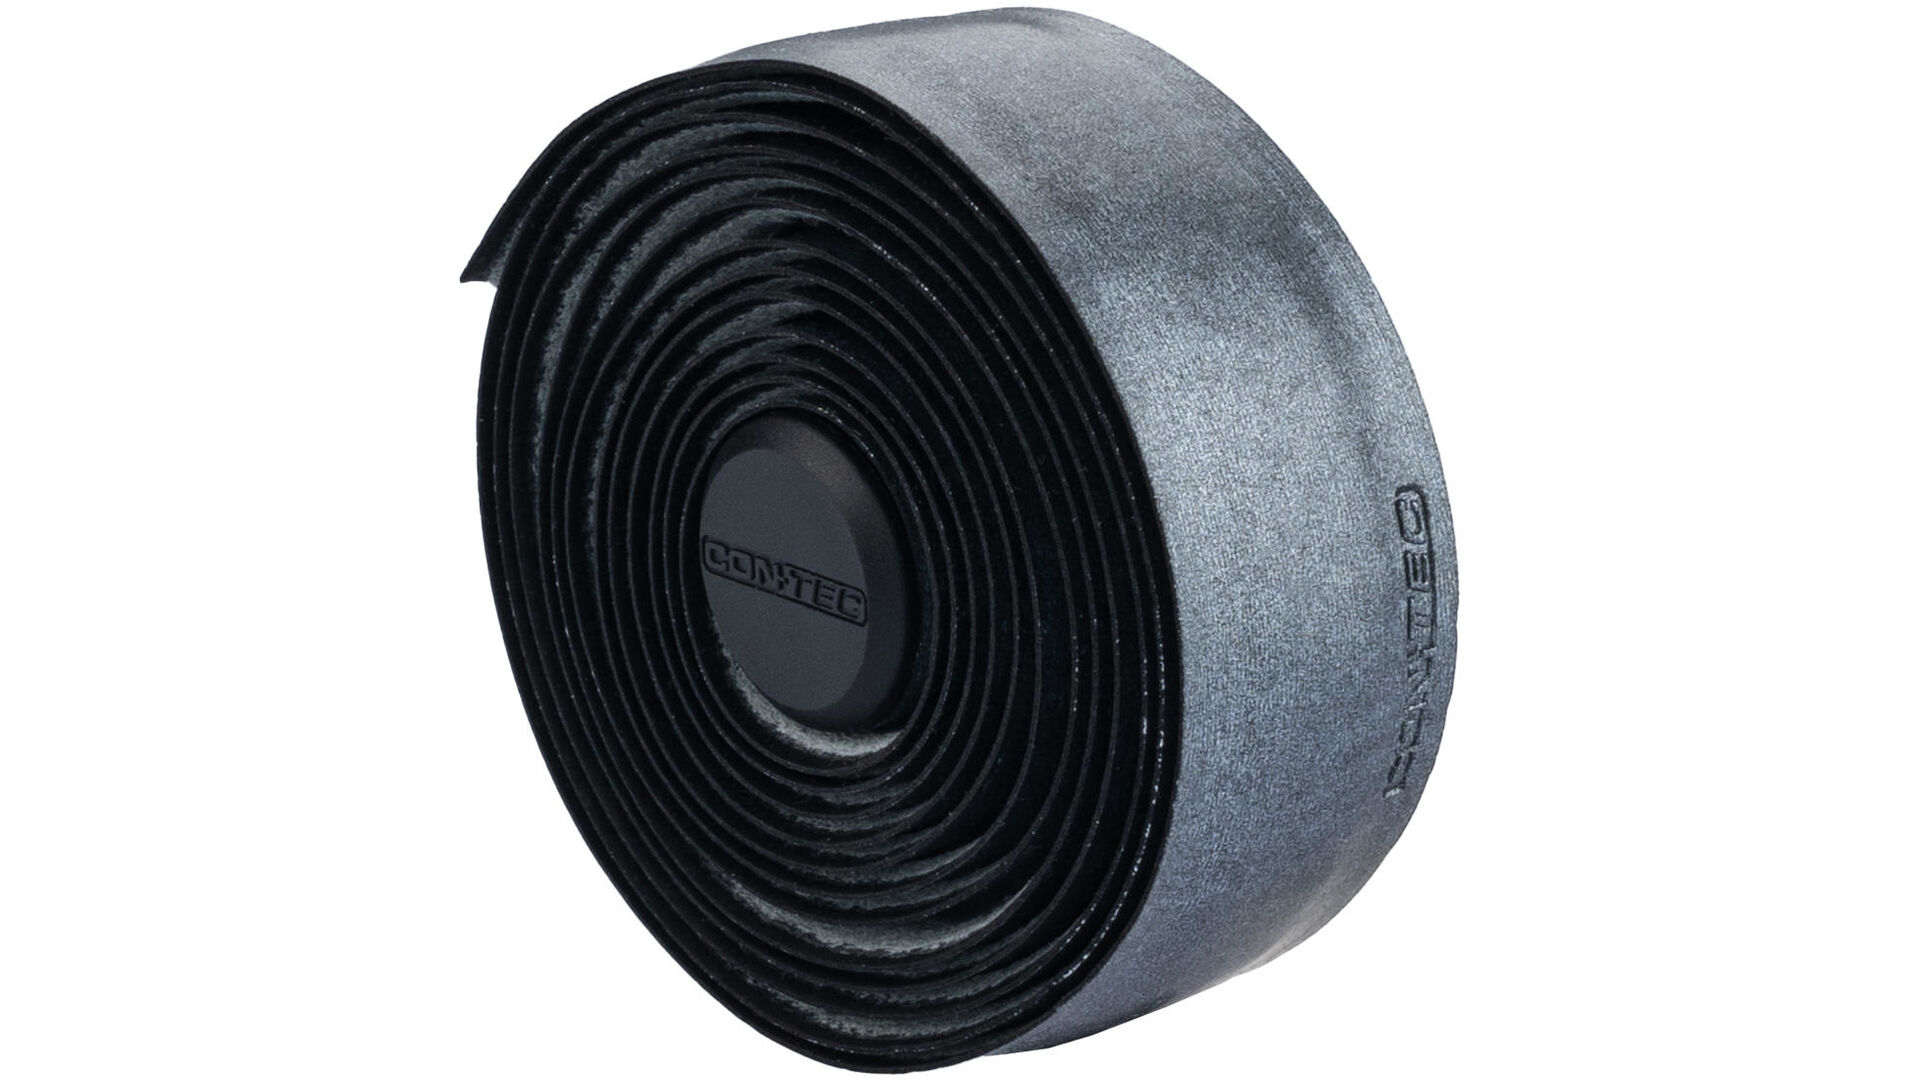
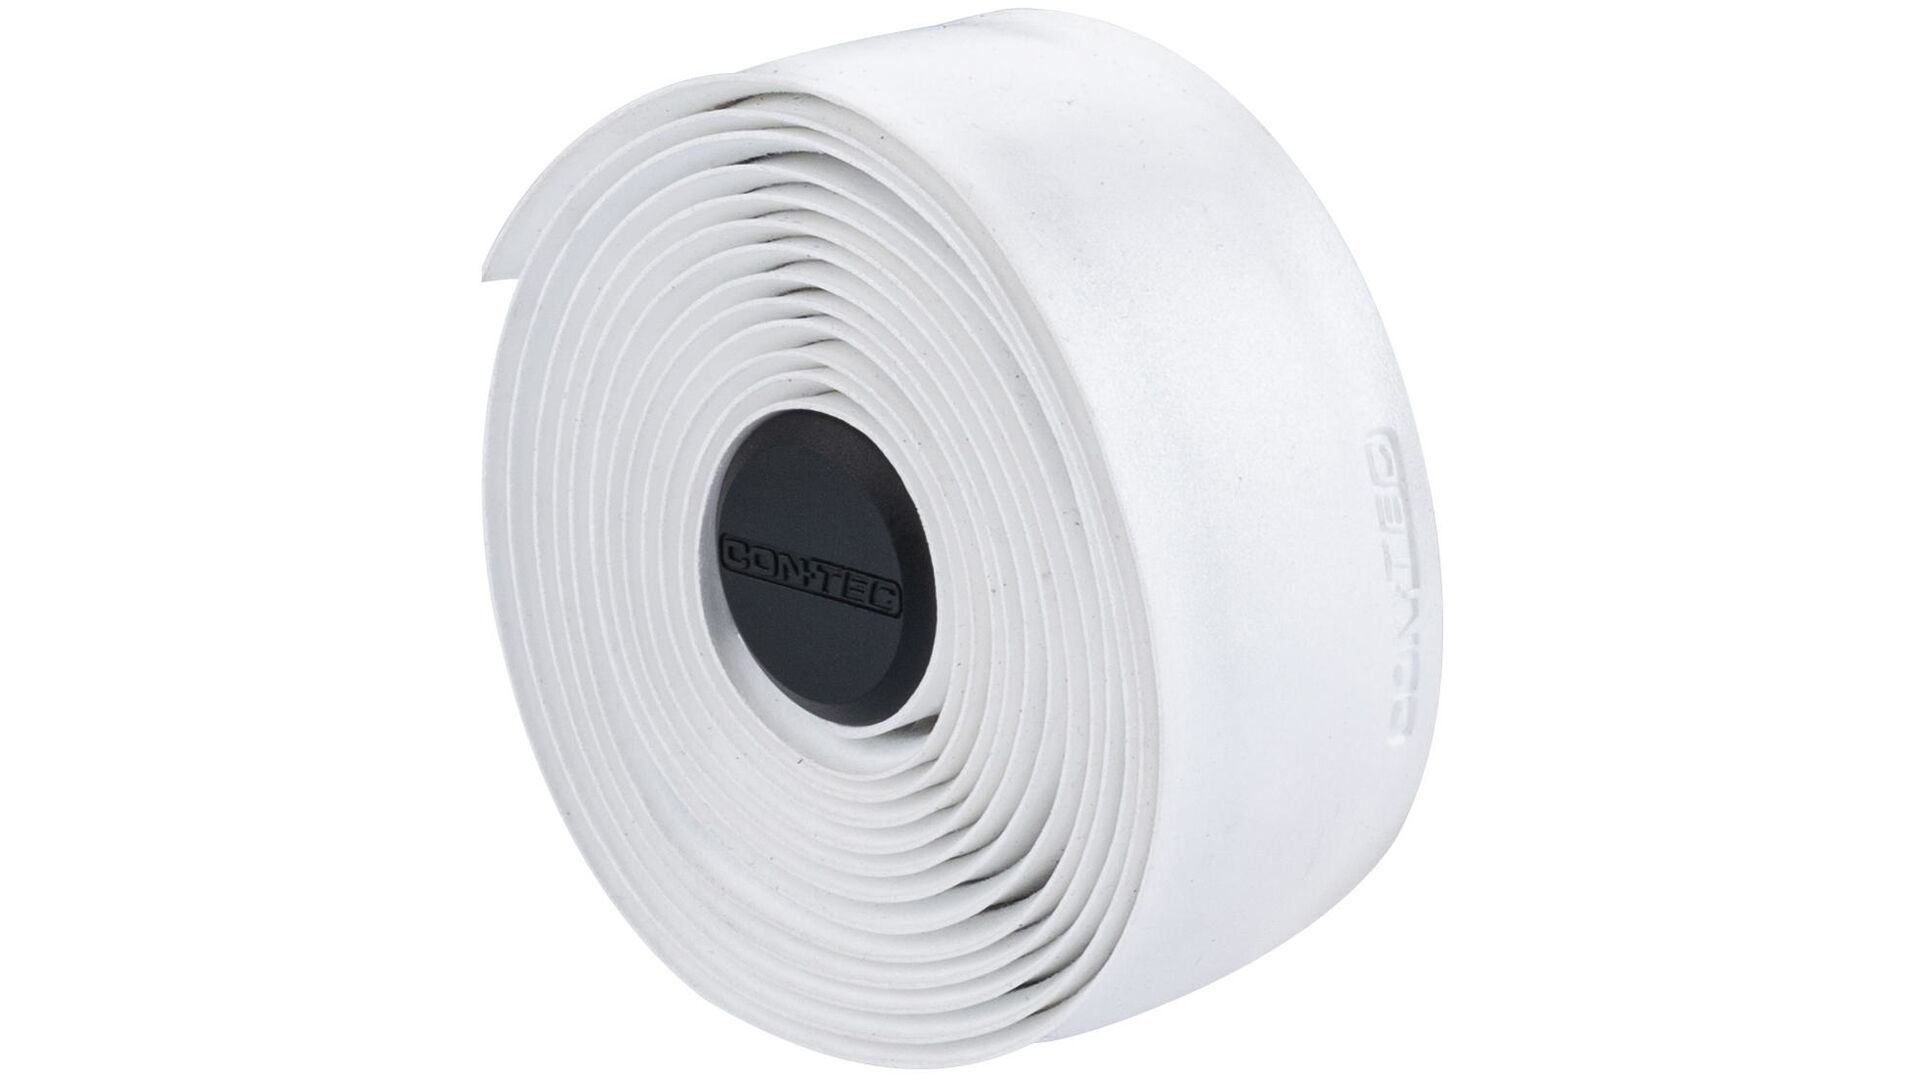
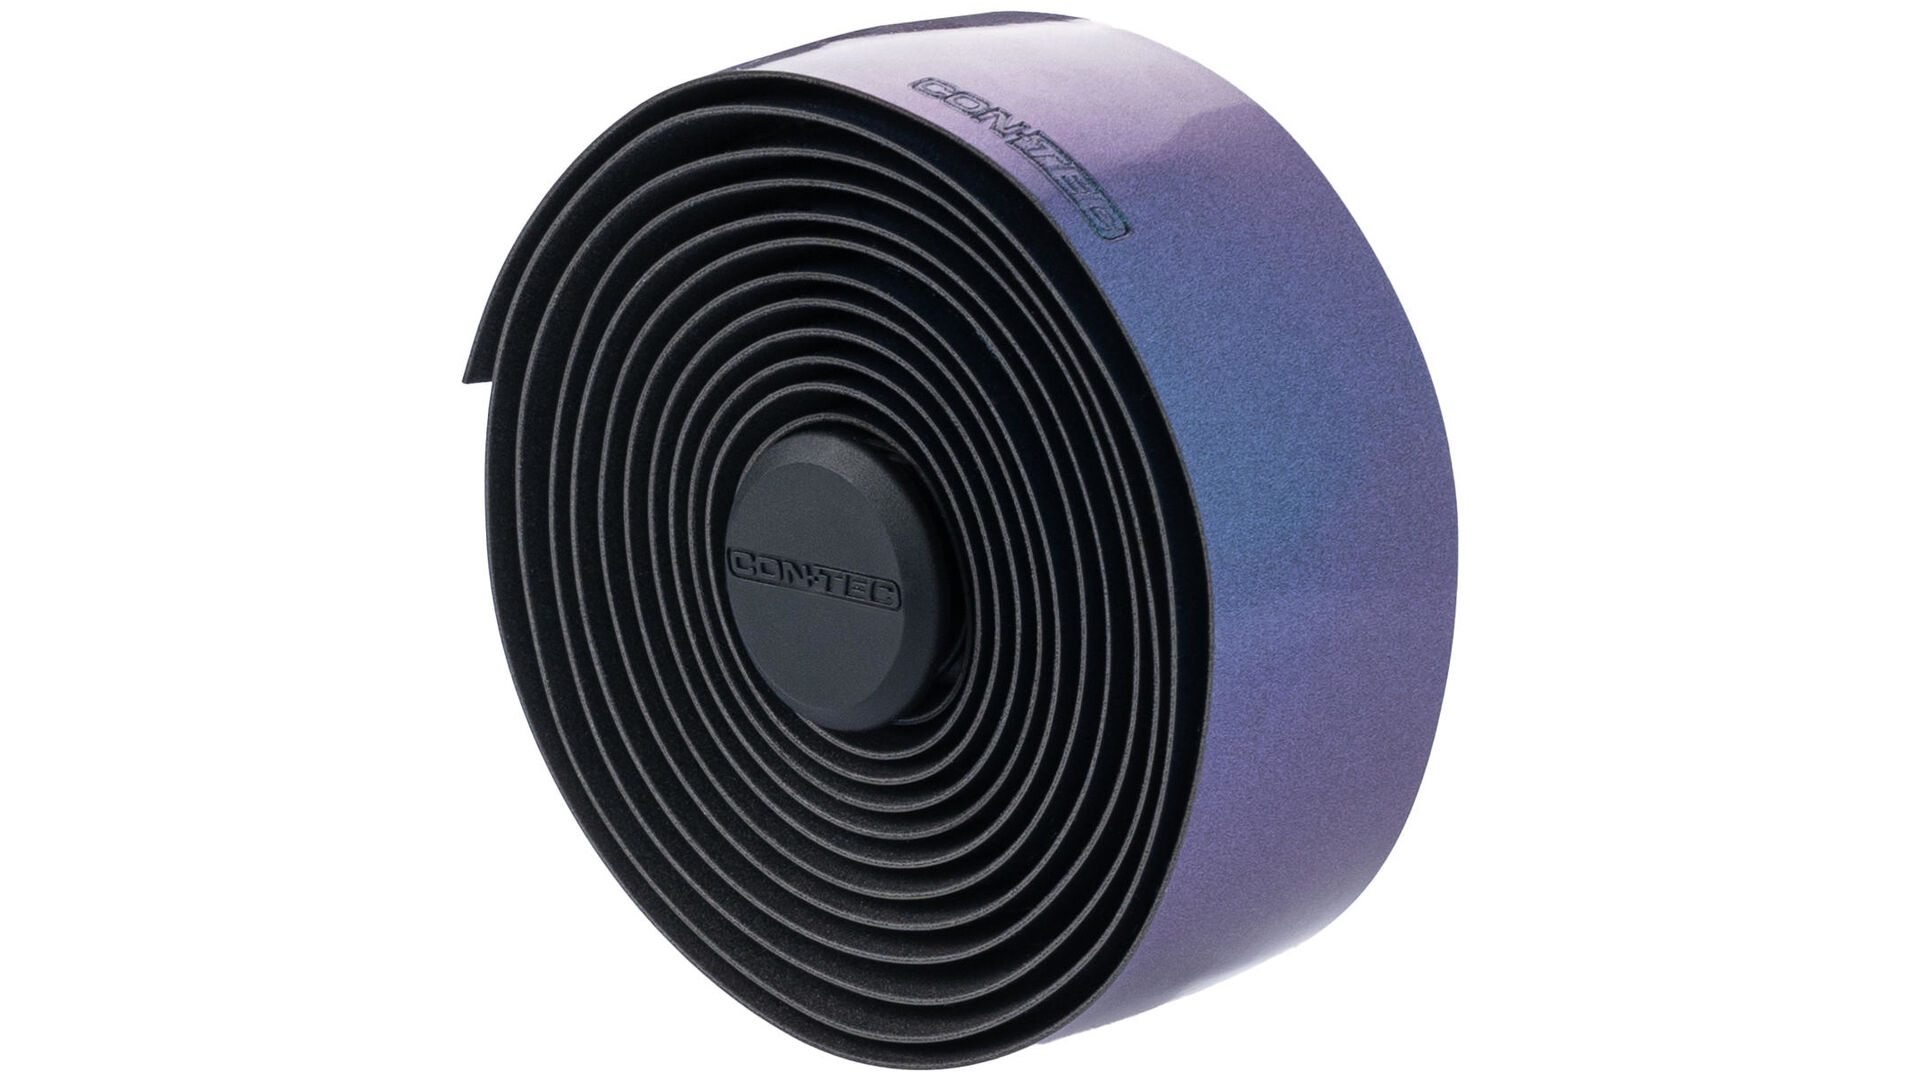
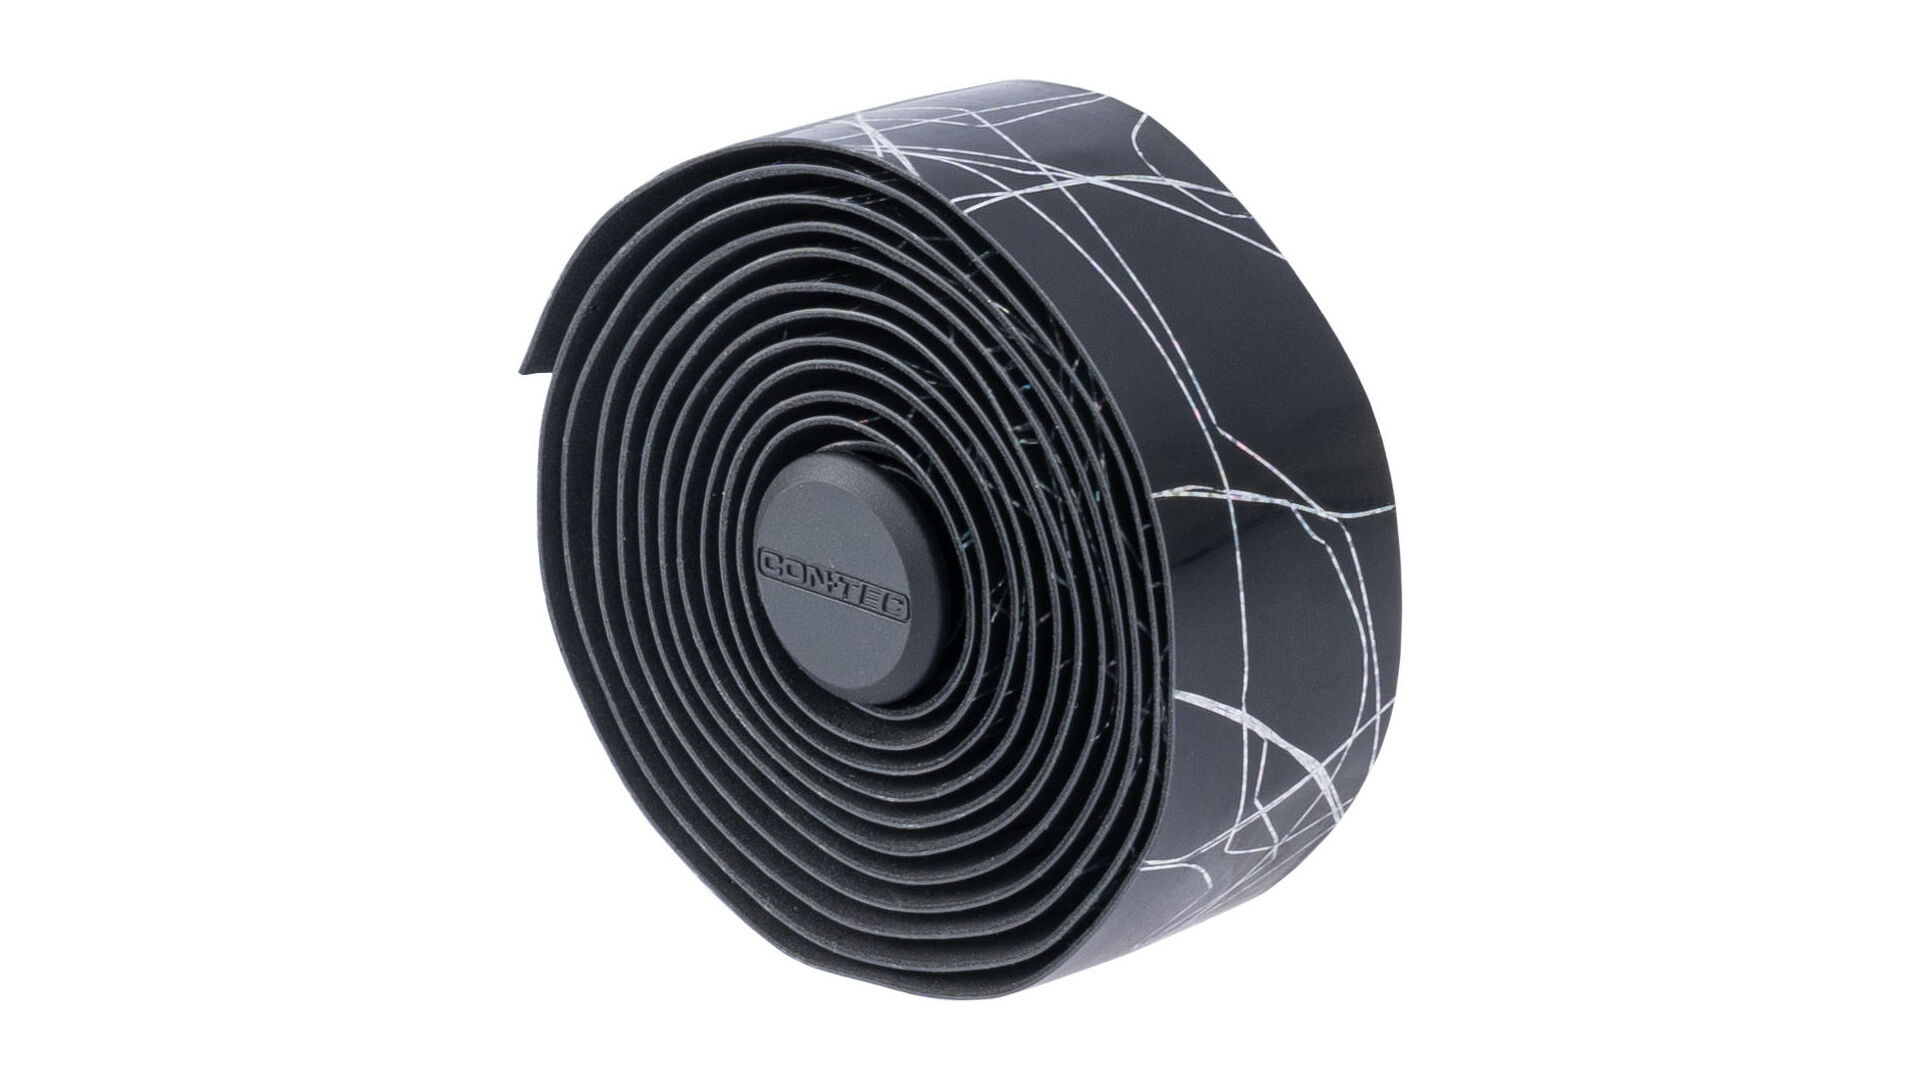
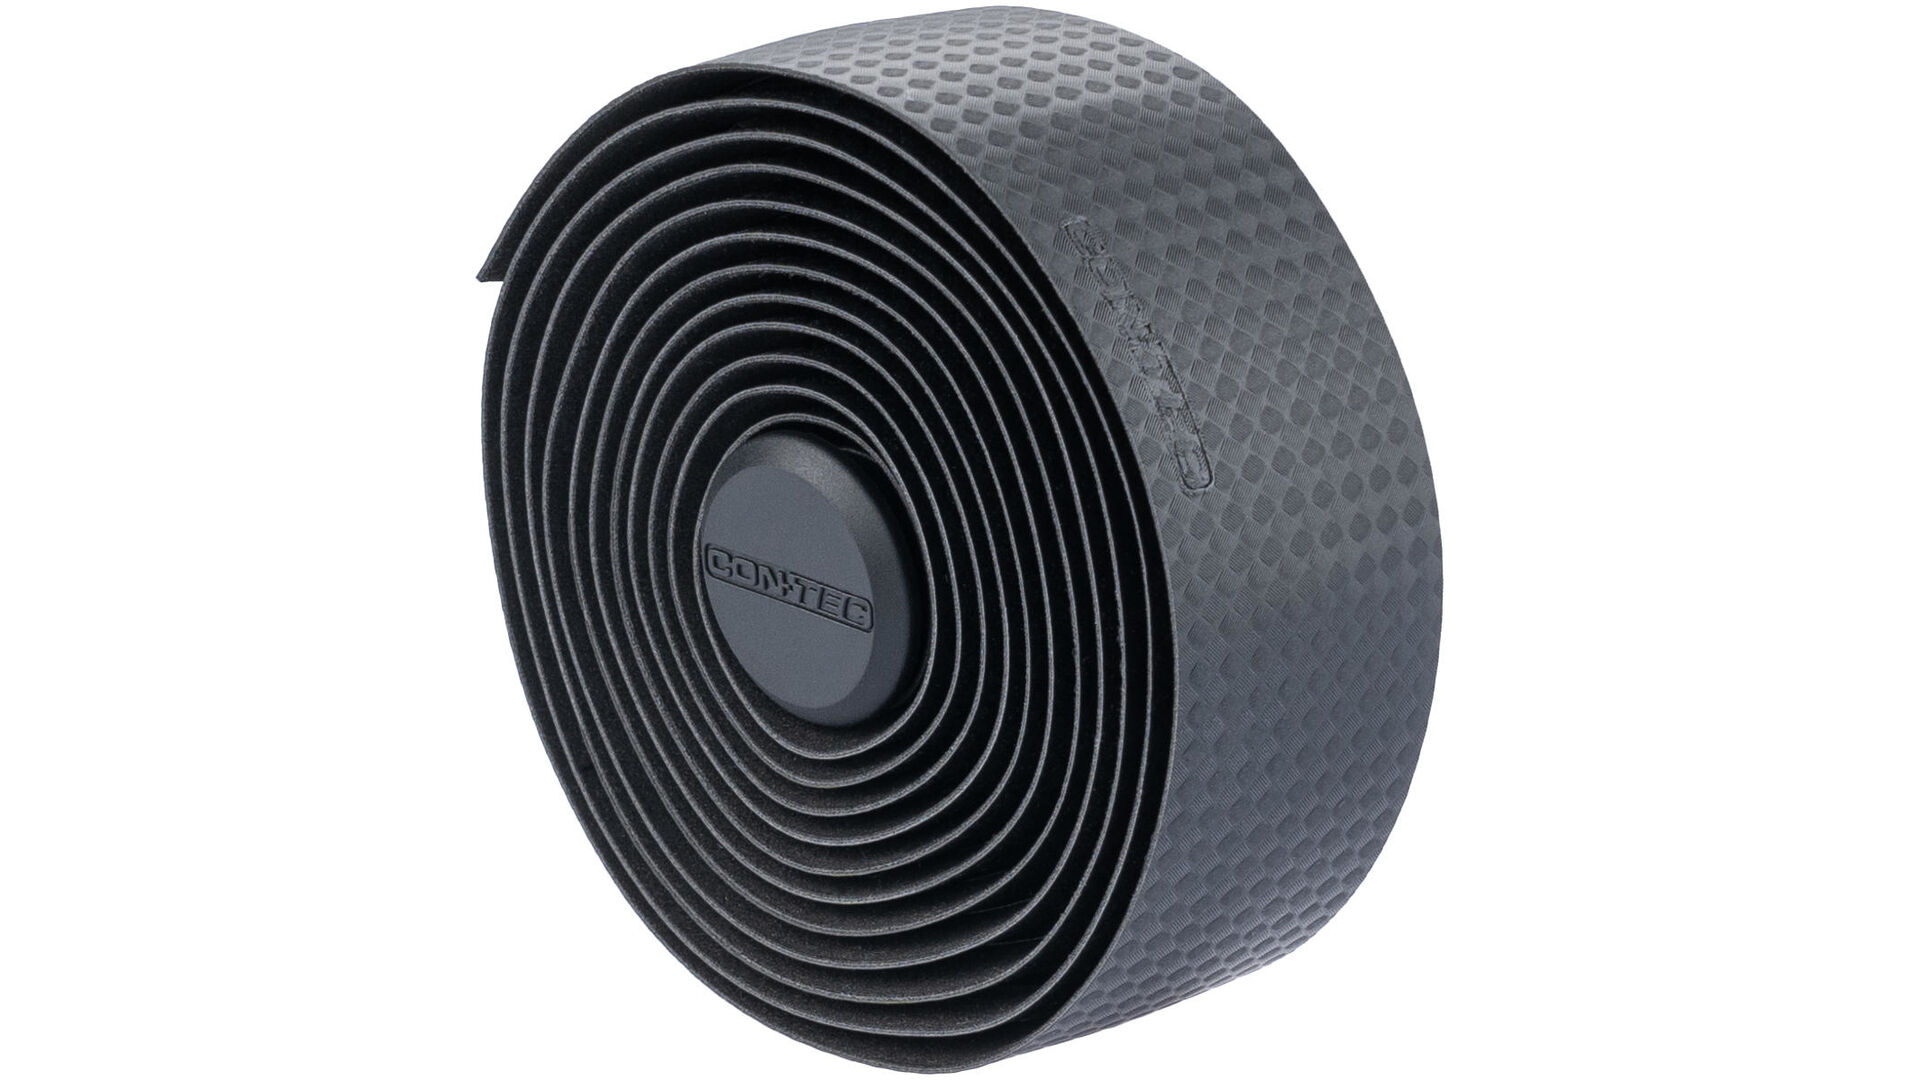
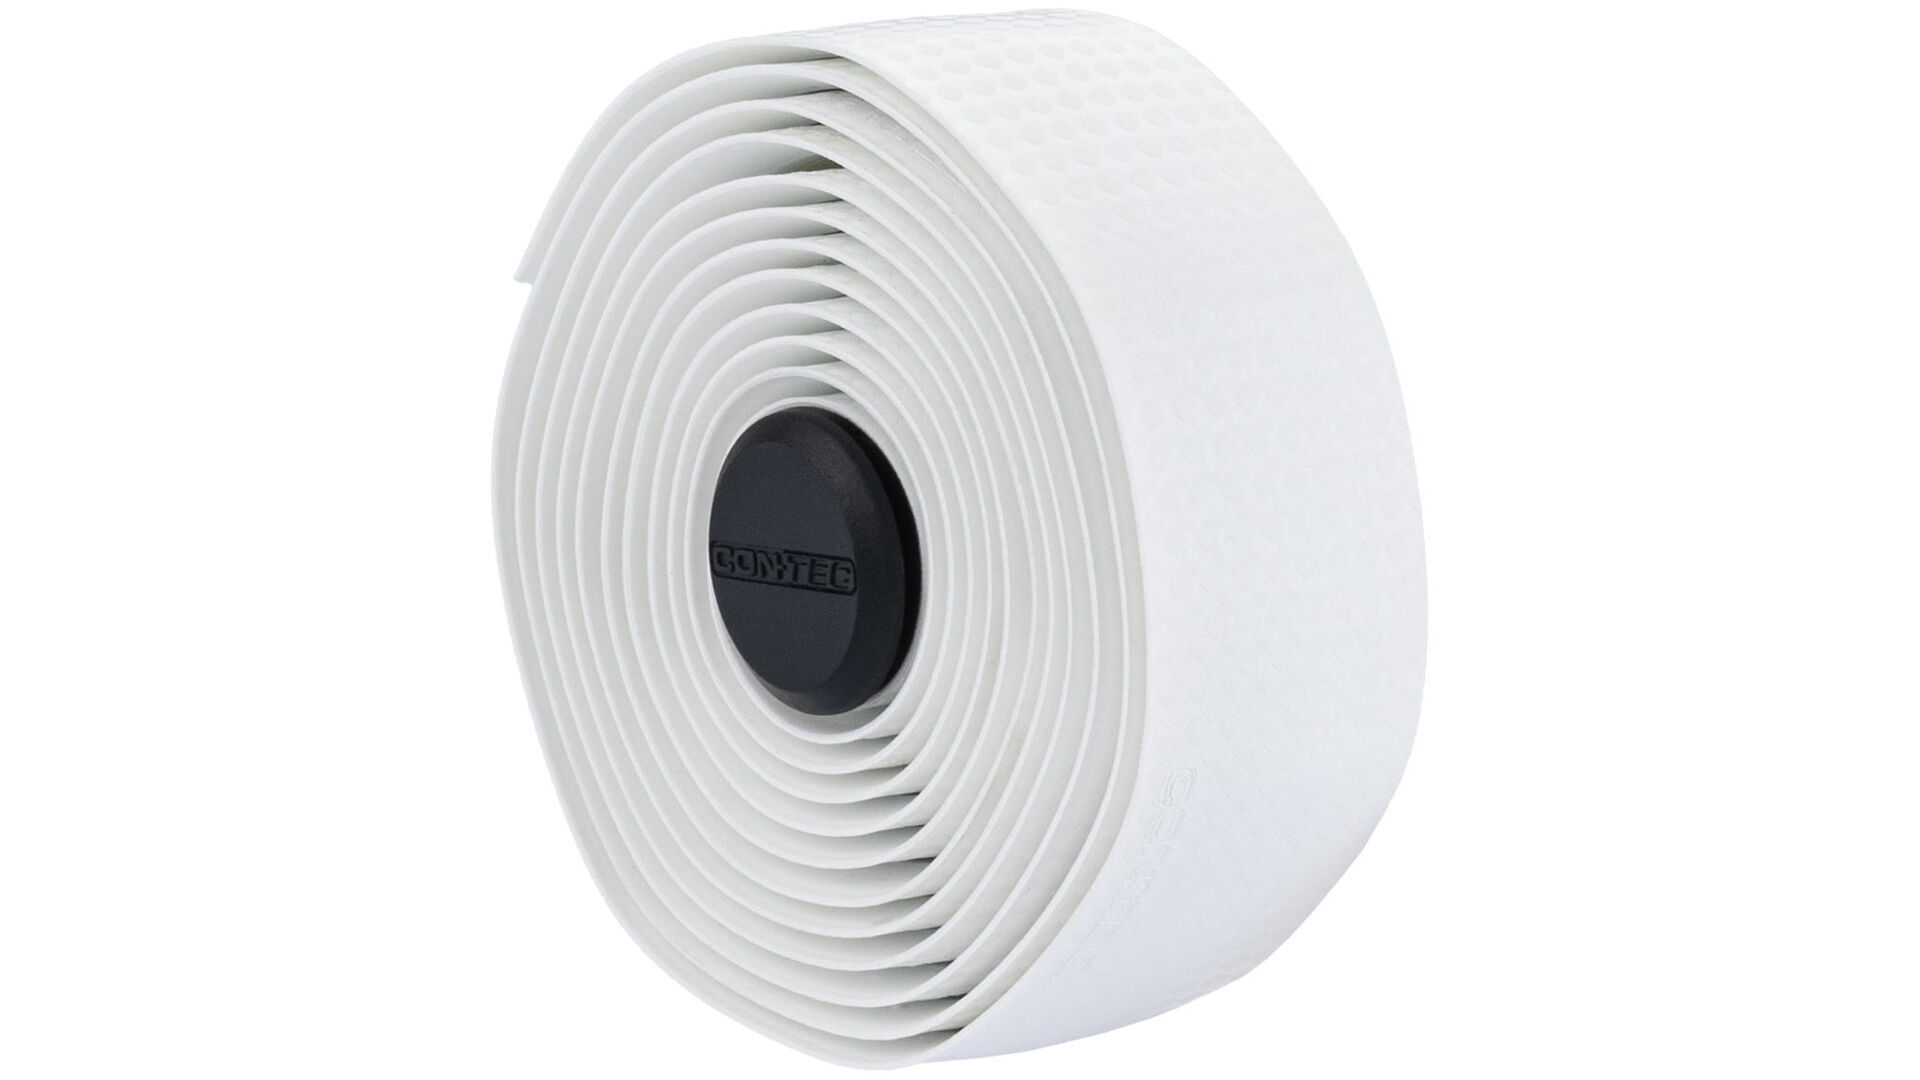
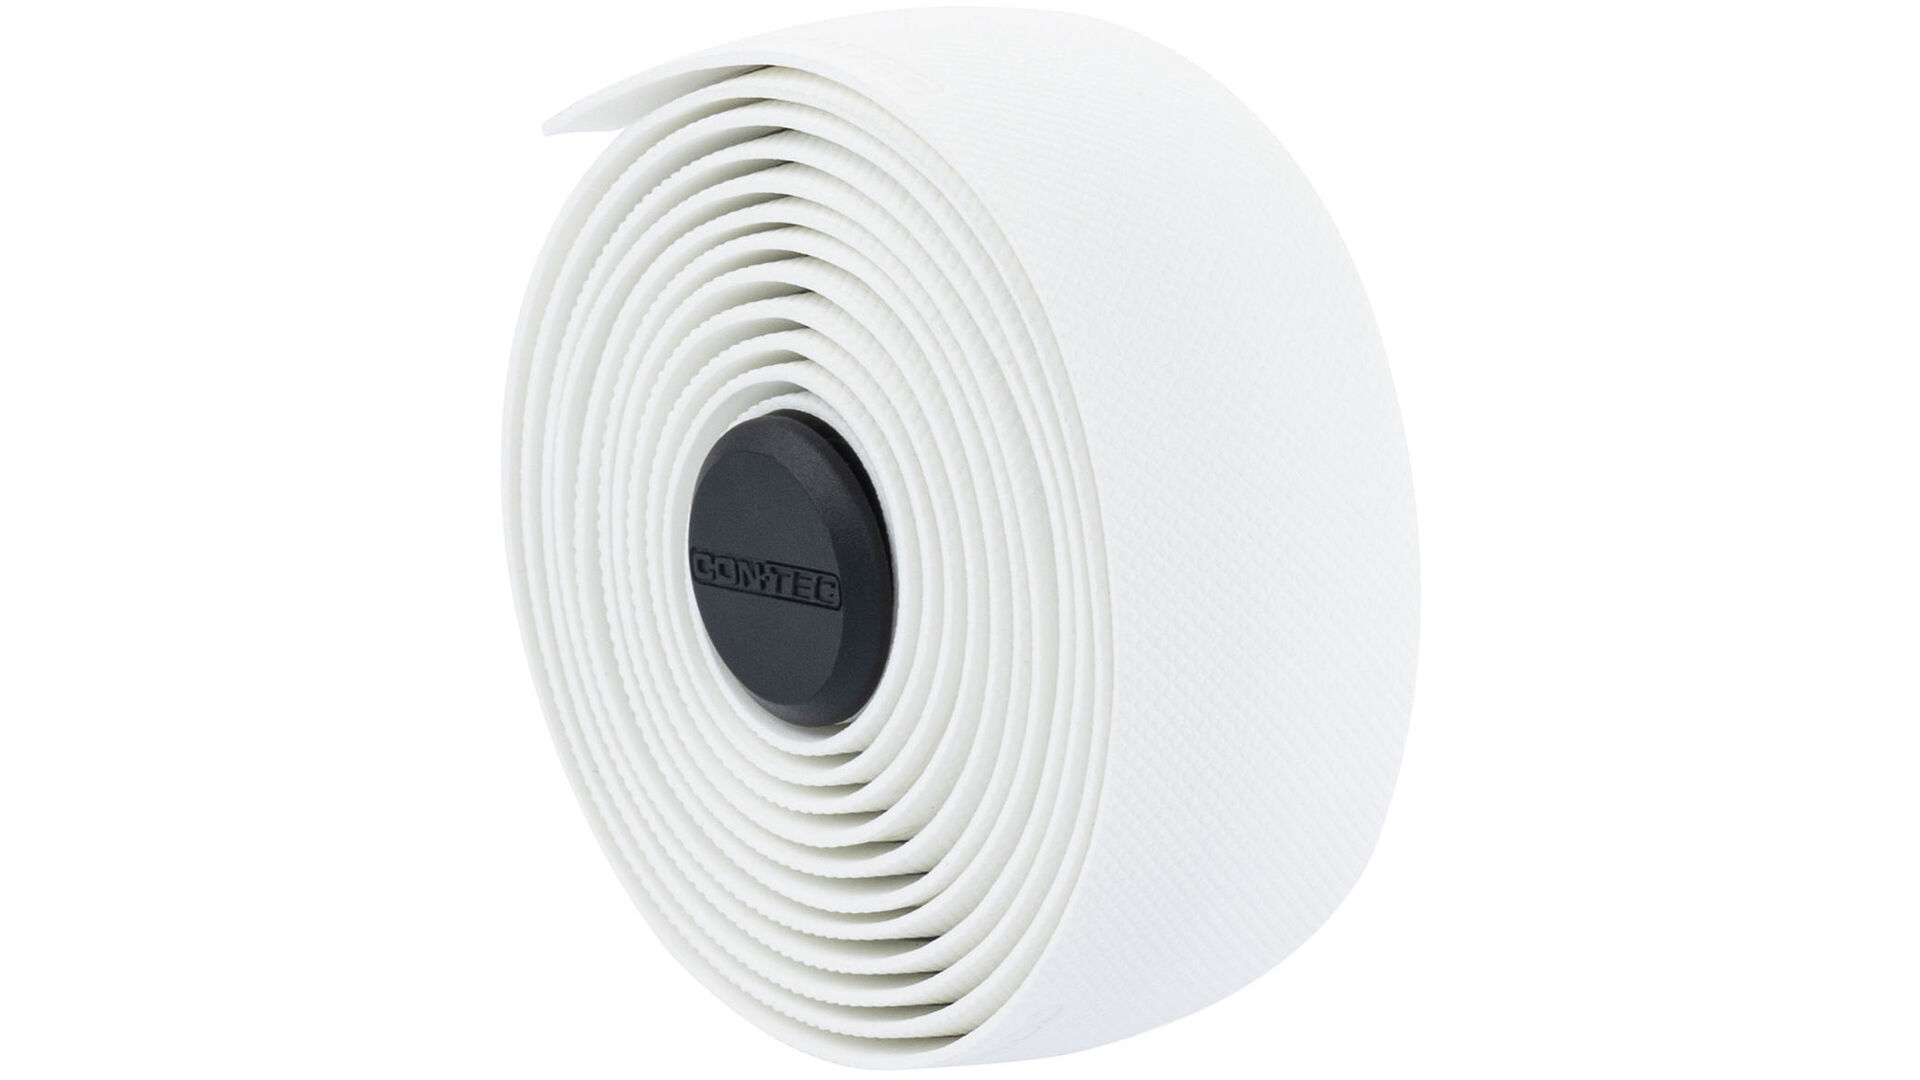
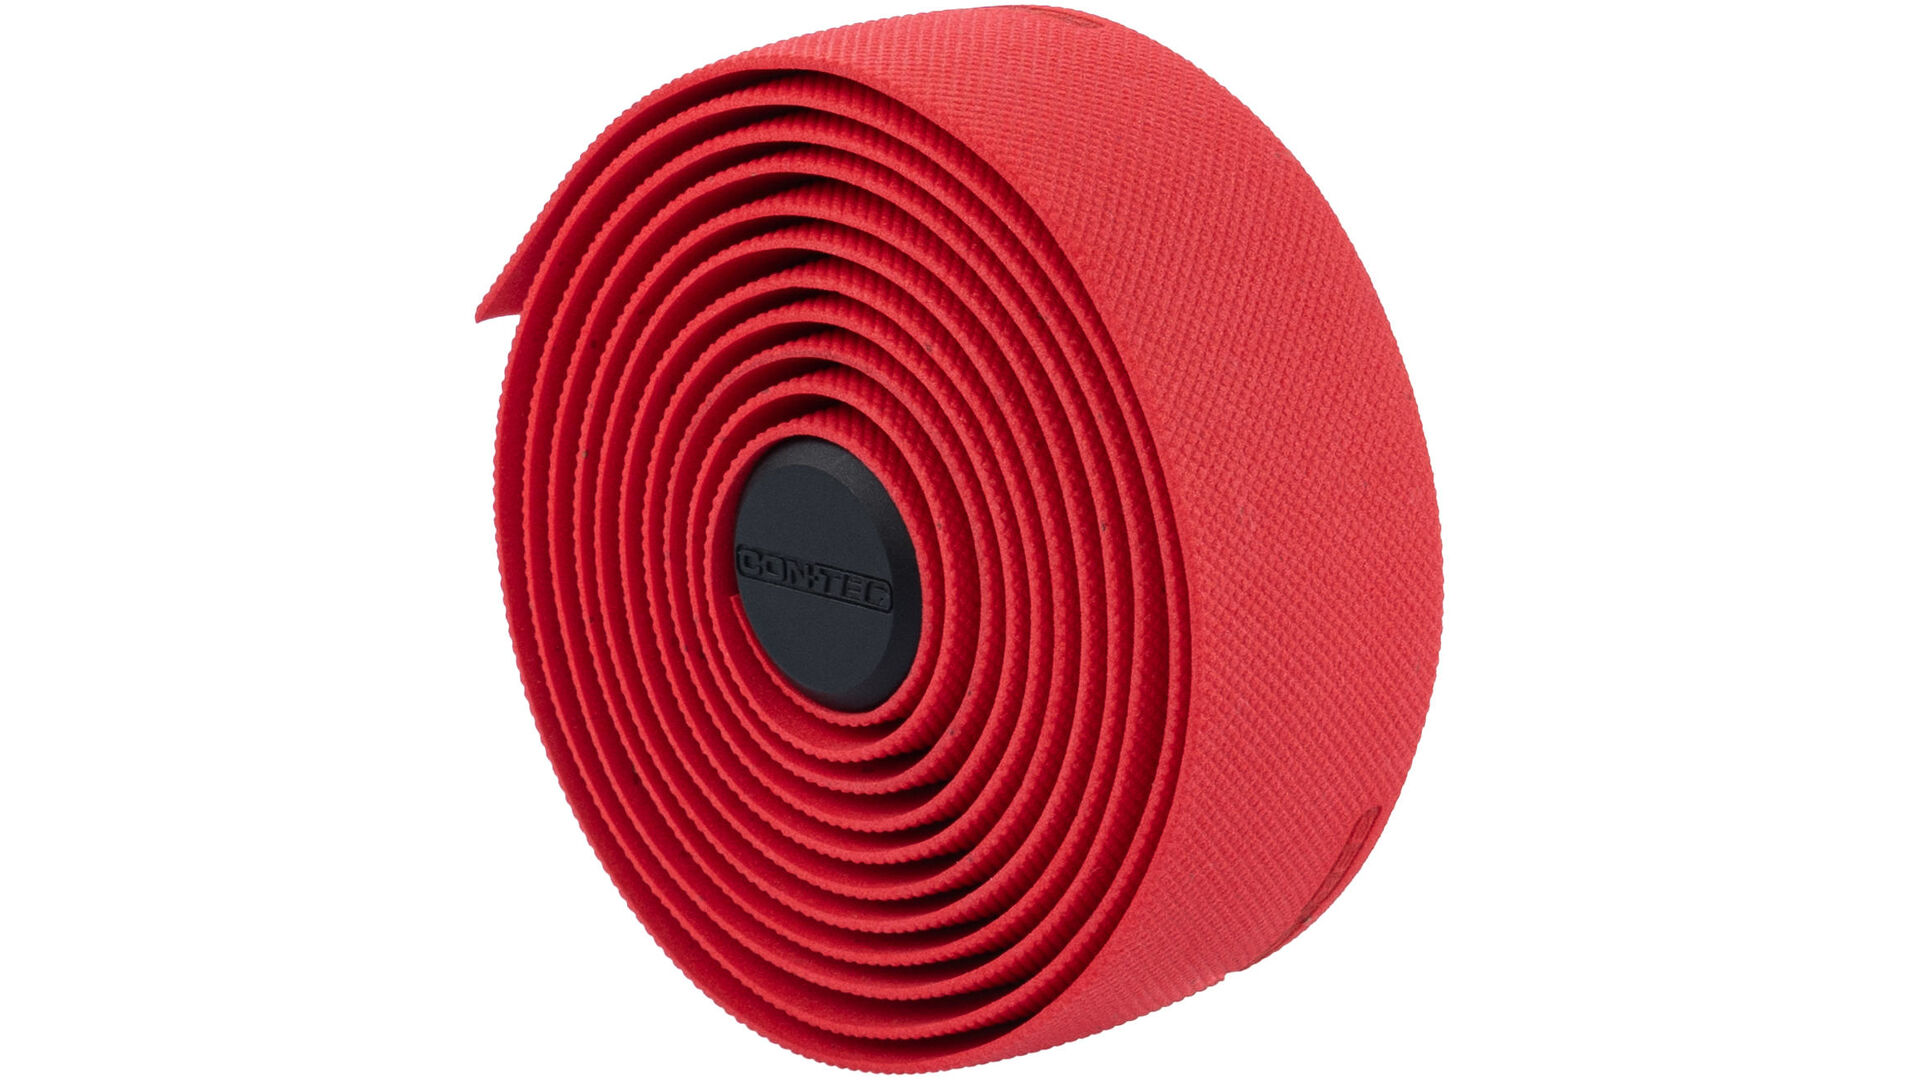
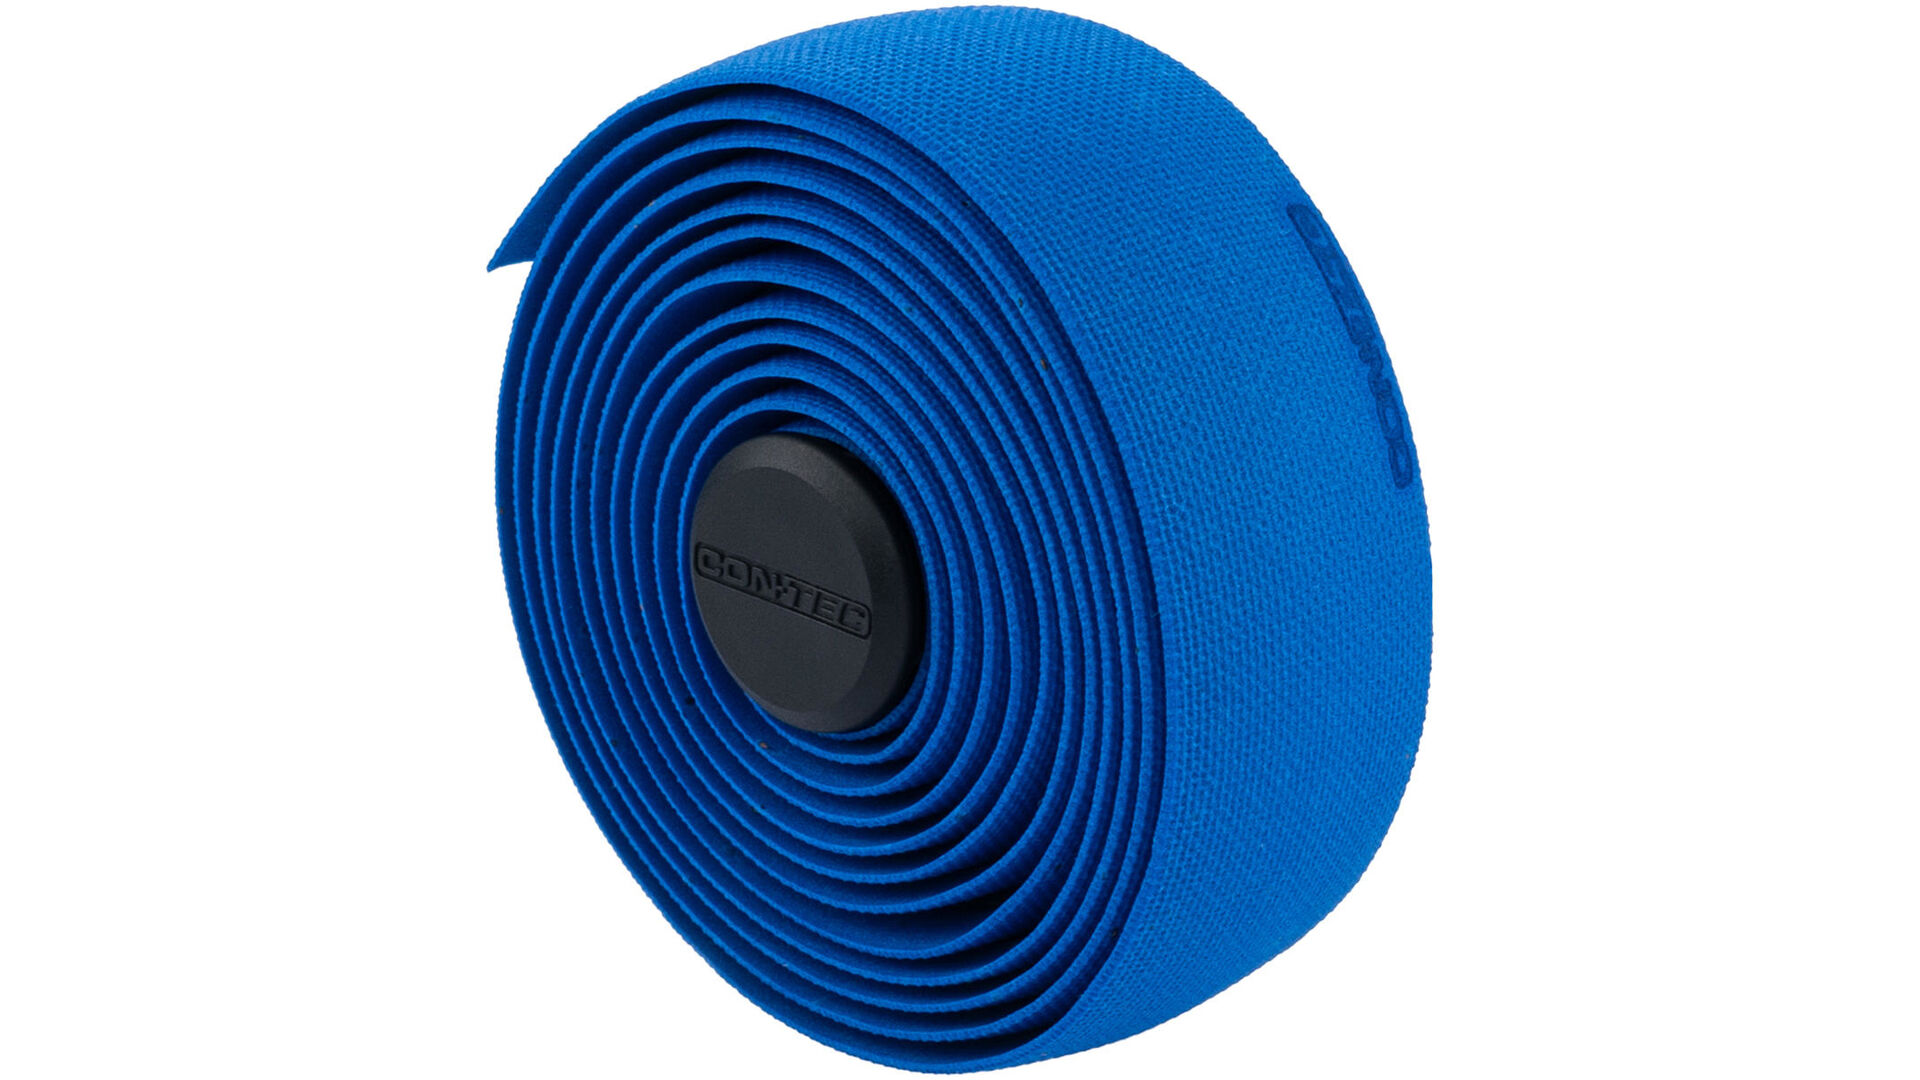
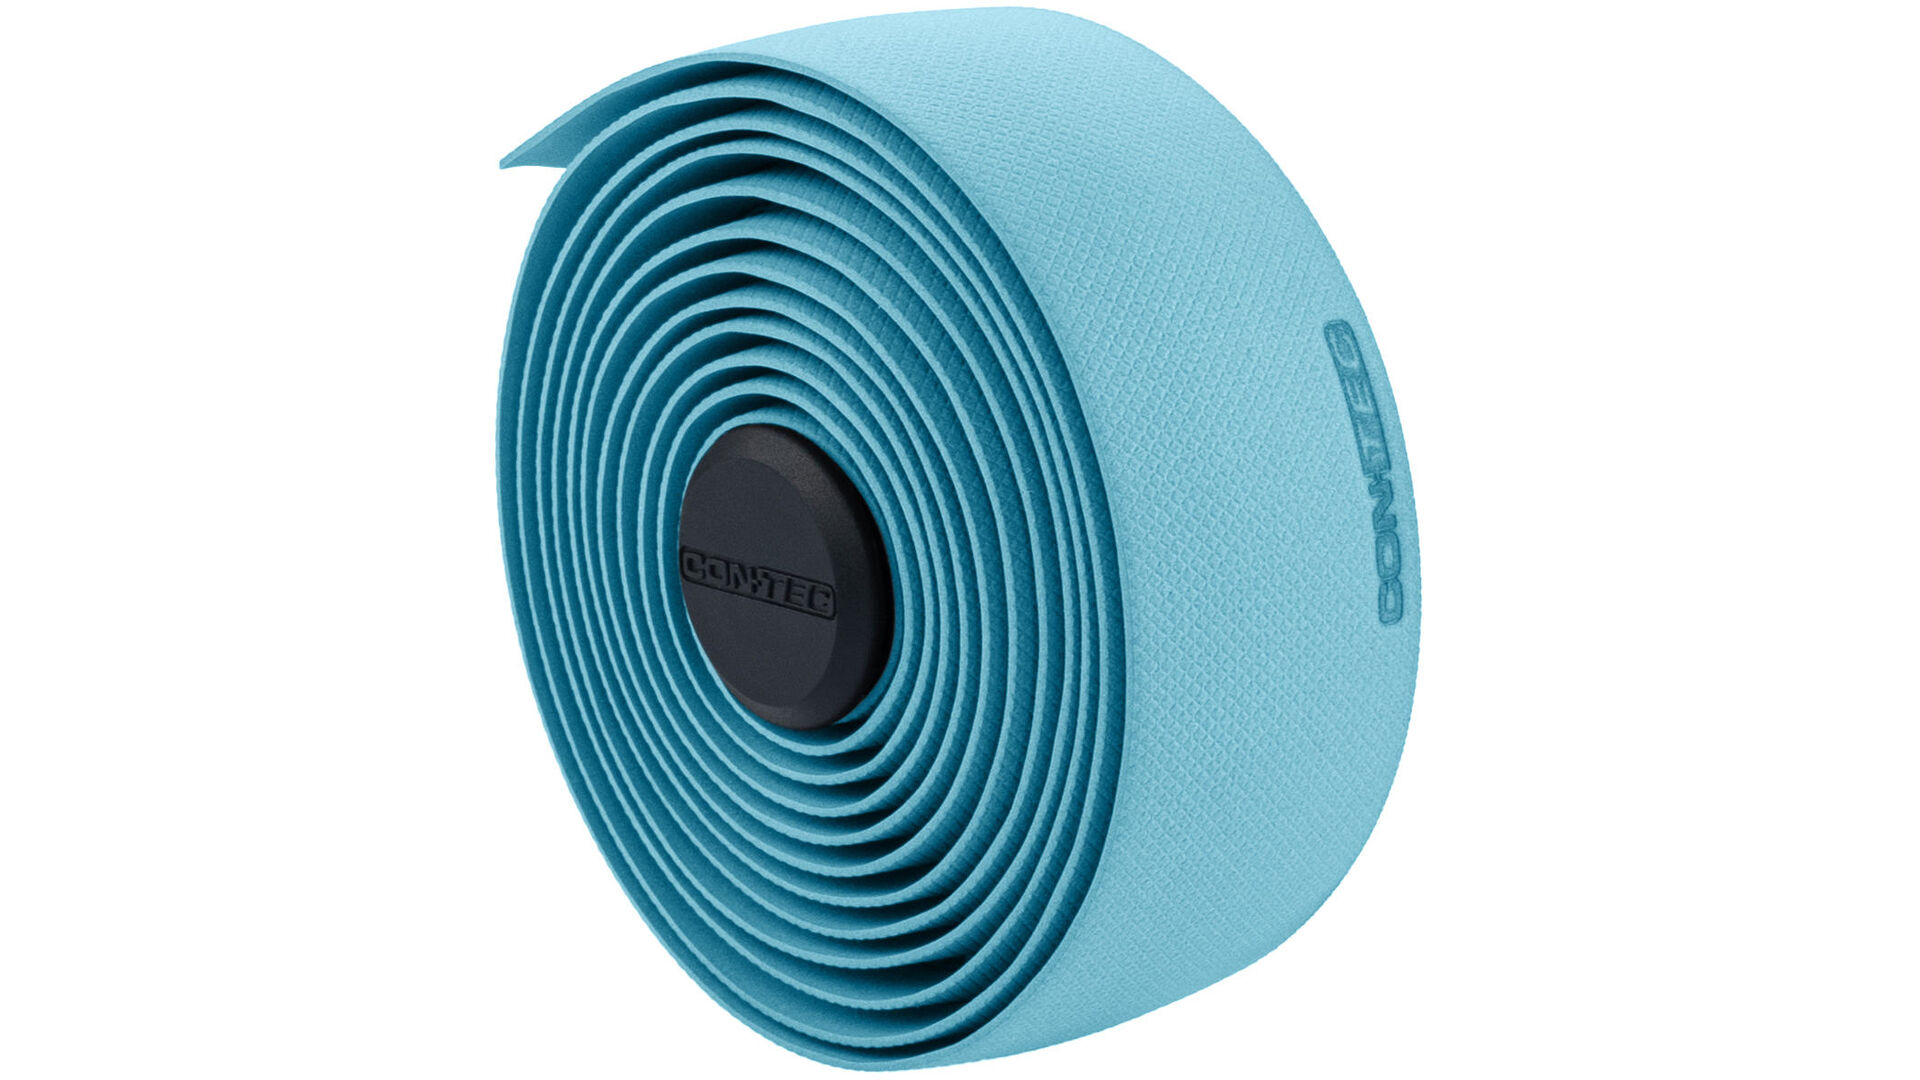
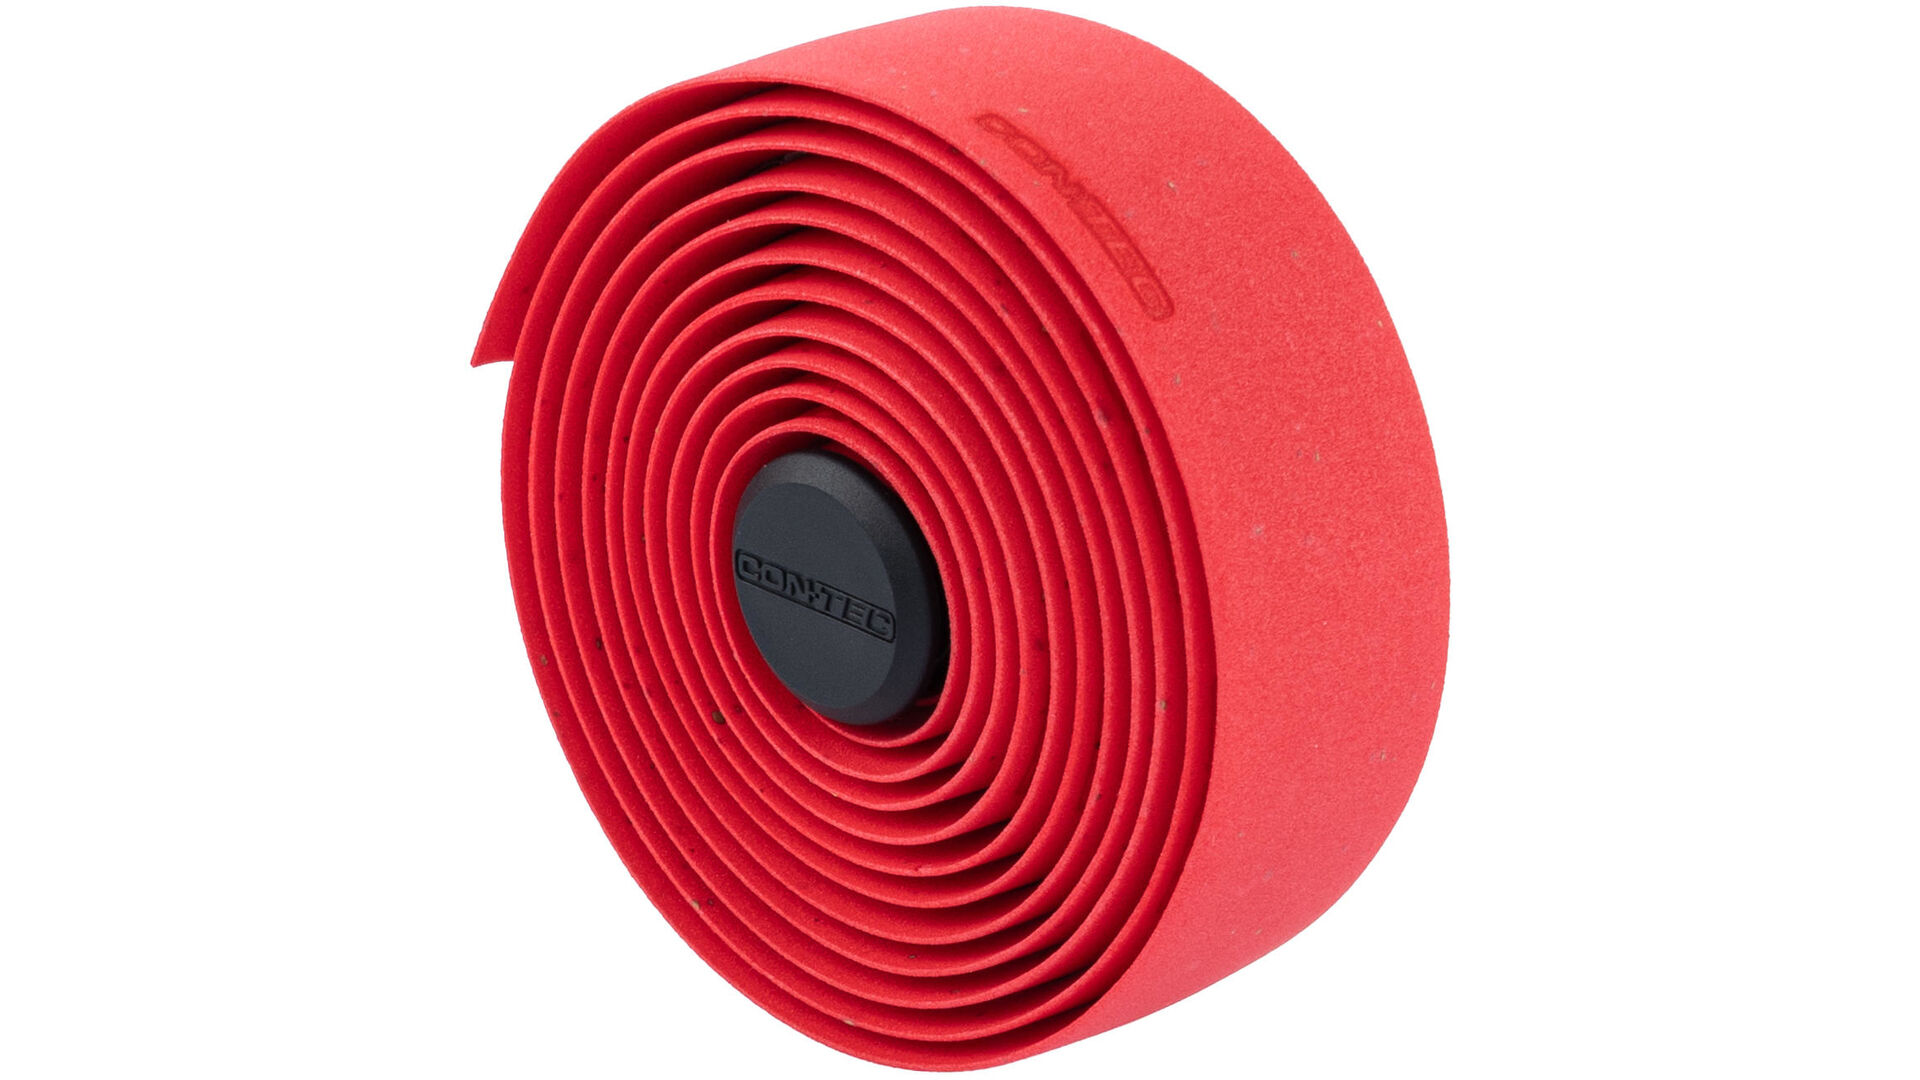
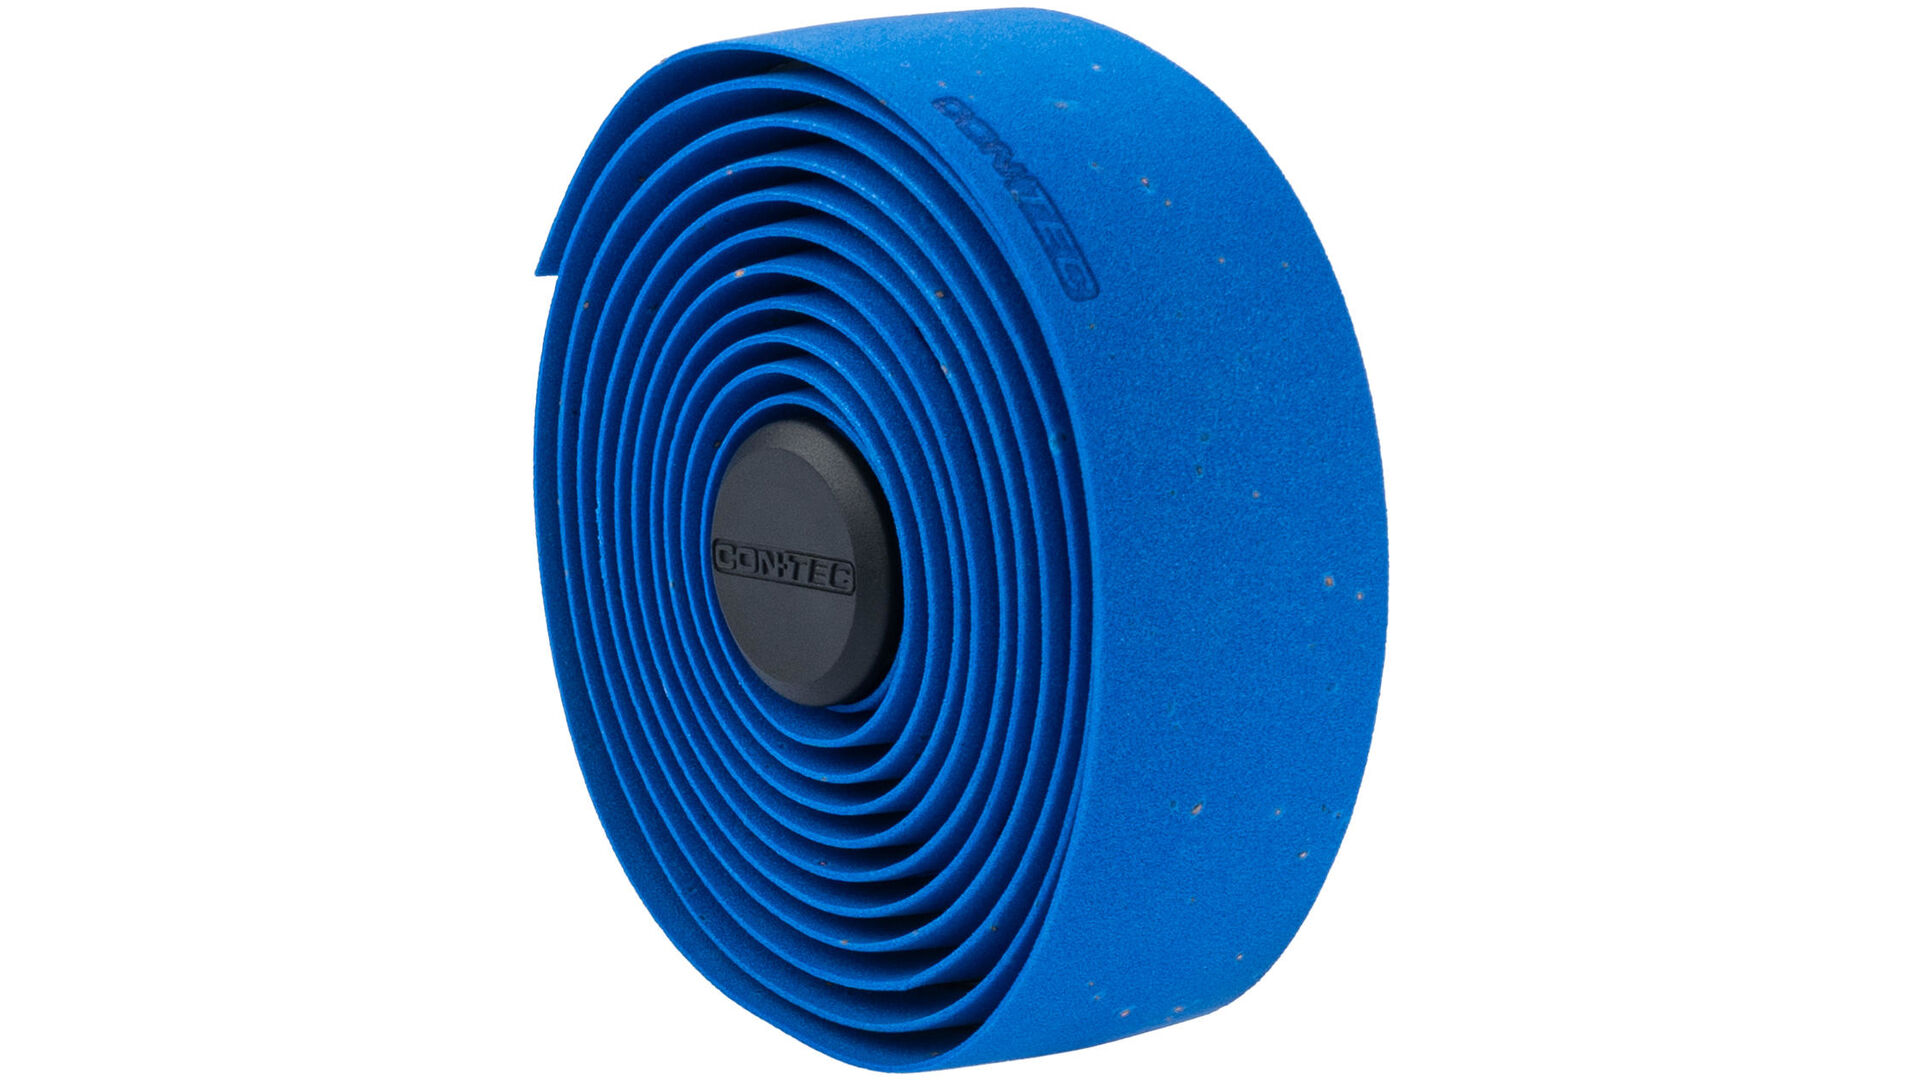
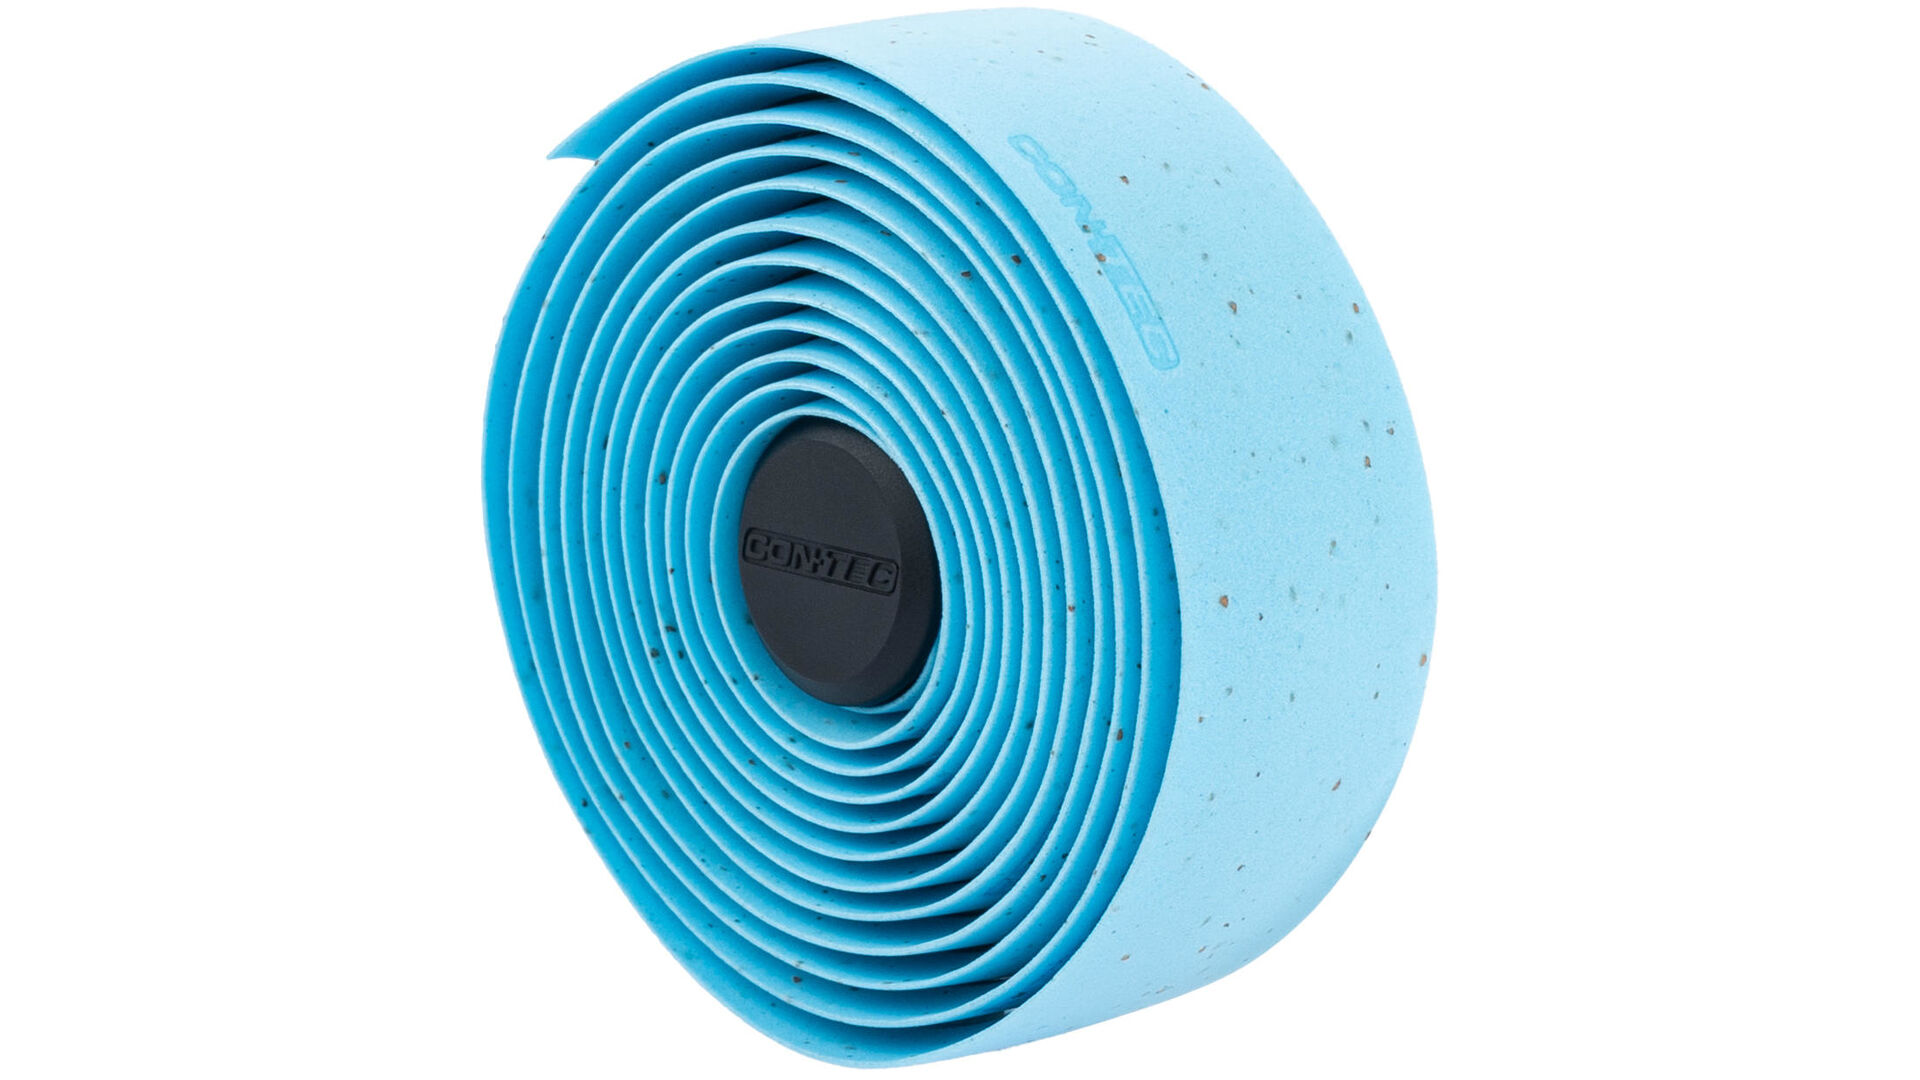
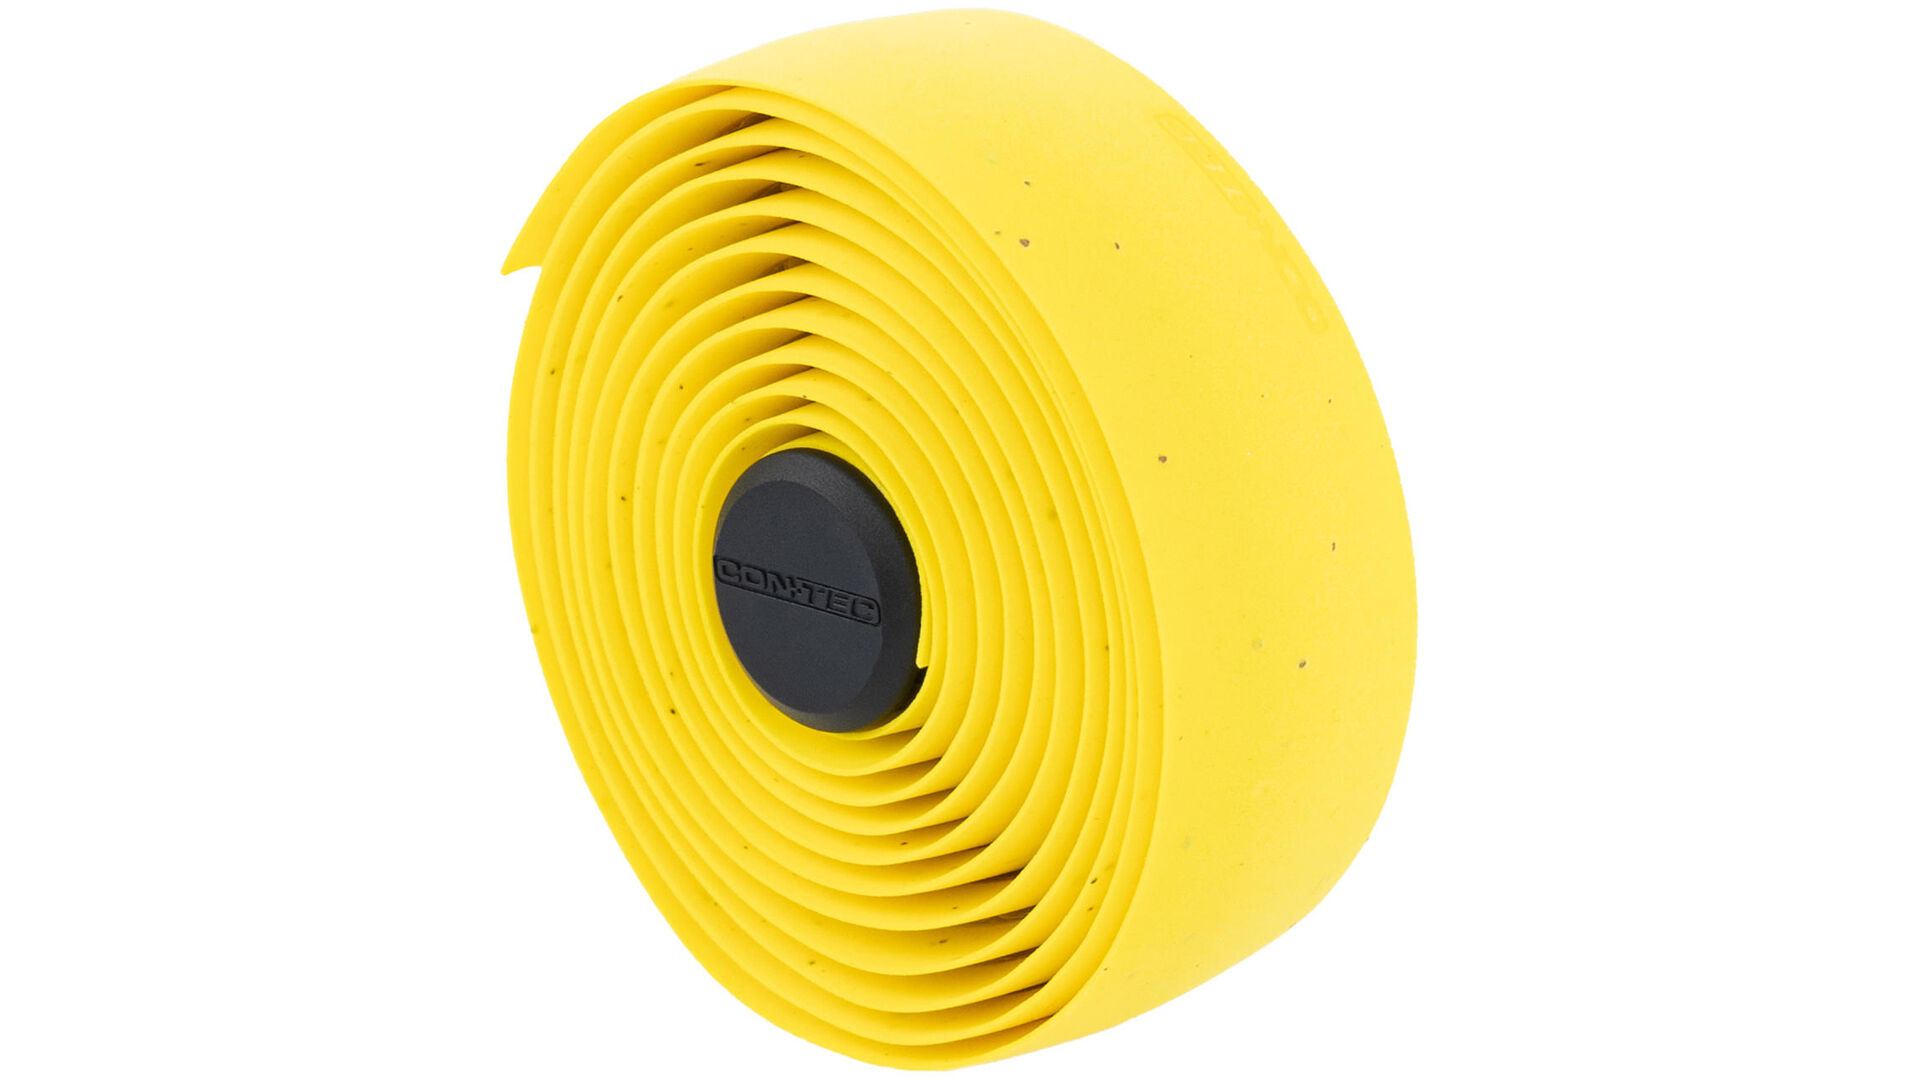
At CONTEC you will find bar tape in all possible designs. Which material you choose is of course a personal decision. It's best to test different materials to find the most comfortable grip for you. Different materials offer different advantages and disadvantages. Here is a short overview:
Synthetic:
- surfaces and colour design without limits
- material mostly: PU (polyurethane)
- weather resistant
- good grip
- often with a cushioning inner layer of EVA foam
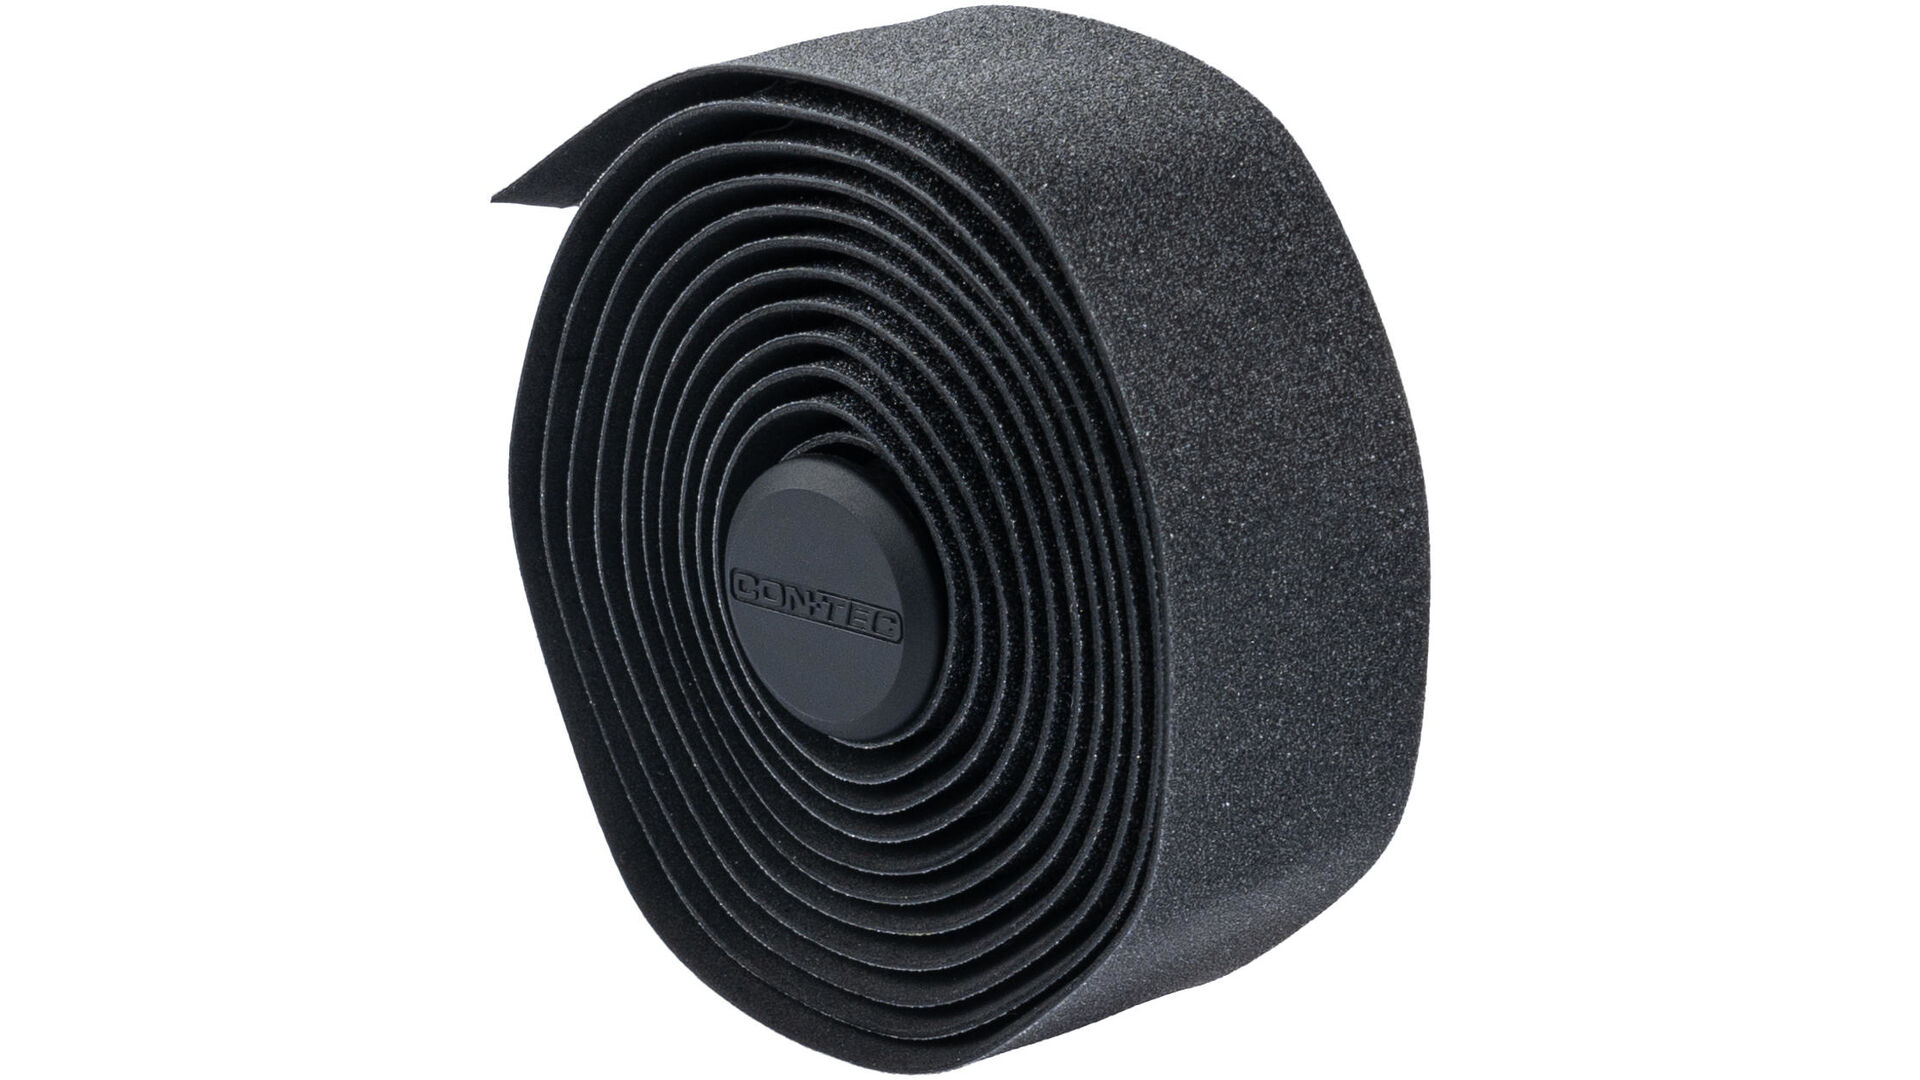
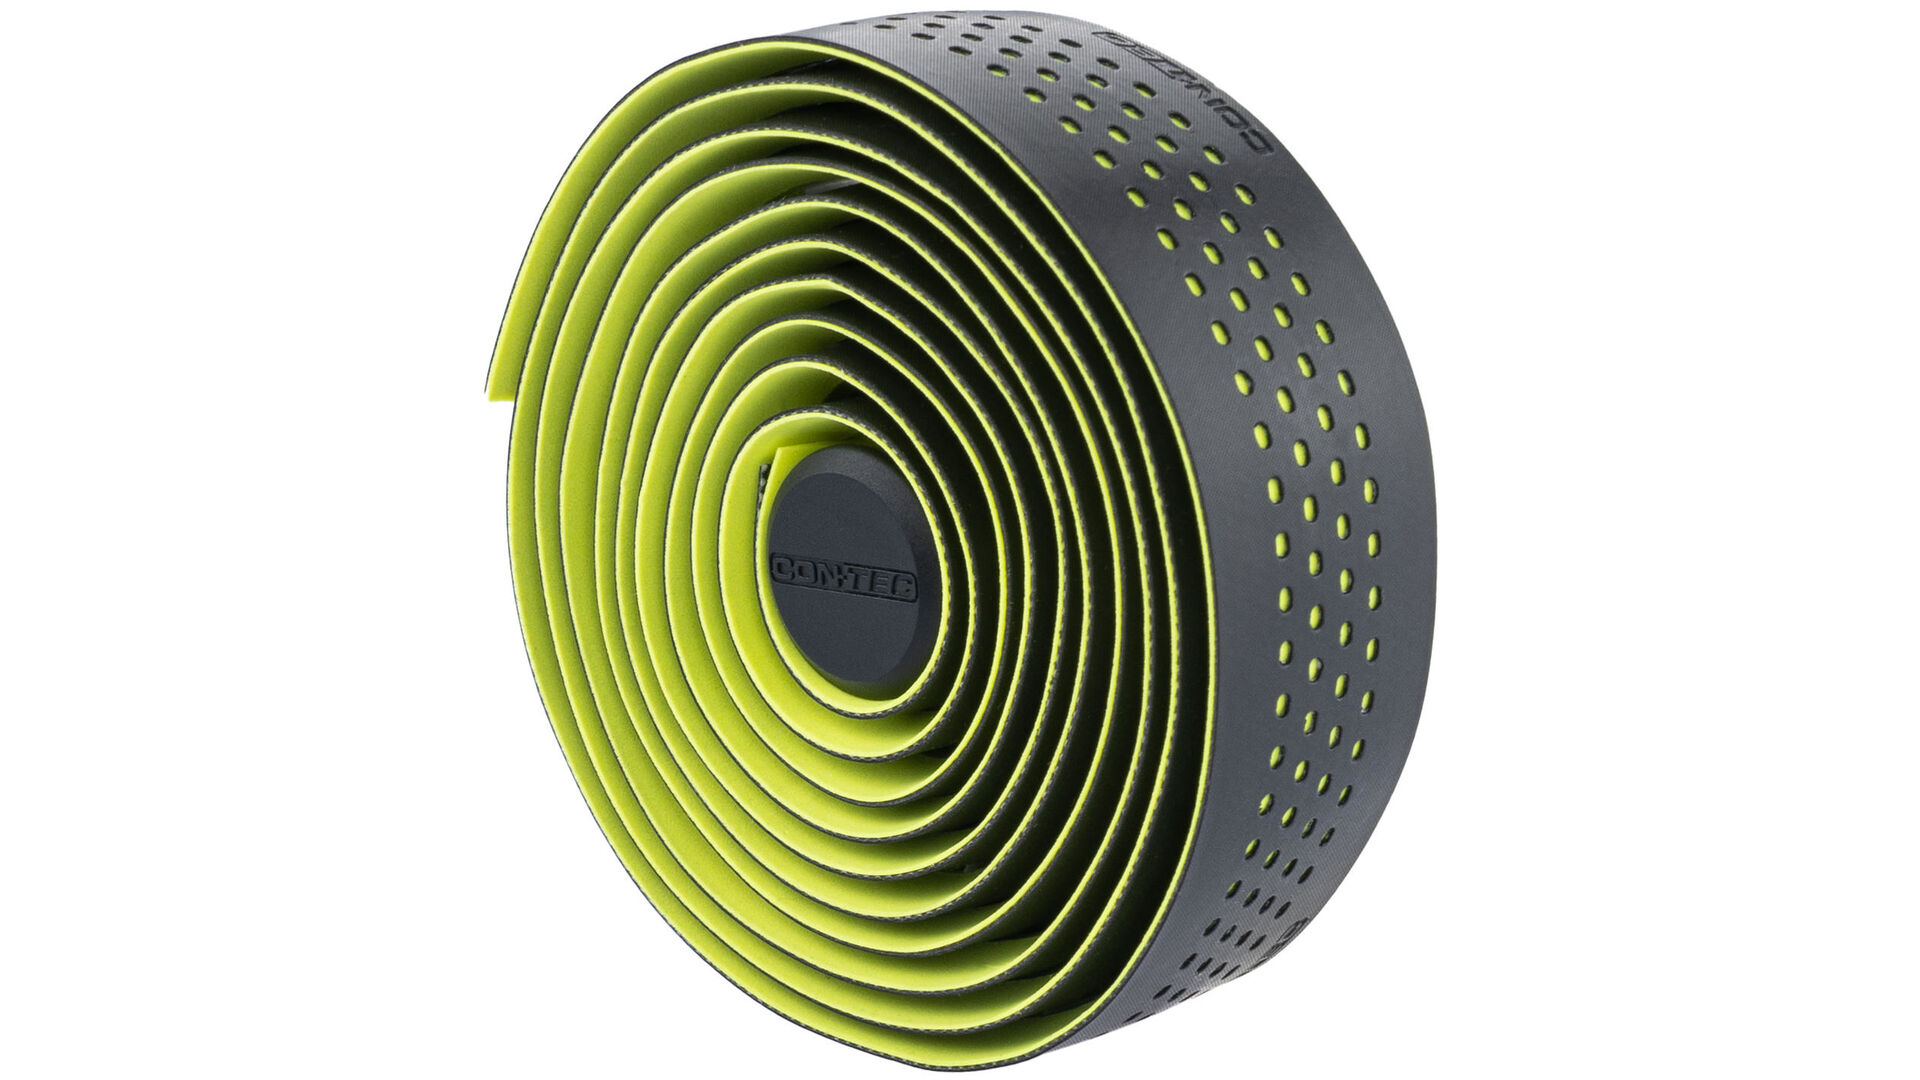
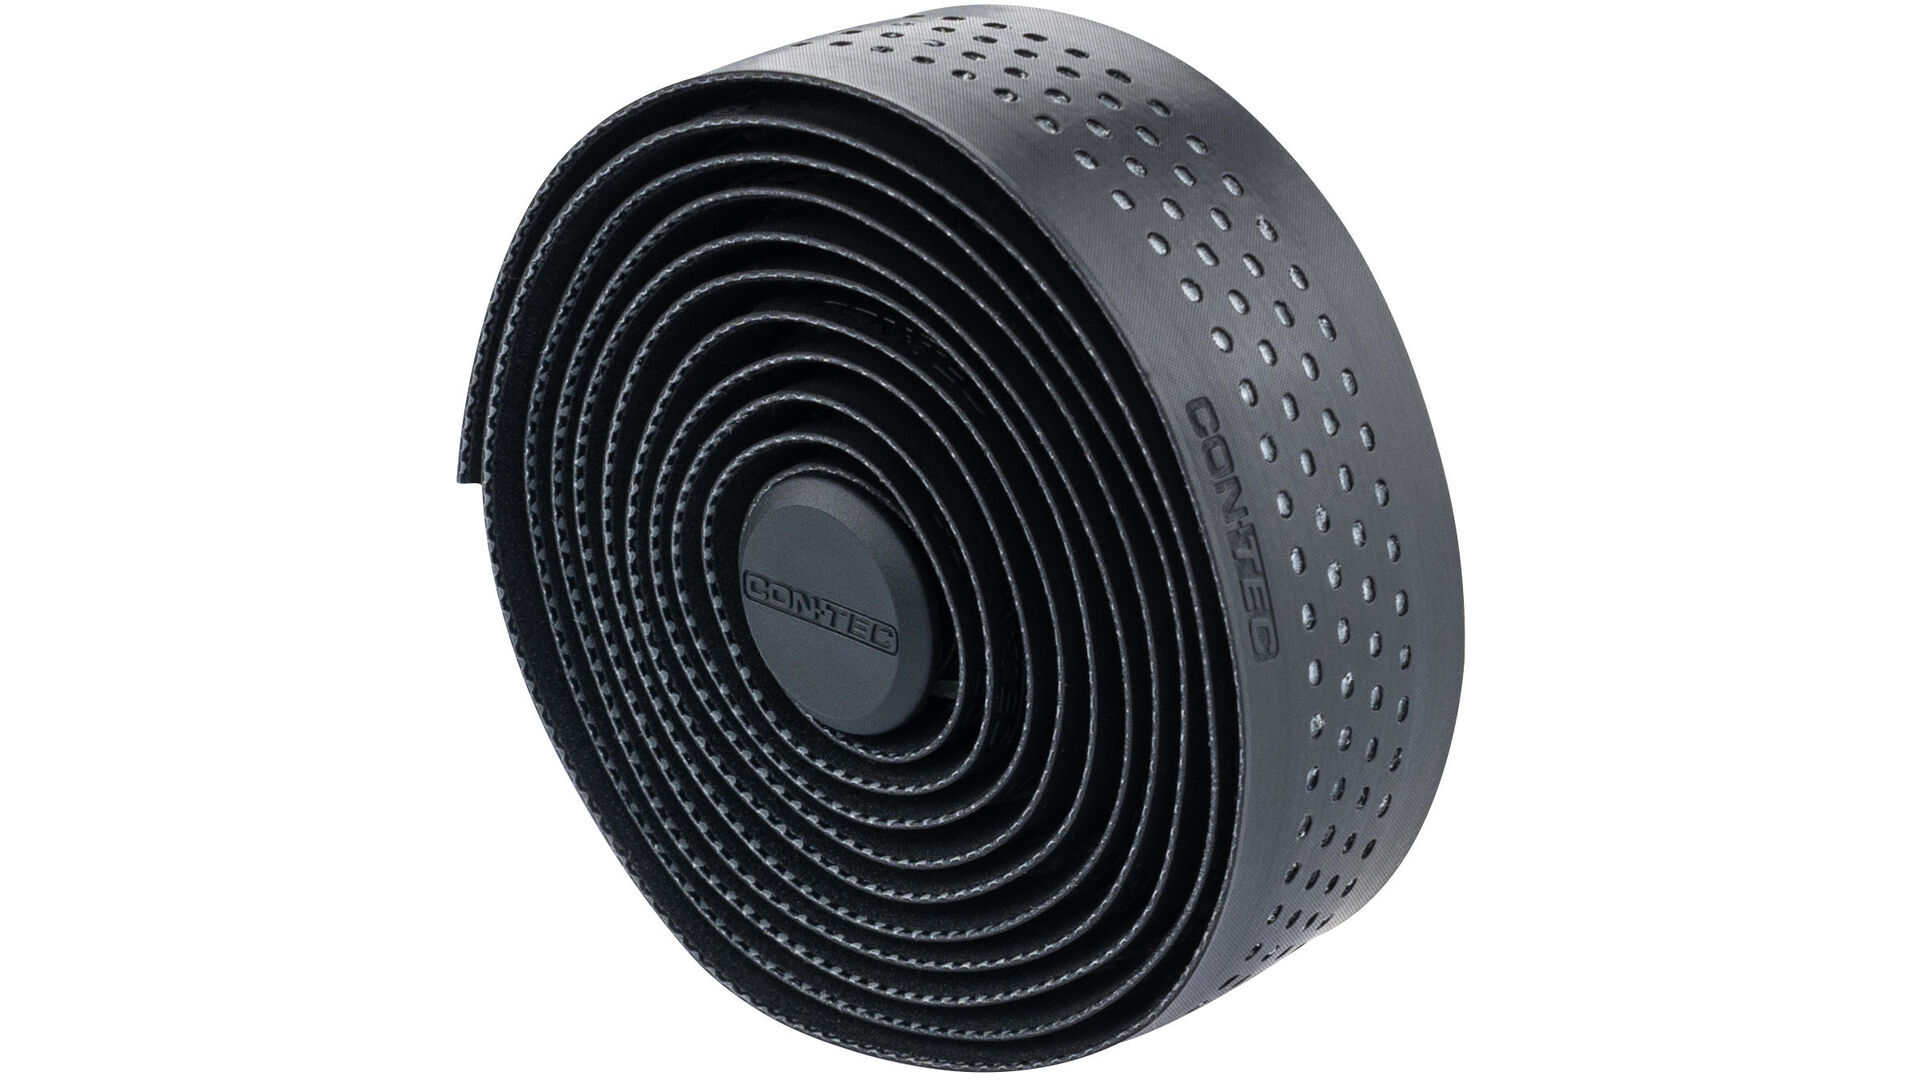
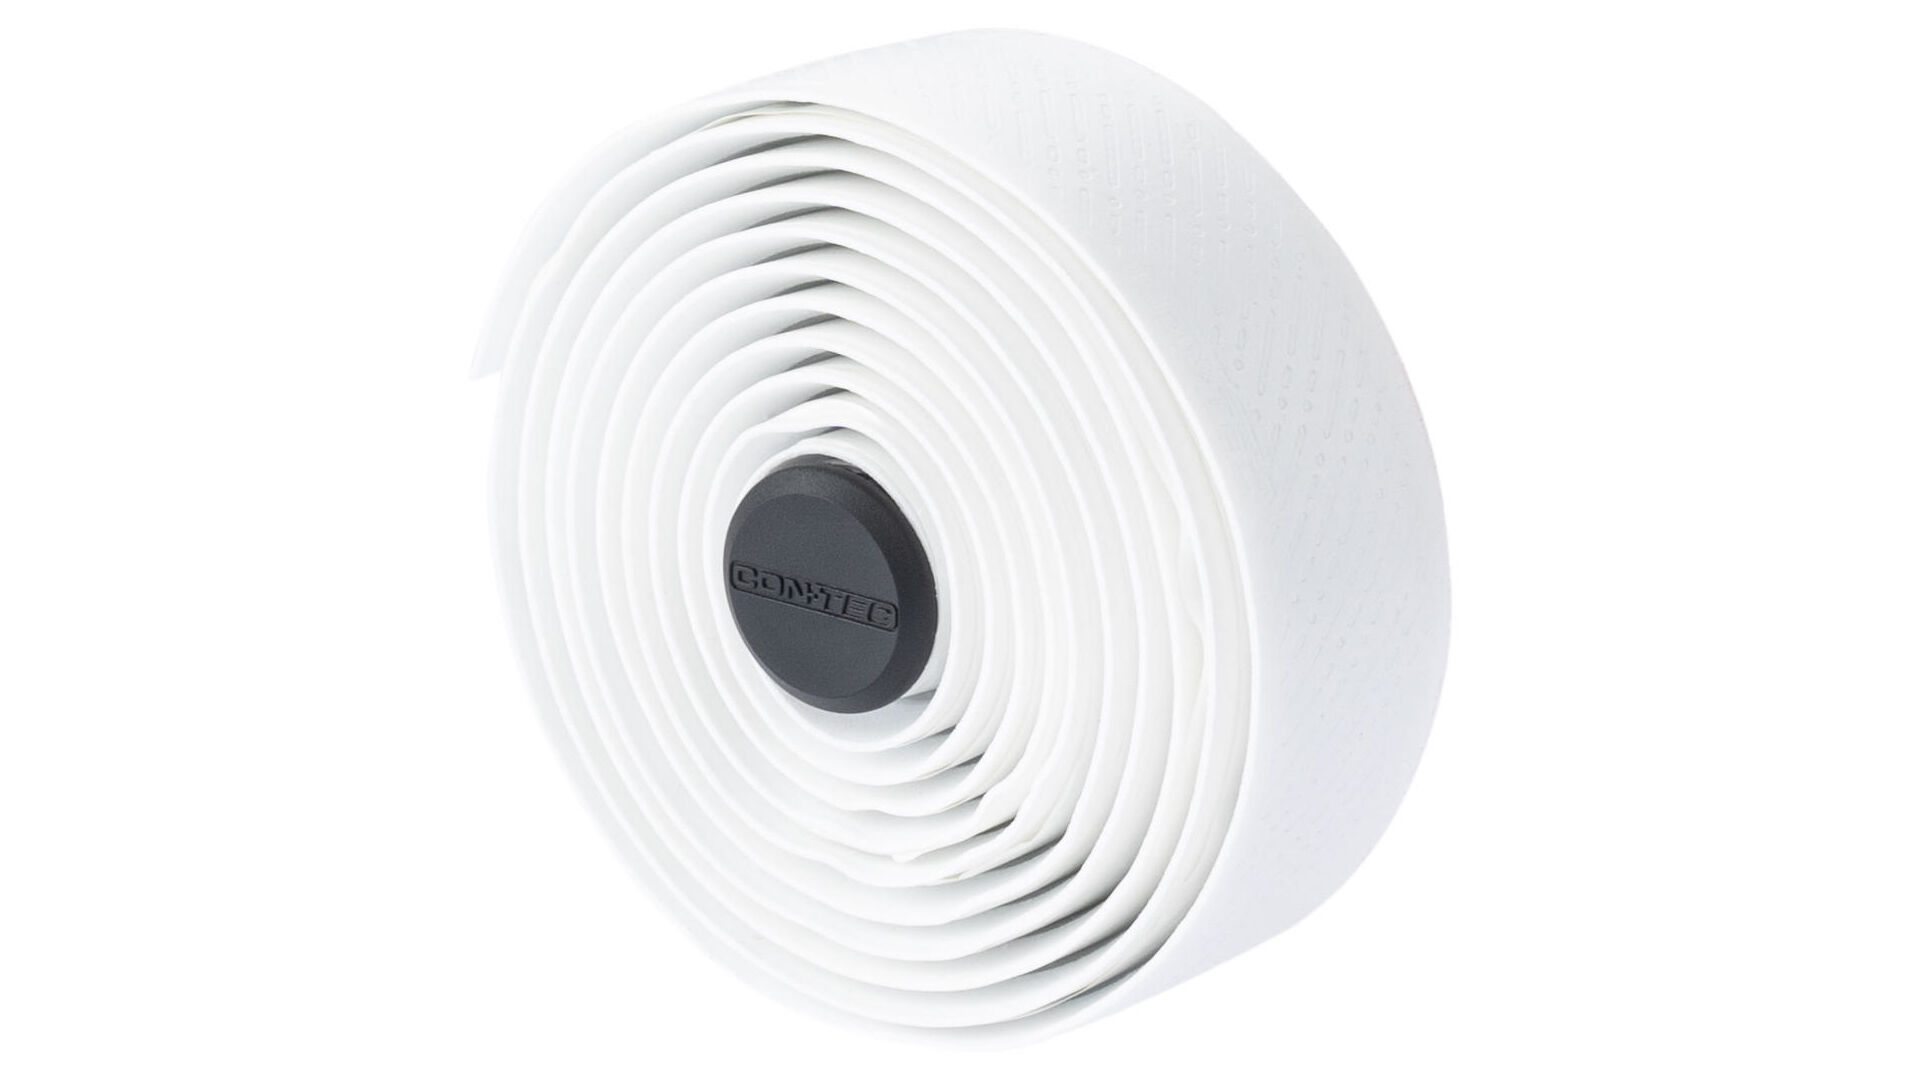
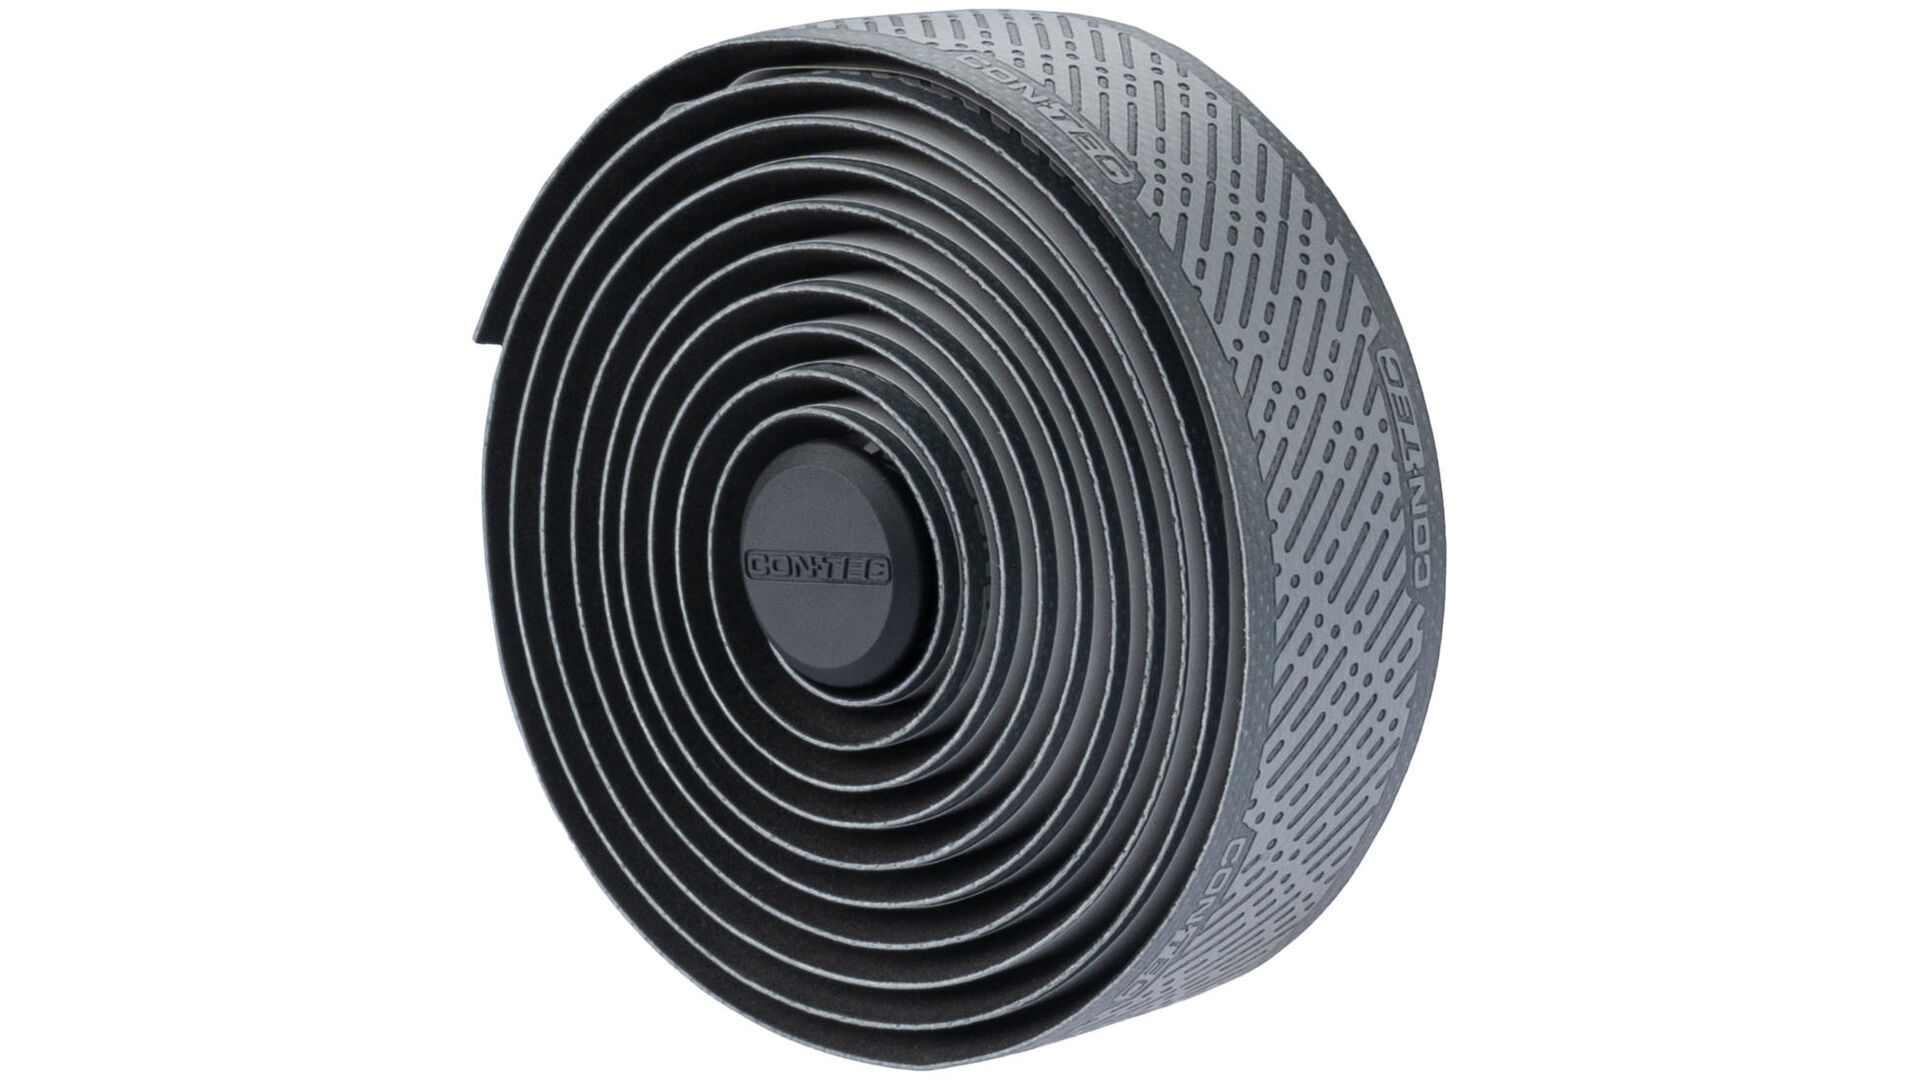
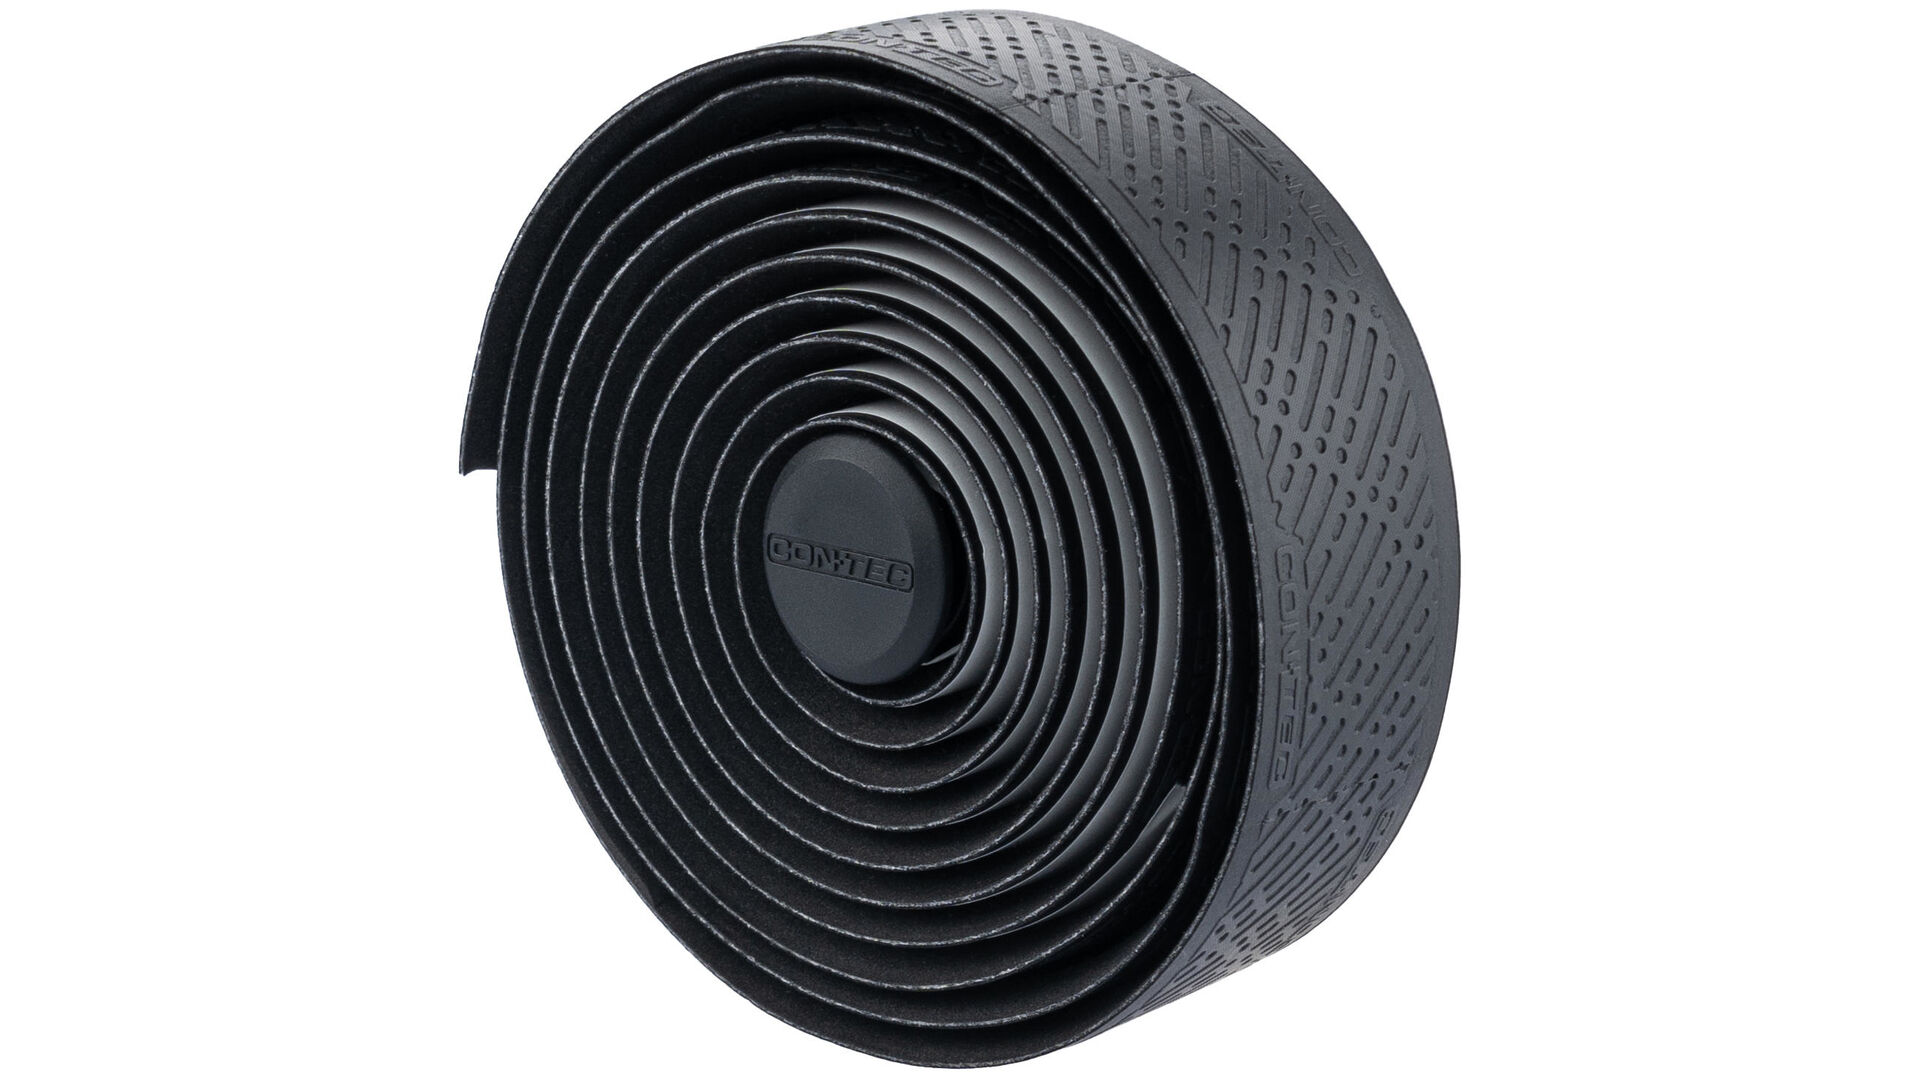
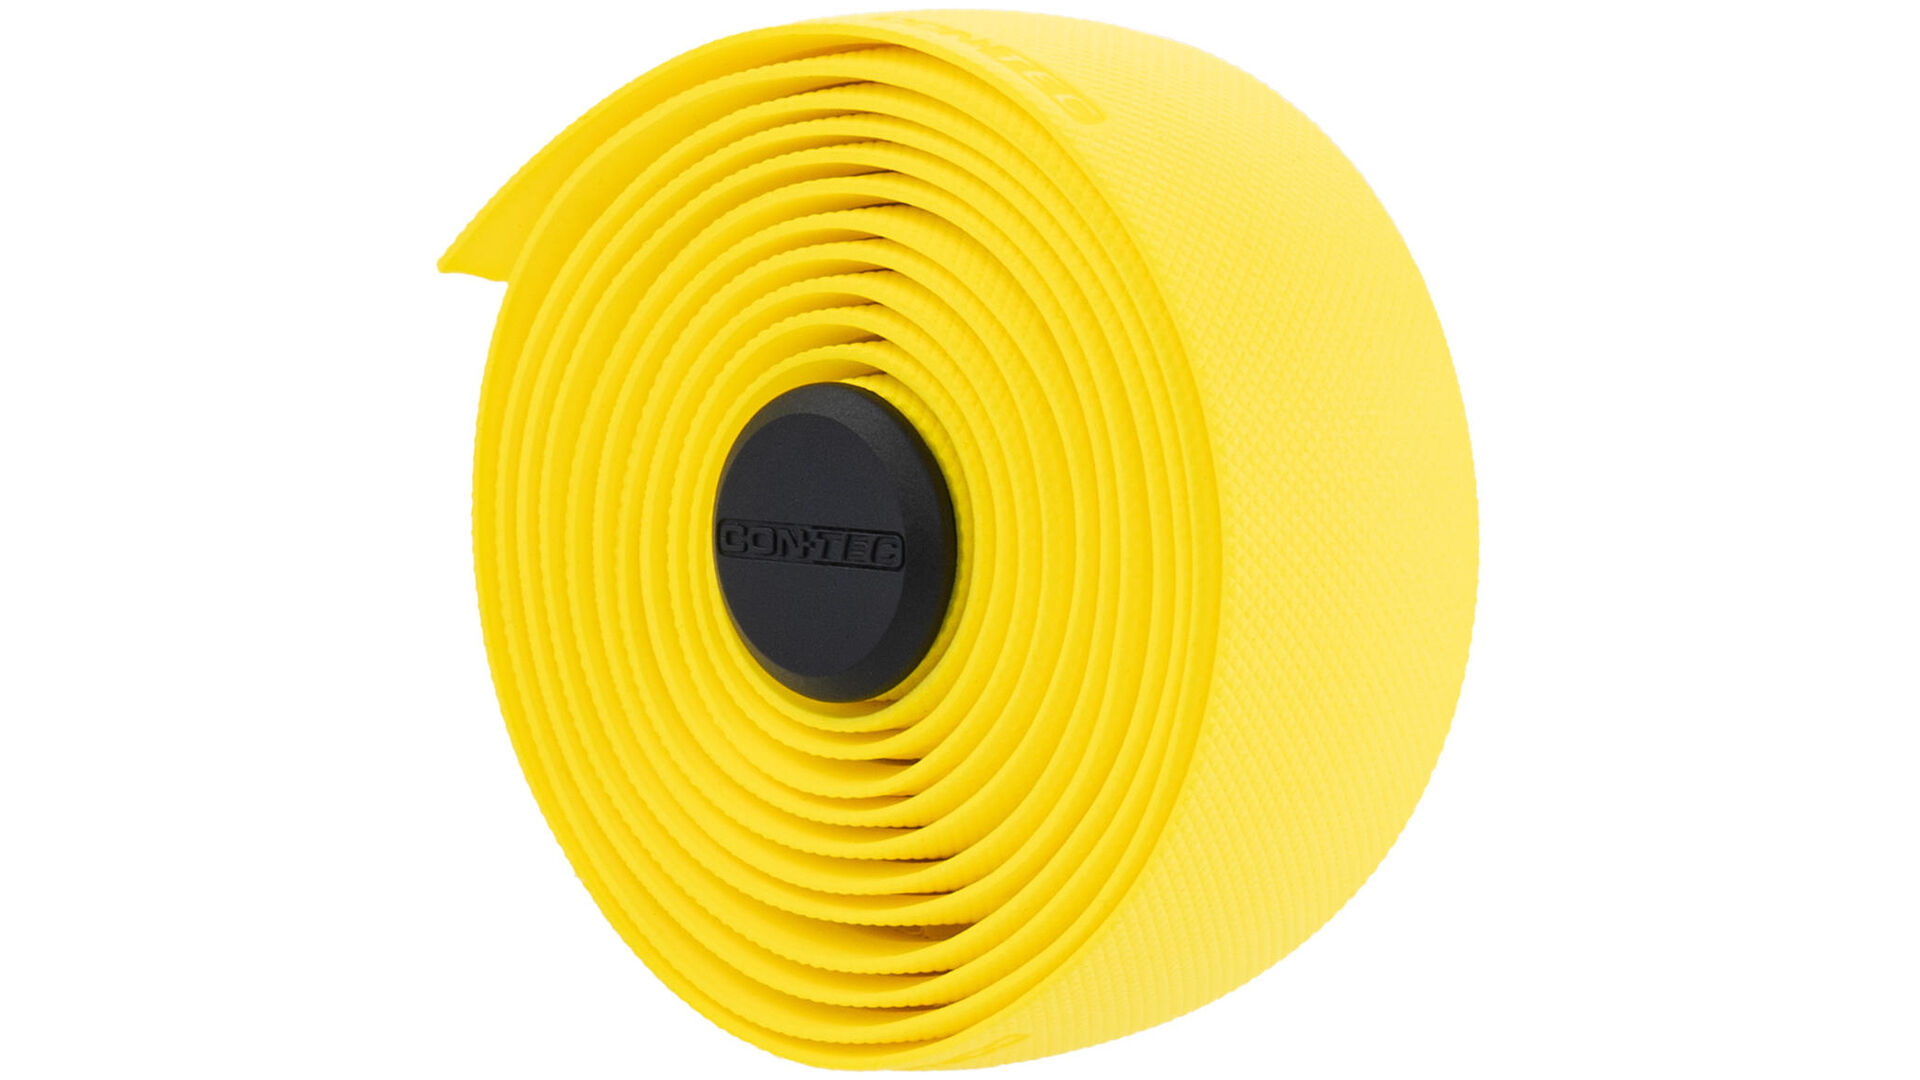
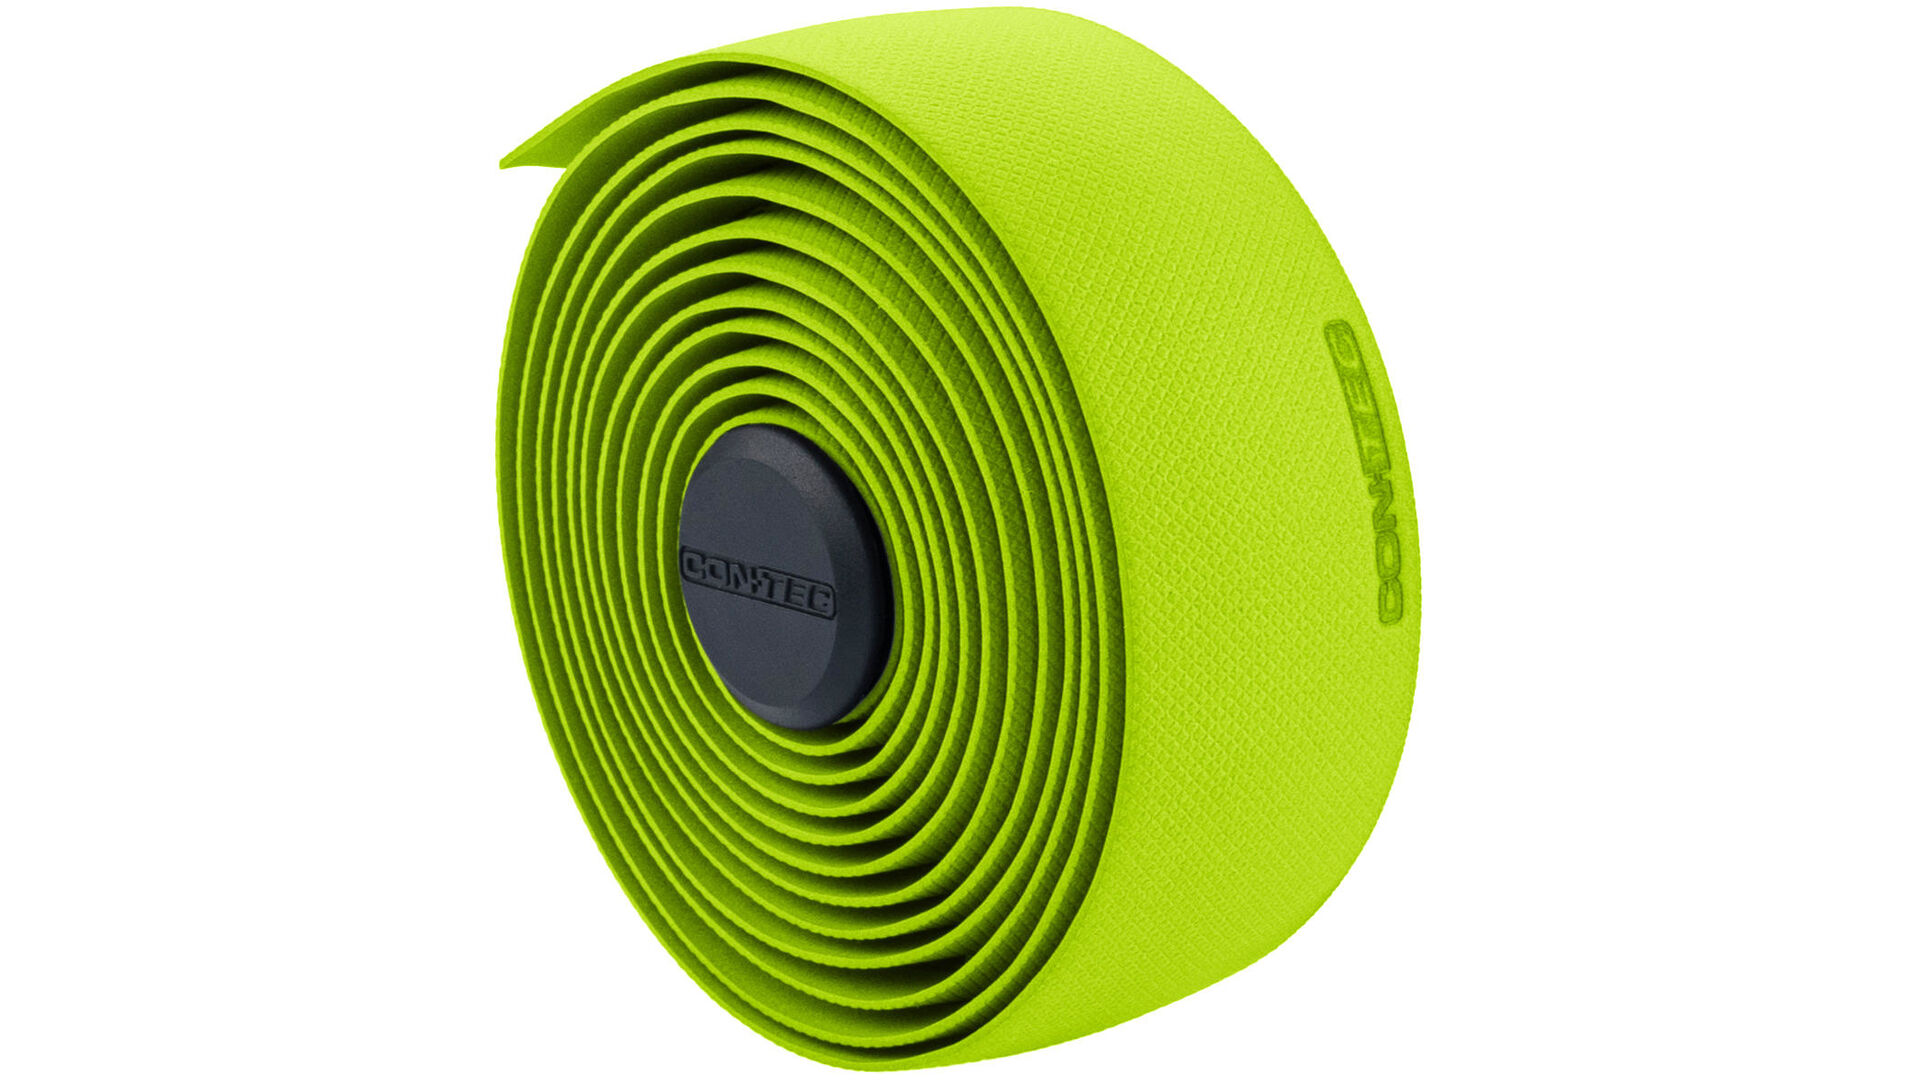
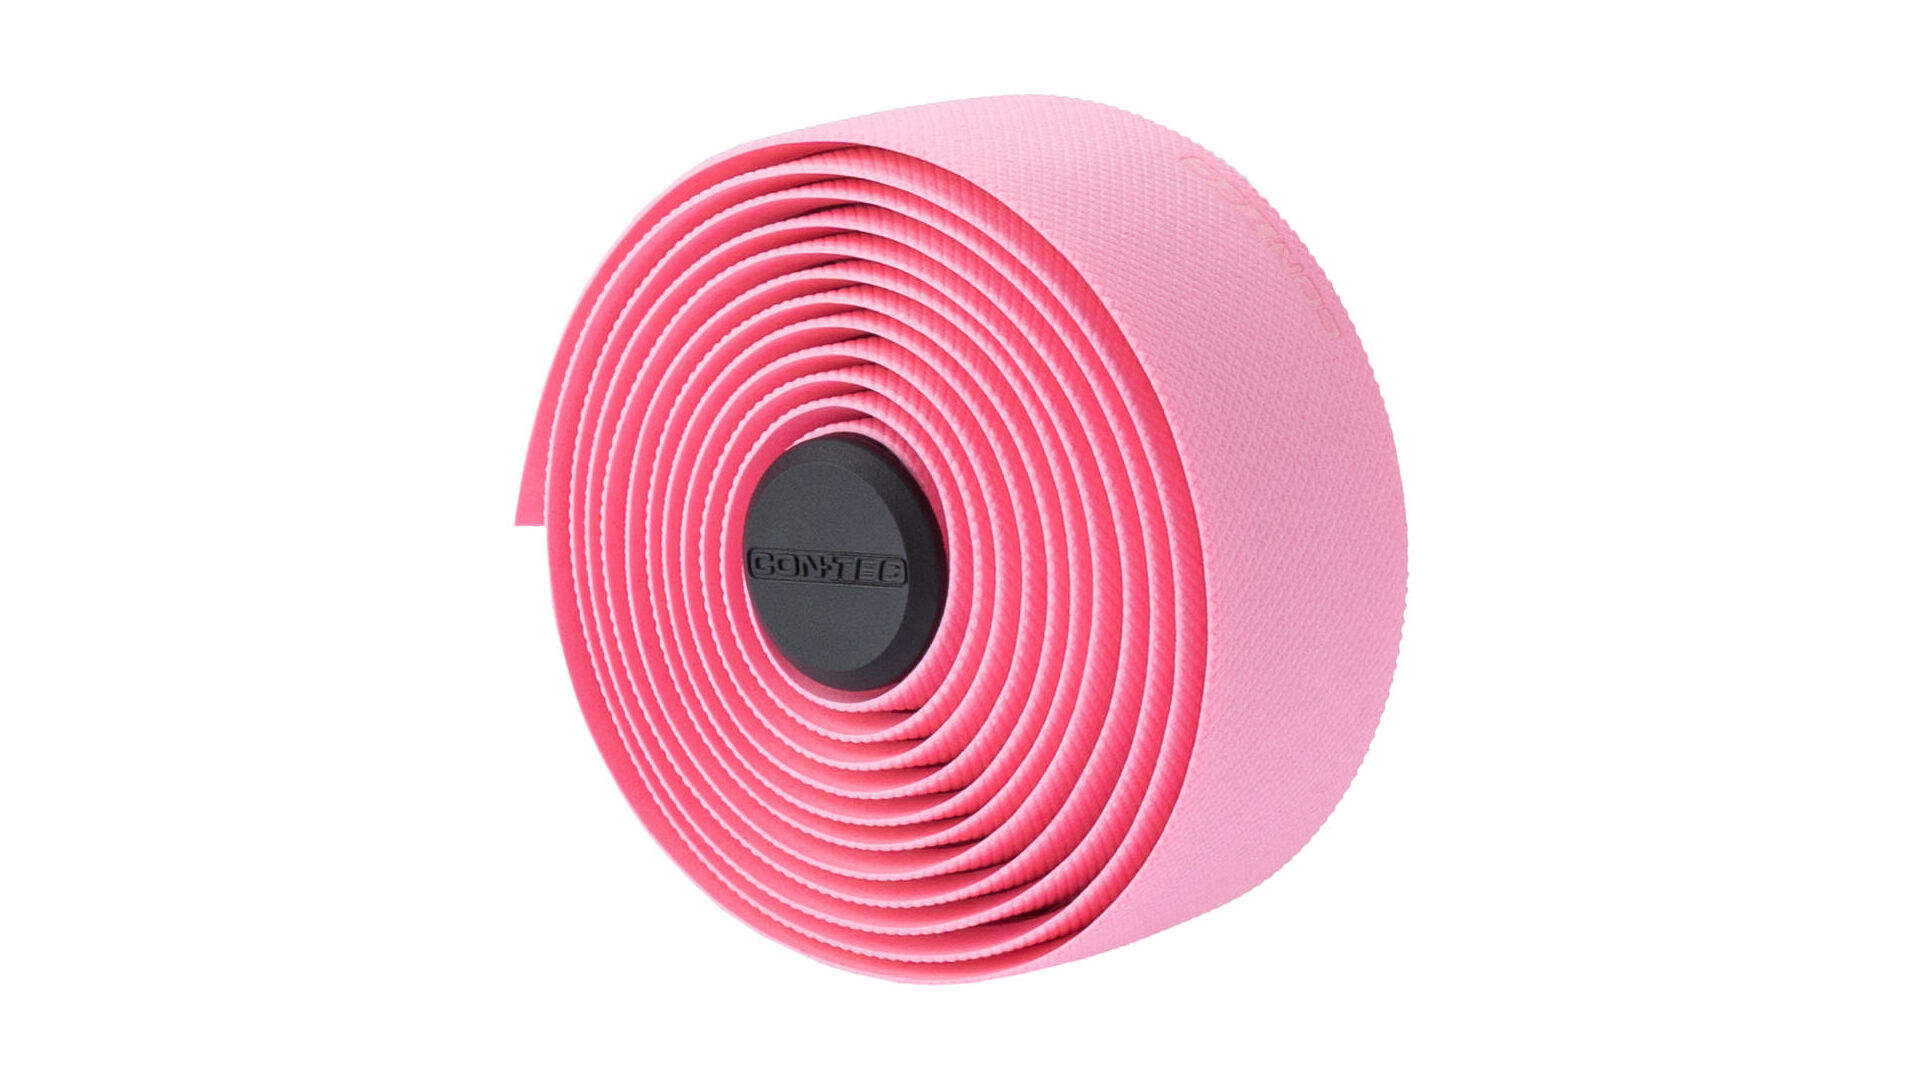
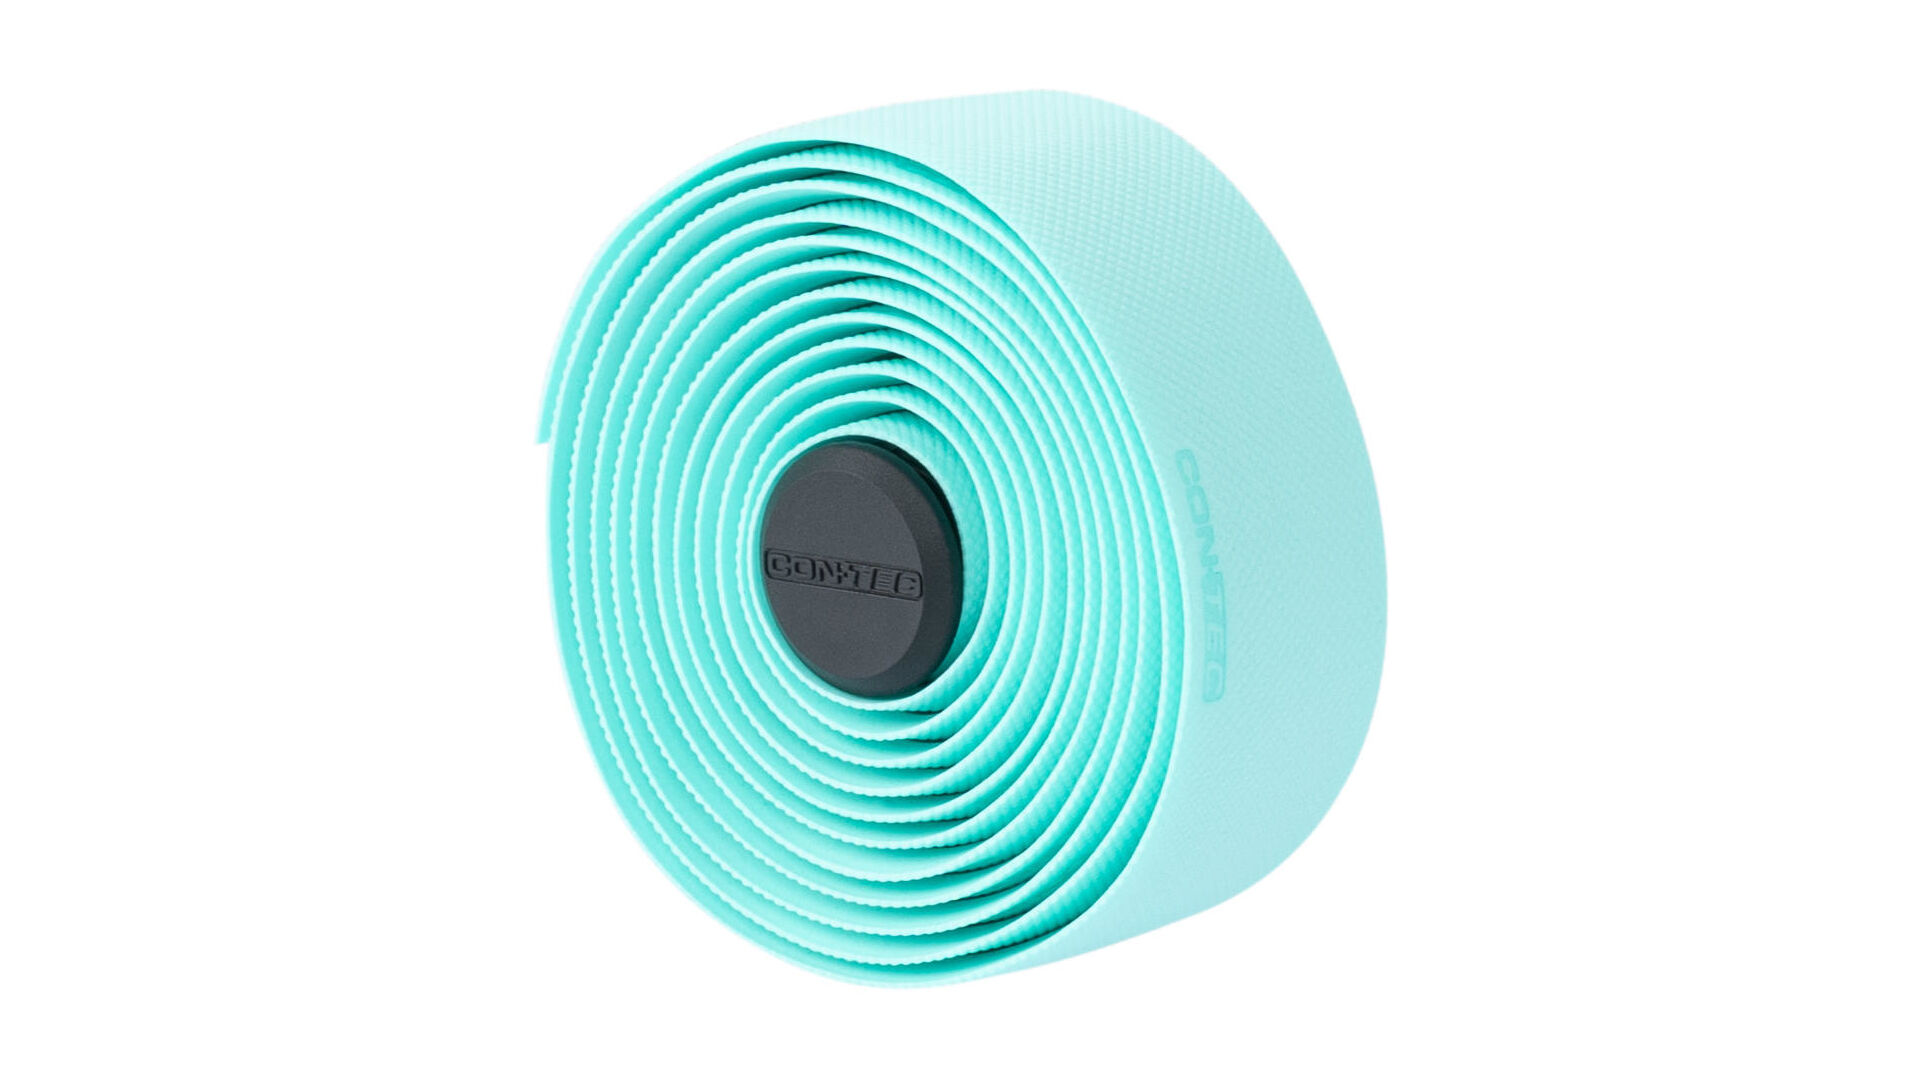
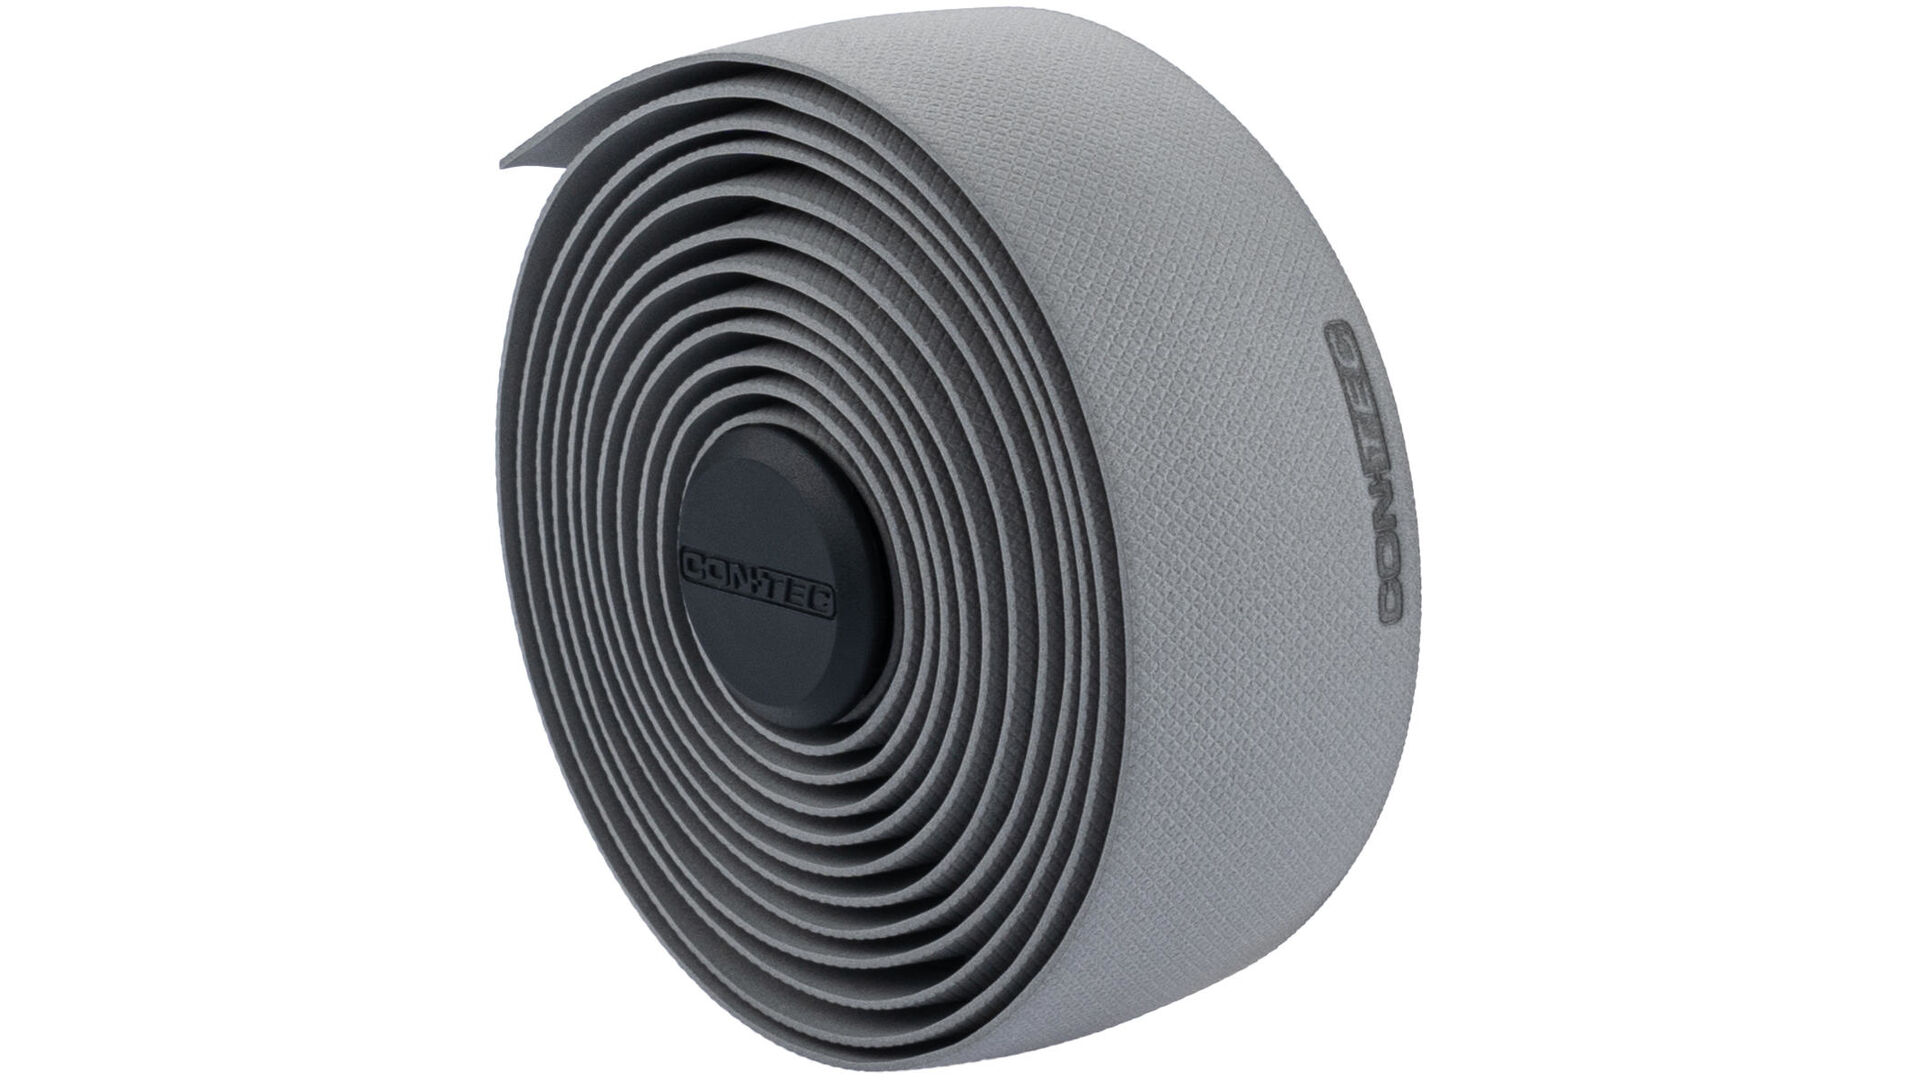
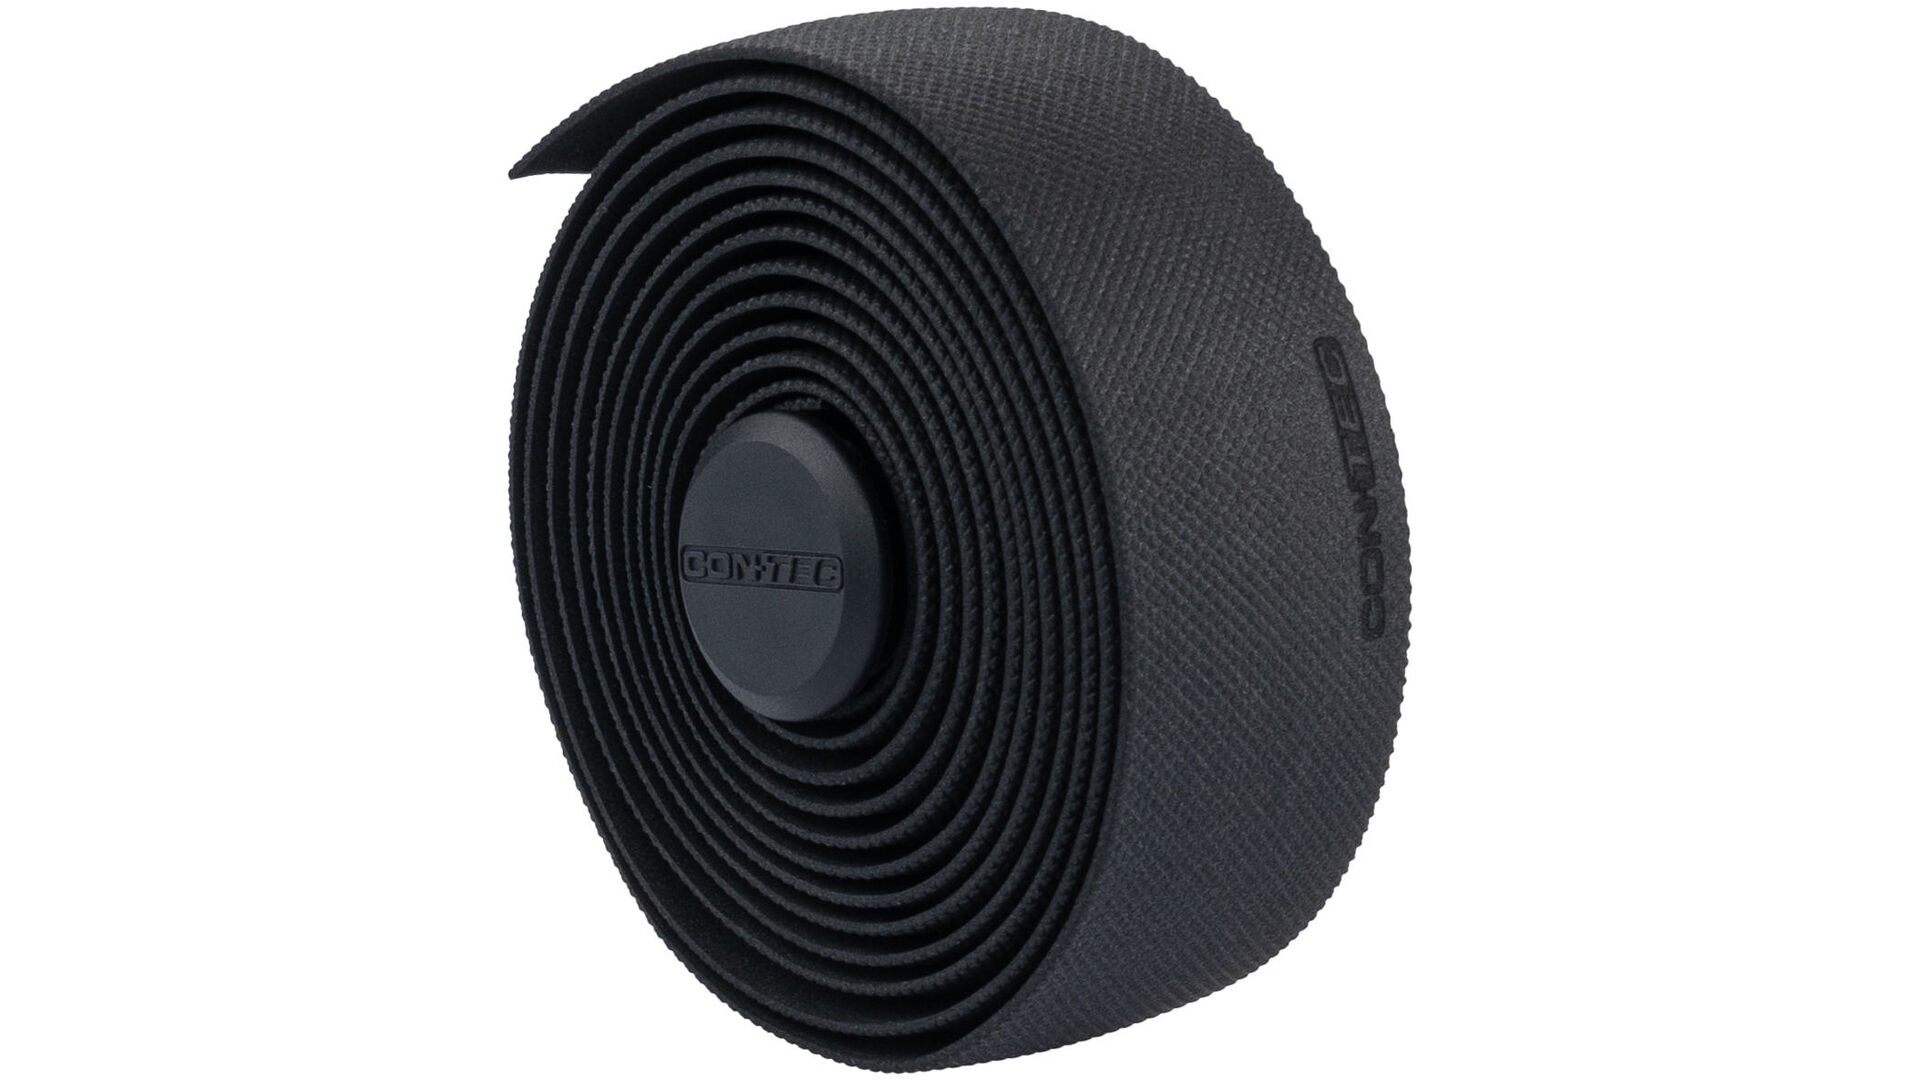
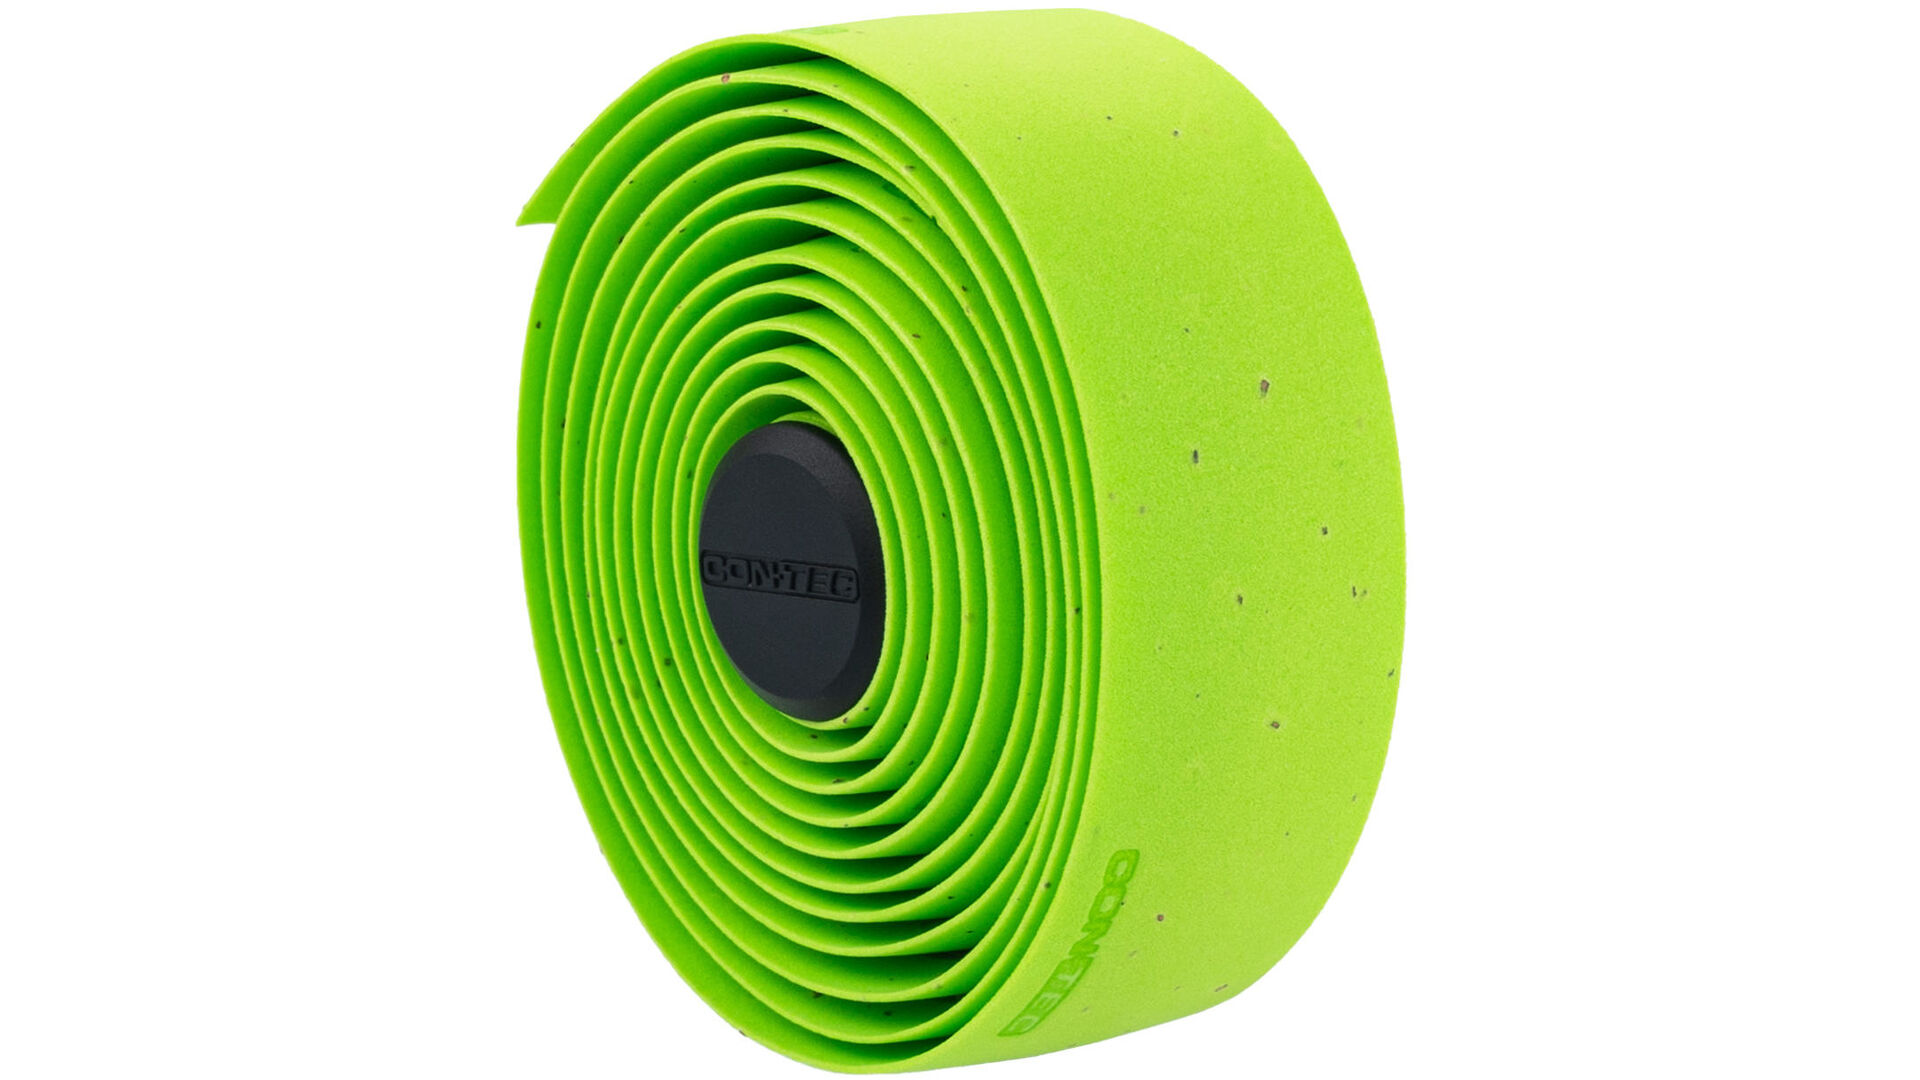
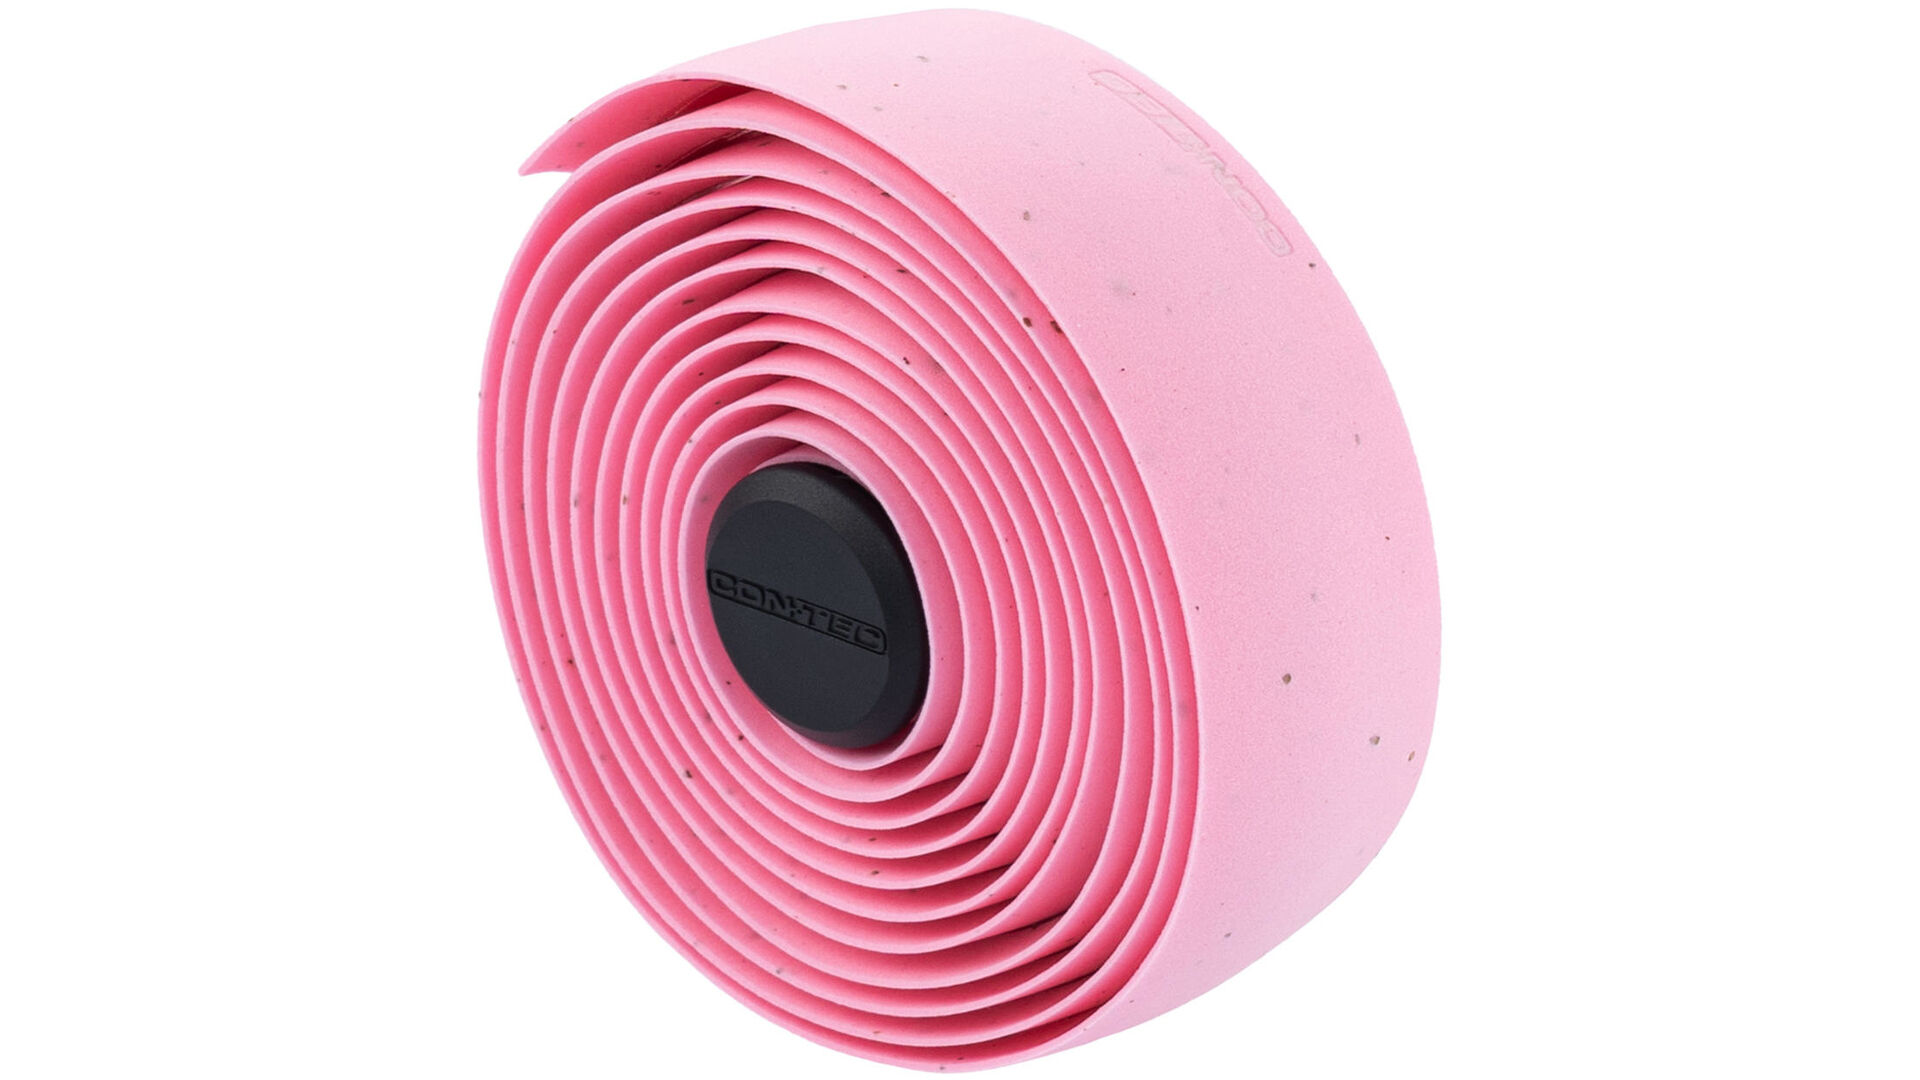
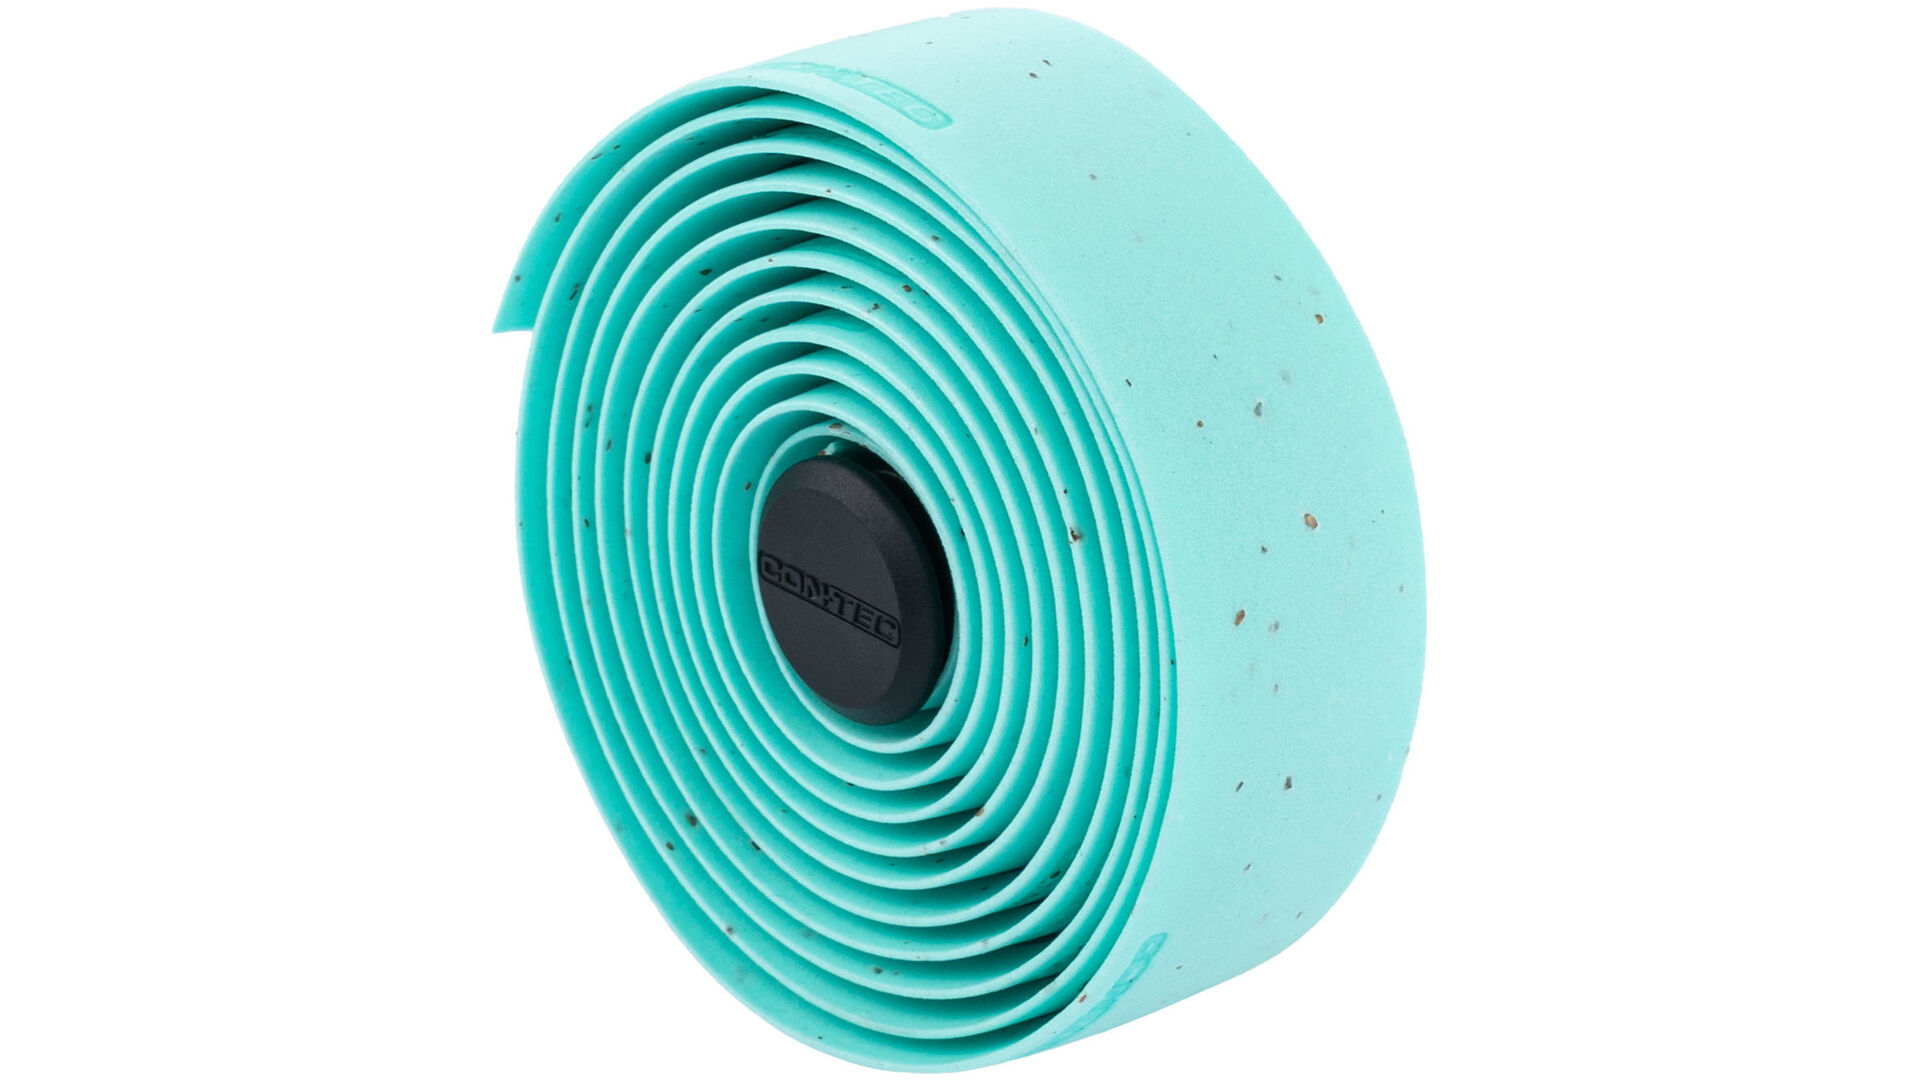
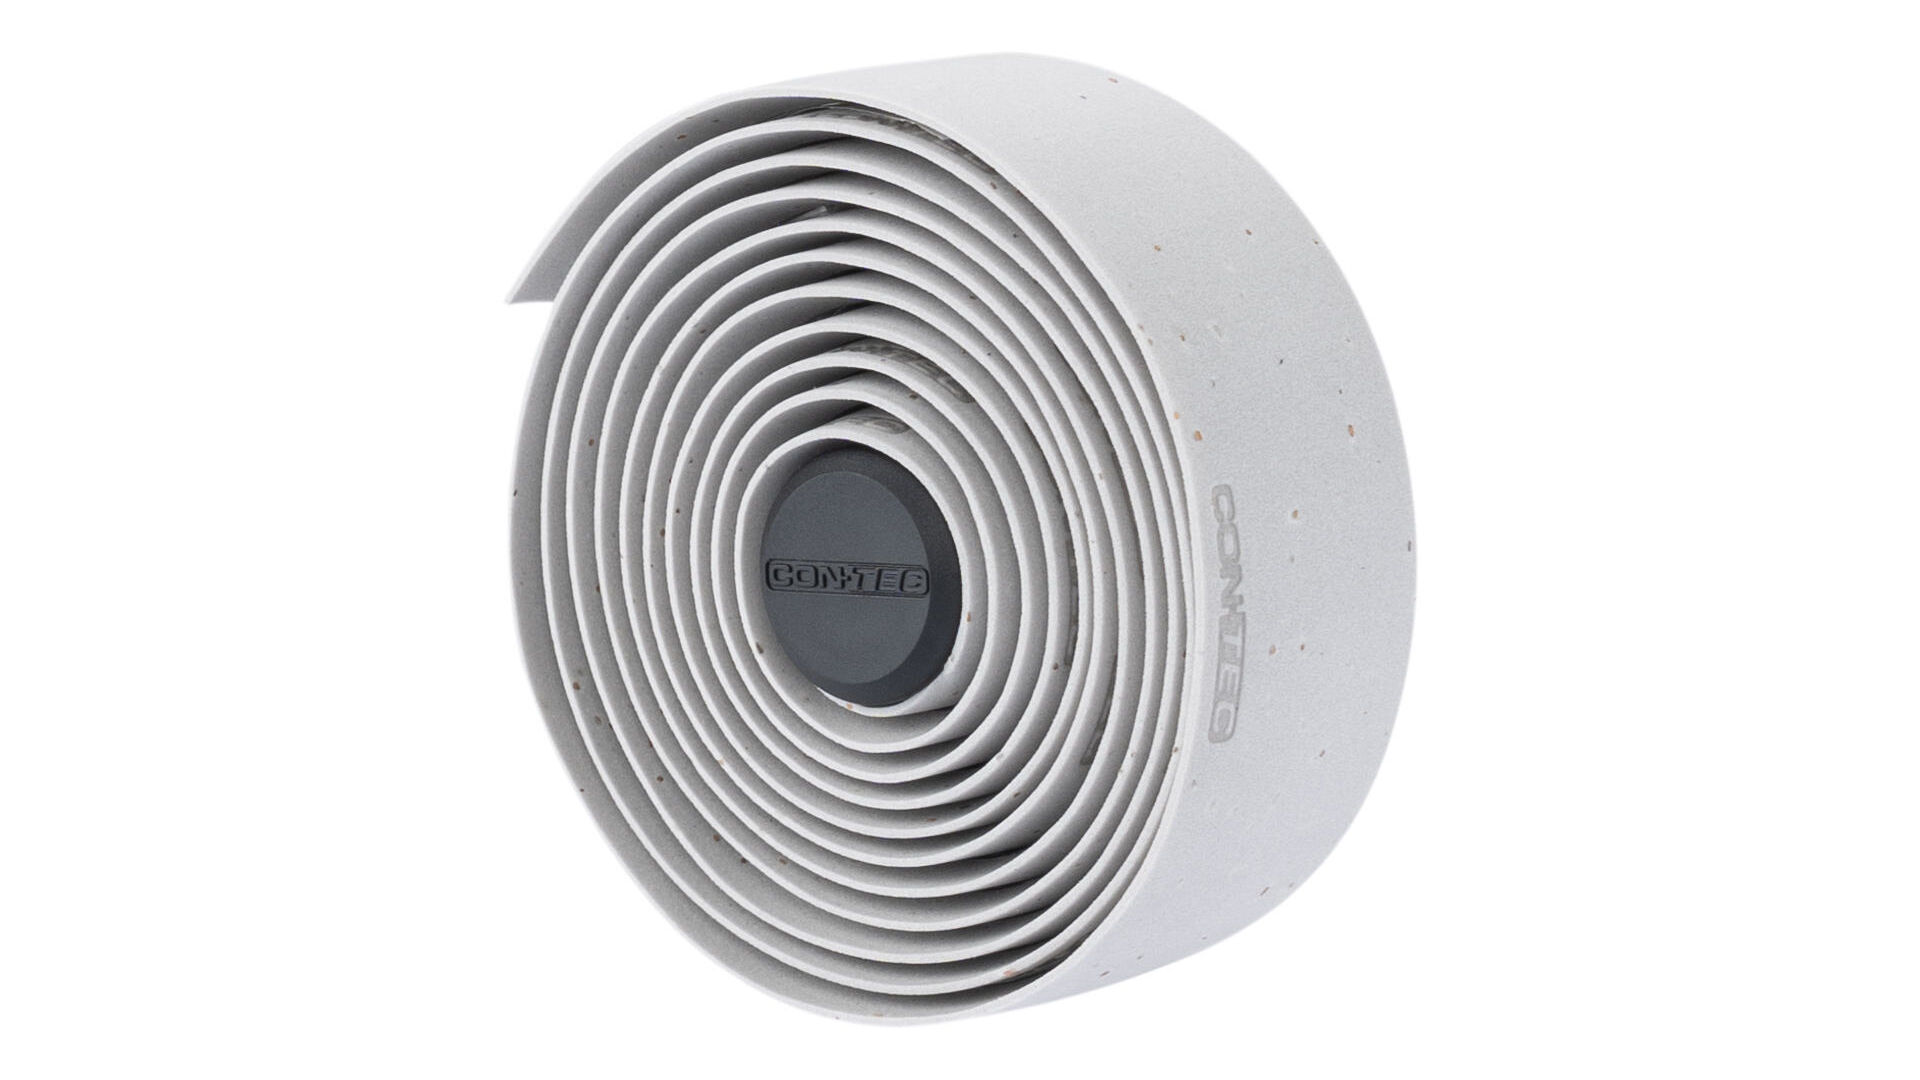
Most CONTEC bar tapes are synthetic. This means we can offer a wide variety of surfaces. Either they come slightly roughened, with a coarser diamond structure or shiny "super tacky", rustic longhole structure or carbon look. Together with cushioning EVA foam, we achieve the best results for different requirements.
Cork:
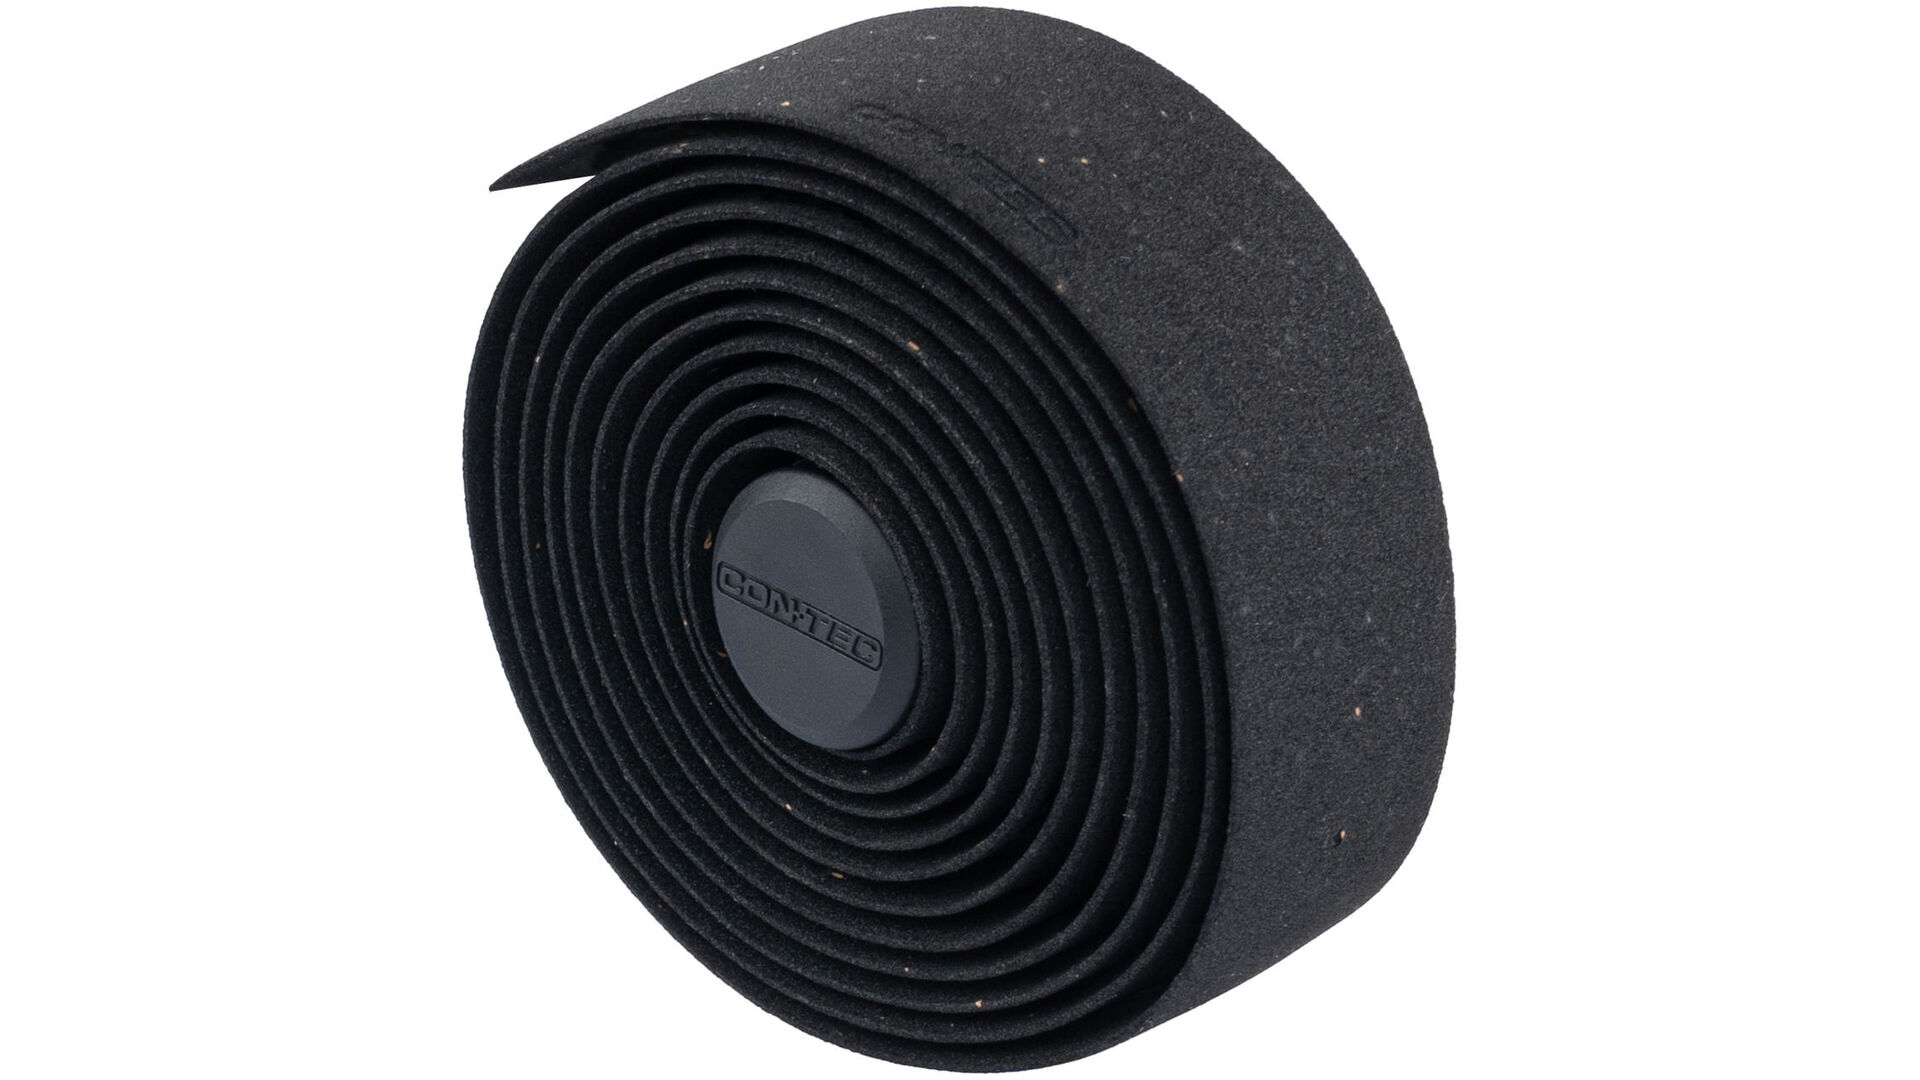
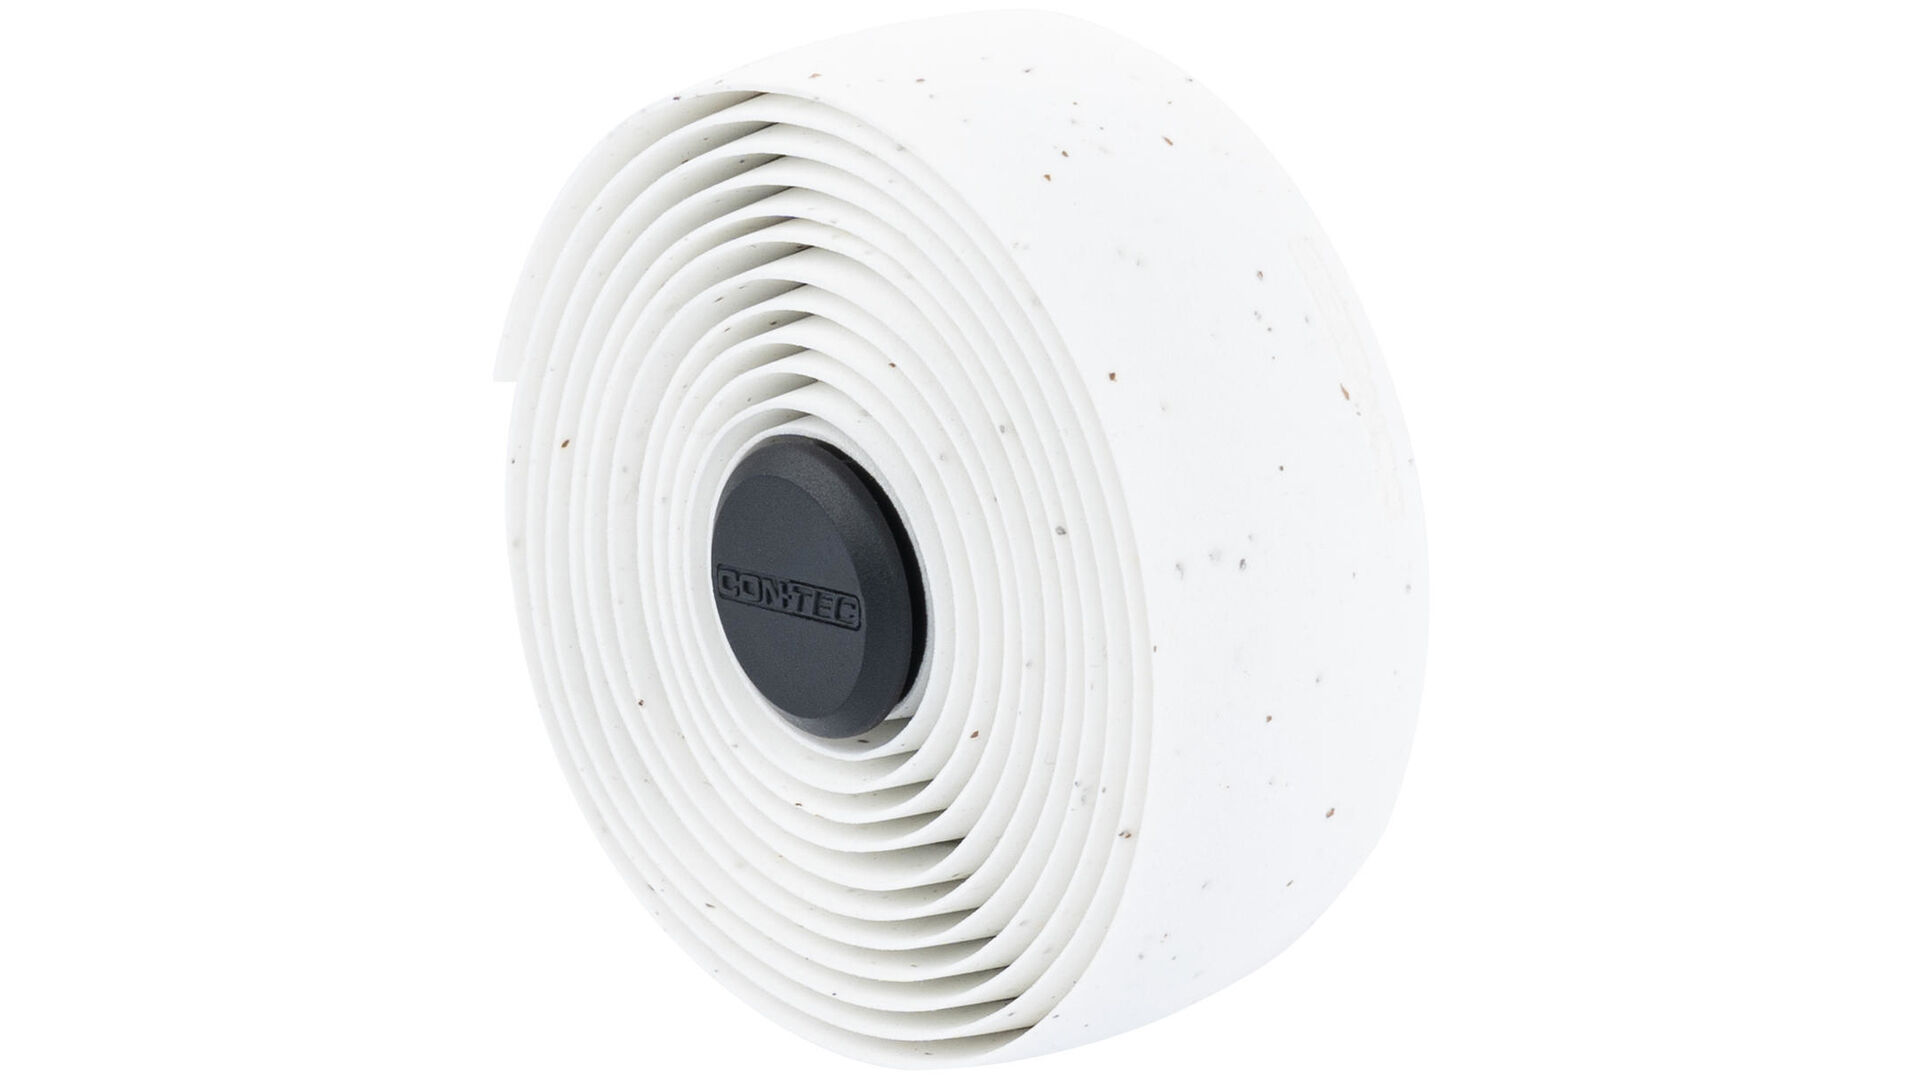
- actually synthetic with cork content
- pleasant feel
- good cushioning
- good grip even in the rain
- shows signs of wear more quickly
Textile (linen/cotton):
- more for retro bikes
- good value
- very grippy
- low damping
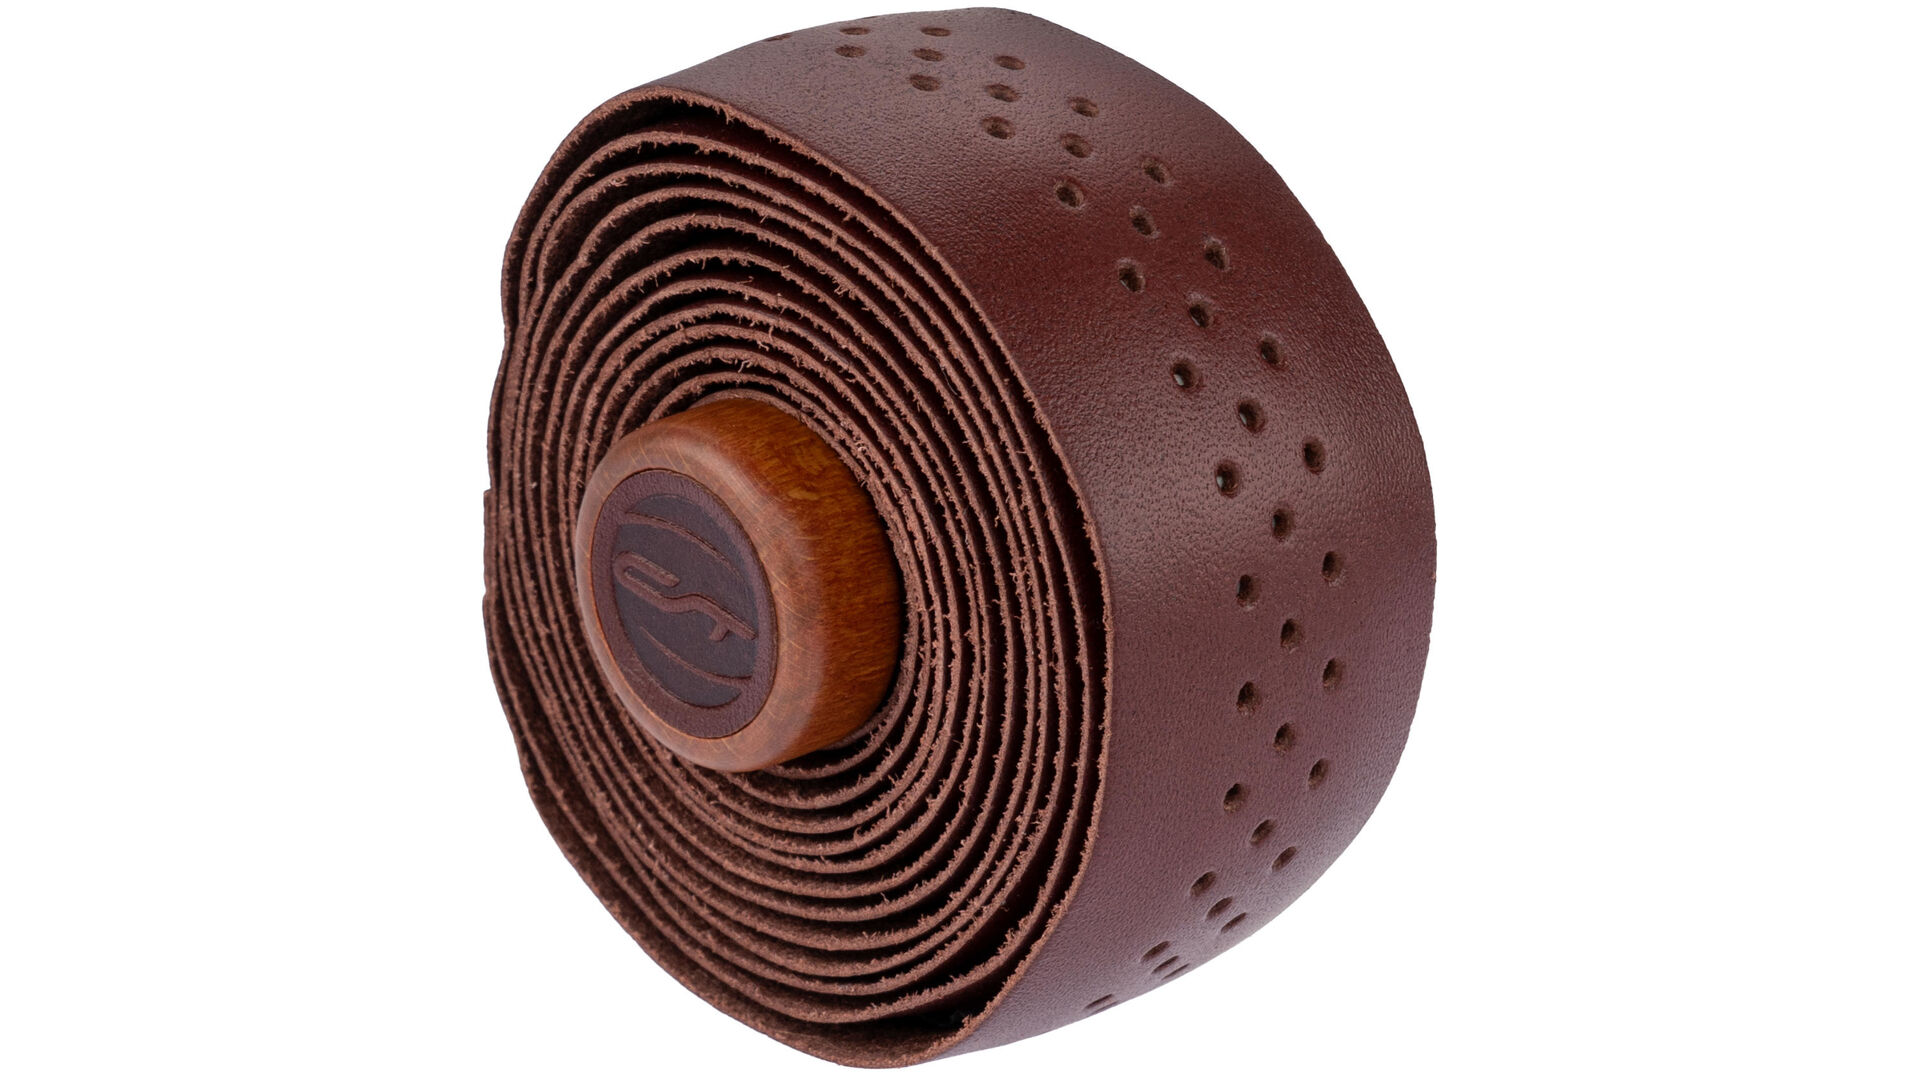
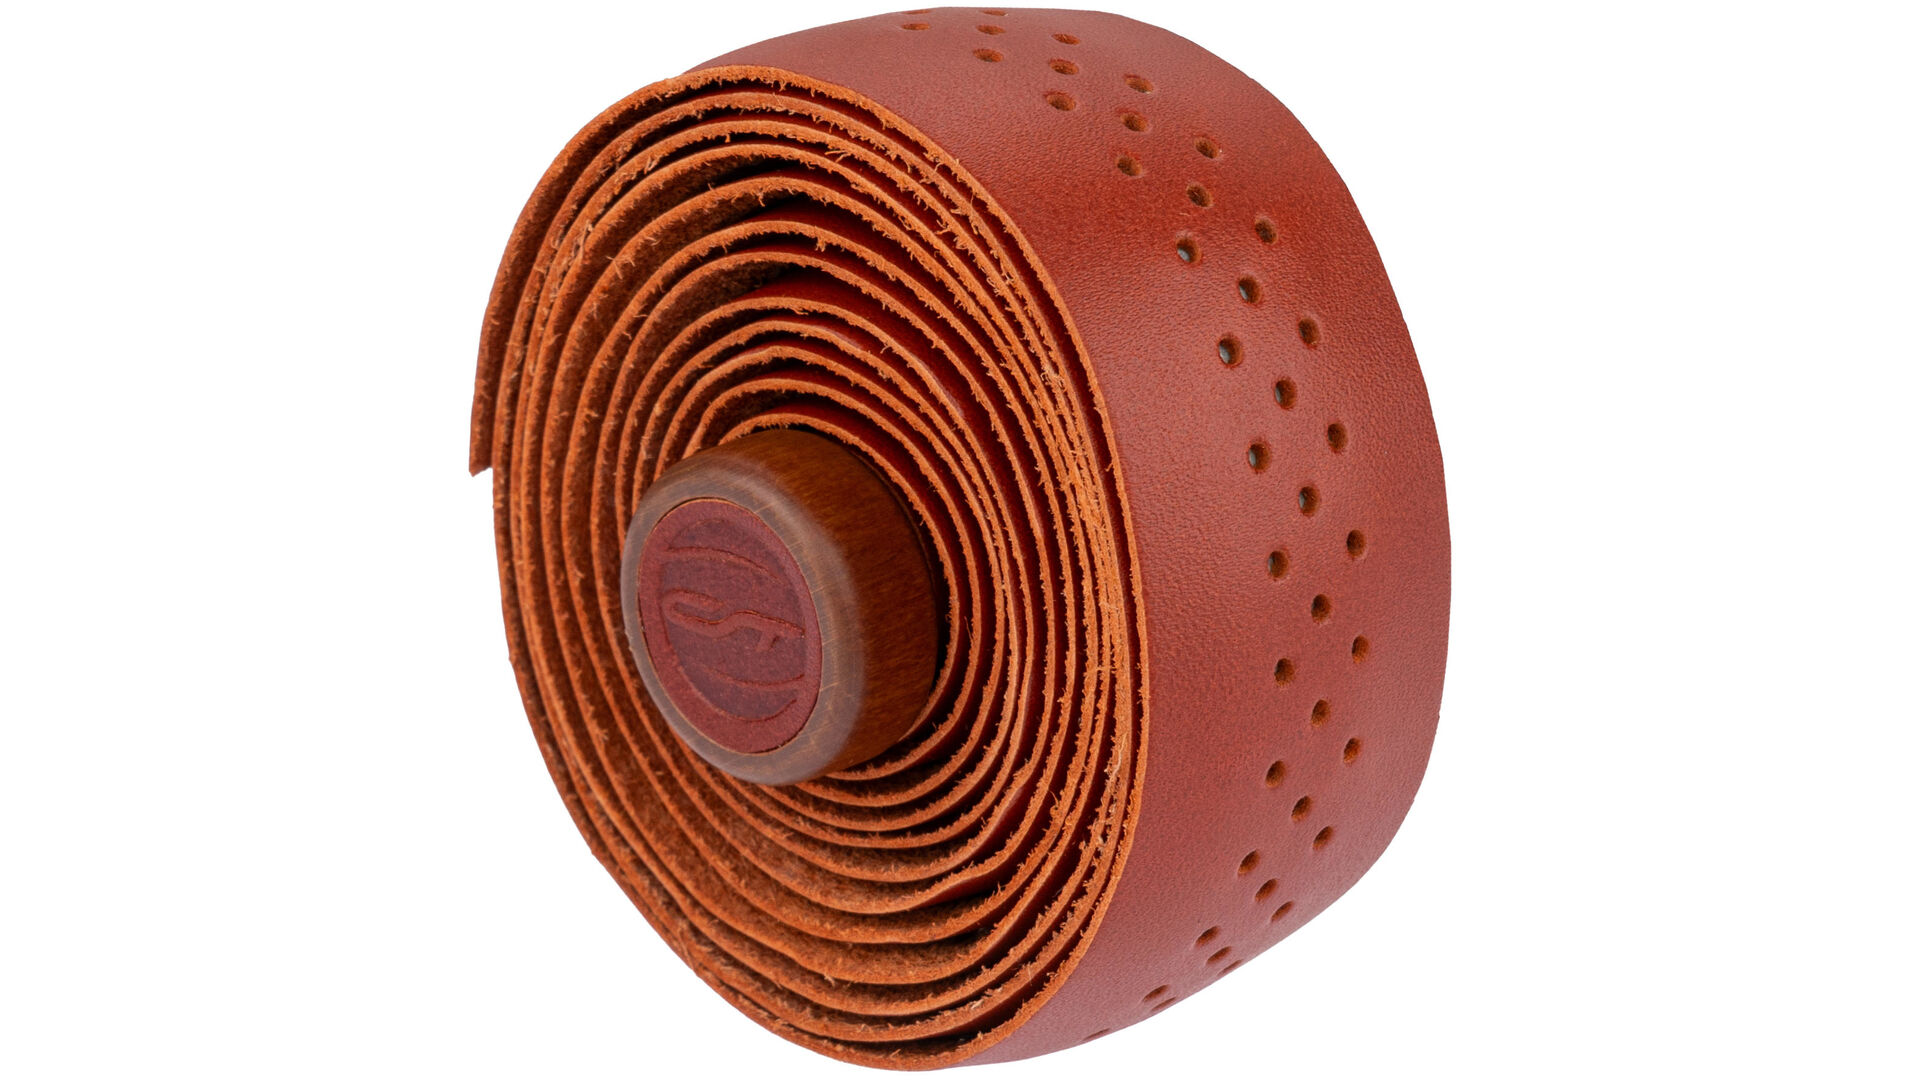
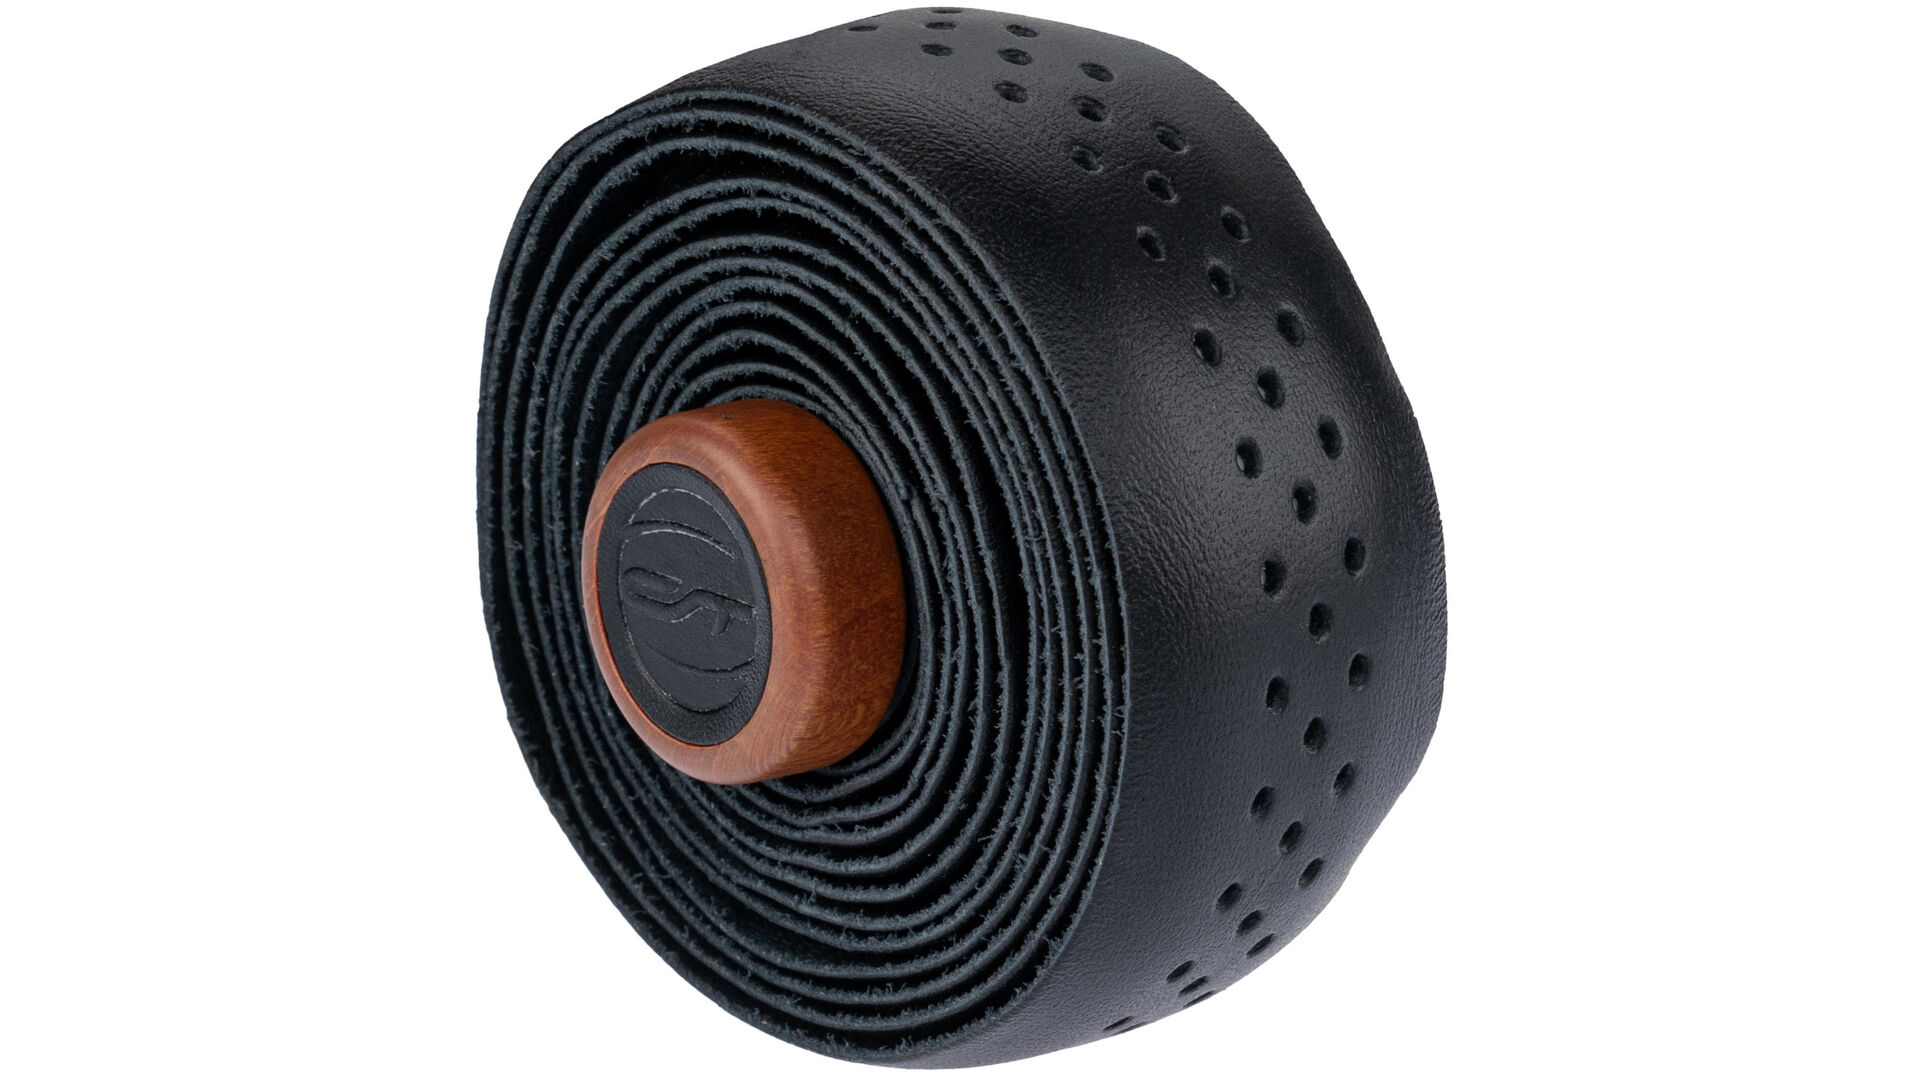
Leather:
- unique grip feeling
- natural material
- elegant look
- less grip in wet conditions
- higher price
